


Perfectly styled eyebrows have the power to frame the face, enhance your features, and complete any makeup look. While pencils and powders are excellent for filling and defining, it's the humble brow gel that truly brings everything together. This versatile product tames unruly hairs, sets your brow shape for the day, and adds a polished finish, whether you prefer a natural, fluffy look or a sleek, structured arch. Mastering the art of choosing and applying brow gel is a simple skill that can significantly elevate your daily beauty routine.
Choosing the Right Brow Gel for You
The first step to achieving your desired brow look is selecting the right type of gel. The choice mainly comes down to your natural brows and the effect you want to create. Understanding the key differences between formulas will help you find your perfect match.
Clear brow gel is a transparent formula designed purely for hold and shaping. It's the ideal choice if you are already happy with the colour and density of your eyebrows but want to tame stray hairs, create a 'laminated' effect, or simply set your brows in place all day. It's universally flattering and works as a final finishing step over any other brow products like pencils or powders.
Tinted brow gel, on the other hand, contains pigment to add colour, volume, and hold simultaneously. This is an excellent multi-tasking product for those with sparse or light-coloured brows, as it can help them appear fuller and more defined. It can be used alone for a quick, natural look or layered over a brow pencil for extra dimension. When choosing a tinted gel, opt for a shade that closely matches your natural brow hair colour. If you are in doubt, it's often better to go one shade lighter to avoid a harsh, unnatural appearance.
Beyond colour, consider the formula's hold. Some gels offer a flexible, soft hold that keeps hairs in place without feeling stiff, which is great for a natural, fluffy look. Others provide a strong, firm hold that is perfect for creating a sleek, laminated style that lasts all day. The applicator, or spoolie, also plays a role. A smaller, more precise spoolie allows for detailed work and is great for shorter brow hairs, while a larger, fuller brush can quickly add volume and coat all hairs for a bolder effect.
A Step-by-Step Guide to Flawless Application
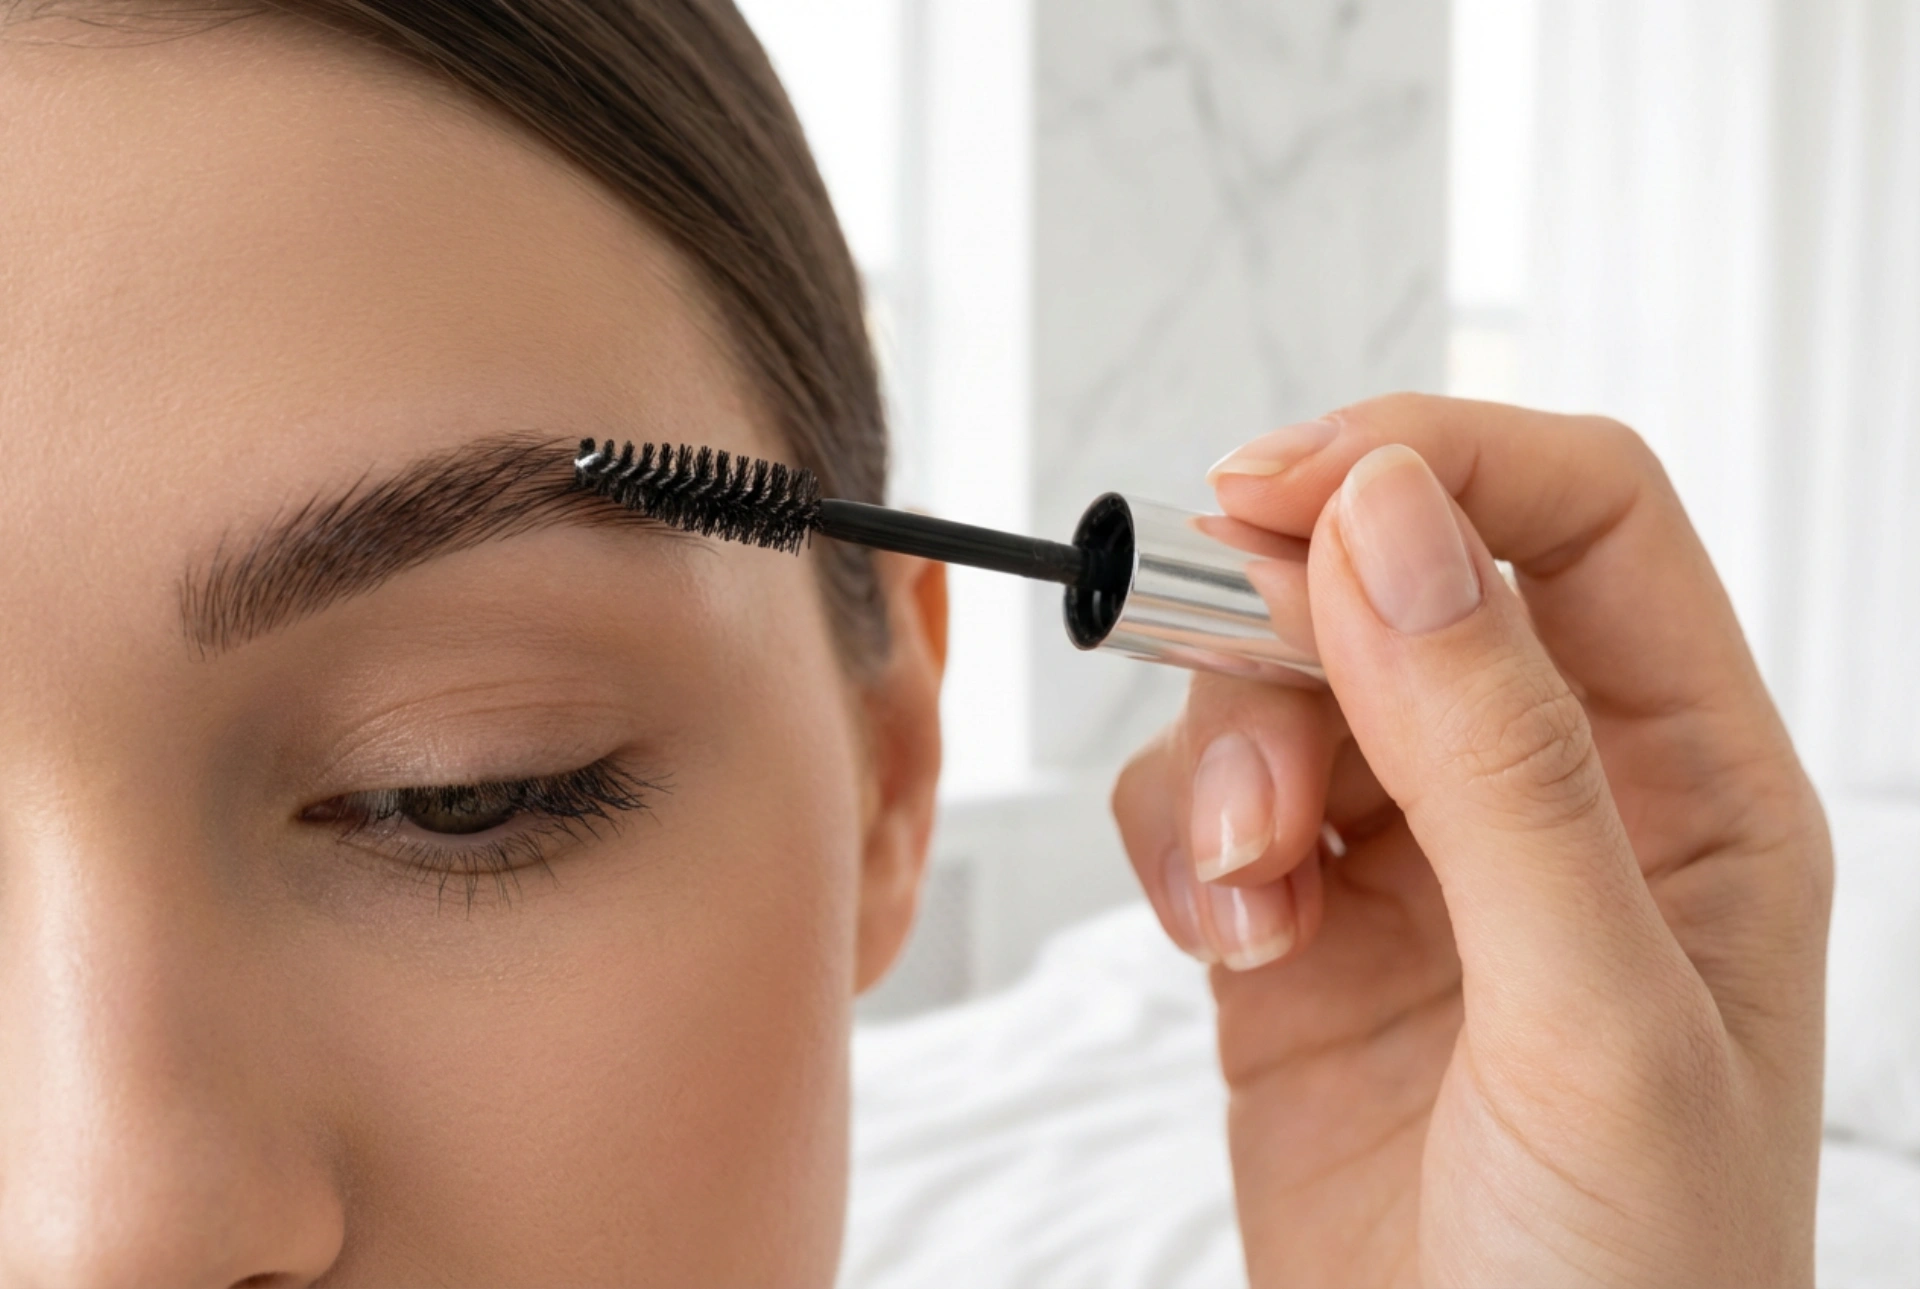
Once you have your chosen gel, the application technique is key to achieving a professional-looking finish. Follow these simple steps for perfectly styled brows every time.
- Prepare Your Brows: Always start with clean, dry eyebrows. If you use a brow pencil or powder to fill in sparse areas, apply these products first. The gel should be the final step to set everything in place. Use a clean, dry spoolie to brush through your brows to ensure all hairs are going in the same direction before you begin.
- Control the Amount of Product: One of the most common mistakes is using too much gel. To avoid this, gently wipe the excess product from the applicator on the inner rim of the tube. You want the spoolie to be coated, not overloaded.
- Brush Hairs Upwards and Outwards: Begin at the front of your eyebrow (the part closest to your nose). Brush the hairs straight up to create a lifted, wide-eyed effect. As you move along the arch and towards the tail, gradually angle the brush, sweeping the hairs up and out towards your temple. This follows the natural growth pattern and creates a neat, flattering shape.
- Sculpt and Set: For a more defined, laminated look, you can use the side of the spoolie or even your fingertip to gently press the hairs flat against your skin after brushing them into place. Use the very tip of the wand for any fine-tuning, such as precisely defining the tail of the brow.
- Let It Dry: Allow the gel to dry completely without touching it. This will ensure the hold lasts all day without smudging or flaking.
Common Mistakes to Avoid
Even with a great product, a few common application errors can stand between you and perfect brows. Here are the main pitfalls to watch out for:
- Using Too Much Gel: An overloaded spoolie can lead to a clumpy, crunchy, or flaky result. Always start with a minimal amount and build up if necessary. It's much easier to add more product than to remove it.
- Choosing a Tint That's Too Dark: For tinted gels, a shade that is too dark for your complexion and hair colour can look severe and artificial. Stick to a colour that matches your brow hairs or is a single shade lighter for the most natural enhancement.
- Applying in the Wrong Direction: Brushing hairs downwards or against their natural growth pattern can create a messy, unkempt look. Always follow the 'up and out' motion for a clean, lifted shape.
- Skipping Brow Prep: Applying gel over oily skin or makeup residue can compromise its staying power. Starting with clean, dry brows ensures the product adheres properly and lasts longer.
By understanding the different types of brow gels available and mastering a few simple application techniques, you can effortlessly achieve polished, beautifully defined brows. It's a small step in your routine that makes a big impact on your overall look.


