


For those blessed with natural curls, waves, or coils, the process of drying hair can be a delicate balance. The goal is always to achieve beautifully defined, bouncy curls without the dreaded frizz halo. While air-drying is a gentle option, it can take hours and may not provide the volume many desire. This is where a hairdryer with a diffuser attachment becomes an essential tool. Far from being just another accessory, a diffuser transforms your hairdryer into a curl-enhancing powerhouse, allowing for gentle, controlled drying that respects your hair's natural pattern.
What is a Diffuser and Why is it Essential for Curls?
A diffuser is a bowl-shaped attachment that clicks onto the nozzle of your hairdryer. Its primary function is to disperse the hot air over a much wider area, softening the powerful airflow that would otherwise blast your curls apart and create frizz. Instead of a concentrated jet of air, you get a gentle, evenly distributed warmth that mimics the effect of air-drying but significantly speeds up the process.
The benefits of using a diffuser are numerous, making it a non-negotiable for many with textured hair:
- Reduces Frizz: By softening the airflow, the diffuser prevents the hair cuticle from being roughed up, which is a primary cause of frizz. It allows curls to dry in their natural clumps without being disturbed.
- Enhances Curl Definition: The gentle drying process encourages your curls to form and set in their natural shape, leading to better definition and structure. The cupping motion used in some techniques further helps to shape and define each ringlet.
- Boosts Volume: A diffuser is fantastic for creating lift at the roots, an area that can often fall flat when air-drying. The prongs on many diffusers can be used to gently lift the hair at the scalp, encouraging volume where it's needed most.
- Speeds Up Drying Time: While gentler than direct heat, diffusing is still much faster than letting your hair air-dry completely. This is a practical advantage for busy mornings or colder months.
Choosing the Right Diffuser Attachment
Not all diffusers are created equal, and the right one for you can depend on your hair's length, thickness, and curl type. While some hairdryers come with a perfectly matched diffuser, you might also consider a universal attachment. When choosing, pay attention to a few key features.
Bowl Size and Depth
The 'bowl' is the main part of the diffuser where you'll cup your hair. A deep, large bowl is generally better for long or very thick hair, as it can hold a larger section of hair at once. This ensures even drying and helps to form larger, more uniform curl clumps. For short or fine hair, a smaller, shallower bowl may be more manageable and effective, allowing you to get closer to the roots without overwhelming your hair.
Prongs or 'Fingers'
The prongs that stick out from the base of the diffuser help to distribute air and lift the hair. Long prongs are excellent for reaching the scalp through thick hair, providing targeted airflow to the roots for maximum volume. Shorter prongs offer a gentler touch, which can be ideal for finer hair textures or more delicate wave patterns. Some diffusers even have holes in the prongs themselves for even better air circulation.
Fit and Material
Ensure the diffuser is compatible with your hairdryer. Brand-specific attachments offer a secure fit, but many high-quality universal diffusers are available. Look for ones with a sturdy, adjustable silicone or rubber grip that can adapt to different nozzle sizes. Collapsible silicone diffusers are also a great, lightweight option for travel.
The Step-by-Step Technique for Perfect Curls
Mastering the diffuser technique is key to unlocking its full potential. With a bit of practice, this process will become a simple and rewarding part of your routine.
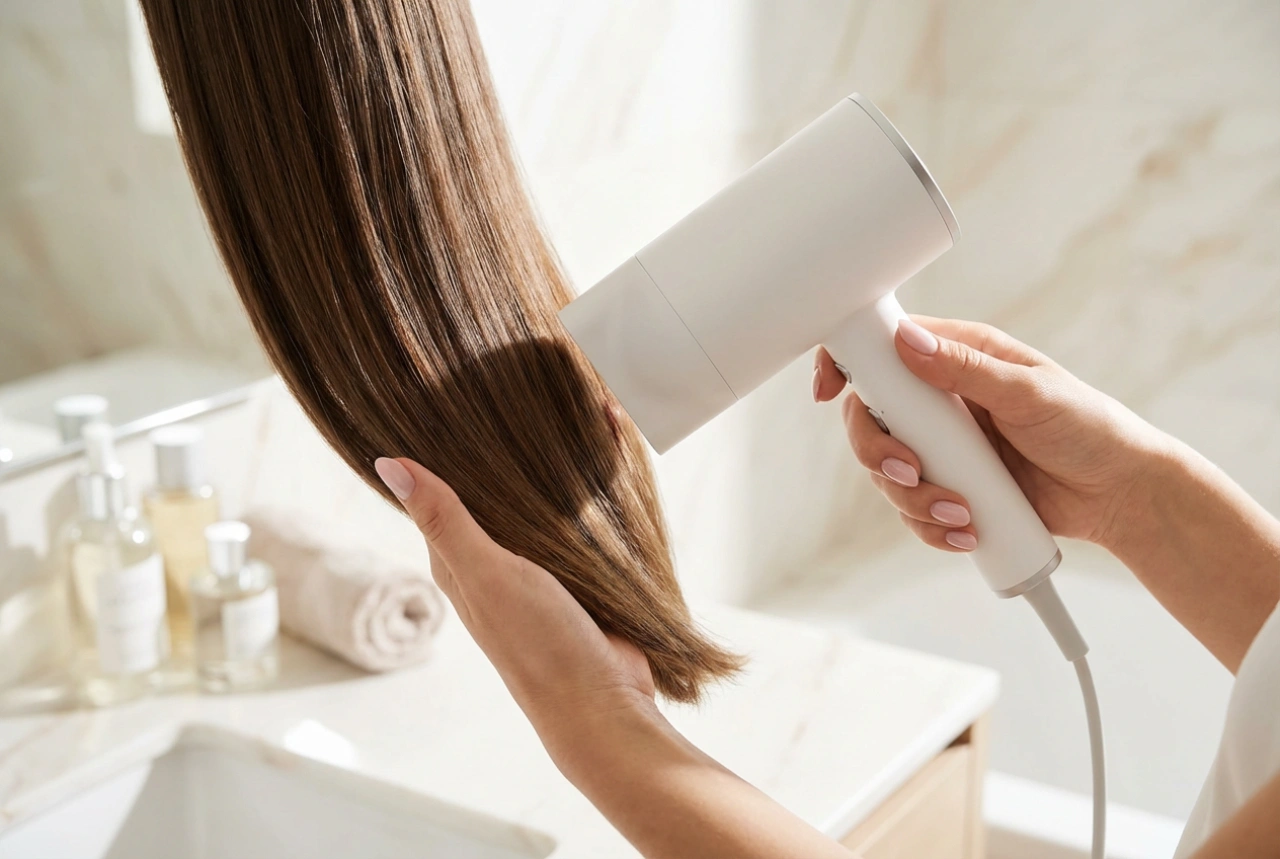
Step 1: Prepare Your Hair. Start with freshly washed, dripping wet hair. Gently squeeze out excess water using a microfibre towel or a soft cotton t-shirt—never a rough terrycloth towel, which can cause frizz. Apply your styling products, such as a leave-in conditioner, curl cream, or gel, to your wet hair. Ensure products are distributed evenly for consistent results.
Step 2: Set Your Hairdryer. Always use the low-to-medium settings for both heat and speed. High heat can damage your hair, while high speed will create wind and frizz, defeating the purpose of the diffuser.
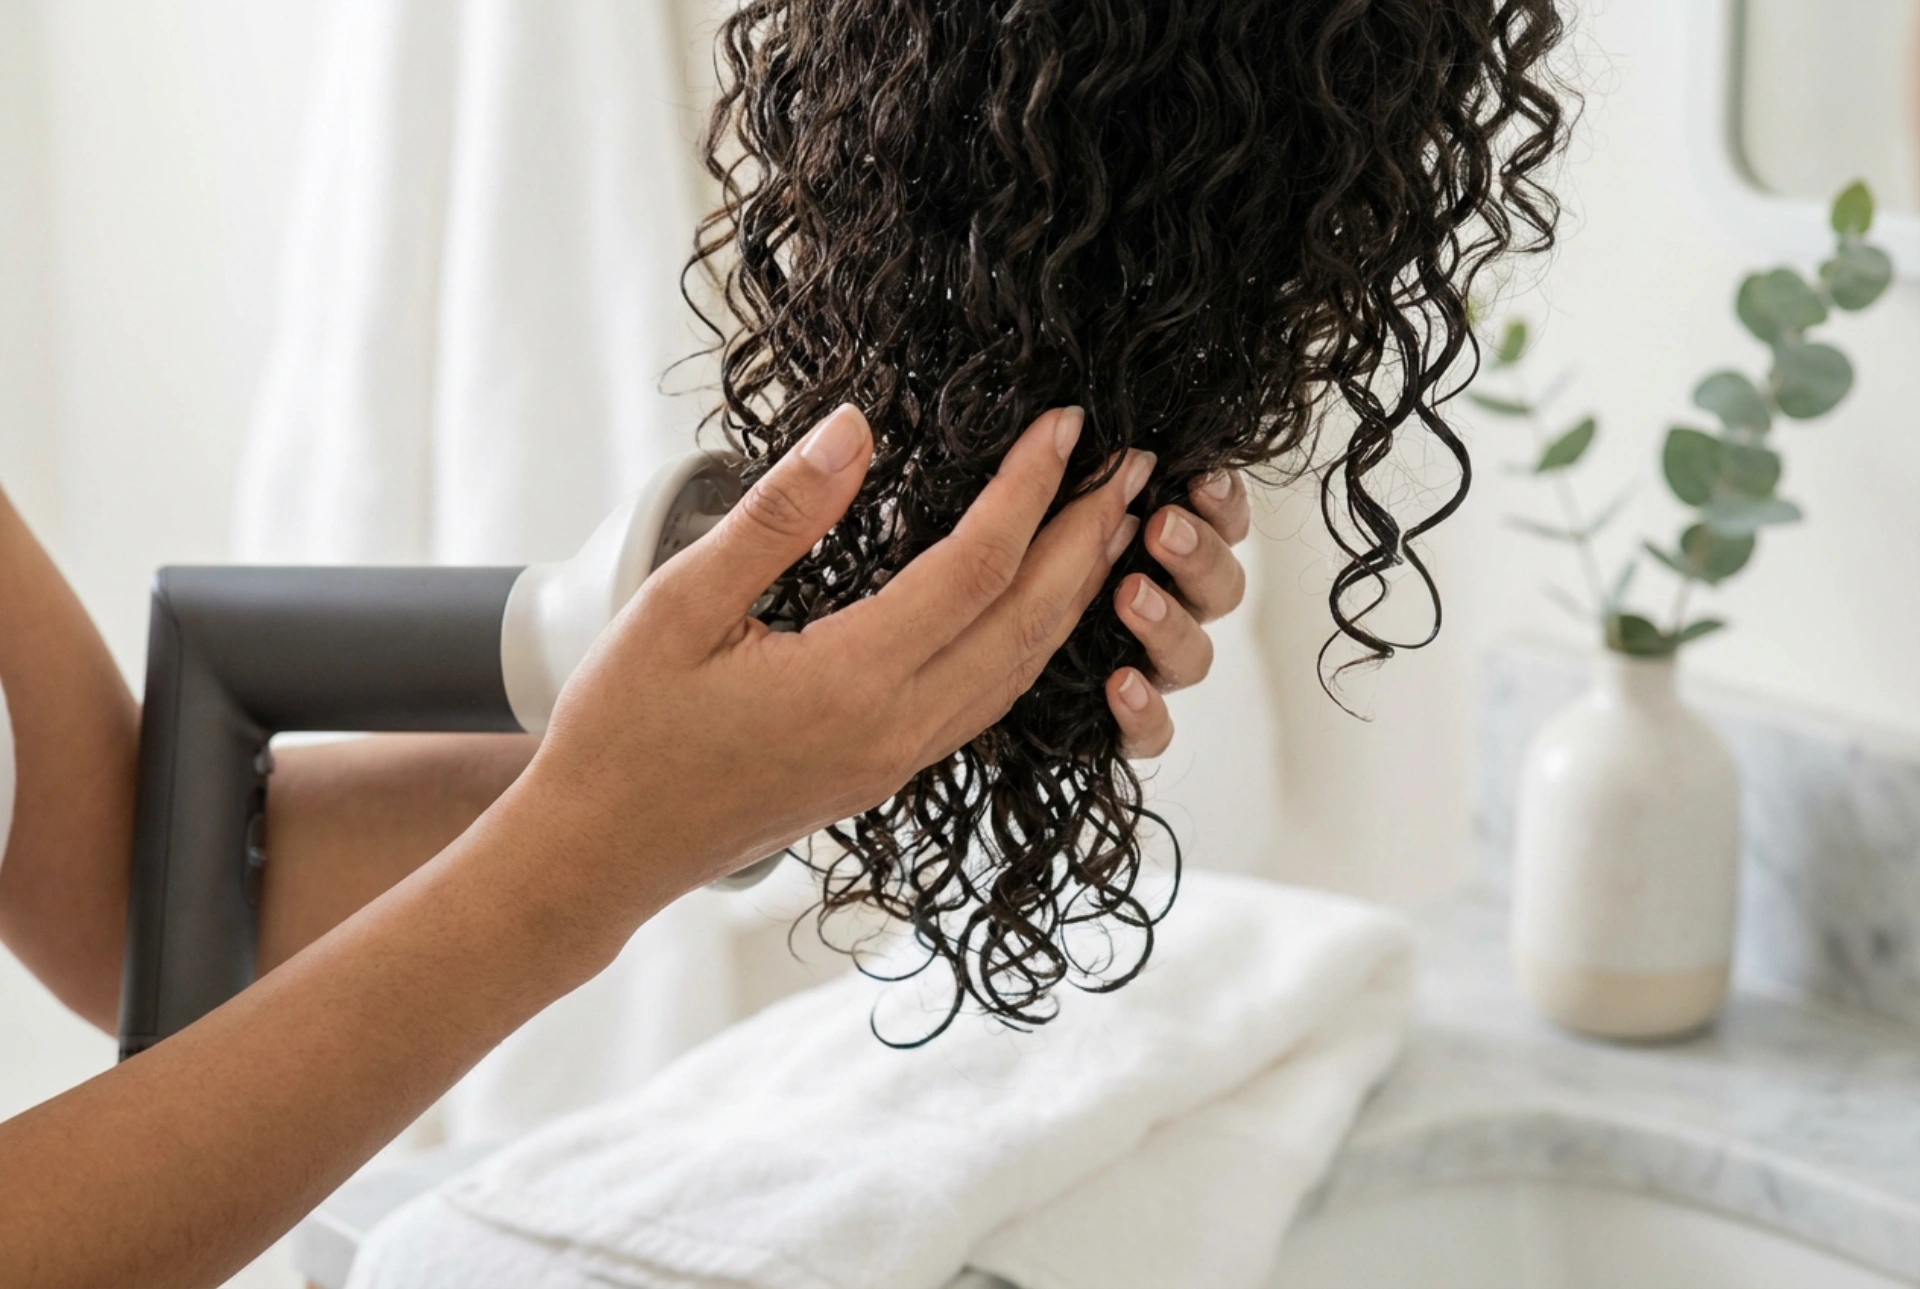
Step 3: Begin Diffusing. There are two main techniques. You can alternate between them or choose the one that works best for you. The first is 'Pixie Diffusing': flip your head to one side or upside down, then gently 'cup' a section of your hair into the diffuser bowl and bring it up towards your scalp. Hold it there for 30-60 seconds before moving to the next section. The second method is 'Hover Diffusing': hold the diffuser several inches away from your hair and simply move it around your head, like a gentle warm breeze. This is a very low-manipulation technique, great for preventing frizz on very delicate hair types.
Step 4: Focus on the Roots. Once the lengths of your hair are partially dry, focus on the roots for volume. You can either gently use the diffuser's prongs to lift sections at the root or continue to diffuse with your head flipped upside down to encourage natural lift.
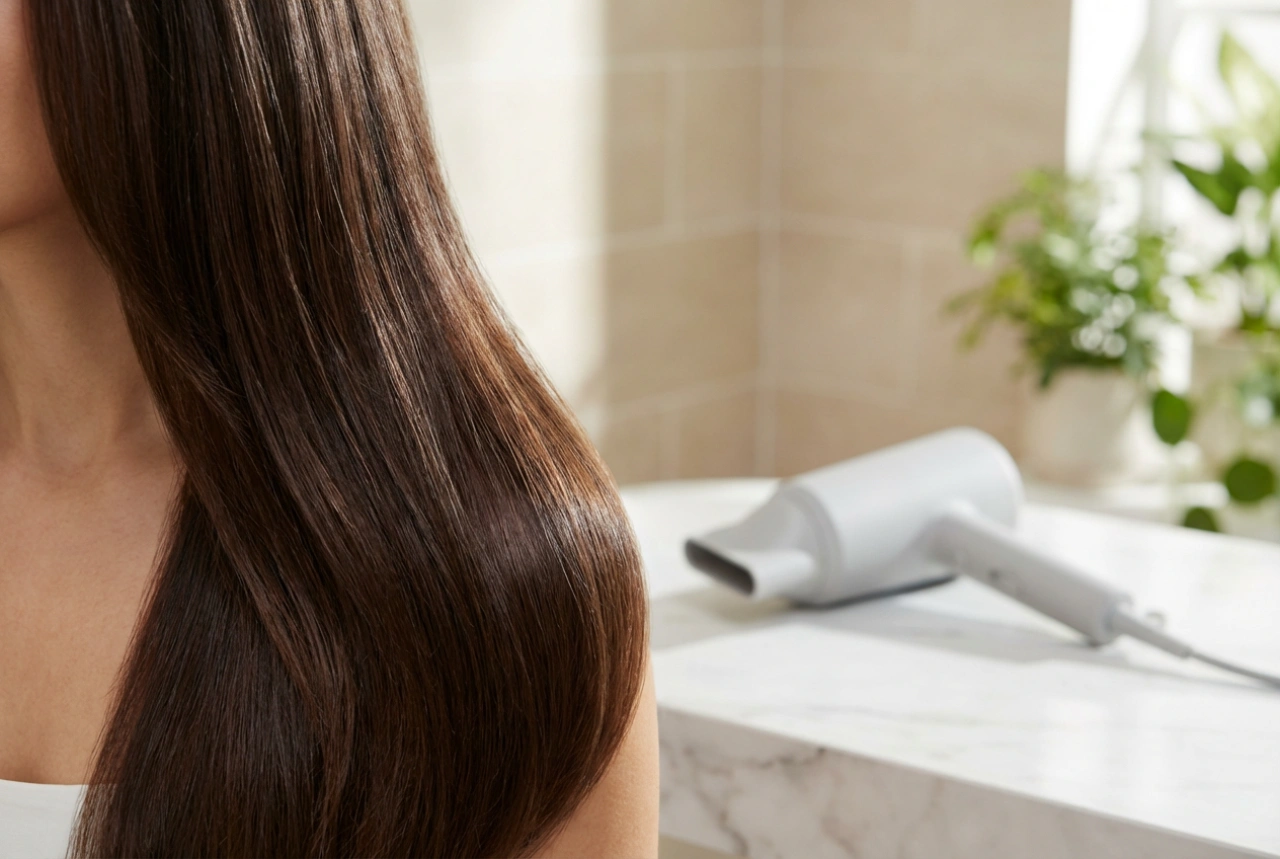
Step 5: Dry to 80-90%. Avoid drying your hair completely with the diffuser. Leaving it slightly damp allows it to finish air-drying, which helps to lock in moisture and prevent the frizz that can result from over-drying. This also helps the 'cast' from your styling products to fully set.
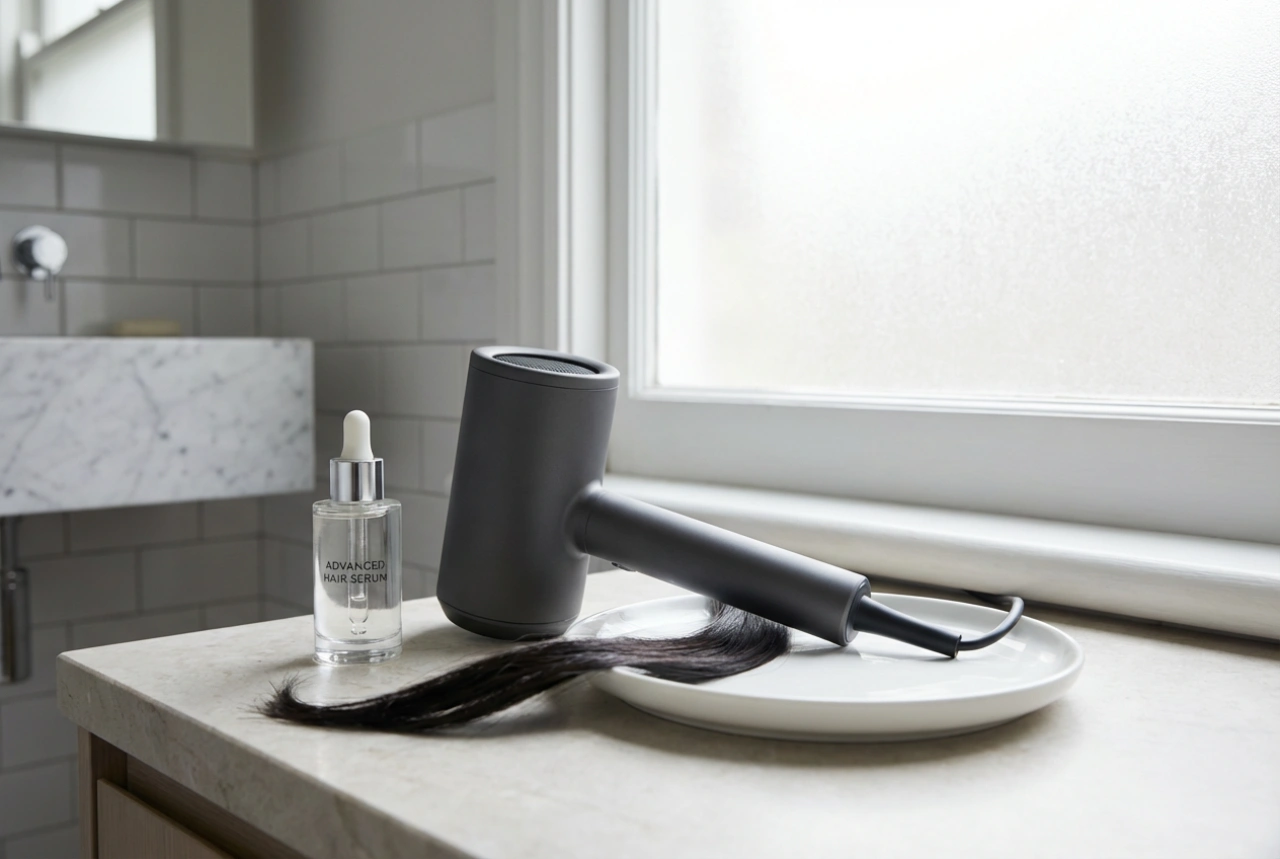
Step 6: Break the Cast. Once your hair is 100% dry, you may notice a crunchy feeling from your gel or mousse. This is called a 'cast', and it's a good thing—it means your curls are held in place. To release the soft curls underneath, gently 'scrunch out the crunch' by cupping and squeezing your hair. You can do this with dry hands or with a tiny drop of a lightweight hair oil on your palms to add shine and softness.
Common Mistakes to Avoid When Diffusing
To ensure a flawless finish every time, be mindful of these common pitfalls:
- Using High Heat/Speed: This is the fastest way to create frizz and potential heat damage. Patience is key; always stick to lower settings.
- Touching Your Hair Too Much: While your hair is drying, resist the urge to run your fingers through it. This separates the curl clumps and invites frizz. Let the diffuser do the work.
- Not Using Styling Products: Diffusing without product can leave curls looking undefined and frizzy. Products provide the necessary hold and moisture to form beautiful curls.
- Over-Drying Your Hair: Drying your hair until it's bone-dry can strip it of moisture, leading to brittle ends and frizz. Stop when it's about 80-90% dry.
- Rubbing Hair with the Diffuser: Always use a gentle cupping or hovering motion. Rubbing the diffuser against your hair will disrupt the cuticle and your curl pattern.