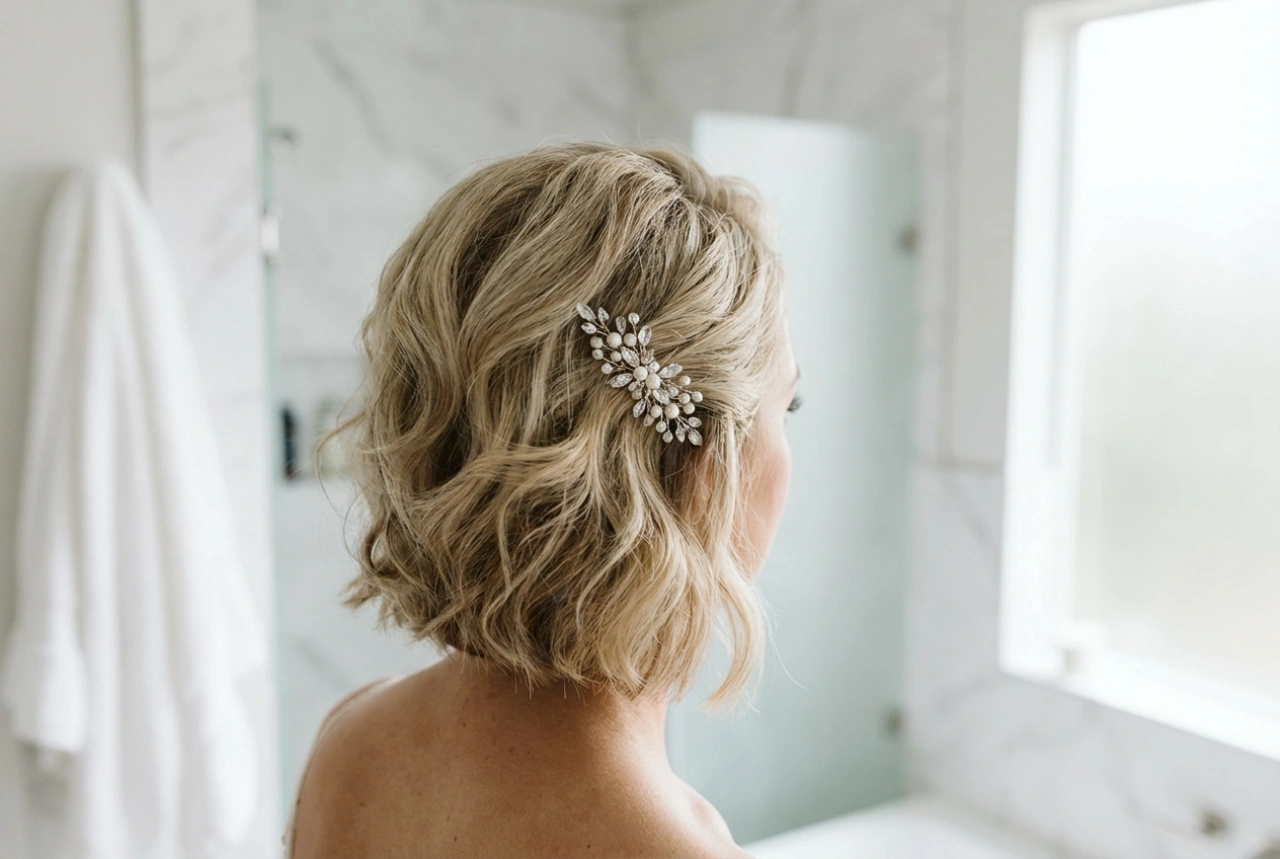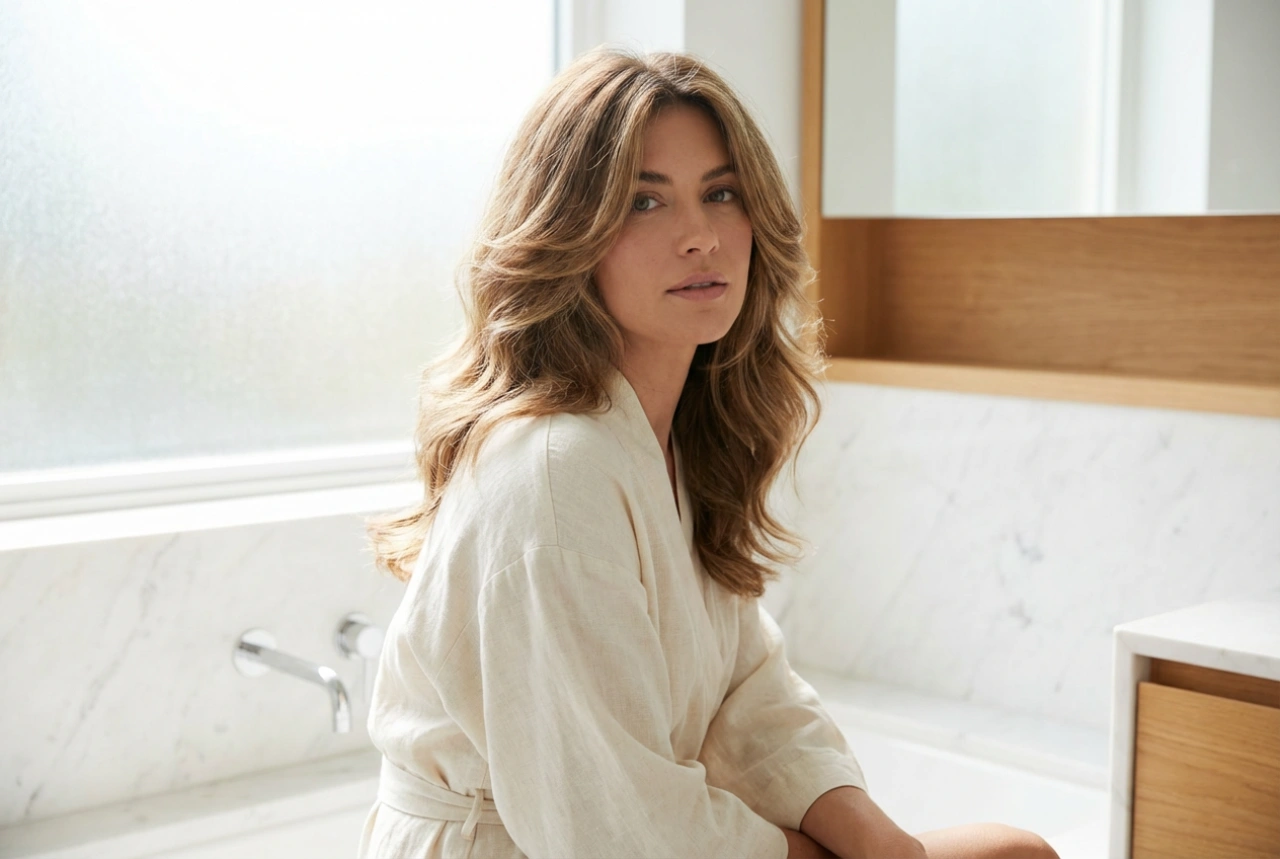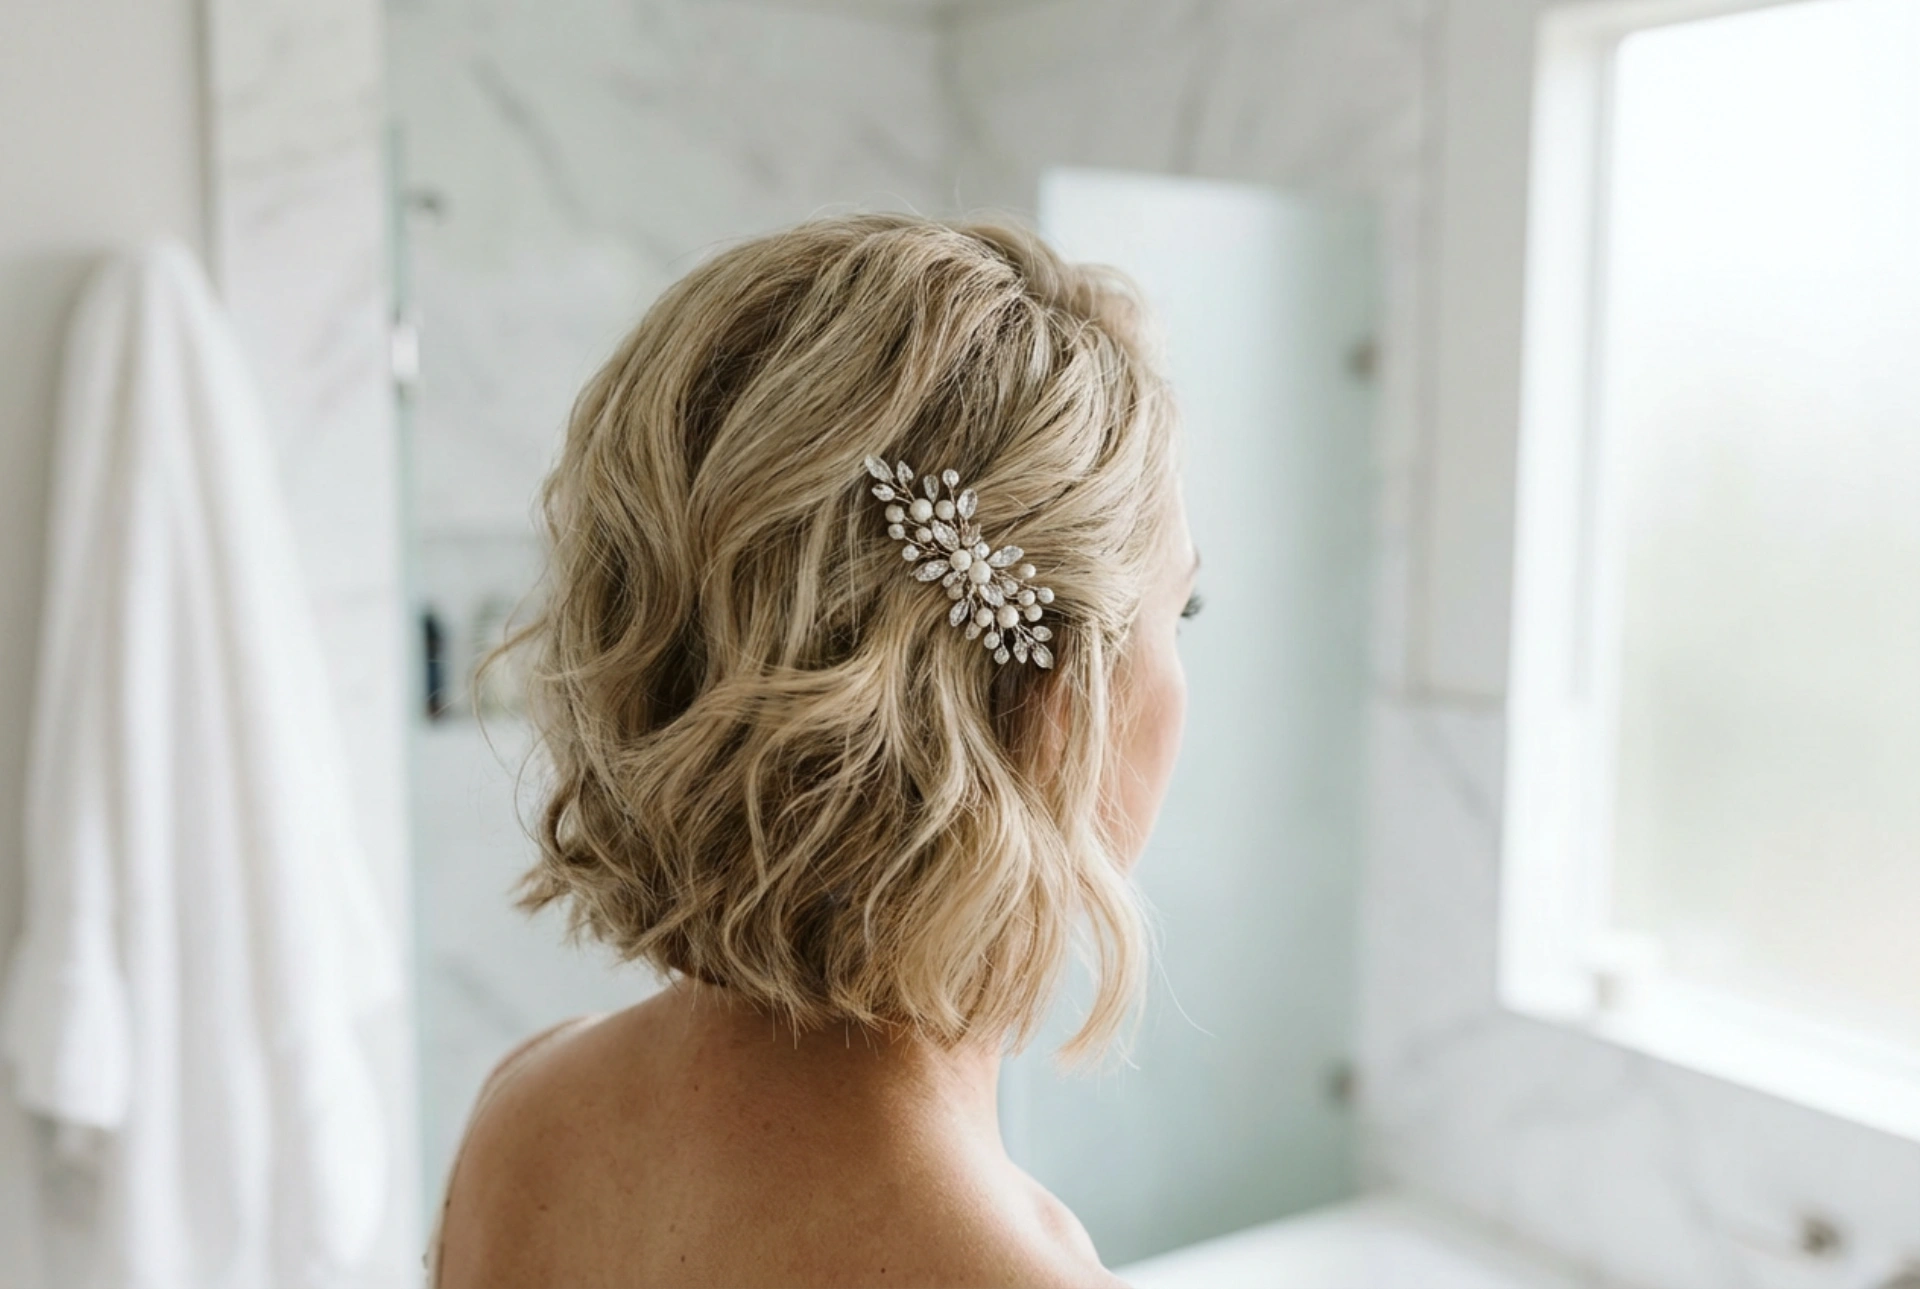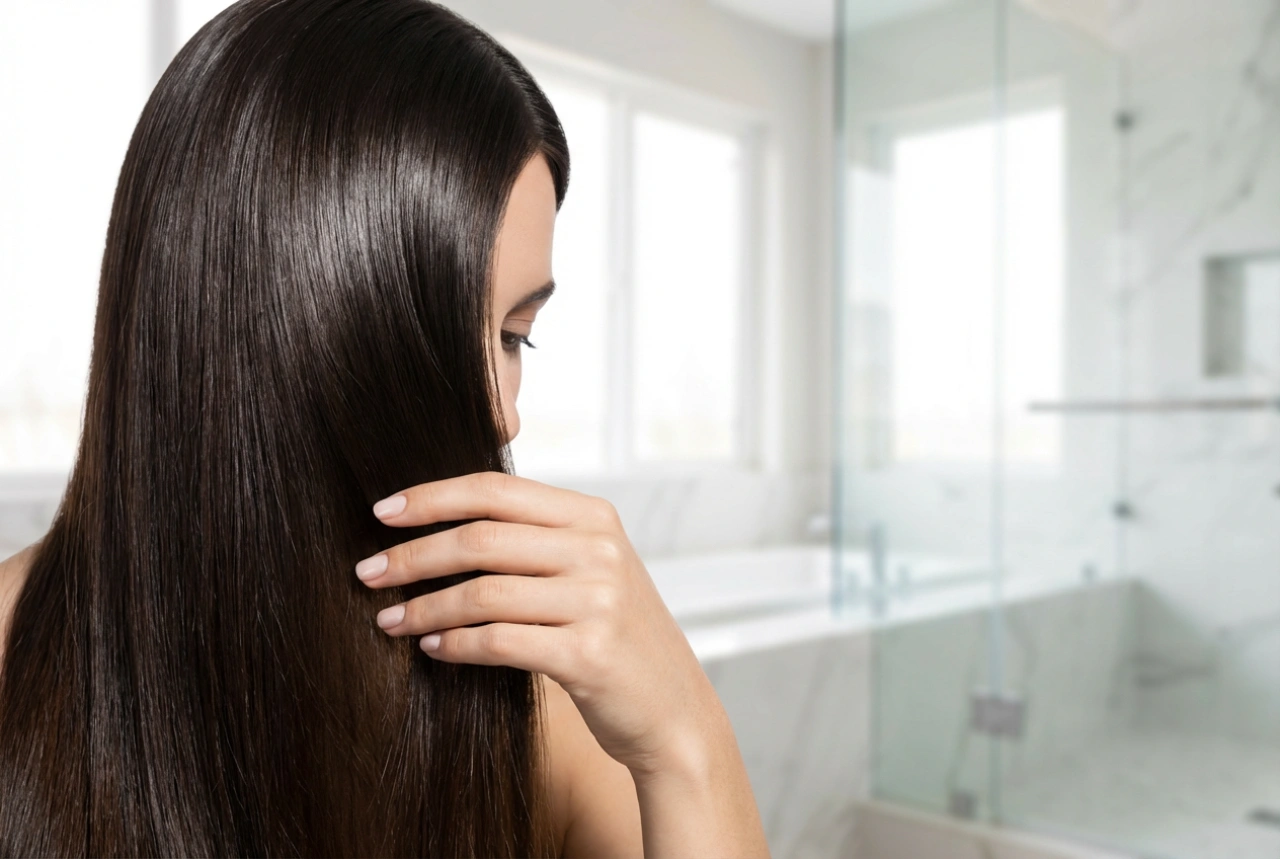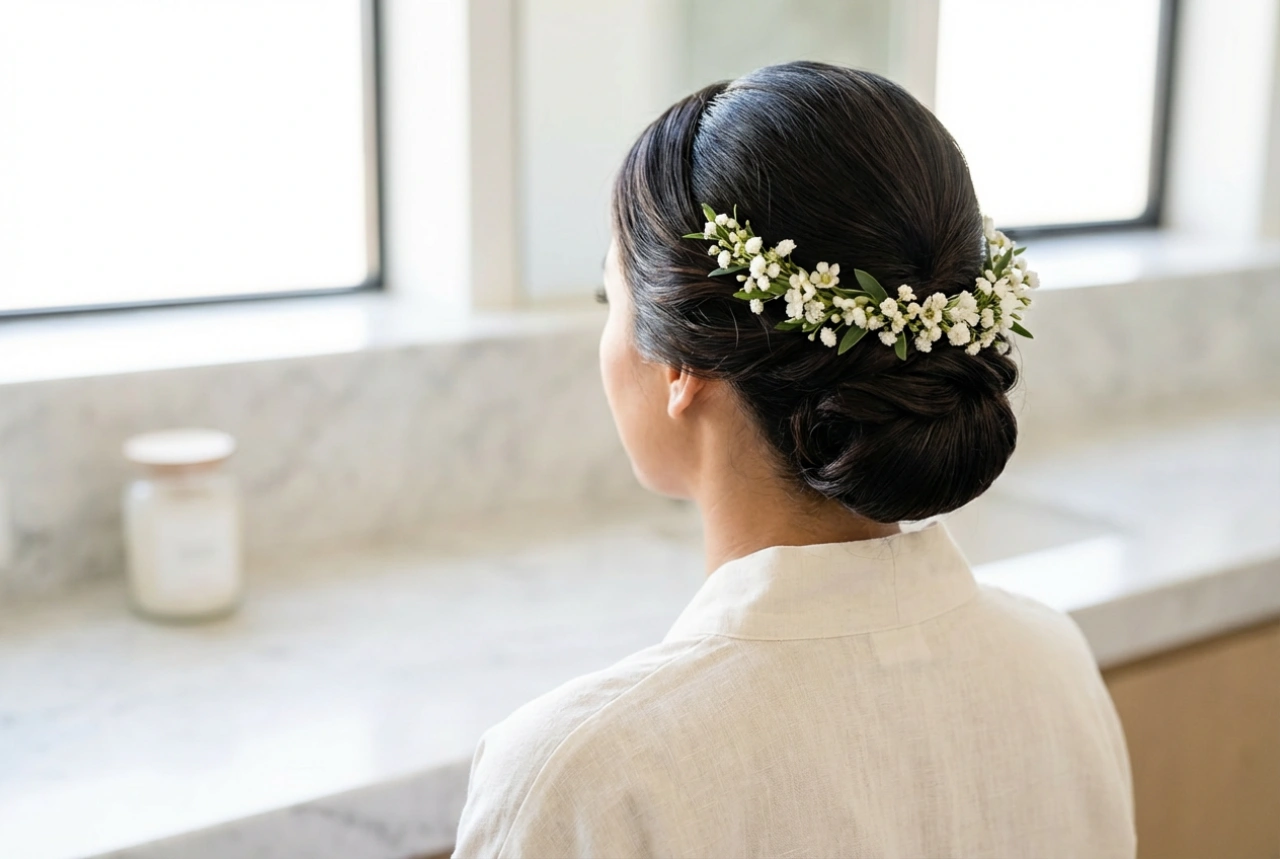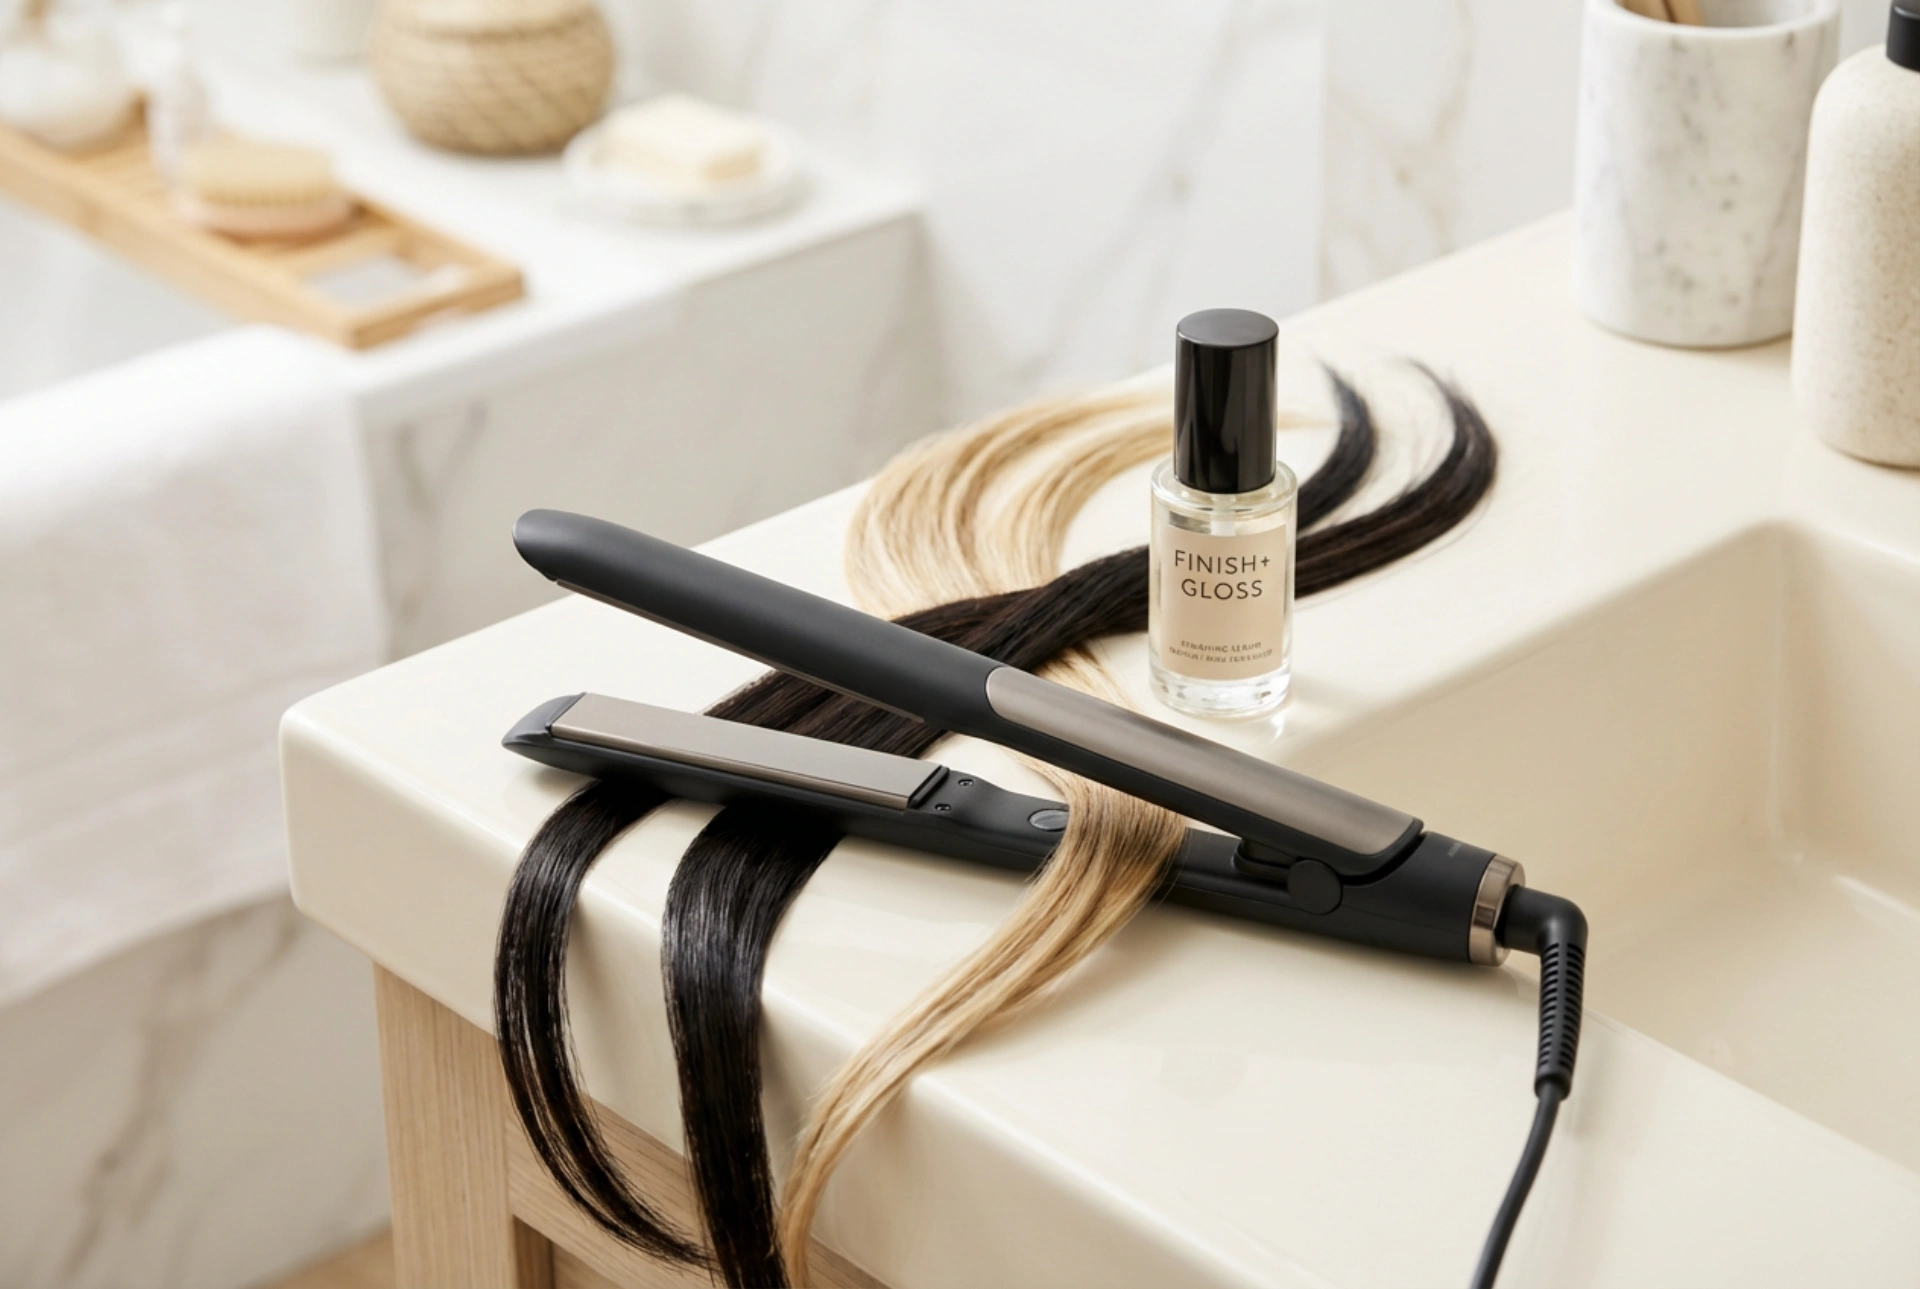


Achieving professional-looking hair styling at home has become significantly easier with the advent of versatile, multi-functional tools. A sleek 2-in-1 straightener-curler offers the ultimate flexibility, allowing you to transition effortlessly from silky, smooth strands to bouncy, voluminous curls. By understanding how to utilise this innovative tool correctly, you can protect your hair from excessive heat damage while enjoying a refined, polished finish that lasts all day.
The Dual-Purpose Design: How the 2-in-1 Tool Works
To make the most of a straightener-curler, it helps to understand its unique construction. Unlike traditional flat irons, these hybrid devices feature heated plates on the inside for straightening, combined with a rounded, often heated outer casing. This curved exterior mimics the barrel of a classic curling wand, making it simple to wrap hair around the tool to create smooth waves or tight ringlets. The integration of these two functions in a single, minimalist device reduces vanity clutter and makes it an ideal companion for travel and everyday styling.
Selecting the Optimal Temperature Setting
One of the most critical aspects of using any heat styling tool is temperature control. Modern styling devices come with adjustable heat settings, which should be chosen carefully based on your hair texture:
- Fine or damaged hair: Keep the temperature below 150°C to 170°C to prevent moisture loss and split ends.
- Normal or medium-textured hair: A range of 170°C to 190°C is generally safe and highly effective for holding a style.
- Thick or coarse hair: You may require temperatures between 190°C and 210°C to ensure the heat penetrates the hair shaft evenly.
Always start at a lower setting to test how your hair responds before increasing the heat.
Mastering the Techniques: From Sleek to Curled
Using a single tool for multiple styles requires a bit of practice. Here are the core methods for achieving both looks with ease:
Creating Sleek, Straight Strands
To achieve a smooth, lustrous finish, section your dry hair into manageable portions. Place a section near the roots between the plates, close the tool gently, and glide it smoothly down to the ends in one continuous motion. Avoid holding the plates in one spot for too long to prevent heat damage.
Forming Perfect Curls and Waves
To curl your hair, clamp a section near the roots, then rotate the tool 180 to 360 degrees, wrapping the hair around the rounded outer barrel. Slowly glide the device downwards while maintaining the twist. For looser, beachy waves, use larger sections of hair and glide the tool more quickly. For tighter curls, use smaller sections and slow down the gliding motion.
Essential Steps for a Refined, Polished Finish
The secret to a long-lasting style lies in the preparation and the finishing touches. Incorporating these simple steps into your routine will elevate your look:
- Thermal protection: Always apply a lightweight heat protection spray or cream to damp hair before drying and styling.
- Cool down: Allow your curls to cool completely in your hand or on your shoulder before touching them. Brushing out hot hair will quickly ruin the shape.
- Finishing products: Once the hair has cooled, apply a tiny drop of nourishing hair oil or shine serum to the palms of your hands and gently run your fingers through your hair to tame flyaways and enhance shine.
By combining the right techniques with protective care, you can enjoy a versatile range of beautiful styles without compromising the health of your hair.