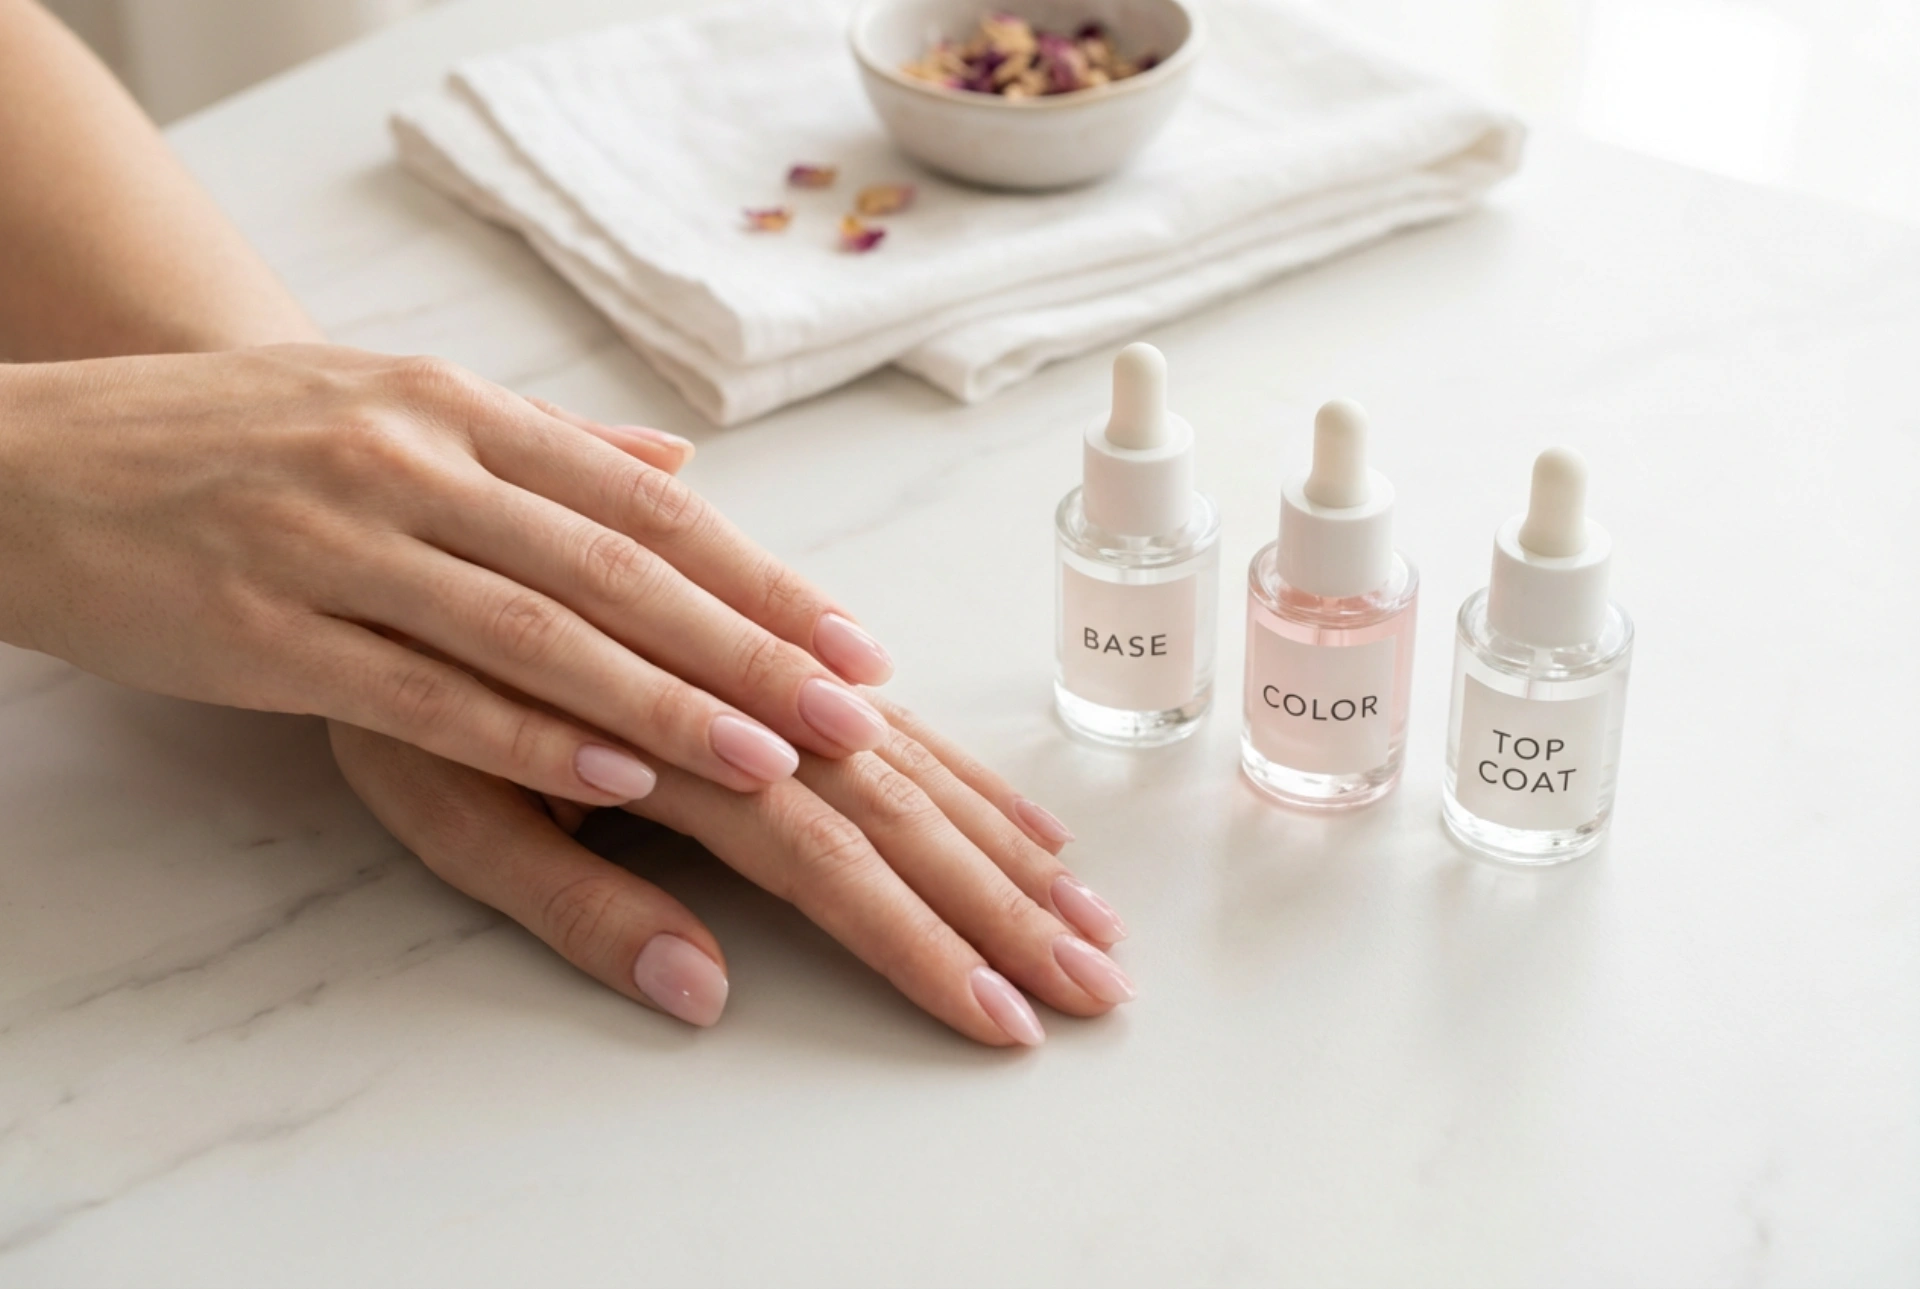


Elegant, well-groomed hands with a flawless, glossy manicure in a soft, timeless hue represent the pinnacle of modern personal grooming. The process of achieving this refined look at home is a relaxing beauty ritual that combines patience, precision, and the right technique. Looking at generic, minimalist bottles of base, colour, and top coat arranged on a clean, sunlit surface evokes the peaceful, methodical nature of self-care. Understanding the synergy between these three distinct layers is essential for creating a long-lasting, professional-looking finish. When done correctly, a classic gel manicure provides weeks of beautiful, chip-free wear, but avoiding minor errors during the application process is key to preserving the health and appearance of your natural nails.
The Importance of Proper Preparation
Before any polish touches the nail, the foundation must be perfectly prepped. Many manicure failures blamed on the products themselves are actually the result of incomplete nail preparation. Begin by gently shaping the free edge of your nails with a fine-grit file, moving in one direction to prevent splitting. Next, gently push back the cuticles using a wooden stick. The nail plate itself must be completely free of natural oils, dust, and moisture. Buffing the surface very lightly with a high-grit buffer removes shine and creates a microscopic texture for the base coat to grip onto. Finally, wiping each nail thoroughly with a lint-free pad soaked in a dehydrating prep solution ensures a pristine surface, ready for the next step.
The Essential Role of the Base Coat
The base coat is the foundational layer of any successful gel manicure. It acts as a protective barrier between the natural nail plate and the highly pigmented colour coat, preventing staining and securing optimal adhesion. Applying the base coat requires a very light hand. Dip the brush into the bottle and wipe off any excess product so that the brush is almost dry. Apply a very thin layer across the entire nail plate, leaving a tiny margin around the cuticles and side walls. This layer fills in tiny ridges on the nail surface, creating an incredibly smooth canvas. Once applied, cure the base coat under a suitable LED or UV lamp according to the manufacturer’s instructions. This curing process activates the bonding agents, establishing a secure anchor that prevents peeling and lifting over the subsequent weeks.
Mastering the Colour Application
Achieving a vibrant, streak-free hue requires patience and a steady hand. Instead of applying one thick coat, which often leads to uneven curing and unsightly bubbling, the gold standard is to apply two incredibly thin layers of gel colour. Follow these steps for an even application:
- First Layer: Gently place the brush in the centre of the nail, a millimetre away from the cuticle line. Push the brush slightly upwards towards the cuticle without touching the skin, then sweep down to the free edge. Paint the sides with clean, parallel strokes. Cure this layer fully.
- Second Layer: This layer deepens the opacity of the colour, corrects any slight streaks from the first pass, and ensures an even, rich depth of tone.
- Sealing the Free Edge: With both layers of colour, it is vital to sweep the brush lightly across the very tip of the nail. This capping technique seals the polish over the edge, drastically reducing the risk of premature chipping and tip wear.
The Final Shield: Choosing and Applying the Top Coat
The top coat is the ultimate guardian of your manicure, providing that signature high-gloss, glass-like shine or a sophisticated matte finish. Beyond its aesthetic contribution, the top coat seals all the underlying layers together, protecting the colour from daily wear and tear, household chores, and UV fading. Just like the previous steps, the top coat must be applied thinly and evenly, ensuring the entire coloured area and the free edge are completely capped. Once cured, many traditional top coats leave a sticky inhibition layer on the surface. Wiping this away with a lint-free wipe saturated with a gentle finishing cleanser instantly reveals a brilliant, smudge-proof finish that is completely dry to the touch.
Common Pitfalls and How to Avoid Them
Even with high-quality products, small errors in technique can compromise the longevity of your gel manicure. Recognizing these common mistakes is the first step toward achieving professional-standard results at home:
- Flooding the Cuticles: Letting gel pool in the cuticle area or lateral folds is a primary cause of lifting. If the gel cures onto the skin, it will inevitably pull away as the nail grows, letting moisture underneath. Always clean up any excess product with a clean brush or wooden stick before curing.
- Applying Layers Too Thickly: Thick layers do not cure properly in the centre, leaving a soft pocket of uncured gel beneath a hardened surface. This causes wrinkling, bubbling, and premature peeling. Always scrape excess polish off the brush before application.
- Neglecting the Free Edge: Failing to cap the tip of the nail allows water and air to seep between the layers, causing the gel to peel from the edge within days.
- Improper Removal: Peeling or scraping off gel polish tears away the top layers of the natural nail plate, leaving them thin, brittle, and damaged. Always soak the polish off gently using the correct method.
Caring for Your Nails Post-Manicure
While gel polish offers excellent protection and strength, maintaining the health of your hands and cuticles post-application is vital for overall nail wellness. Daily application of a nourishing cuticle oil keeps the surrounding skin soft, elastic, and free from painful hangnails. Additionally, wearing protective gloves during wet housework or gardening safeguards your glossy manicure from harsh domestic elements, keeping the finish pristine and the skin hydrated for longer.




