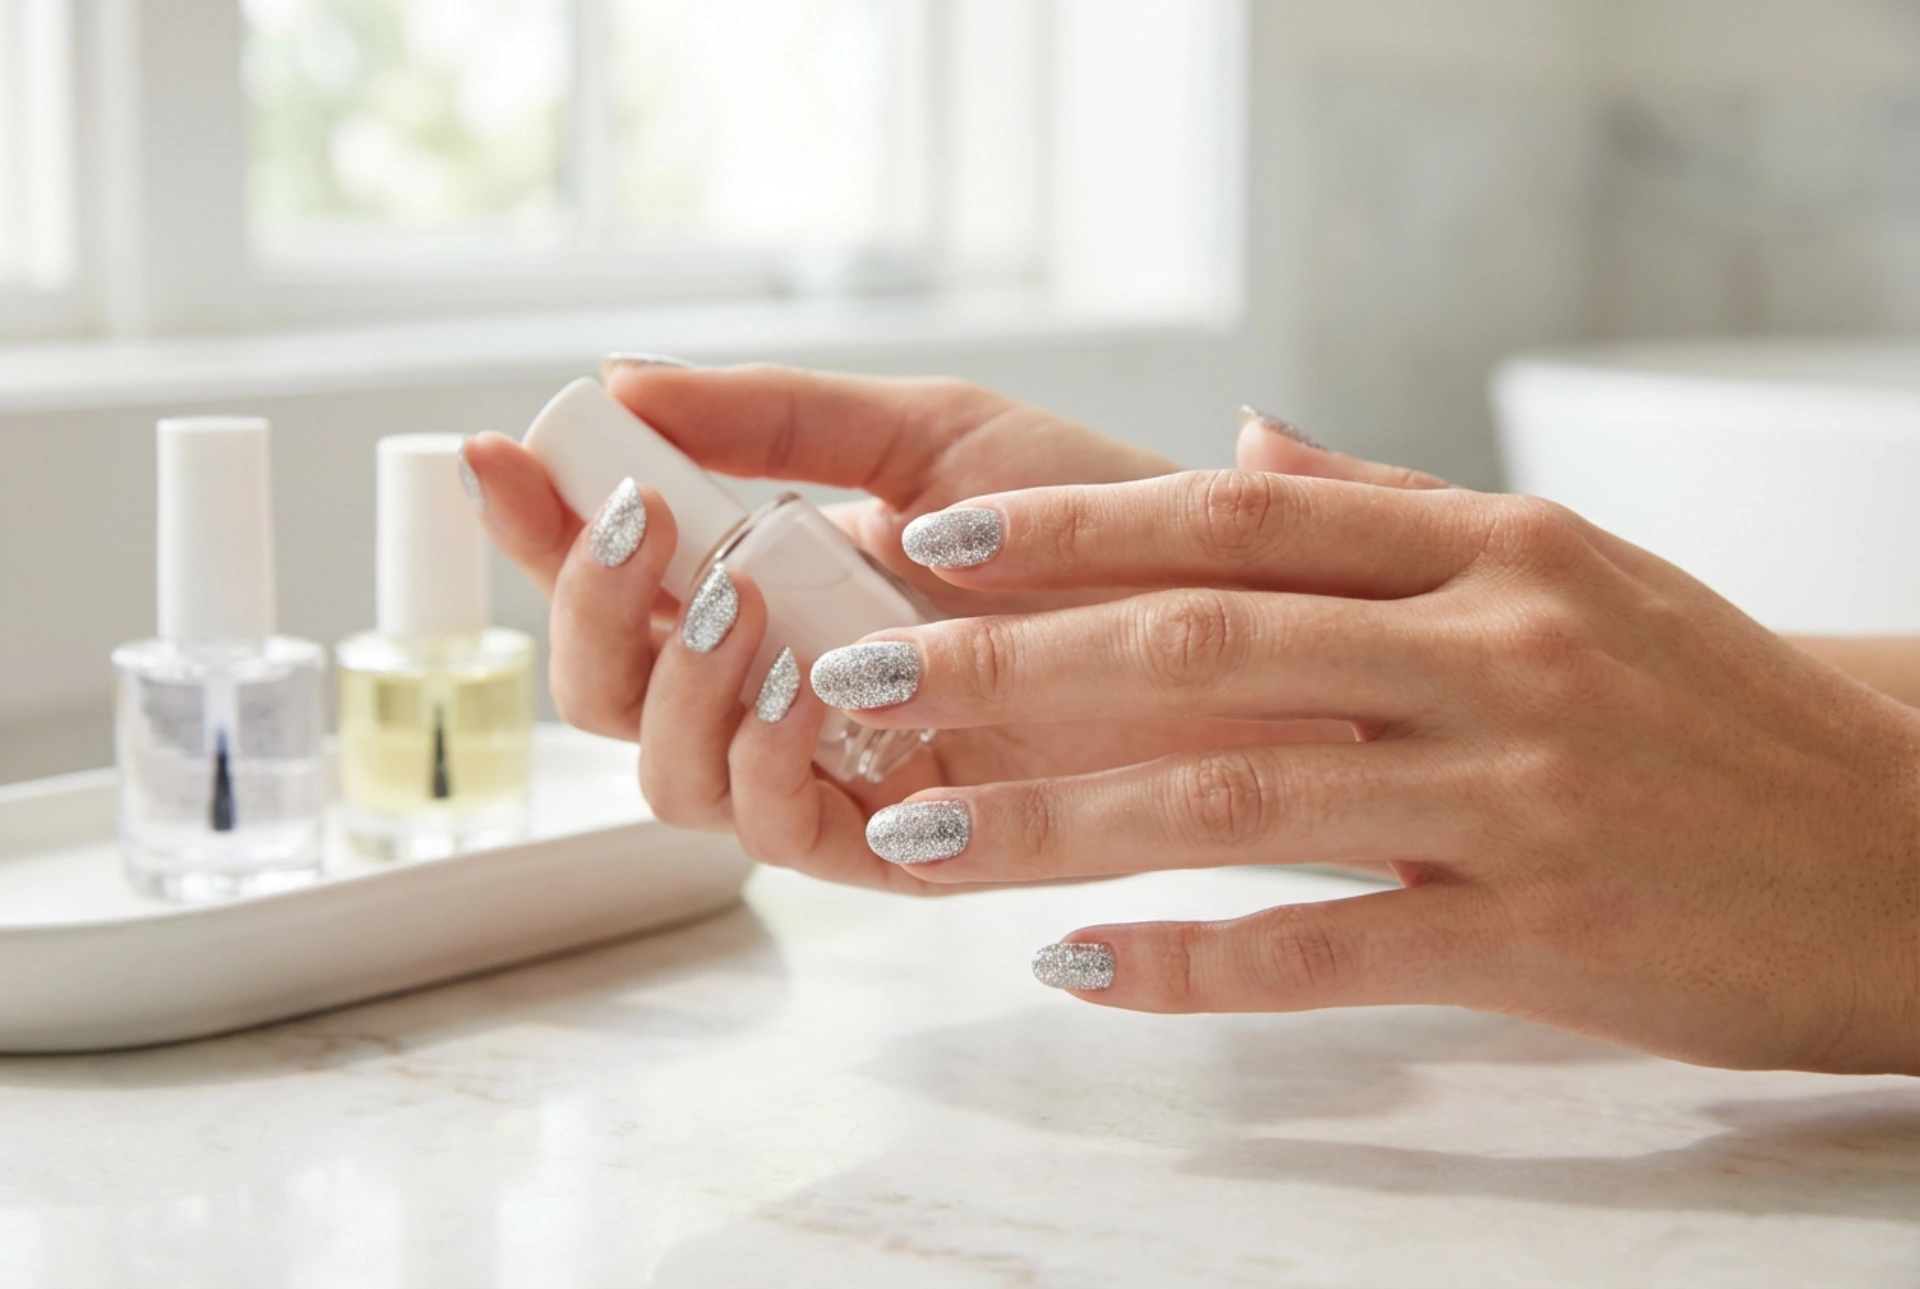


There is a timeless elegance in a sparkling silver manicure. When captured under soft, natural light, silver glitter nails offer a stunning play of reflections that can elevate any look from simple to sophisticated. However, achieving that perfect, salon-quality finish at home is not just about choosing a pretty bottle of polish. The secret to a flawless, glossy glitter manicure lies in mastering three essential elements: managing the density of the glitter particles, selecting a high-quality base coat, and sealing everything with the perfect top coat. When these elements harmonise, the result is a smooth, durable, and brilliant manicure that catches the light with every movement.
Understanding Glitter Particle Density
The density of the glitter particles in your polish determines the final aesthetic of your manicure. Silver glitter polishes generally fall into three categories: sparse shimmer, medium buildable glitter, and high-density full-coverage glitter. Sparse shimmer adds a delicate twinkle over a neutral background colour, while high-density options can completely cover the nail plate in a single coat.
To achieve a sophisticated look, it is often best to work in thin, controlled layers. If you are using a medium-density polish, applying two or three thin layers allows you to control the placement of the particles. This method ensures that the silver pieces do not clump together in some areas while leaving others bare. Sponging is another popular home technique for increasing density without adding too much bulk to the nail, allowing you to build an intense, metallic shine.
The Role of the Base Coat in Glitter Manicures
A flawless manicure always begins with proper preparation, and the base coat is the foundation of this process. When working with silver glitter, the base coat plays a dual role. Firstly, it creates a smooth, even surface on the natural nail plate, filling in any microscopic ridges so that the glitter lays flat rather than settling into uneven grooves.
Secondly, a high-quality base coat acts as a protective barrier. Glitter polishes can sometimes be stubborn to remove, and a reliable base coat prevents the particles from adhering too firmly to the keratin layers of the natural nail, making eventual removal much gentler. Depending on the desired final effect, you can choose a clear base coat for a pure metallic look, or a milky, neutral base to give the silver glitter a softer, more romantic backdrop.
Sealing the Sparkle: Achieving a Smooth Top Coat Finish
One of the biggest challenges with glitter nails is the textured, rough surface that glitter particles can leave behind. This is where the top coat becomes indispensable. Without a proper sealing layer, the manicure will lack that glassy, professional lustre and may snag on delicate fabrics.
To achieve a perfectly smooth, touchable finish, you should look for a top coat with a slightly thicker consistency, often referred to as a plumping or gel-like top coat. This type of formula sits over the uneven glitter particles, filling the gaps between them to create a level surface. For particularly dense glitter, a double layer of top coat may be necessary. Apply the first layer, allow it to settle and dry slightly, and then apply a second thin layer to lock in the brilliant silver shine and protect the manicure from chipping.
Step-by-Step Guide for Home Application
Creating a professional-looking silver glitter manicure at home requires patience and a structured approach. Follow these simple steps for a long-lasting, glossy finish:
- Prepare the nails by gently shaping the edges and pushing back the cuticles. Wipe the nail plates with a dehydrator or a simple alcohol solution to remove any natural oils.
- Apply a thin, even layer of your chosen base coat and allow it to dry completely. This step is essential for longevity.
- Apply your silver glitter polish. If you want a subtle sparkle, one thin coat is sufficient. For a denser metallic finish, apply two thin coats, ensuring you allow adequate drying time between each layer.
- Inspect the nail surface. If some areas have uneven glitter distribution, use a clean toothpick or a fine brush to gently nudge individual particles into place while the polish is still wet.
- Finish with a generous layer of a high-shine top coat, making sure to seal the free edge of the nail to prevent premature lifting.
By focusing on these structural layers, you can enjoy a dazzling silver manicure that combines modern sophistication with impressive durability.




