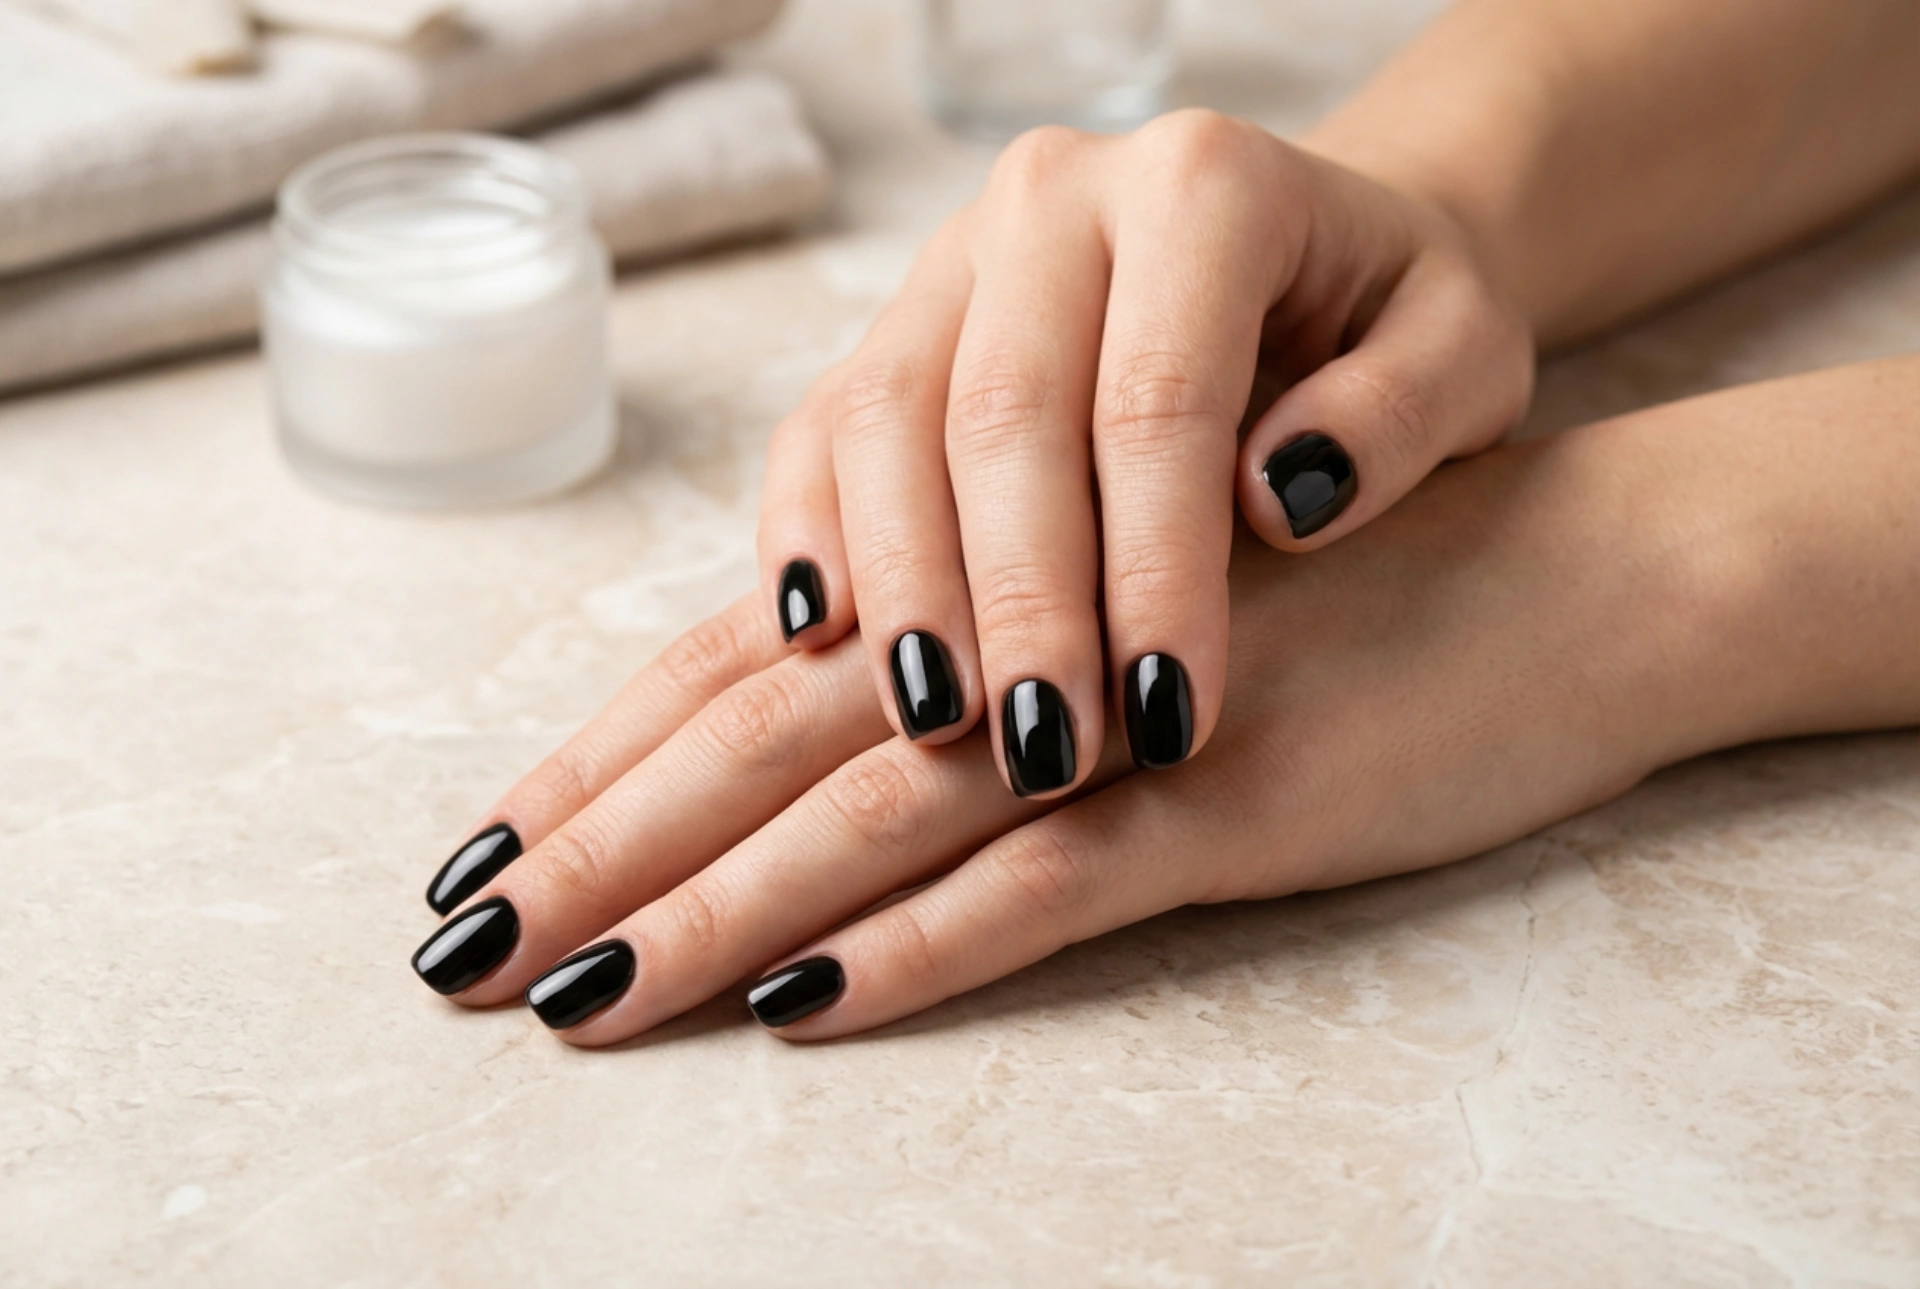


An elegant, high-gloss black manicure is the epitome of modern sophistication. When perfectly applied, dark gel nails present a sleek, minimalist aesthetic that complements any style, reflecting soft natural light with a glass-like finish. However, black is also one of the most demanding colours to work with. Every minor imperfection, from tiny dust particles trapped under the top coat to uneven streaks caused by improper brush pressure, becomes highly visible on a dark canvas. Achieving a flawless, salon-quality result at home requires meticulous preparation, the right technique, and a systematic approach.
The Importance of Workspace Preparation
The secret to a pristine gel manicure lies long before the first coat of colour touches the nail plate. Dust is the ultimate enemy of a glossy black finish. Microscopic particles from filing or environmental dust can easily settle on the tacky layer of the gel, creating unwanted bumps. To prevent this, thorough preparation of both the nails and the workspace is essential.
Creating a Dust-Free Environment
Before opening any bottles, ensure your manicure station is completely clean. Wipe down the table with a damp cloth to trap loose particles, and wash your hands thoroughly. It is highly recommended to perform all filing, shaping, and cuticle work in a separate step, followed by a complete cleanup of the area before moving on to the wet application phase. Using a dust collector or vacuum can also significantly reduce airborne particles during the preparation stage.
Dehydrating and Cleansing the Nail Plate
Once the nails are shaped and the cuticles are gently pushed back, cleansing is vital. Use only high-quality, lint-free wipes saturated with a professional nail prep solution or isopropyl alcohol. Standard cotton wool pads should be avoided at all costs, as they shed microfibres that are nearly impossible to remove from wet gel polish. Wipe the nail thoroughly, paying special attention to the lateral walls and the cuticle area where dust tends to accumulate.
Mastering the Art of Streak-Free Application
Black gel polish is highly pigmented, which means it requires a specific application technique to ensure even coverage without bulkiness or streaking. Applying too much product at once is the most common mistake, leading to wrinkling under the lamp and an uneven surface.
- Apply Ultra-Thin Layers: It is always better to apply three extremely thin layers than two thick ones. Wipe the brush against the neck of the bottle until it holds very little product. The first layer may look slightly sheer or patchy, which is completely normal for dark shades.
- Perfect the Brush Angle: Hold the brush almost parallel to the nail plate rather than vertically. This allows the bristles to glide smoothly over the surface, distributing the pigment evenly without scraping off the layer underneath.
- The Three-Stroke Method: Start in the middle of the nail, a fraction of a millimetre away from the cuticle, and sweep down to the free edge. Then, gently stroke down each side. This systematically covers the nail and minimises the risk of streaks.
The Curing Process: Ensuring Proper Polymerisation
Because black pigment absorbs light, it can block the rays of the curing lamp from reaching the deeper layers of the gel polish. If the layer is too thick or the curing time is insufficient, the gel may remain wet underneath, leading to lifting, bubbling, or wrinkling. To avoid this, always use a reliable lamp and adhere strictly to the recommended curing times for highly pigmented shades. Do not remove your hands from the lamp prematurely, and ensure your fingers are positioned flat to allow even light distribution.
Achieving the Ultimate High-Gloss Finish
The final step is what gives black hybrid nails their mesmerising, mirror-like depth. A premium top coat acts as a protective shield, locking in the colour and preventing scratches while providing that coveted glassy shine. When applying the top coat, use a floating technique, allowing the brush to glide on a bead of product without pressing down on the nail. Remember to cap the free edge of the nail with both the colour and the top coat to seal the manicure and prevent chipping. If using a wipe top coat, wait a minute after curing before cleansing to let the surface cool down, ensuring the ultimate glossy outcome.
Maintaining Your Pristine Black Manicure
Once your flawless application is complete, maintaining the sleek aesthetic requires simple daily habits. Dark glossy finishes show scratches and loss of shine more easily than lighter pastel shades. Regular hydration is key to keeping the surrounding skin soft and the manicure looking fresh.
- Use Cuticle Oil Daily: Apply a nourishing oil to the cuticles and side walls twice a day. This keeps the skin hydrated and prevents dry patches that can detract from the elegant look of your hands.
- Protect Your Hands: Wear protective gloves when performing household chores, washing dishes, or working with cleaning agents. Chemical exposure can dull the high-gloss top coat and cause premature chipping.
- Avoid Direct Heat Immediately After Curing: Try to avoid extremely hot baths or saunas for the first twenty-four hours after application to allow the gel structure to completely stabilise.




