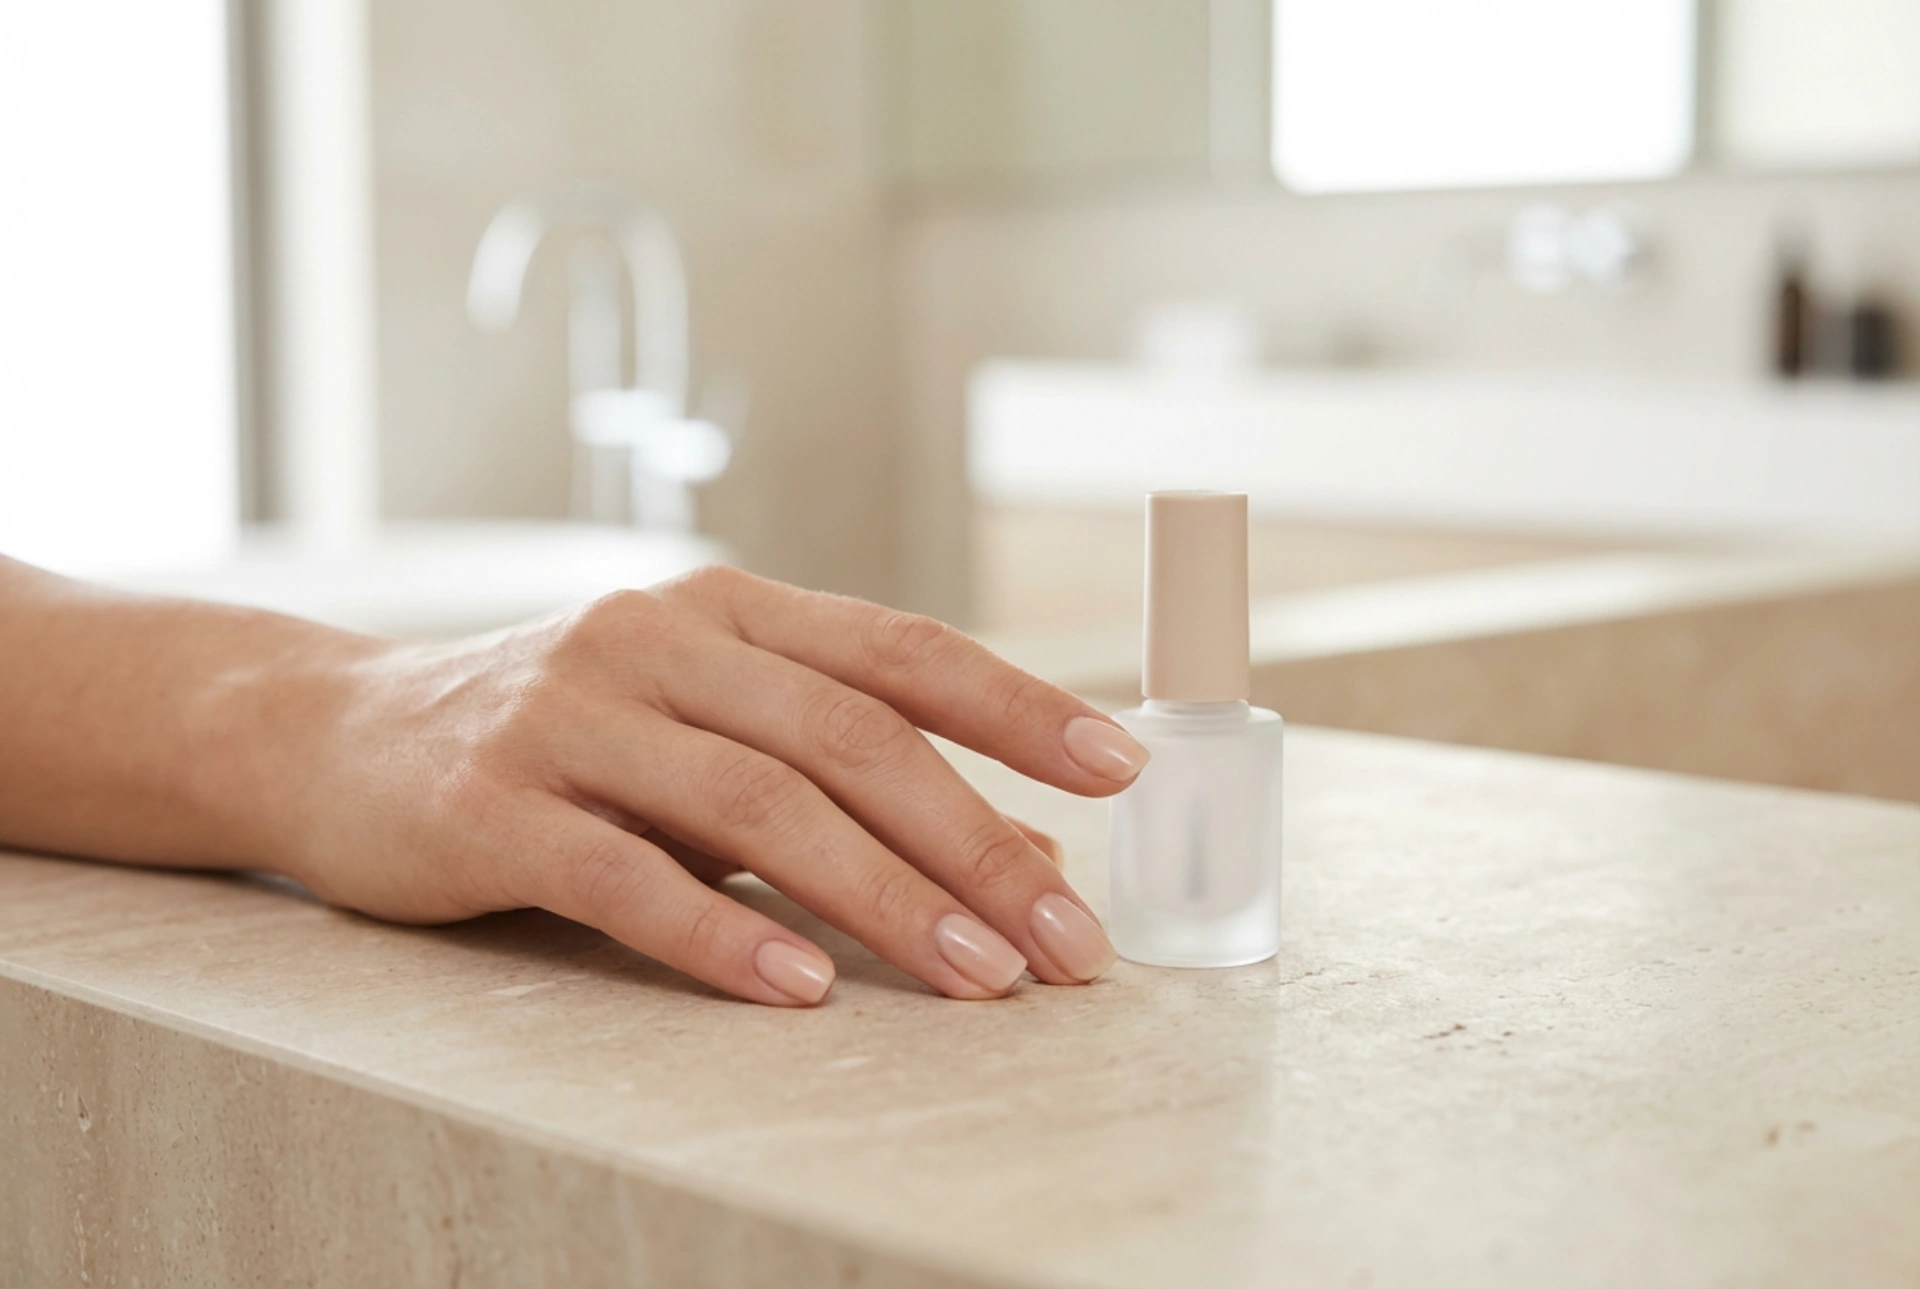


Natural beauty and understated elegance have become the hallmarks of modern aesthetic refinement. A perfectly executed nude manicure is the epitome of this clean, sophisticated style, offering a subtle beauty that effortlessly complements any outfit, occasion, or setting. The allure of nude nails lies in their ability to make the hands look elongated, neat, and naturally radiant. However, finding the absolute perfect nude shade can sometimes feel like an art form. It requires a basic understanding of your skin's undertones and a dedicated approach to preparation and application. By learning how to match neutral tones to your natural complexion, you can elevate your hands' natural beauty and enjoy a timeless, polished look that never goes out of fashion.
Decoding Your Skin's Undertones
Before browsing through countless neutral shades, the first step to a successful nude manicure is identifying your skin's natural undertones. Selecting the wrong hue can leave your hands looking slightly washed out or overly yellow. Generally, undertones fall into three main categories: cool, warm, and neutral. To determine your undertone, take a close look at the veins on your wrist under natural, diffused daylight. If they appear mostly blue or purple, you likely have cool undertones. If they lean towards green or olive, your skin is warm-toned. If you struggle to tell the difference or see a mix of both, you probably have a neutral undertone. Another reliable test is how your skin responds to different jewellery: cool tones often look best in silver, while warm tones are beautifully complemented by gold. Knowing this distinction is the key to choosing a nude polish that blends seamlessly with your skin instead of clashing with it.
Choosing the Most Flattering Nude Shade for Your Complexion
Once you have established your undertone, matching the right shade of nude becomes a straightforward and enjoyable process. The goal is to find a colour that enhances your hands rather than matching your skin colour exactly, which can sometimes create an undesirable, washed-out look.
- Fair Skin: For those with pale or fair skin, soft pinks, sheer blushes, and cool-toned nudes work exceptionally well. These shades prevent the hands from looking pale or drained. Avoid yellow-based nudes, as they can sometimes look unnatural on cooler, fair skin.
- Medium and Olive Skin: Medium skin tones are incredibly versatile. Warm beige, caramel, and soft sand shades are highly flattering. If you have olive undertones, look for nudes with subtle peach or warm undertones to bring out the natural warmth in your skin.
- Deep and Dark Skin: Deep skin tones look stunning with rich, chocolate browns, warm chestnuts, and coffee shades. A warm espresso or a slightly mauve-toned nude can create a beautiful, high-contrast look that highlights the natural elegance of the hands. Sheer, glossy finishes can also add a modern touch to deeper skin tones.
Step-by-Step Guide to a Flawless Home Nude Manicure
Achieving a professional-grade nude manicure at home is entirely possible with the right preparation and a patient application technique. Because nude polishes are subtle, they tend to highlight any unevenness on the nail surface, making preparation incredibly important. Follow these steps for a clean, long-lasting finish:
- Prep and Shape: Start by filing your nails into a shape that flatters your fingers. Rounded or soft square shapes work beautifully with nude colours, creating an elongated effect. Gently push back your cuticles with a wooden stick to clear the nail bed.
- Smooth the Surface: Use a gentle buffer to smooth out any ridges on the nail plate. A smooth surface ensures that the light reflects evenly off your polish, highlighting its natural shine.
- Apply a Base Coat: Never skip the base coat. It protects your natural nails from staining and creates a smooth, adhesive layer for the polish to cling to, preventing premature chipping.
- Apply Thin Layers: When applying your chosen nude shade, patience is key. Apply two or three very thin layers rather than one thick layer. Thin coats dry faster and are much less likely to bubble or smudge. Allow each layer to dry completely before applying the next.
- Seal with a Top Coat: Finish with a clear top coat to seal in the colour and add a sophisticated, glossy shine. This step protects the manicure from daily wear and tear.
Simple Routine for Maintaining Your Nude Nails
A nude manicure is incredibly forgiving when it comes to minor chips, but keeping your hands moisturised is essential to maintaining that fresh, refined look. Integrate a nourishing hand cream and a dedicated cuticle oil into your daily beauty routine. Applying oil to your cuticles each evening not only keeps the skin around your nails looking soft and healthy but also prevents the polish from peeling at the edges. When cleaning or doing household chores, consider wearing protective gloves to shield your hands and nails from harsh detergents. With minimal daily care, your elegant nude manicure can remain pristine, clean, and beautifully radiant for days.




