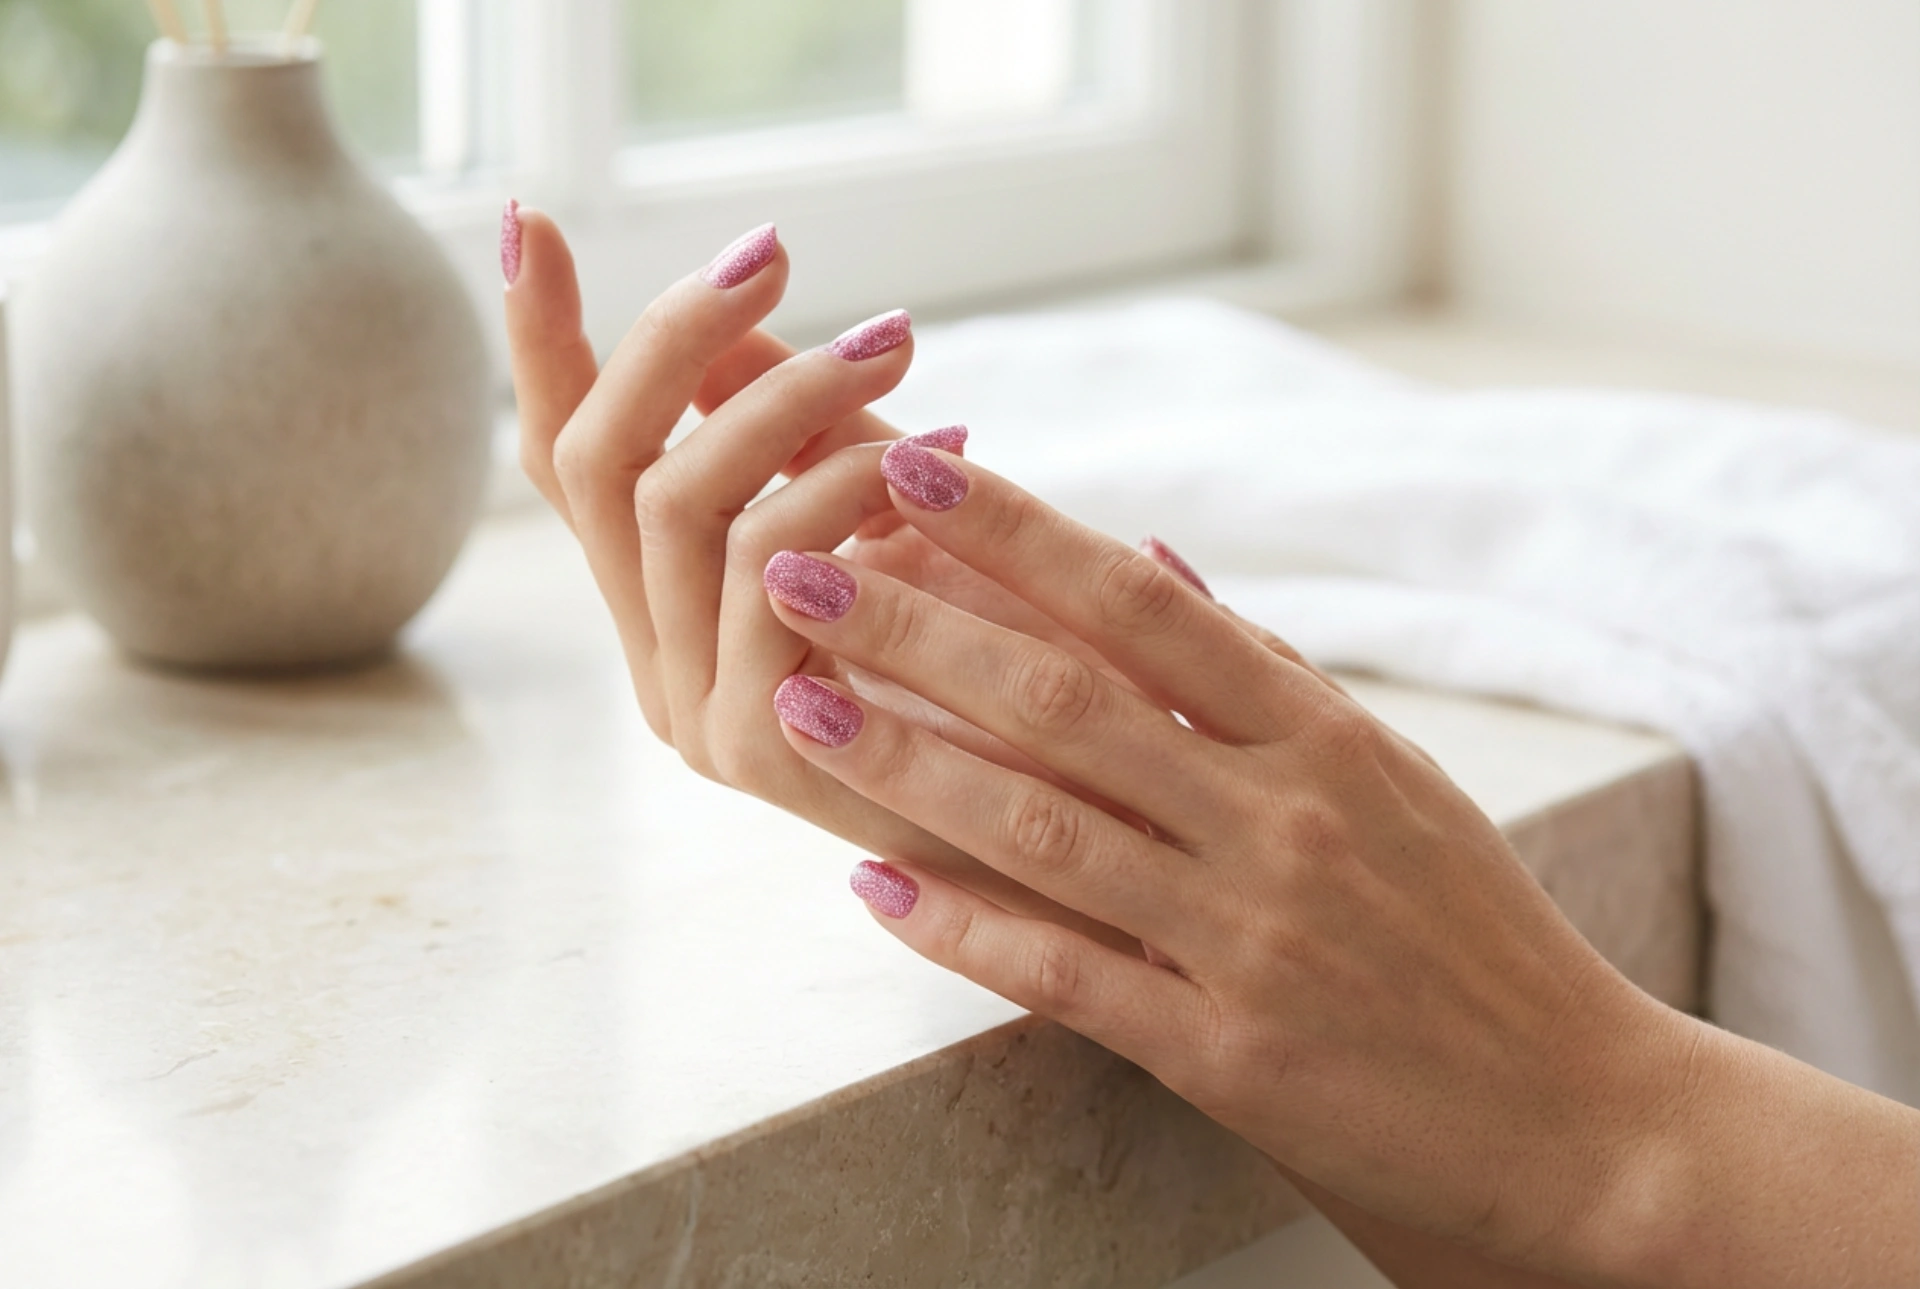


Elegant hands adorned with a perfectly manicured set of pink glitter nails present a timeless, sophisticated aesthetic. The way the light catches the fine reflective particles creates a subtle yet captivating sheen that complements any look, from everyday minimalist styles to more formal occasions. Achieving a uniform distribution of glitter and ensuring that the sparkling finish remains smooth and enduring requires a careful approach to preparation, application, and daily nail care.
Preparing the Canvas for a Flawless Polish
The foundation of any enduring manicure lies in thorough preparation. Before introducing any colour or sparkle, the surface of the nail plate must be completely clean, smooth, and free of natural oils. Start by gently shaping the nails with a fine-grit file, moving in one direction to prevent splitting. Neat, well-groomed cuticles frame the nail beautifully, allowing the pink glitter polish to sit perfectly at the base. Gently push back the cuticles with a wooden stick rather than cutting them to maintain a natural barrier against debris.
Once the shape is perfected, lightly buffing the nail surface helps remove any ridges, creating a uniform canvas. It is crucial to cleanse the nails with a lint-free wipe soaked in a gentle dehydrator or rubbing alcohol. Following this, the application of a high-quality base coat is essential. The base coat acts as an adhesive layer, protecting the natural nail from staining while giving the glitter polish a smooth surface to cling to, which significantly extends the wear time of the manicure.
Techniques for Achieving Even Glitter Distribution
One of the main challenges of working with glitter polish is avoiding a patchy or clumpy appearance. To achieve a dazzling, uniform coat that reflects natural light beautifully, the application technique is key.
- Build layers gradually: When using a standard glitter polish, avoid applying overly thick layers. Instead, build the intensity gradually. Wipe the brush on the neck of the bottle to ensure you have just enough product to cover the nail in a thin, even layer. Apply the polish in three strokes: one down the centre, and one on each side.
- The sponge method: For an ultra-concentrated, dense glitter effect, a makeup sponge can be an incredibly useful tool. Apply a small amount of the glitter polish onto the corner of a clean, latex-free wedge sponge. The sponge absorbs the excess liquid base, leaving a highly concentrated layer of glitter on its surface.
- Dabbing technique: Gently dab the sponge onto the prepared nail until the desired density is achieved. This method ensures a textured, rich sparkle that lies flat on the nail surface without the bulkiness of multiple wet paint layers.
Sealing the Shine with a Durable Top Coat
Glitter particles can leave a textured, slightly rough surface once the polish dries. To achieve that coveted glass-like, reflective finish, securing the manicure with a proper top coat is non-negotiable.
A thick, smoothing top coat is ideal for glitter manicures. It fills in the gaps between the individual glitter pieces, creating a completely flat, lustrous surface that enhances the reflective properties of the pink shimmer. If the glitter feels particularly textured, you may need to apply two thin coats of top coat, allowing the first layer to dry completely before applying the second. Always remember to seal the free edge of the nail. This involves running the top coat brush lightly along the very tip of the nail. Sealing the edges prevents moisture from lifting the polish, which is the primary cause of premature chipping.
Daily Care to Extend Your Manicure's Longevity
Maintaining the pristine appearance of a pink glitter manicure involves simple, daily protective habits. Although a well-sealed manicure is resilient, continuous exposure to water and household cleaning products can weaken the bond between the polish and the nail.
Wear protective gloves when performing household chores, such as washing dishes or gardening. This simple step keeps the nails dry and shields the polish from abrasive surfaces. Furthermore, hydration is vital for both the nail plate and the surrounding skin. Apply a nourishing cuticle oil every evening to keep the nail bed flexible and prevent the edges from lifting. Moisturized nails are less brittle, meaning your sparkling manicure is much less likely to chip or crack under daily pressure.
Safe and Gentle Glitter Removal
While glitter manicures are beloved for their longevity, the removal process can sometimes be challenging due to the stubborn nature of the glitter particles. Forceful scraping or scrubbing can damage the natural nail plate, so a gentle, patient approach is required.
The soak-off method is the safest way to remove glitter polish. Soak small pieces of cotton wool in a gentle remover and place them over each nail. Wrap each fingertip in a small piece of aluminium foil to keep the cotton pad in place and prevent the remover from evaporating. Leave the foil wraps on for about five to ten minutes. This allows the solvent to break down the polish and the base coat completely. When you slide the foil wraps off, the glitter should slide away easily without the need for harsh scraping. Wash your hands thoroughly afterwards and apply a generous amount of hand cream and cuticle oil to restore moisture.




