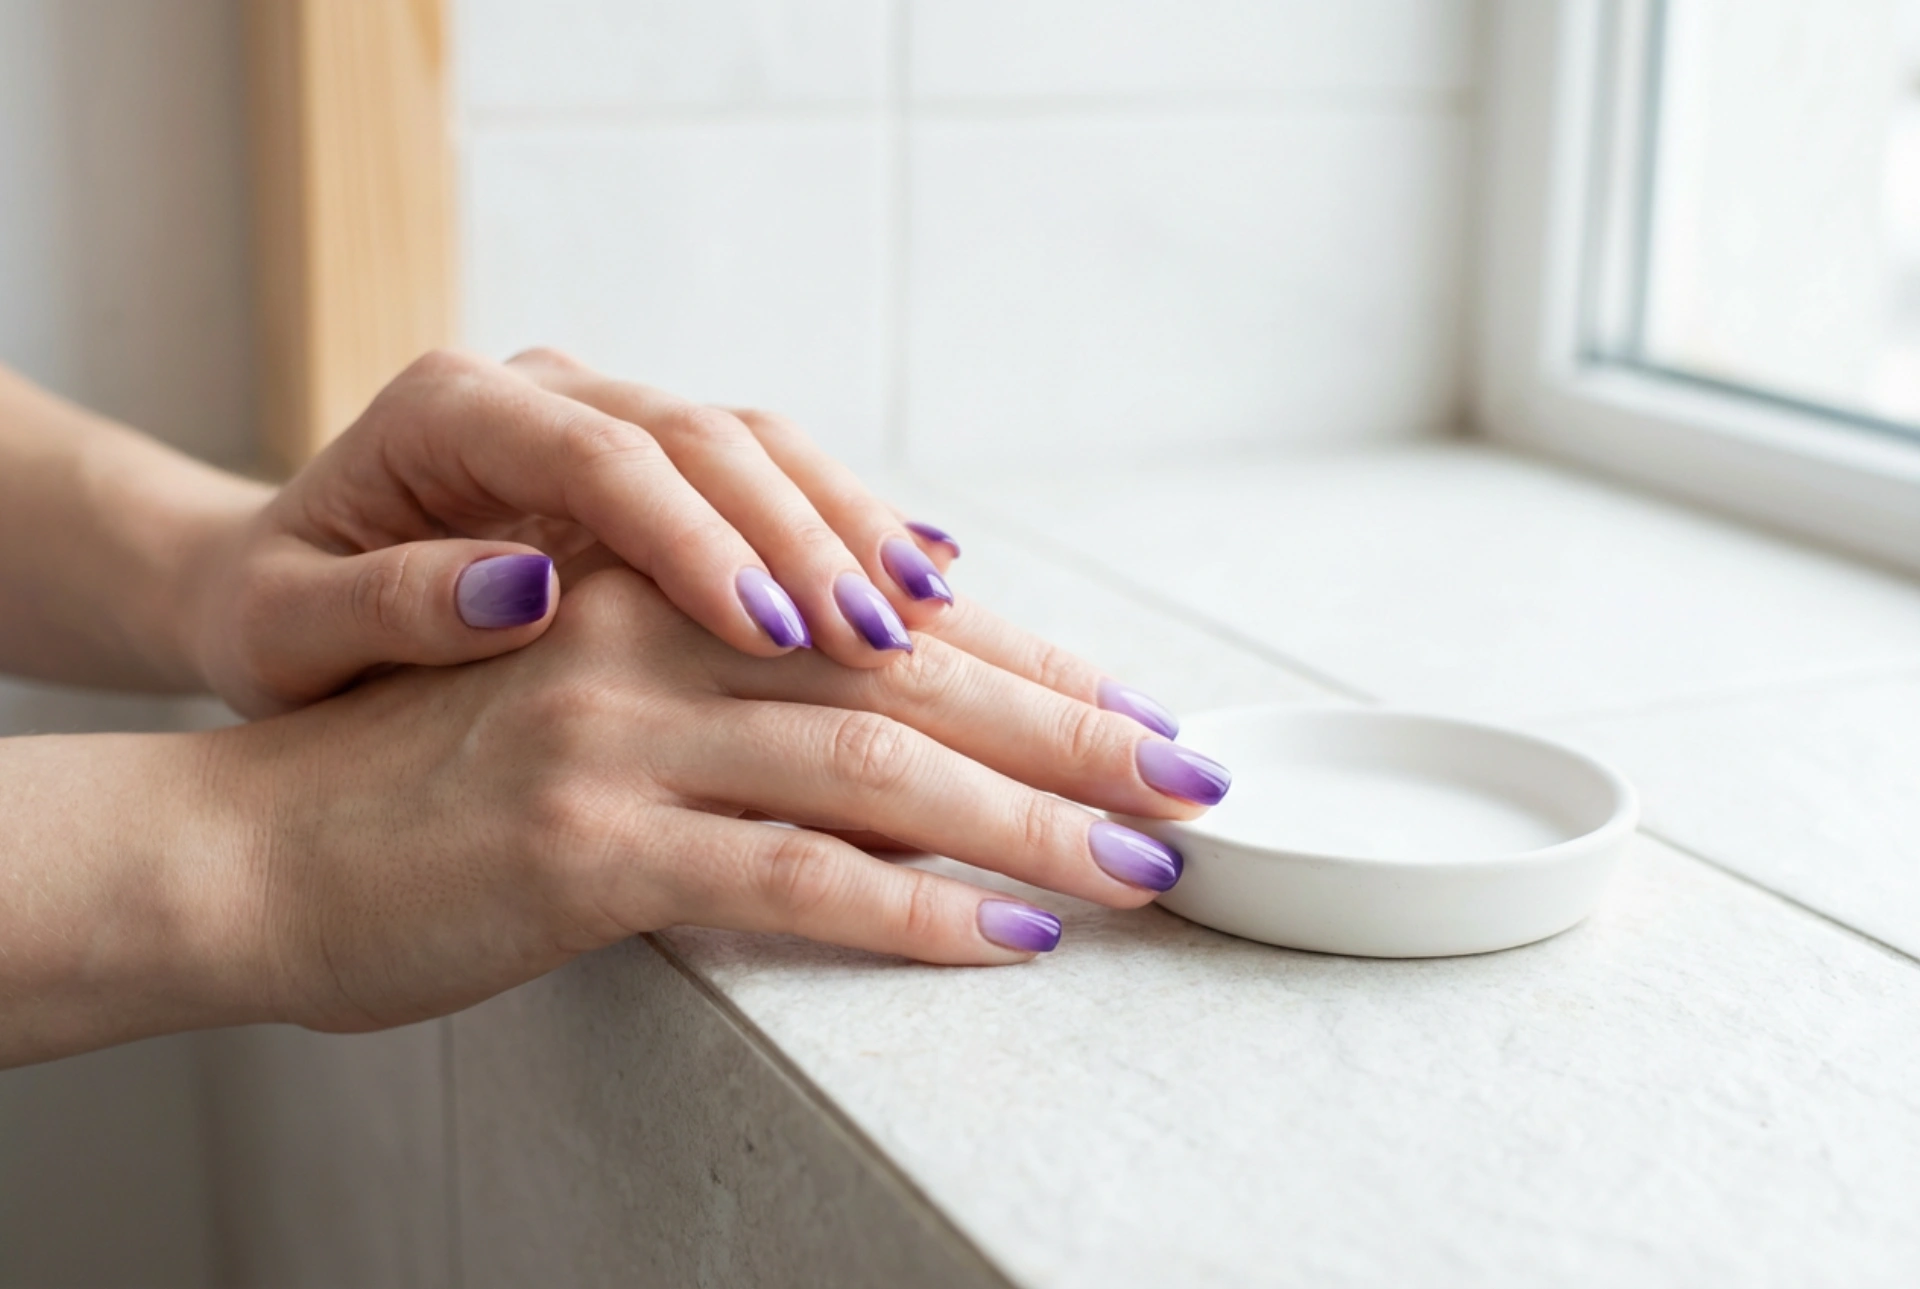


Capturing the elegance of a beautifully executed manicure can instantly elevate one's personal style. Elegant hands displaying beautifully manicured nails, featuring a soft gradient transition from a delicate light lavender to a rich, deep violet, look exceptionally striking under soft, diffused natural light. The purple ombre effect is not only timeless but also highly versatile, offering a sophisticated blend that suits both casual and formal occasions. Achieving this artistic colour blend at home does not require professional salon equipment; rather, it relies on patience, the right technique, and an eye for colour harmony.
Understanding the Purple Ombre Aesthetic
The purple colour spectrum is incredibly rich, ranging from cool-toned lilacs and soft lavenders to warm plums, deep violets, and dramatic eggplants. When these shades are combined in an ombre gradient, they create a visual transition that adds depth and movement to the nails. Unlike solid colours, an ombre design softens the transition between shades, making even the darkest purples look subtle and elegant near the cuticles or tips.
Choosing the Right Shades for Your Skin Tone
When planning your purple gradient, selecting shades that complement your skin undertone can make a significant difference. Cool undertones look spectacular with icy lavenders, violet, and grape hues. Warm undertones, on the other hand, harmonise beautifully with orchid, plum, and deep berry tones. If you have a neutral undertone, you can freely experiment with both cool and warm shades of purple to find your custom blend.
Essential Tools for a Home Ombre Manicure
To recreate this seamless gradient at home, you will need a few basic tools that are easily accessible. Preparing these items beforehand ensures a smooth application process without interruptions.
- Base and Top Coat: A protective base coat prevents staining and ensures even adhesion, while a high-quality, glossy top coat is the key to smoothing out the texture of the sponge.
- Two or Three Purple Polishes: Choose a light shade (like lavender) and a dark shade (like deep violet) for a classic contrast. You can also include a medium purple shade to bridge the transition.
- Manicure Sponge: A latex makeup sponge or a wedge sponge works best as the fine pores help diffuse the colours gently.
- Skin Protection: Liquid peel-off tape or simple petroleum jelly applied around the cuticles makes cleaning up much easier.
- Nail Polish Remover and Brush: A small, angled brush dipped in clean-up solution helps define the edges around the nail bed.
Step-by-Step Guide to Blending Purple Ombre
The secret to a perfect ombre finish lies in building up thin, light layers. This prevents the polish from bubbling and ensures that the transition between lavender and violet remains smooth and natural.
Step 1: Preparation and Base Application
Begin by preparing your nails—shaping them, pushing back the cuticles, and removing any natural oils. Apply a thin layer of protective base coat. Once dry, apply one or two coats of your lightest purple shade, such as pastel lavender, as the background colour. This base layer makes the subsequent gradient colours appear more vibrant and opaque.
Step 2: Preparing the Sponge
Slightly dampen your makeup sponge with water and squeeze out any excess. A damp sponge prevents the polish from absorbing too quickly into the foam, allowing more product to transfer onto the nail. Paint straight, horizontal stripes of your selected purple shades directly onto the edge of the sponge, ensuring they slightly overlap to pre-blend the boundary line.
Step 3: Transferring the Gradient
Gently dab the sponge onto your nail in an up-and-down motion. Keep the movement slight to avoid mixing the colours too much into a single shade. It is better to apply three thin, dabbed layers, allowing them to dry for a minute between applications, than one thick layer. This technique ensures a seamless transition from the soft lavender base to the deep violet tips.
Step 4: Merging and Smoothing
The texture right after sponging can look slightly textured or matte. This is completely normal. While the final layer is still slightly tacky, apply a generous layer of a glossy, fast-drying top coat. The top coat acts as a blending agent, melting the boundaries between the colours together to create that professional, airbrushed finish.
Maintenance and Styling Tips
To keep your purple ombre looking pristine, regular hydration is essential. Apply cuticle oil daily to maintain the skin around your nails, showcasing the artistic transition against healthy, hydrated hands. Avoid harsh chemical cleaners without gloves, and reapply a thin layer of top coat every few days to protect the tips from premature wear.




