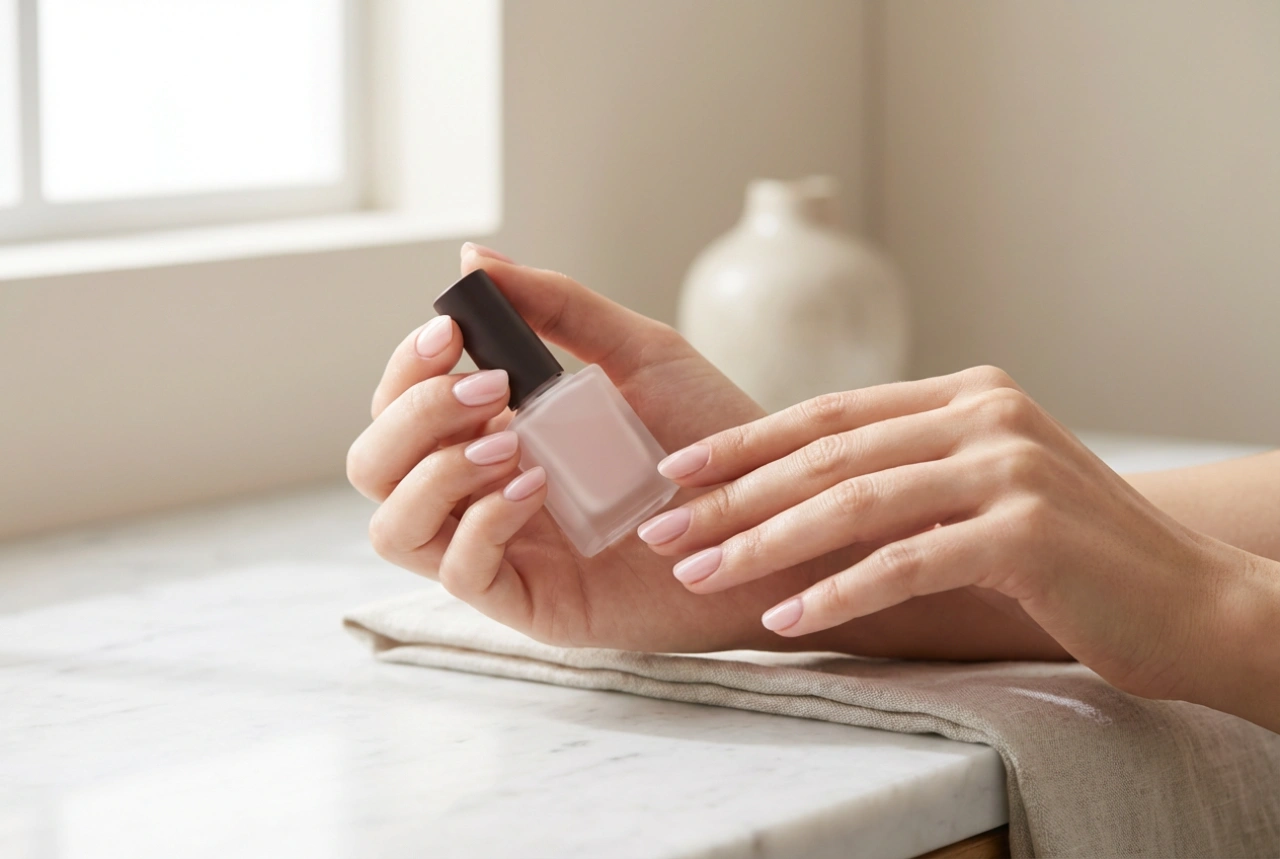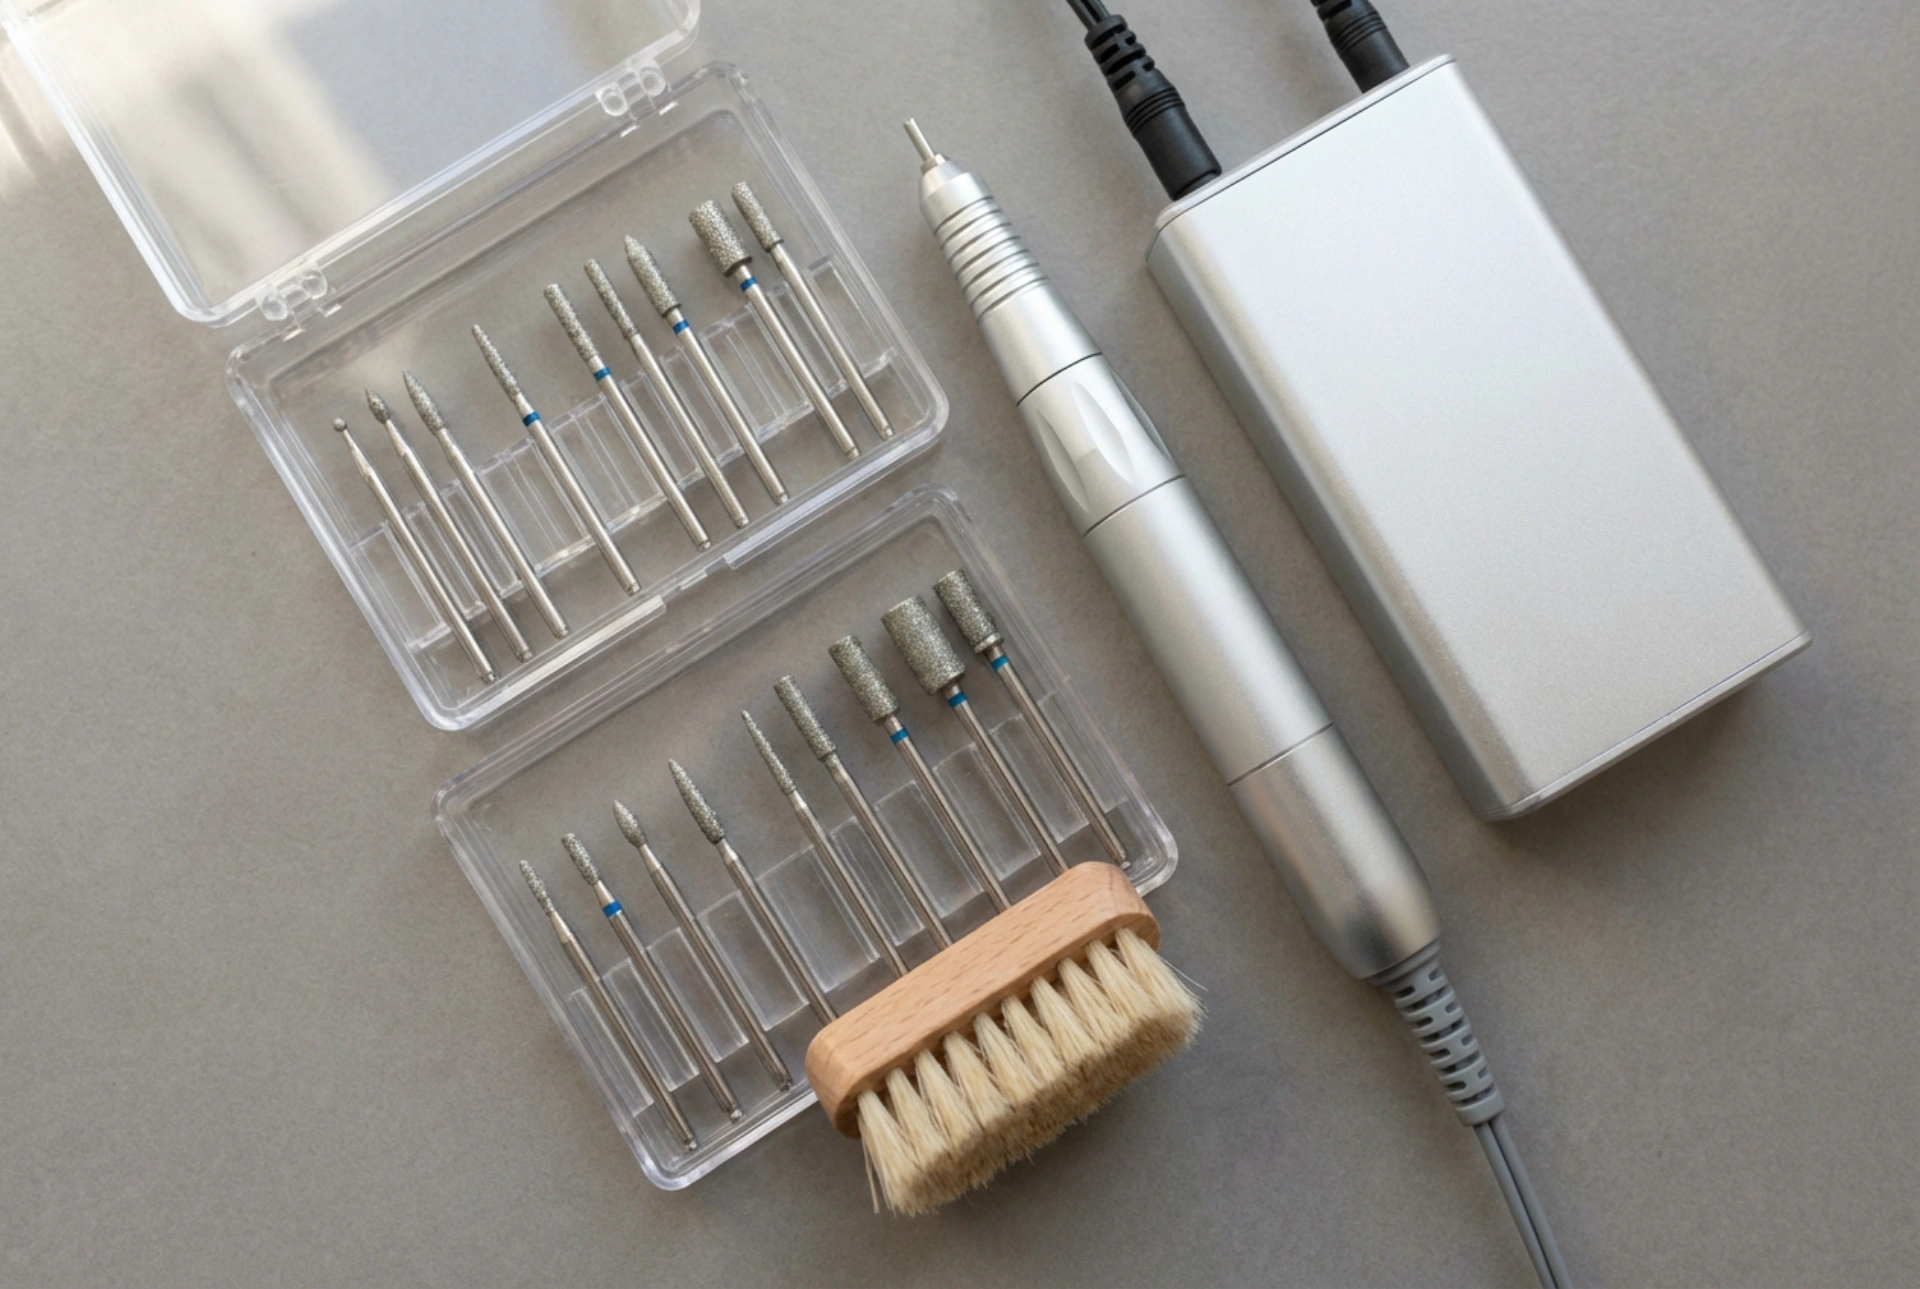


An elegant setup of professional nail care tools, featuring a sleek, unbranded e-file, various diamond bits, and a delicate dusting brush meticulously arranged on a clean grey surface, symbolises the precision of modern manicure techniques. Today, the nail drill has become an indispensable tool for achieving pristine cuticles and perfectly shaped nails at home. While it offers incredible efficiency, mastering this tool requires a solid understanding of how to pair the right bits with the correct speed settings, all while maintaining strict hygiene standards to protect the natural nail plate.
Understanding Drill Bits and Their Functions
The key to a successful e-file manicure lies in selecting the appropriate drill bit for each step. Drill bits vary in material, shape, and grit, each designed for specific tasks. For natural nails and delicate cuticle work, diamond bits are the standard choice. Their fine abrasive surface gently removes dead skin without damaging the underlying tissue.
- The Flame Bit: Characterised by its pointed shape, this bit is perfect for lifting the cuticle and clearing out the lateral nail folds. It allows for deep, precise cleaning under the nail fold.
- The Ball Bit: This spherical bit is designed to gently remove the lifted cuticle skin and smooth the rough areas around the nail walls.
- The Cylinder Bit: Ideal for shortening natural nails, shaping the free edge, or smoothing out rough surfaces on the nail plate.
- Ceramic and Carbide Bits: These are much stronger and are used exclusively for removing hard coatings such as gel, acrylic, or hybrid polishes. They generate less heat, making the removal process comfortable and fast.
The Importance of Bit Grit and Colour Coding
An essential aspect of selecting the right drill bit is understanding the colour-coded bands found on their shanks. These bands indicate the grit level, ranging from extra-fine to extra-coarse. For beginner and intermediate home use, yellow (extra-fine) and red (fine) bands are the safest and most practical choices. They provide gentle abrasion that is forgiving on the skin and natural nail plate. Blue (medium) bands can be used for general prep work, while green (coarse) and black (extra-coarse) bands should be reserved strictly for removing thick overlays like acrylic or gel enhancements. Using a band that is too coarse on natural nails or cuticles can lead to thinning of the nail plate and irritation.
Adjusting Speed and Pressure for Maximum Safety
Operating a nail drill requires a steady hand and a good understanding of rotation speeds, measured in RPM (rotations per minute). Using a speed that is too high can cause painful friction burns, while a speed that is too low can lead to the bit catching or skipping on the nail plate, causing uneven grooves.
For cuticle work and working near the sensitive living tissue, a low speed of 5,000 to 10,000 RPM is highly recommended. This ensures complete control over the tool. When removing hybrid polish or gel overlays, the speed can be safely increased to 15,000–20,000 RPM, allowing the coarser bits to shave off the product smoothly without dragging.
The fundamental rule of using an e-file is to never apply downward pressure. The bit should glide lightly across the surface. Additionally, always keep the drill in constant, fluid motion; leaving the spinning bit in one spot for even a second will cause intense heat and potential damage to the natural nail.
Ergonomics and Hand Positioning for Precision
How you hold the nail drill significantly affects the precision of your manicure. Treat the handpiece like an elegant pen, holding it close to the tip with a comfortable but firm grip. Always secure a solid anchor point by resting your pinky finger on your hand or the table. This stabilising technique, known as fleshy contact, prevents slipping and ensures steady control even when working on your non-dominant hand. Keep your wrist flexible and move your entire hand rather than just your fingers, which reduces strain and guarantees uniform pressure across the entire surface of the nail plate.
Crucial Hygiene and Maintenance Practices
Maintaining immaculate hygiene is non-negotiable when working with nail drills, even during personal, at-home use. During a manicure, micro-particles of dust, skin, and product build up on the bits and inside the handpiece, which can compromise both hygiene and the device's lifespan.
After every single use, the drill bits must be cleaned of visible debris using a small, dedicated brass or nylon brush. Following this manual cleaning, the bits should be disinfected using a suitable disinfectant solution formulated for cosmetic tools. For those practicing advanced nail care, ultrasonic cleaners offer a thorough way to remove stubborn residue before disinfection.
Once completely dry, store the bits in a closed, dust-free container or a dedicated bit holder. Keeping the e-file handpiece clean by wiping it down regularly and preventing dust from entering the motor will ensure your equipment remains safe, precise, and durable for years to come.
A Simple Guide to Safe Cuticle Preparation
To safely prep your cuticles with a nail drill, start by gently pushing back the cuticles using a traditional wooden stick or a metal pusher. This creates a clear boundary and lifts the dead skin from the nail plate. Insert a fine diamond flame bit into the handpiece, and set the direction of rotation. If working on the left side of the nail, set the drill to Forward (clockwise) and move the bit from the centre to the left. For the right side, switch the direction to Reverse (counter-clockwise) and move from the centre to the right. This prevents the bit from running away from your control.
Keep the bit parallel to the nail plate at all times—never tilt the sharp tip directly into the nail, as this can create painful ridges. Finish the process by using a small ball bit at a very low speed to gently sweep away any remaining dry skin around the nail walls, leaving the skin perfectly smooth and ready for hydration.