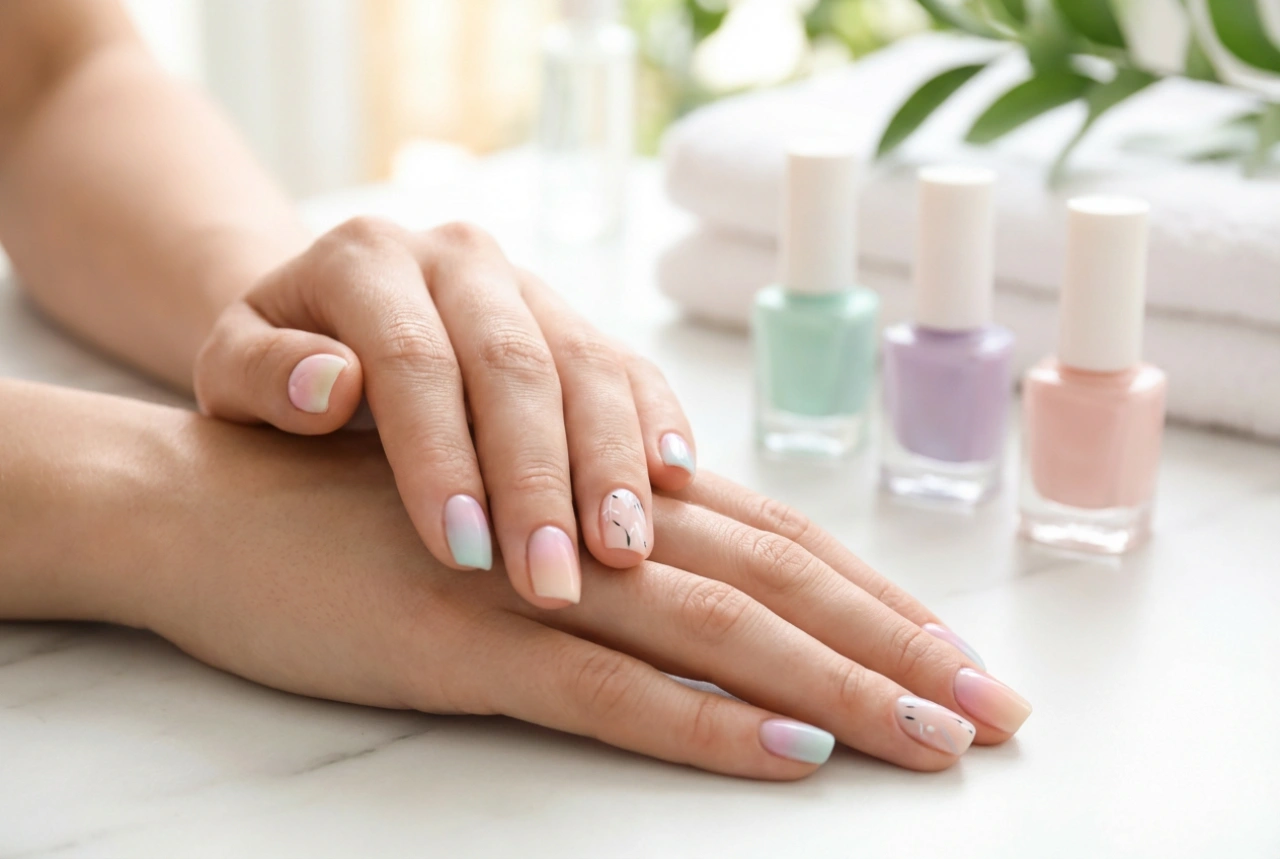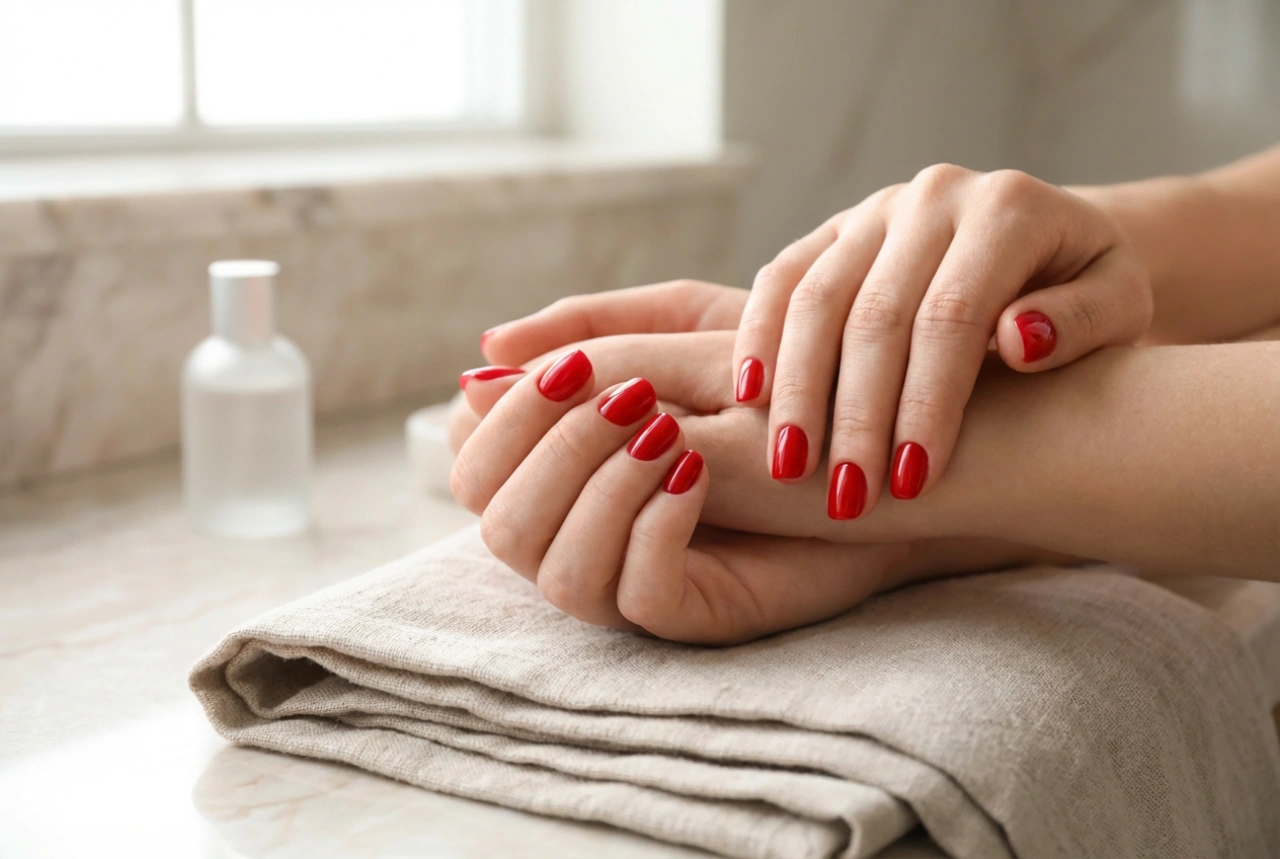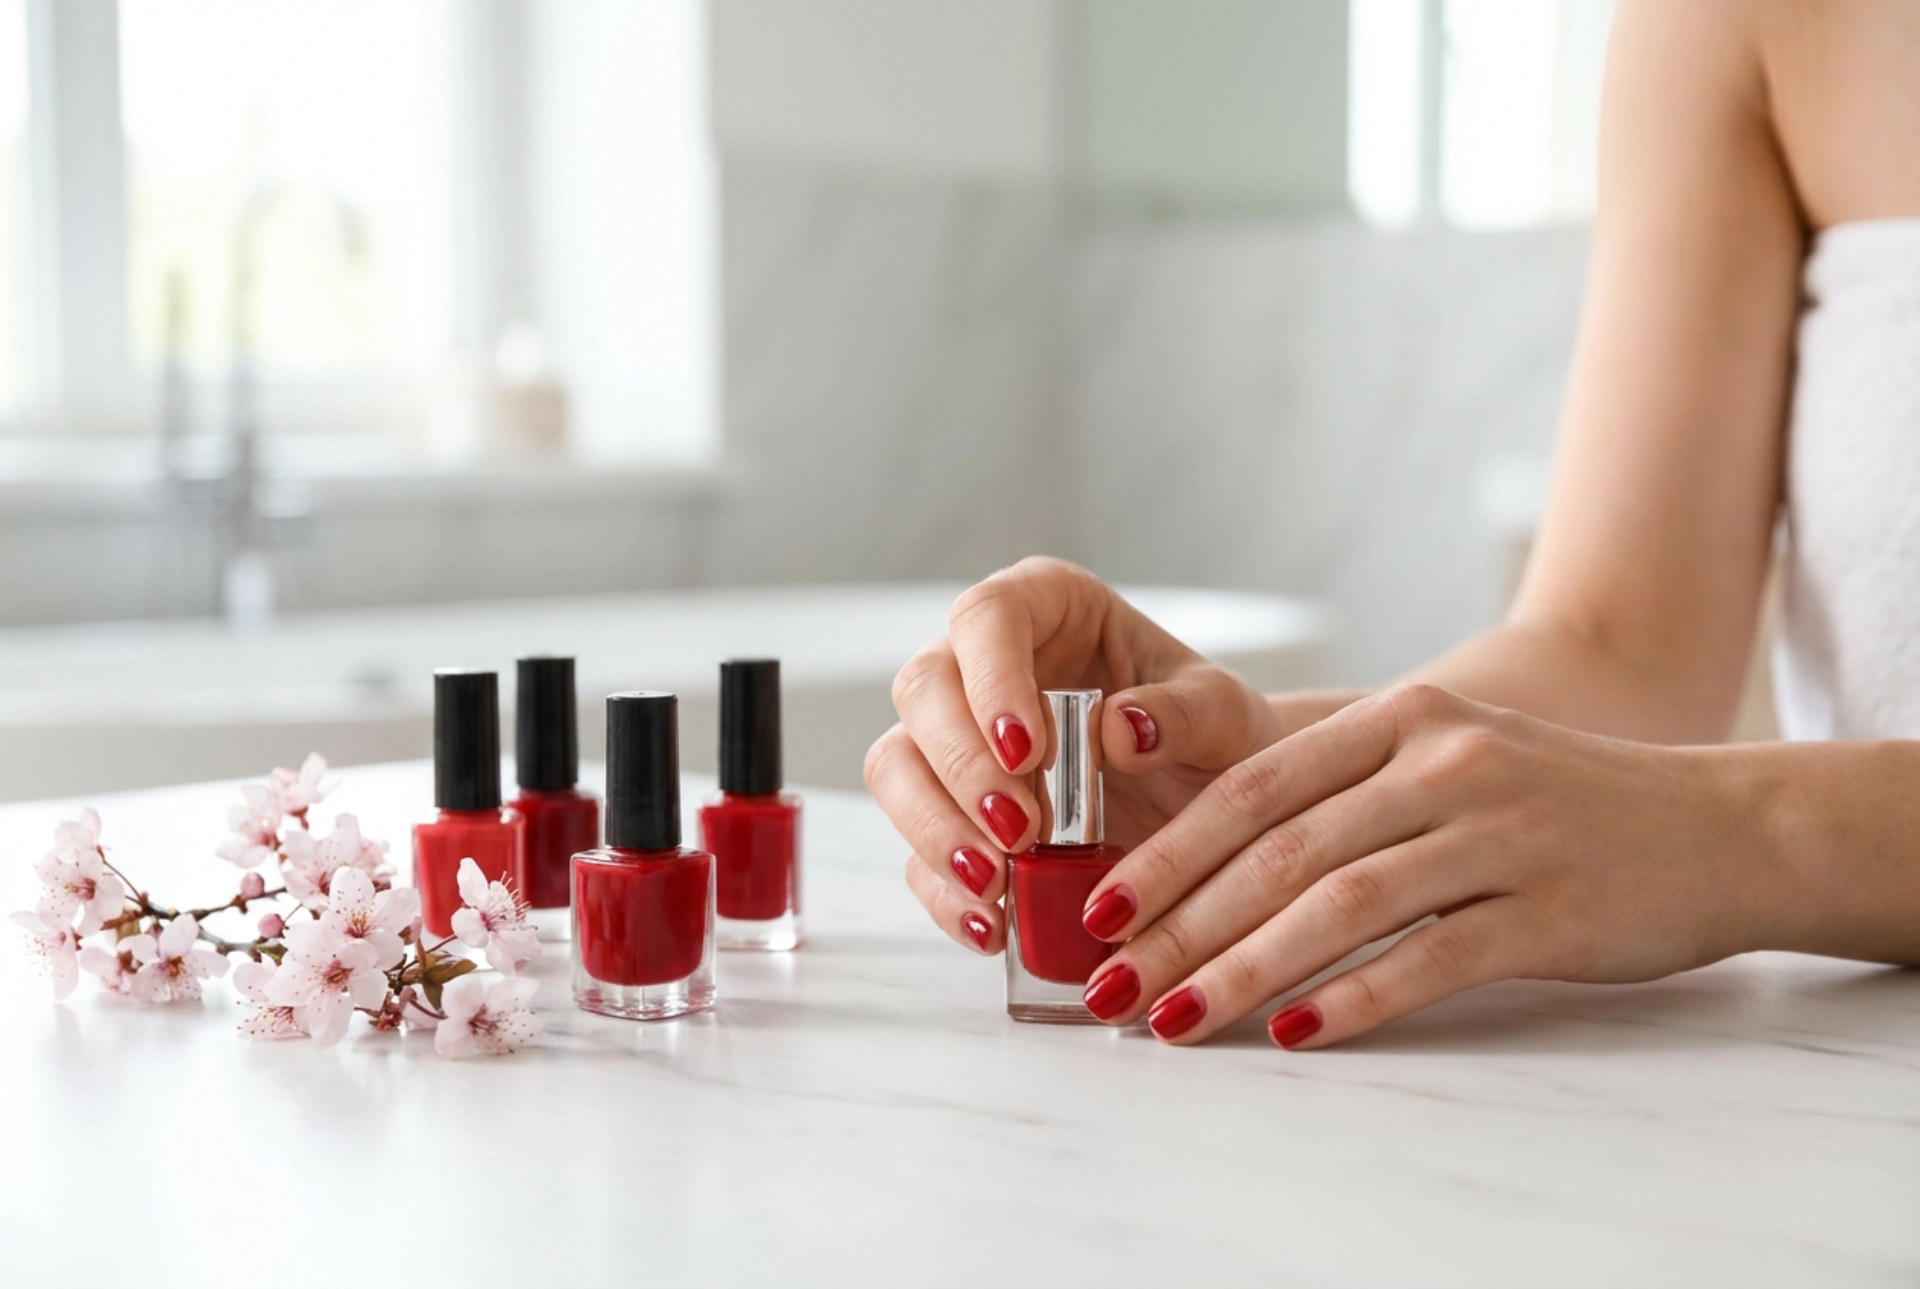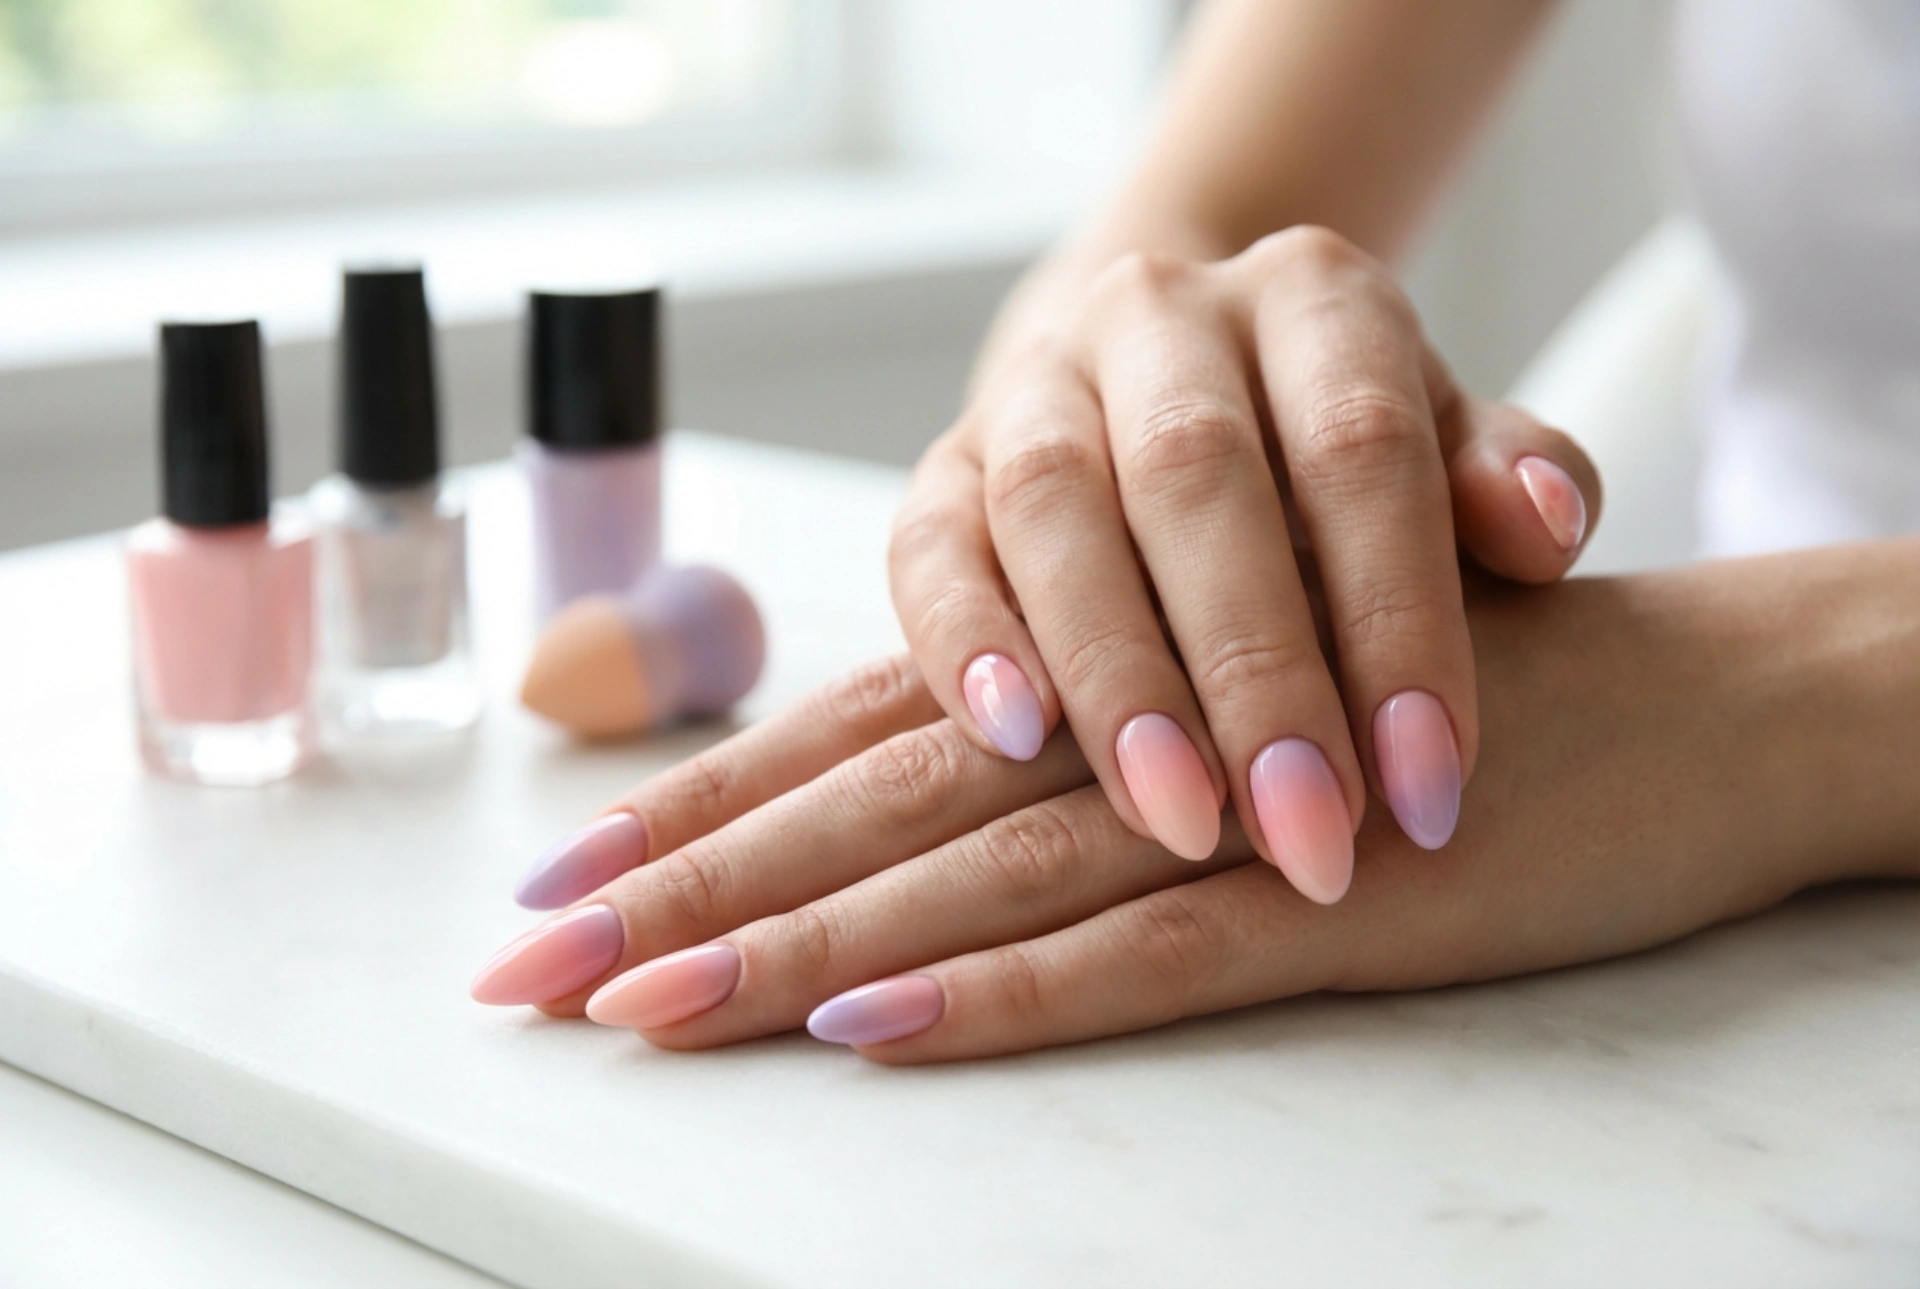


An elegant manicure featuring vibrant ombre nails offers a seamless blend of soft, complementary colours, creating a modern and fresh beauty aesthetic. This style has captured the imagination of beauty enthusiasts globally, transforming simple nail styling into a form of artistic self-expression. Achieving a flawless transition of shades does not require professional salon equipment or complex training. With just a few basic tools and a little patience, you can design stunning, multi-coloured gradients on your nails in the comfort of your own home. Whether you opt for pastel tones or bold, contrasting hues, the ombre technique allows you to experiment with endless creative combinations.
Preparing the Perfect Base for Your Gradient Manicure
To ensure your colourful ombre manicure looks polished and lasts as long as possible, proper preparation of the nail plate is absolutely essential. Any unevenness on the nail surface will be magnified once the gradient is applied, so taking the time to prepare is a key step. Begin by filing your nails into your preferred shape, such as a classic oval or a modern square, and gently pushing back the cuticles.
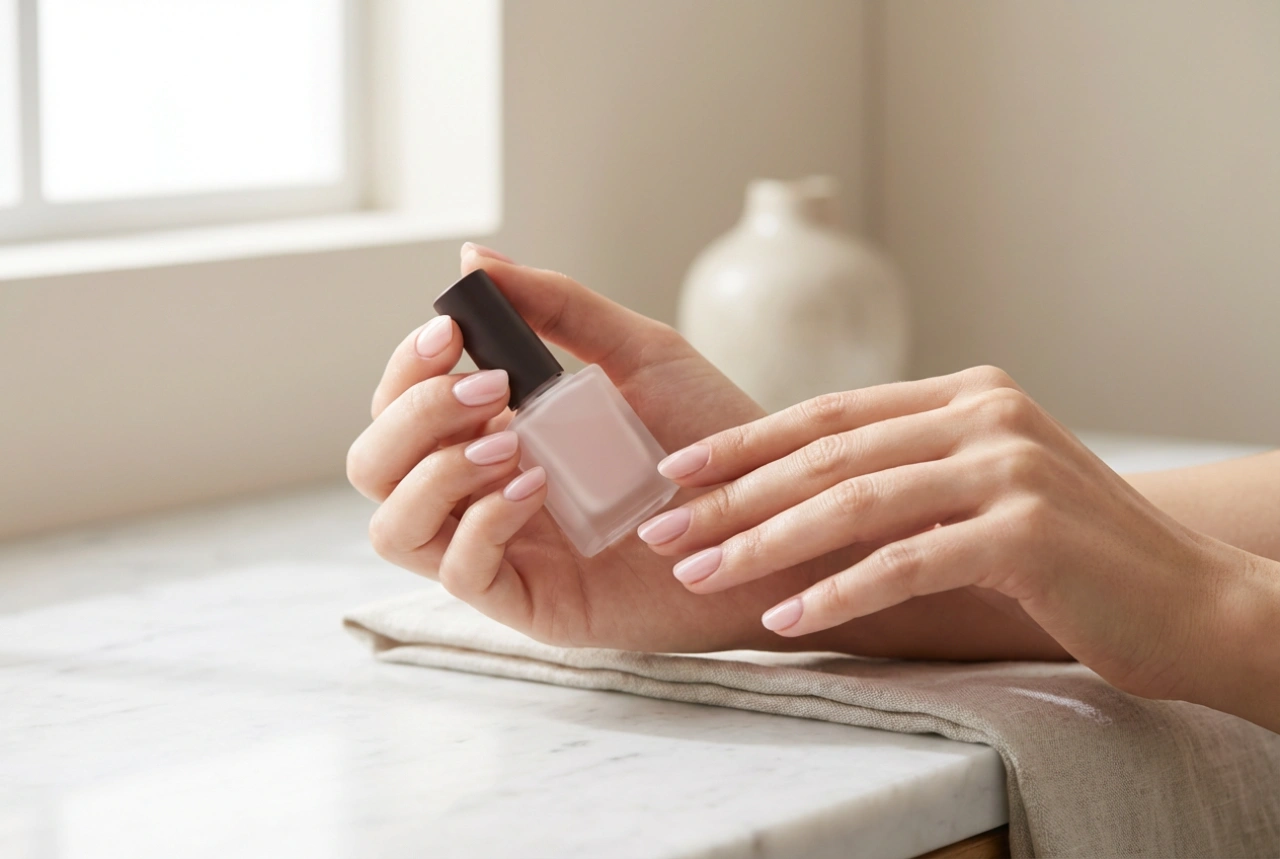
Once the nails are shaped, apply a high-quality base coat to protect your natural nails from staining and to improve the adhesion of the polish. After the base coat has dried completely, apply one or two coats of a light background colour. A neutral nude, soft pastel, or classic opaque white is highly recommended as a base. This background acts as a primer, making the subsequent ombre colours appear much more vibrant and true to their actual shades than they would on a bare nail.
Method 1: The Classic Makeup Sponge Technique
The classic makeup sponge remains the most popular and highly accessible tool for creating a seamless ombre effect at home. This method is incredibly forgiving and allows even beginners to achieve a beautifully blended transition between three different colours. To begin, select a clean, wedge-shaped cosmetic sponge with a fine texture, as large pores can create an uneven finish.
- Paint the colours onto the sponge: Apply horizontal stripes of your three chosen nail polishes directly onto the flat surface of the sponge. Ensure the stripes are slightly overlapping so that the blending process begins on the sponge itself.
- Dab onto the nail: Gently press the sponge onto your nail, moving it slightly up and down to blend the edges where the colours meet. Do not press too hard, as this can lift the polish off the nail.
- Build the intensity: Allow the first layer to dry for a minute, then repeat the process. Two to three layers are usually required to achieve full opacity and a perfectly smooth gradient transition.
Method 2: The Soft Blending Brush Technique
For those who prefer a more controlled and less messy application, the soft blending brush technique is an excellent alternative. This method relies on a small, flat nail art brush or even an eyeshadow brush to merge the boundaries between the colours directly on the nail plate.
Start by applying the three selected colours in horizontal stripes directly onto your nail using the polish brushes from the bottles. While the polish is still wet, take your blending brush and gently sweep it back and forth across the lines where the colours meet. By using light, feathery strokes, you can softly pull one colour into the next, creating a delicate, watercolour-like gradient. Clean your brush on a lint-free wipe between strokes to keep the colours from becoming muddy.
Method 3: The Wet-on-Wet Palette Method
The wet-on-wet palette method is favoured by many home beauty enthusiasts because it allows you to perfect the blend before the polish even touches your nails. This technique minimises the risk of applying too much product at once, resulting in a thinner, more durable manicure.
Place a few drops of each of your three nail polishes side-by-side on a smooth, non-porous surface, such as a piece of plastic wrap or aluminium foil. Take a toothpick and gently swirl the edges where the colours touch, creating a soft transition on the palette. Next, press a small piece of cosmetic sponge directly into the blended wet polish, and then dab it onto your nail. This method ensures a beautiful, pre-blended gradient with minimal effort.
Essential Tips for a Flawless, High-Gloss Finish
Once you have applied your gradient using one of the three methods, a few finishing steps will elevate your manicure to a professional standard. Because sponging techniques can leave a textured surface, applying a generous layer of top coat is crucial. A thick, high-gloss top coat will smooth out any bumps, merge the colour gradient even further, and seal in your hard work for days of wear.
Additionally, ombre techniques can sometimes be messy around the cuticle area. To clean this up easily, dip a small, angled brush into nail polish remover and carefully wipe away any excess polish from the skin surrounding your nails. Finish the routine by applying a nourishing cuticle oil to restore moisture and give your hands a healthy, radiant glow.