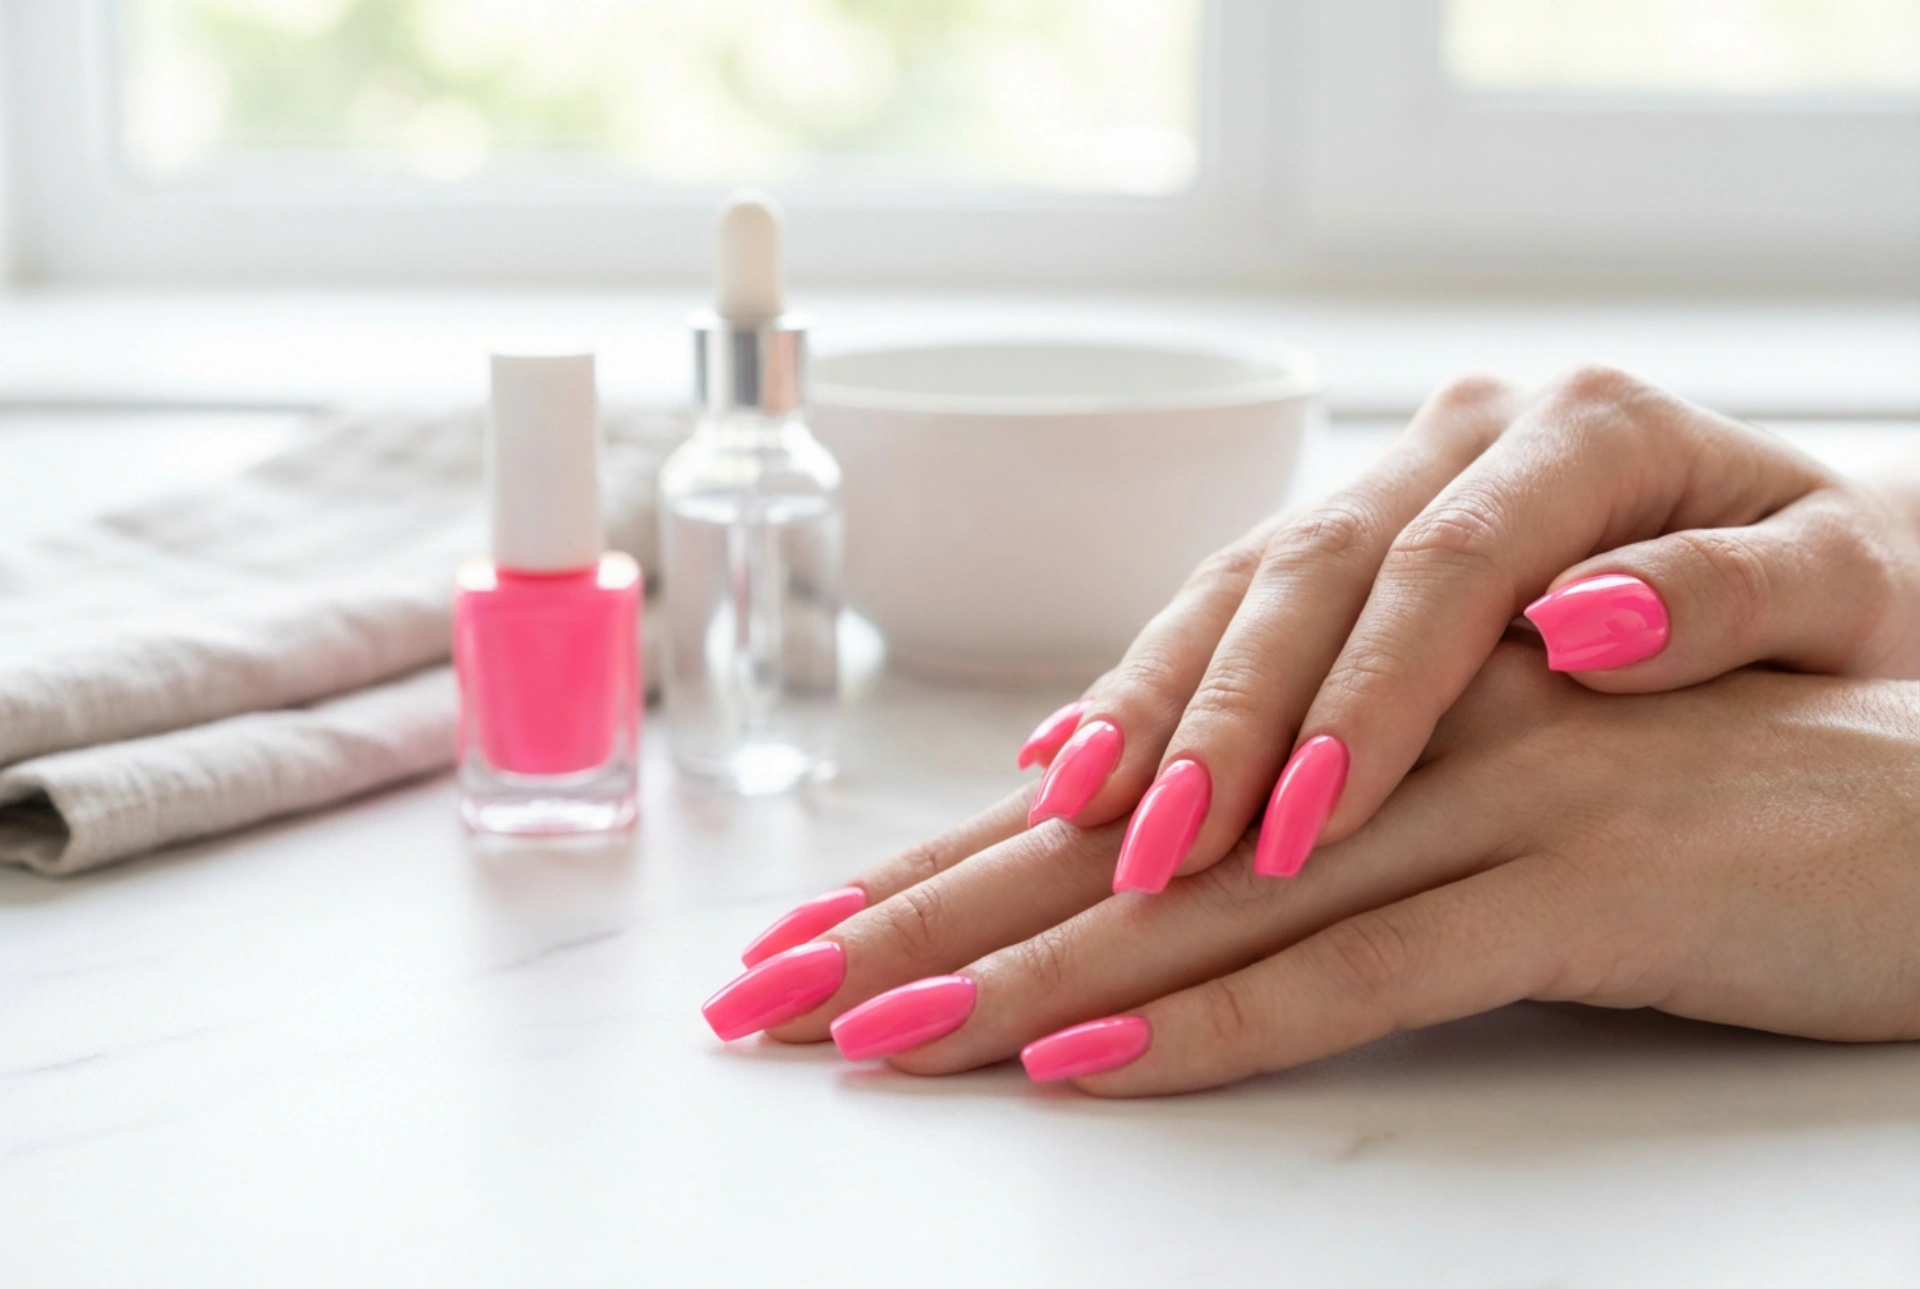


Beautifully manicured hands featuring vibrant neon pink nails add an instant burst of energy and modern elegance to any look. As captured in natural light, a flawless neon manicure stands out not only for its striking, saturated shade but also for its smooth, reflective finish. Achieving this eye-catching look at home requires more than just a bottle of bright polish; the secret lies in meticulous nail preparation, precise application techniques, and robust protection to prevent chipping. Let us explore how to master the art of neon pink nails step by step.
Preparing the Nail Plate for Neon Polish
The foundation of any long-lasting manicure is a thoroughly prepped nail plate. Unlike darker or muted shades, neon colours tend to highlight every imperfection, unevenness, or cuticle build-up on the nail surface. Spending a few extra minutes on preparation ensures a smooth canvas and better product adhesion.
Begin by gently shaping the nails with a fine-grit file, moving in one direction to prevent splitting. Soften and push back the cuticles using a wooden stick. It is highly recommended to gently buff the nail surface with a soft buffer block to remove any natural oils and smooth out minor ridges. Finally, wipe the nails with a dehydrator or a rubbing alcohol solution to ensure the surface is completely clean and dry before applying any product.
The Secret of the White Base Coat
Neon pigments are semi-translucent by nature, which often makes them look patchy or dull when applied directly onto a natural nail. To make the neon pink shade pop with maximum intensity, applying a single, thin layer of an opaque white polish as a base coat is a game-changing step.
The white background acts as a canvas that reflects light, making the neon pink appear incredibly vibrant and true to the bottle colour. Allow this white layer to dry completely before moving on to the colour application. Skip this step, and you may find yourself needing four or five coats of neon polish to achieve full opacity, which increases the drying time and the risk of smudging.
Applying Neon Pink Polish Flawlessly
Working with vibrant shades requires a steady hand and thin layers. Thick layers of neon polish are prone to bubbling and slow drying, which can easily ruin the manicure. Patience is key during the colour application stage.
- Dip the brush and wipe one side against the neck of the bottle to control the amount of product.
- Place the brush near the centre of the nail, slightly away from the cuticle, and gently push it upwards before sweeping down to the free edge.
- Complete the application with two quick side strokes to cover the entire nail.
- Apply two thin coats of the neon pink polish, allowing ample drying time between each layer to build a uniform, opaque finish.
Protecting and Sealing the Manicure
A neon manicure is only as good as its final protective layer. Because neon pigments are particularly sensitive to UV rays, they can fade or lose their vibrancy over time if not properly shielded. A high-quality clear top coat is essential for locking in the colour and providing a high-gloss finish.
Apply the top coat over the dry neon pink polish, making sure to run the brush along the free edge of each nail. This technique, known as capping, seals the edges and prevents premature chipping. A top coat with UV filters is ideal for keeping the bright neon pink from yellowing or dulling when exposed to daily sunlight.
Daily Care for Vibrant Nails
To maintain the freshly polished look, moisturise the cuticles daily with a nourishing nail oil. Wear protective gloves when performing household chores, and avoid using harsh chemicals that can strip away the top coat's protective barrier. With the right care, your neon pink nails will remain bright and beautiful for days.