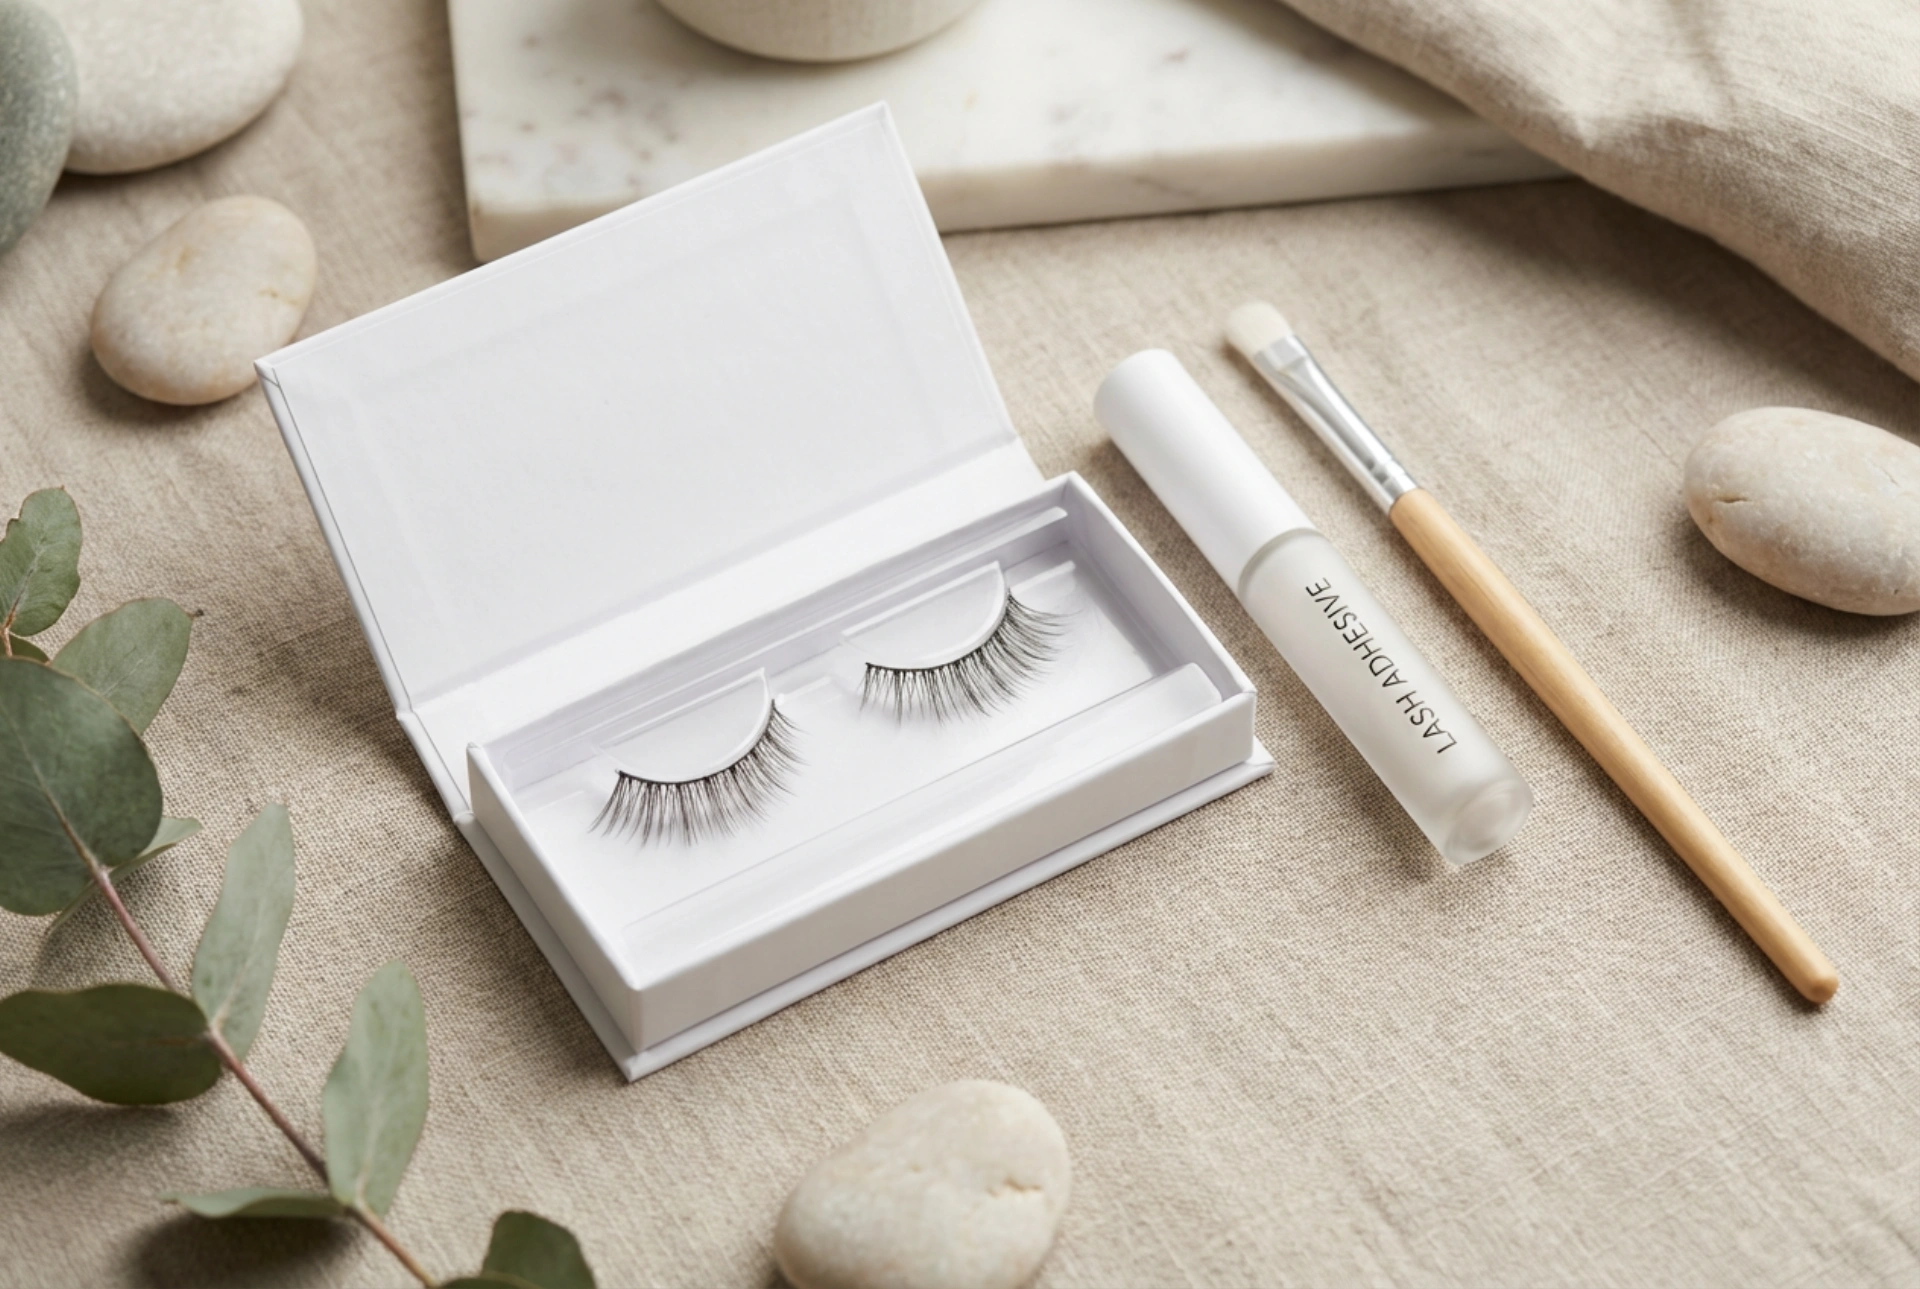


A beautifully arranged beauty vanity, complete with minimalist packaging, a pristine makeup brush, and delicate strip lashes, symbolises the art of personal grooming and refined elegance. Strip lashes have long been a staple in makeup bags, offering an instant transformation that adds depth and definition to the eyes. Whether you are aiming for a soft, natural enhancement or a dramatic evening look, mastering the application of strip lashes is a skill that elevates your entire beauty routine. With the right technique, these cosmetic accessories can blend seamlessly with your natural features, creating a cohesive and polished appearance that lasts throughout the day.
Selecting and Customising Your Strip Lashes
Choosing the correct pair of strip lashes is the foundation of a comfortable and successful application. Eyelashes come in various styles, lengths, and densities, ranging from lightweight, wispy designs to dense, voluminous bands. When selecting your lashes, consider your unique eye shape. For instance, almond-shaped eyes can accommodate almost any style, while hooded eyes benefit from lashes that are longer in the centre to create an opening effect. Monolid eyes often look stunning with flared, winged lashes that draw the focus outwards.
Once you have selected your preferred style, customisation is key. Most strip lashes are manufactured to fit a wide range of eye shapes, which means they are often too long for the average eyelid. Applying a lash band that is too wide can cause discomfort, leading the corners to poke into the sensitive skin of your eye or pull the outer corner downwards. To fit them correctly, gently remove the lash from its packaging and hold it against your natural lash line, starting slightly away from the inner corner. Note how much excess band hangs over the outer edge. Always trim the excess length from the outer corner using small, precise beauty scissors. This preserves the natural gradient of the lash design and ensures a comfortable, customised fit.
The Step-by-Step Application Guide
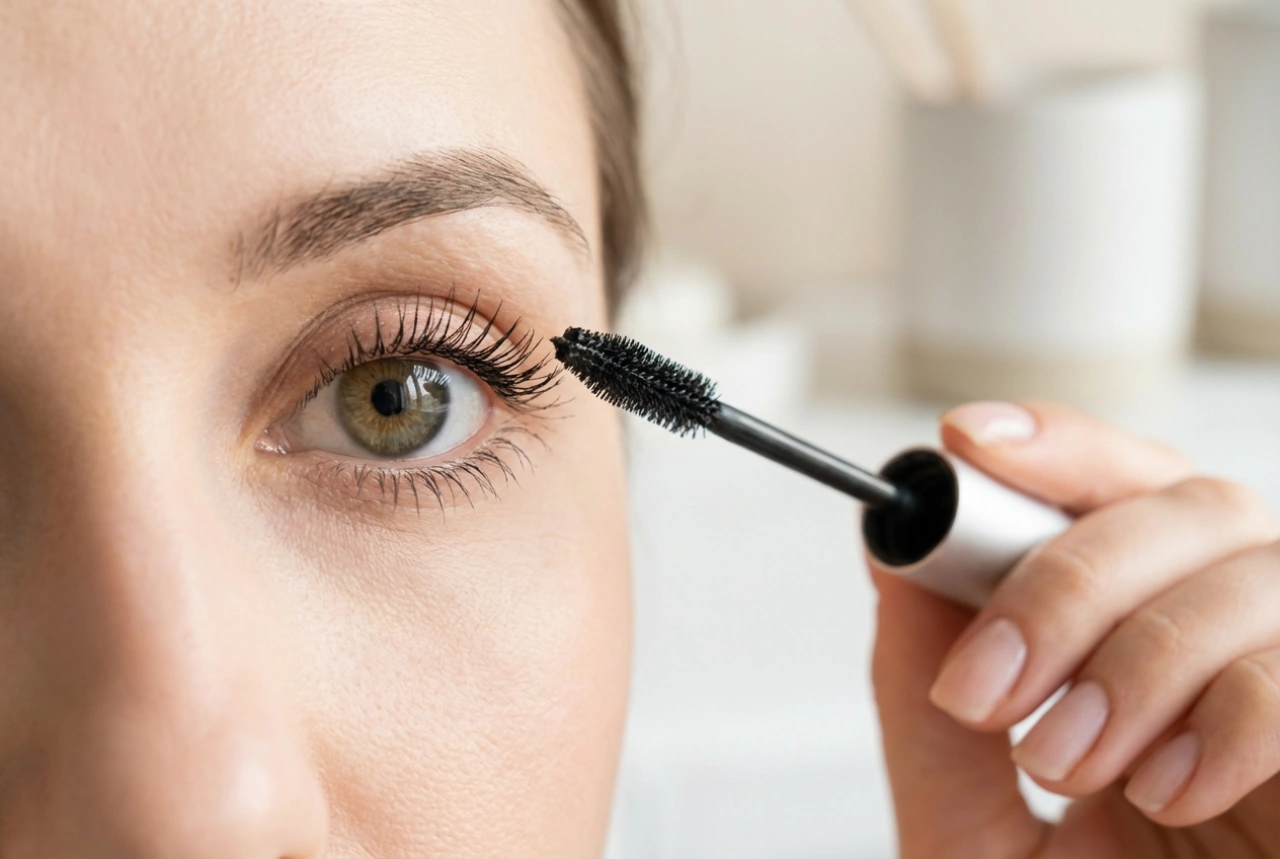
Applying strip lashes can seem daunting, but breaking the process down into precise steps makes it highly manageable. Before you begin, prepare your natural eyelashes by curling them with a lash curler. This creates a solid, lifted foundation that supports the weight of the synthetic strip. You may also apply a very light layer of mascara to help hold the curl and provide a textured surface for the strip to cling to.
Applying the Adhesive
The secret to a secure application lies in the adhesive. Gently hold the trimmed lash band with tweezers or a dedicated applicator, and apply a thin, even line of lash glue along the band. Pay extra attention to the inner and outer ends, as these areas are most prone to lifting. The most critical step is patience: allow the glue to rest for approximately thirty to forty seconds before attempting to apply it to your eyelid. The adhesive must transition from a liquid state to a tacky consistency. If you apply the lashes while the glue is too wet, they will slide around, smudging your makeup and failing to adhere properly.
Positioning and Securing
Using your applicator or tweezers, grip the lashes by the hair near the centre of the band. Look downwards into a mirror placed at a low angle; this positioning stretches your eyelid smooth and allows you to see your lash line clearly. Gently place the centre of the lash band as close to your natural lash line as possible. Once the centre is anchored, use your tweezers to press the outer corner into place, followed by the inner corner. Gently squeeze your natural lashes and the strip lashes together to ensure a seamless bond.
Seamlessly Blending Lashes with Your Makeup
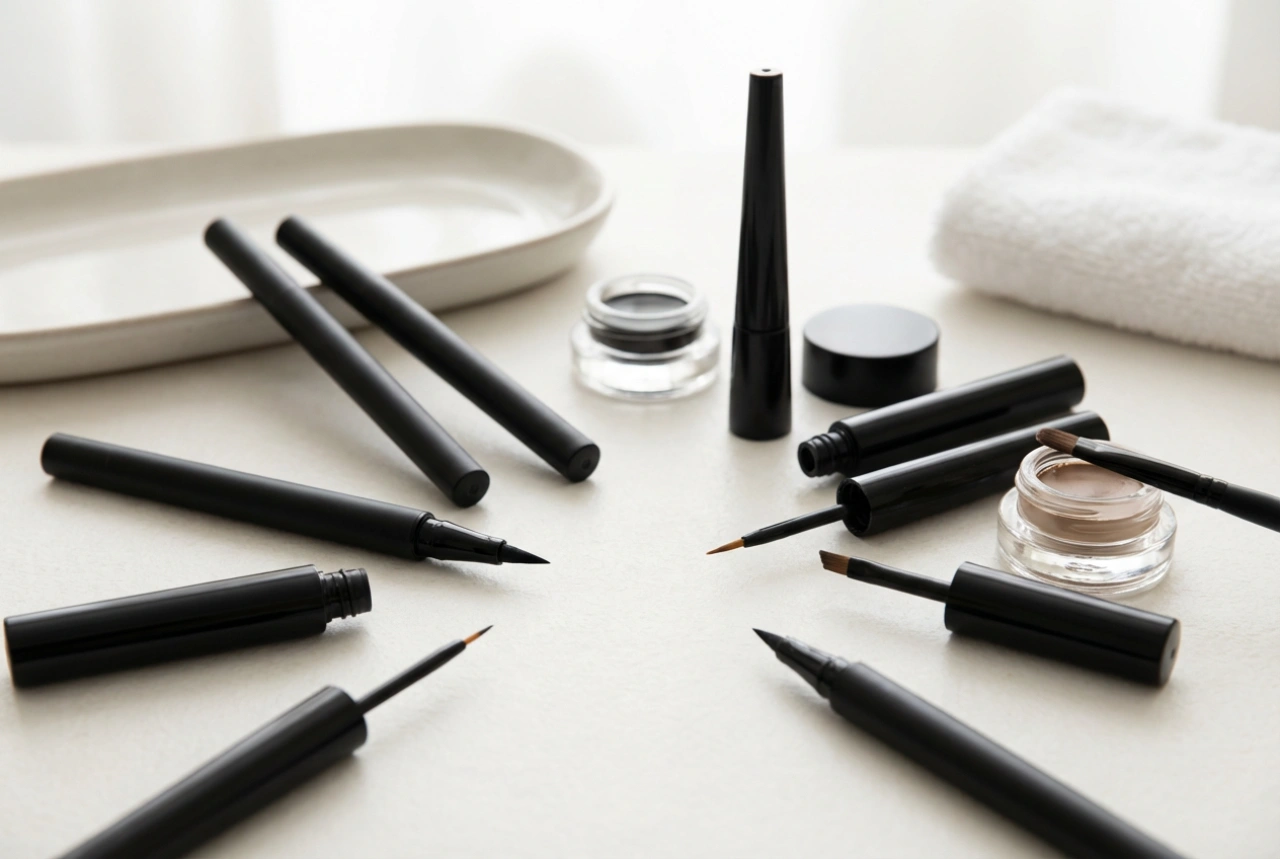
To achieve a truly professional look, your strip lashes must integrate flawlessly with your overall makeup. An obvious band of false lashes can disrupt the illusion of natural volume. To prevent this, apply a thin line of dark eyeliner along your upper lash line before placing the lashes. This creates a dark guide path and effectively camouflages the lash band. After the lash adhesive has dried completely, you can go over the lash band once more with a liquid or gel eyeliner to cover any remaining glue residue.
Another excellent technique is tightlining, which involves applying a waterproof eye pencil to your upper waterline. This eliminates any pale skin gaps visible beneath the lash band, giving the illusion of a thicker, fuller lash line. Finally, gently press your natural lashes and the false ones together using clean fingers or a lash comb. If necessary, a tiny touch of mascara at the base of the lashes can fuse the two layers together, creating a unified and natural-looking fan of lashes.
Gentle Removal and Cleaning for Longevity
Proper care and removal are essential to preserve both your natural eyelashes and the quality of your strip lashes for future use. Never pull or rip the false lashes off dry, as this can damage your delicate eyelid skin and pull out your natural lashes. Instead, saturate a cotton pad with a gentle, oil-free makeup remover or micellar water. Hold the damp pad over your closed eye for a few moments to break down the adhesive. Gently slide the lash strip away, starting from the outer corner.
Once removed, place the lashes on a clean surface. Use a cotton bud dipped in micellar water to gently wipe away any leftover adhesive or makeup from the band. Avoid soaking the lashes in water or oil, as this can ruin their curl and texture. Once dry, store them back in their original minimalist packaging to maintain their curved shape, keeping them clean and ready for your next beauty application.