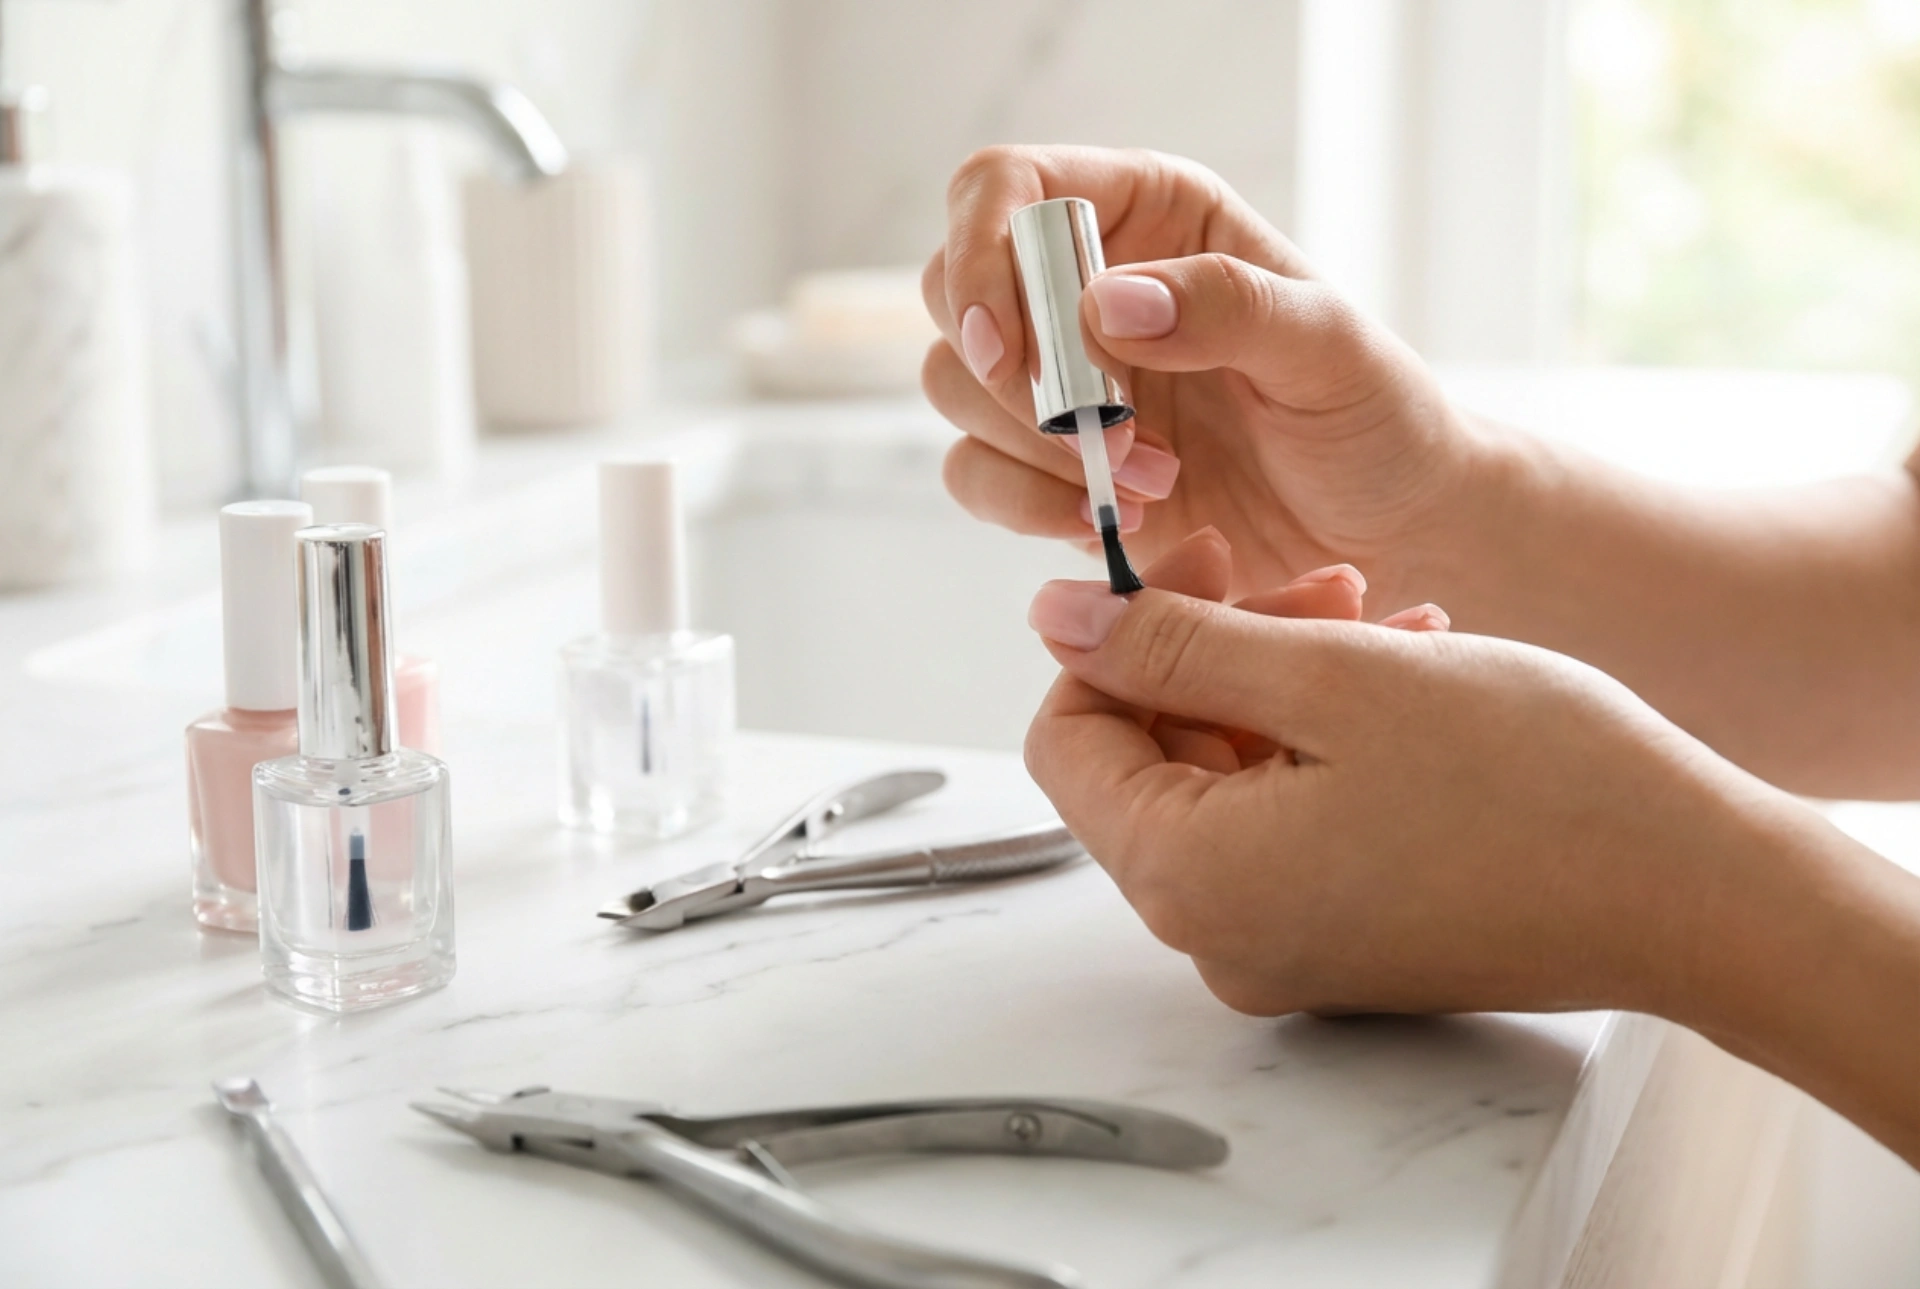


Creating a beautiful, salon-worthy manicure at home has become a cherished self-care ritual for many. Imagine a quiet afternoon with soft, natural light streaming through the window, illuminating a neat arrangement of sleek polish bottles and essential tools on a minimalist table. The simple act of painting your nails can be incredibly therapeutic, especially when you can achieve a high-shine, long-lasting finish without leaving your living room. While traditional gel manicures require specialised UV or LED lamps to cure the polish, modern cosmetic innovations have introduced alternative systems. A no-lamp gel manicure offers the perfect compromise, providing the glossy look and extended wear of gels with the ease of regular nail polish.
Understanding the No-Lamp Gel System
A no-lamp gel manicure is designed for those who desire the longevity of a professional manicure but prefer to avoid the curing process associated with traditional ultraviolet lights. These systems typically consist of a specially formulated colour polish and a matching top coat that work synergistically. Unlike classic polishes that dry solely through solvent evaporation, no-lamp gel formulas contain advanced oligomers. These ingredients react with natural ambient light to gradually cure and harden over time, creating a resilient, flexible shield on the nail surface. This process results in a plump, high-gloss appearance that closely mimics the aesthetic of salon gels.
Essential Preparation for a Flawless Finish
The secret to any successful manicure lies in the preparation of the natural nail. Without a clean, smooth surface, even the most advanced polish formulas will struggle to adhere properly. Start by shaping your nails with a gentle nail file, working in one direction to prevent splitting. Next, gently push back your cuticles using a wooden stick or a soft cuticle pusher. It is important to avoid cutting the cuticles at home, as this barrier protects the nail matrix from environmental impurities.
Once the shape is defined, lightly buff the surface of the nails to remove any natural shine or ridges. This creates a subtle texture that helps the polish bond. Finally, thoroughly cleanse the nail plate. Use a lint-free wipe soaked in a gentle dehydrating solution or standard rubbing alcohol to remove residual oils, dust, and moisture. Ensuring the nail plate is completely dry and oil-free is the single most critical step in preventing premature chipping.
Step-by-Step Application Guide
Applying a no-lamp gel polish requires a patient hand and attention to detail. Follow these simple steps to achieve a flawless, streak-free application:
- Apply the first colour coat: Start by applying a very thin layer of the colour polish. Begin in the middle of the nail, slightly away from the cuticle, and glide the brush down to the tip. Then, paint the sides. Applying thin layers is crucial, as thick coats will trap moisture, leading to bubbles and a longer drying time.
- Cap the free edge: Run the brush gently along the very edge of your nail tip. This technique, known as capping, seals the polish and prevents it from lifting at the tips.
- Apply the second coat: Allow the first layer to dry for about two to three minutes before applying the second coat. This second layer will build the intensity of the colour and smooth out any remaining streaks.
- Seal with the gel top coat: Once the colour coats are slightly dry, apply a generous layer of the specialised no-lamp top coat. This step is essential, as the top coat contains the photo-initiators that react with ambient light to cure the layers underneath, providing that characteristic gel-like shine and durability.
Maintaining Your No-Lamp Manicure
While a no-lamp gel manicure is inherently more durable than traditional polish, a few simple habits can help prolong its pristine appearance. For the first few hours after application, try to avoid exposing your hands to hot water, as the curing process continues to harden the polish gradually throughout the day. When performing household chores or washing dishes, wearing protective gloves is a simple yet highly effective way to shield your nails from harsh detergents and physical wear.
Additionally, applying a drop of nourishing cuticle oil daily can work wonders. Moistured cuticles and surrounding skin prevent dry hanging nails and keep the entire manicure looking fresh and polished. If you notice the gloss beginning to dull after a few days, you can easily apply a thin fresh layer of the top coat to restore the brilliant shine and add an extra layer of protection.
Gentle and Safe Removal
One of the greatest advantages of a no-lamp gel manicure is the ease of removal. Unlike salon gels that require extensive soaking in pure acetone or gentle scraping, which can sometimes weaken the natural nail plate, no-lamp gel formulas can be removed with standard nail polish remover. To minimise dryness, opt for an acetone-free or a conditioning remover infused with oils. Simply soak a cotton pad, press it firmly onto the nail for a few seconds to allow the formula to dissolve the polish, and gently wipe it away. Finish by washing your hands and applying a rich hand cream to restore moisture to your skin and nails.




