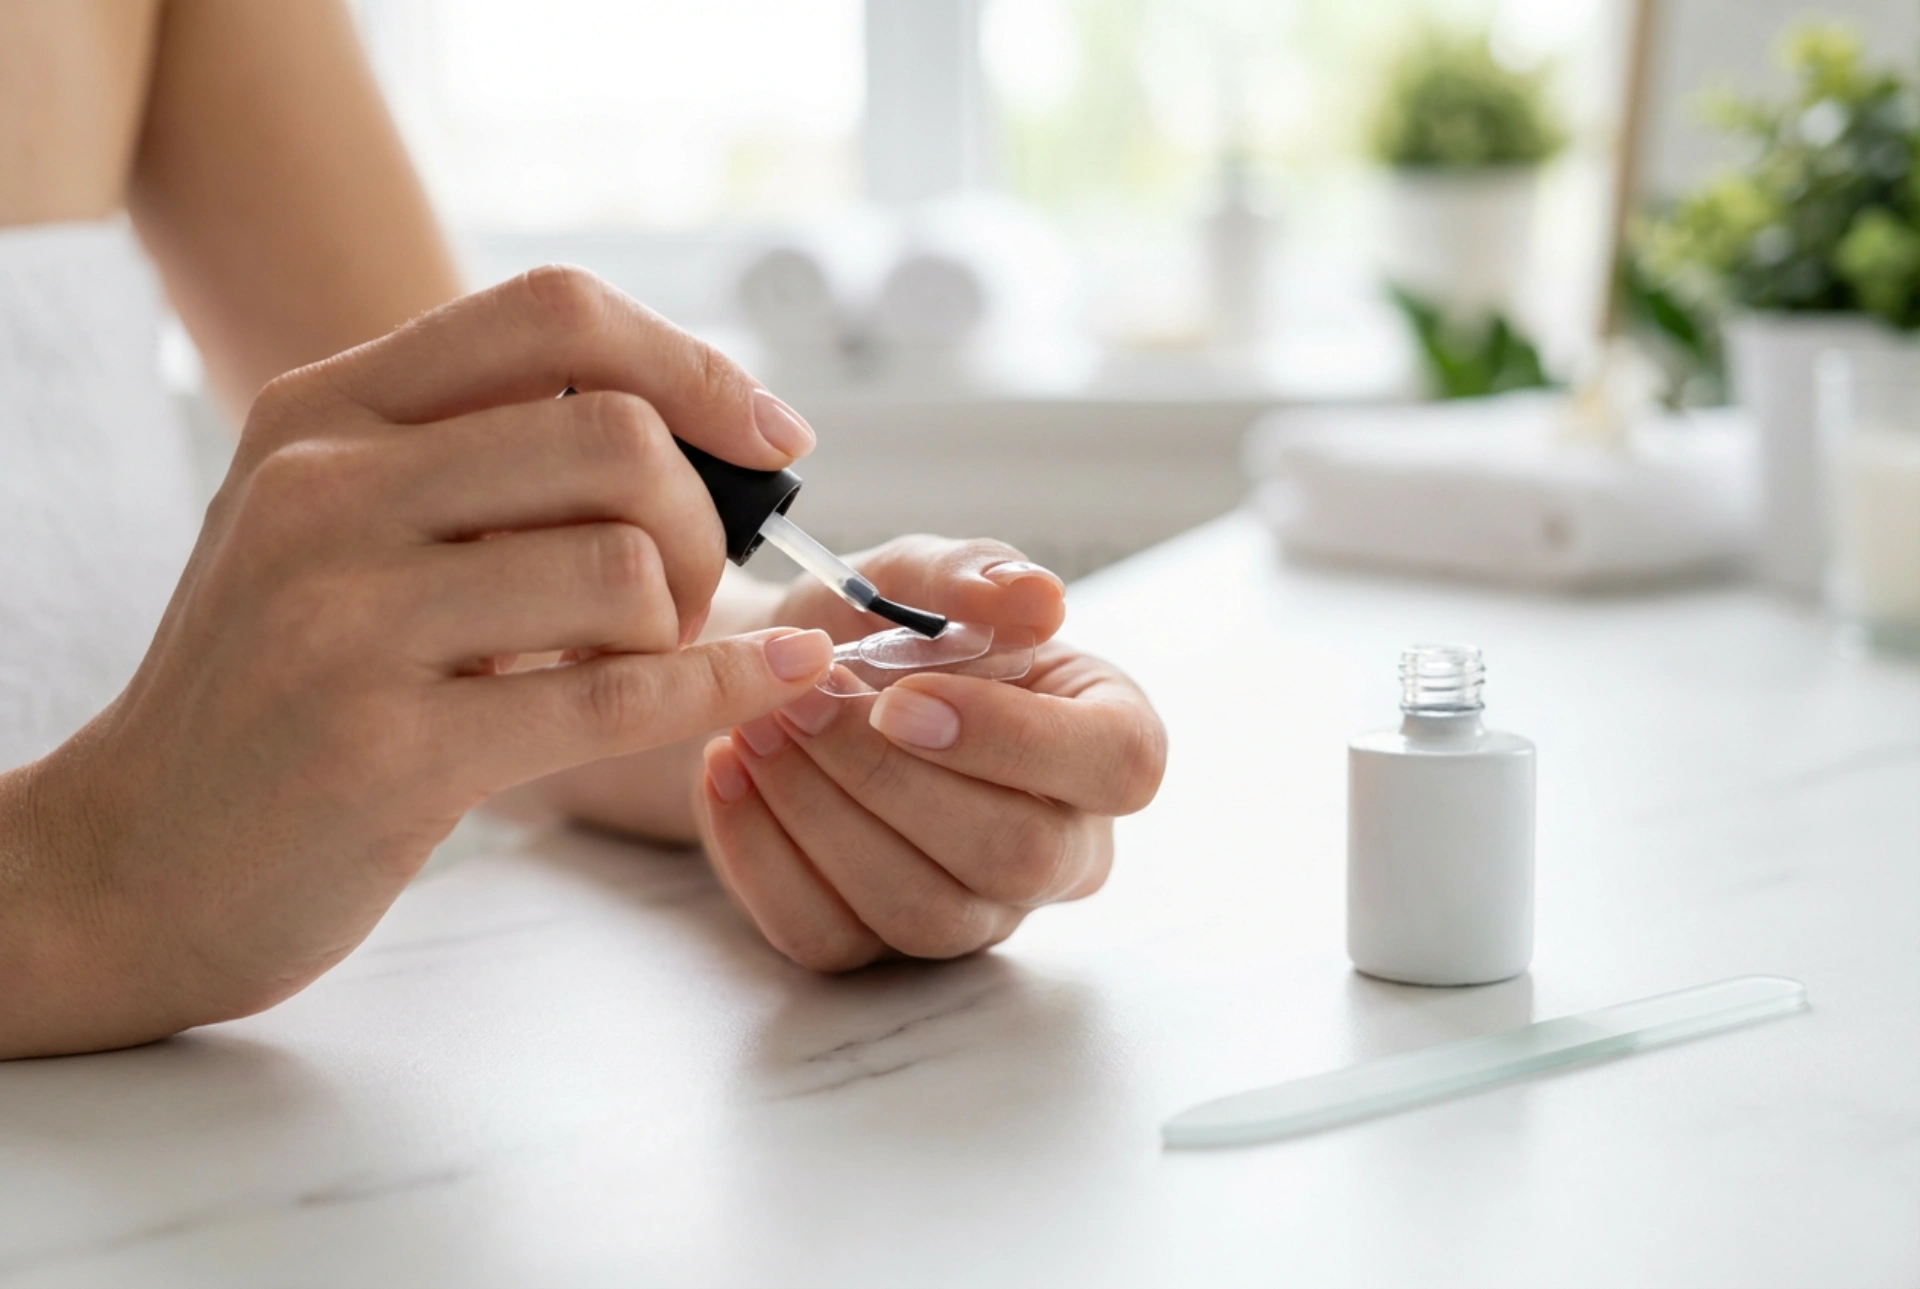


Elegant, well-groomed hands are a timeless symbol of personal care and sophisticated style. Achieving perfect nail extensions at home has become highly accessible, with clear builder gels offering a durable, glossy, and natural-looking finish. When working on a clean, minimalist surface illuminated by soft, natural light, the process of extending nails becomes a relaxing, precise beauty ritual. However, the key to professional-looking results lies in mastering two fundamental steps: properly positioning the nail templates and executing precise filing techniques.
The Foundation: Preparing the Natural Nail Plate
Before applying any gel, proper preparation of the natural nail is vital to ensure longevity and prevent lifting. Start by gently pushing back the cuticles using a wooden stick or a sanitised pusher. This step clears the nail plate and creates a clean surface for the product. Next, use a high-grit buffer to gently remove the natural shine from the nail. Be careful not to thin the nail plate; the goal is simply to create a lightly textured surface that the gel can adhere to securely.
Once buffed, clean the nails thoroughly with a lint-free wipe soaked in a dehydrating prep solution to remove dust, oils, and moisture. Applying a thin layer of a non-acid primer can further enhance adhesion, acting as a double-sided tape between your natural nail and the builder gel. Allow this to air-dry completely before moving on to the template application.
Perfecting the Fit: Working with Nail Templates
Nail templates, or paper forms, are essential tools for creating custom extensions. Fitting the template correctly is arguably the most crucial step of the entire process, as an ill-fitting form can lead to structurally weak nails or gel seeping underneath the fingertip.
- Customise the shape: Every natural nail has a unique free edge. You may need to use small scissors to trim the inner curve of the template to match your natural smile line perfectly.
- Eliminate gaps: Slide the template gently under the free edge of your nail. Ensure there are absolutely no gaps between the template and the natural nail. The template should continue the natural slope of the nail plate.
- Secure the wings: Stick the adhesive wings of the template firmly around your finger. Ensure the form is straight and does not tilt upwards or downwards, as this will affect the final shape and balance of the extension.
Step-by-Step Gel Application
Working with clear builder gel requires a steady hand and a methodical approach. Start by applying a thin base coat of gel over the natural nail, curing it under a suitable lamp according to the manufacturer's guidelines. This creates a secure foundation.
Next, take a medium bead of builder gel on a clean nail brush. Place the bead at the boundary where your natural nail meets the template. Gently slide and stretch the gel onto the template to define the desired length and shape (such as oval, square, or almond). Keep this initial extension layer relatively thin and cure it. Once this skeleton layer is cured, you can build the main structure of the nail. Apply a larger bead of gel to the centre of the nail to create the apex—the highest point of the nail that provides strength and prevents snapping. Smooth the gel towards the cuticles and side walls, leaving a tiny gap to avoid touching the skin, then cure thoroughly.
Mastering the Art of Filing and Shaping
Once the gel is fully cured, remove the paper template gently and wipe away the sticky dispersion layer with a cleanser. The nail might look thick and uneven at this stage, but this is where the filing process transforms it into a beautiful, refined shape.
Using a classic 100/180 grit nail file, follow a systematic filing routine to ensure symmetry and smoothness. Begin by filing the side walls straight, ensuring they align perfectly with the natural growth lines of your nail. Next, file the free edge to define the final length and shape. When filing the surface of the nail, hold the file at a slight angle and work in smooth, curved motions from the cuticle area down to the free edge. Avoid filing excessively in one spot; instead, look at the nail from the side and front profiles frequently to check the balance and thickness. The goal is to create a seamless transition from the natural nail to the gel extension, with a gentle, supportive apex in the middle.
Finishing and Aftercare for Lasting Elegance
After achieving the desired shape, use a soft buffer to smooth out any fine scratches left by the file. Cleanse the nail once more to remove all dust. To complete the look and seal your beautiful work, apply a high-shine top coat, ensuring you seal the free edge to prevent chipping, and cure it one last time. Finish the ritual by massaging a drop of nourishing cuticle oil into the surrounding skin to restore moisture and maintain a healthy, polished appearance.




