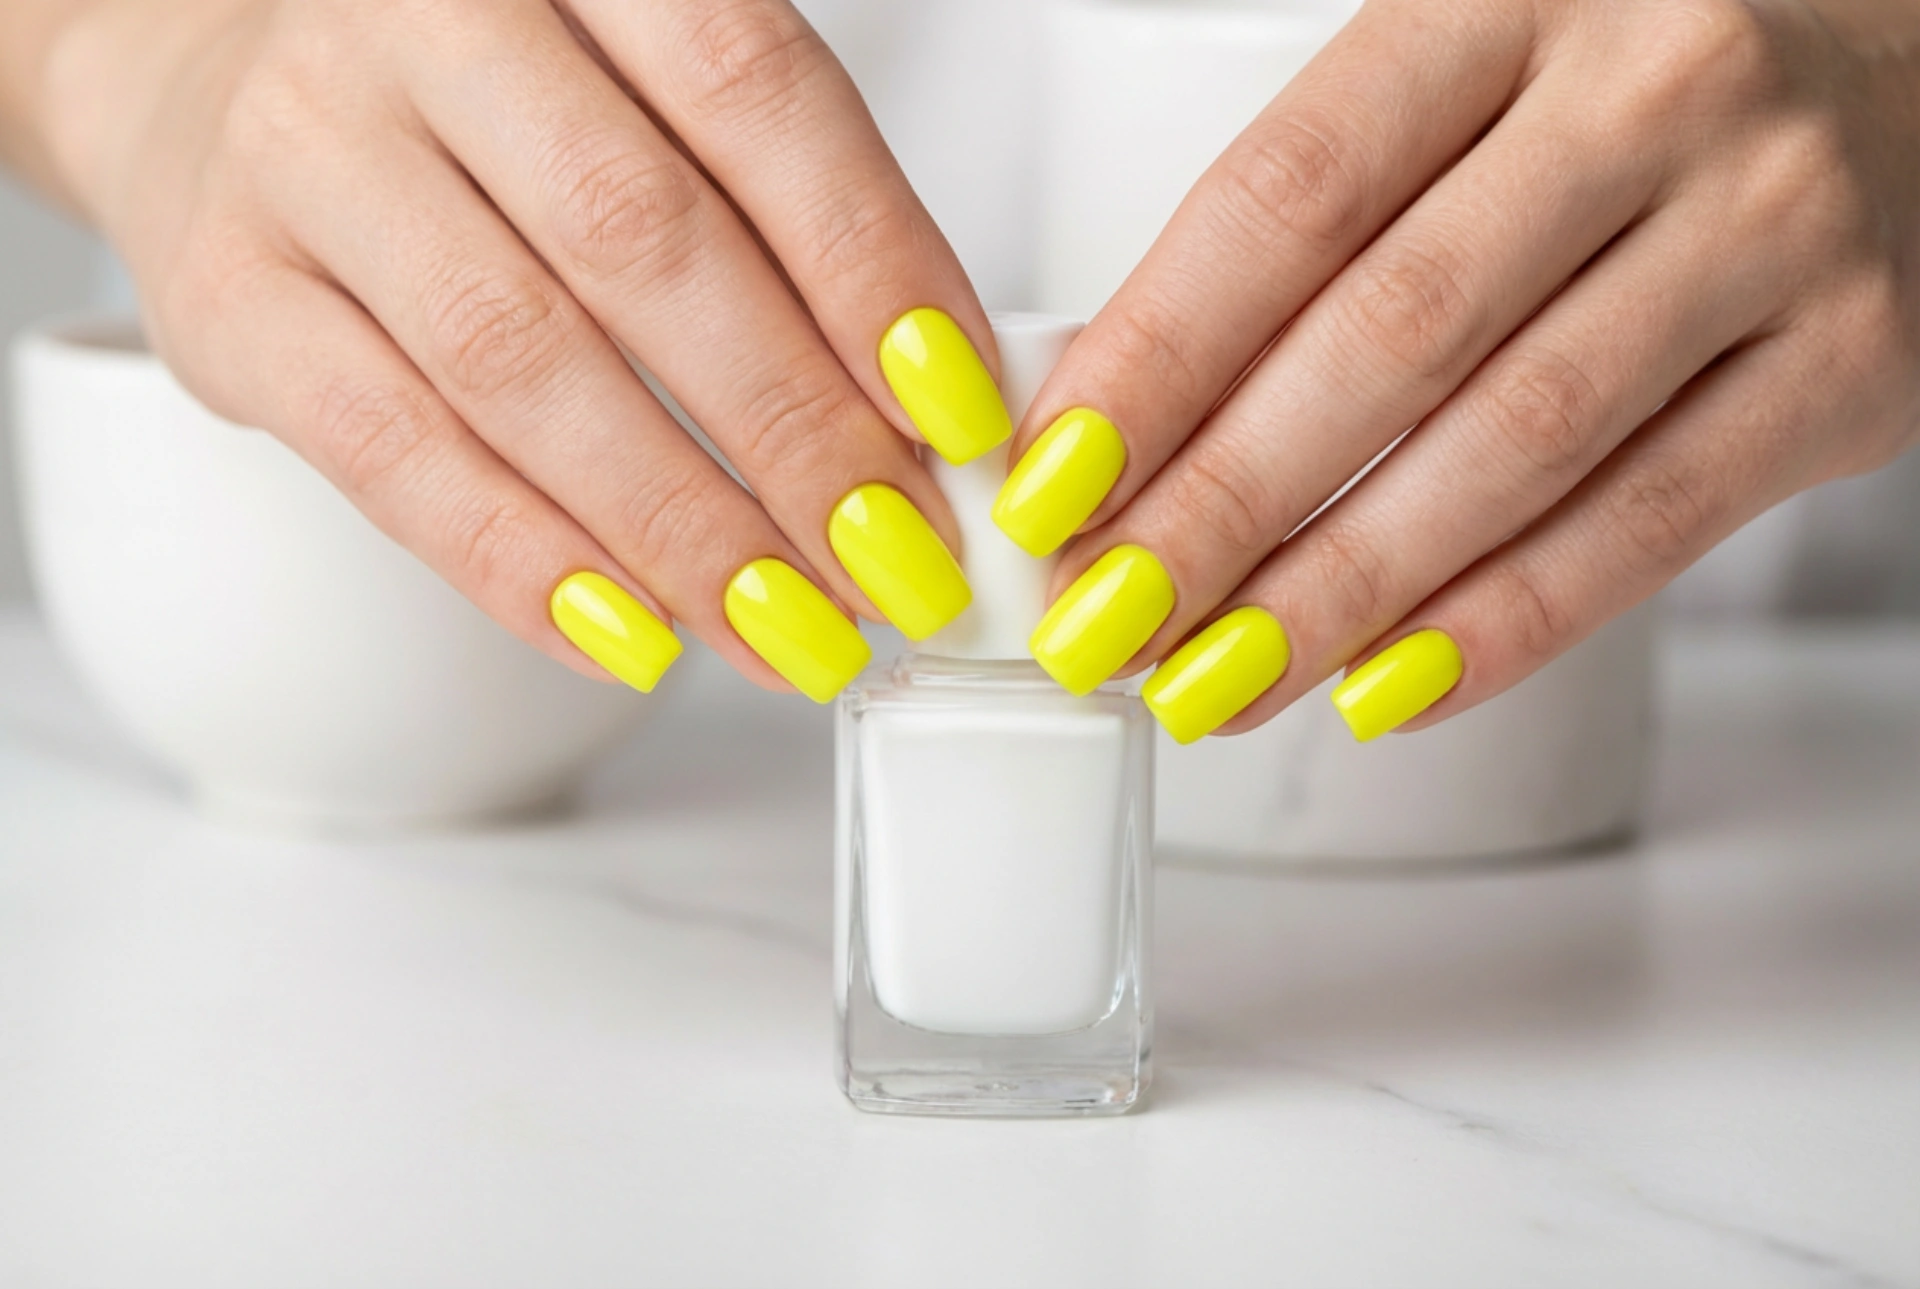


Bright, eye-catching nails have always been a staple of self-expression and modern beauty rituals. Among the most vibrant shades, neon yellow stands out as a bold, energetic choice that exudes confidence and summer warmth. However, achieving a perfectly smooth, glossy finish with neon yellow polish can be surprisingly challenging. The high concentration of bright pigments often leads to an uneven, streaky application if not handled with care. To recreate the elegant look of flawless, streak-free neon yellow nails, a methodical approach to nail preparation and polish application is essential.
Understanding the Formula: Why Do Neon Colours Streak?
Neon nail polishes, particularly yellow hues, have unique chemical formulations. Unlike deep creams or metallic polishes, neon pigments are notoriously translucent and thin. Manufacturers often use a matte or semi-matte base to carry these bright pigments, which can dry rapidly and unevenly. When the polish dries too quickly on the brush, it leaves visible ridges and brush strokes. Understanding this characteristic helps in adapting your technique, as patience and specific layering strategies become the keys to success.
Essential Nail Preparation for a Flawless Surface
Any imperfection on the natural nail plate will be magnified by a bright neon shade. Before opening your polish bottle, take time to prepare your nails thoroughly:
- Shape and Smooth: Use a gentle nail file to shape the free edge, ensuring there are no snags. Gently buff the surface of the nail with a high-grit buffer to remove natural ridges, creating a flat canvas.
- Cuticle Care: Push back the cuticles gently. Polish adhering to the skin or cuticles leads to early lifting and ruins the clean, professional outline.
- Dehydrate and Cleanse: Wipe each nail with a lint-free pad soaked in a gentle dehydrating solution or rubbing alcohol. This removes natural oils and dust, allowing the base coat to adhere securely.
The Secret Weapon: The White Base Coat Trick
One of the most effective professional secrets for painting neon yellow nails without streaks is using an opaque white nail polish as an undercoat. Because neon yellow is naturally sheer, applying it directly onto the natural nail plate often requires three or four layers, which leads to a thick, bubbly, and uneven finish.
By applying a single, thin, and completely even layer of classic white polish first, you create a neutral, bright background. This white canvas does two things: it neutralises the natural pink or beige undertones of your nail bed, and it makes the neon yellow colour appear incredibly vibrant with just one or two thin coats. Allow this white base to dry completely before proceeding to the neon application to prevent the layers from dragging.
Step-by-Step Application Technique for Streak-Free Results
When you are ready to apply the neon yellow polish, precision and patience are paramount. Follow these structured steps to ensure a smooth, professional result:
1. Control the Amount of Polish
Wipe one side of the brush completely against the neck of the bottle. The other side should hold a small bead of polish, just enough to cover one nail. Too much product causes flooding, while too little leads to dragging and immediate streaking.
2. The Three-Stroke Method
Place the brush a fraction of a millimetre away from the cuticle line, press down gently so the bristles fan out, and glide down the centre of the nail to the free edge. Next, sweep down the left side, and finish with a sweep down the right side. Keep the brush almost parallel to the nail plate to avoid scraping away the wet polish.
3. Keep Layers Extremely Thin
It is always better to apply two or three paper-thin layers than one thick layer. Thin layers dry faster, reduce the risk of air bubbles, and allow you to build opacity gradually and evenly.
4. Cap the Free Edge
At the end of each coat, lightly sweep the brush along the very edge of the nail tip. This seals the polish, prevents chipping, and ensures a clean, cohesive look from every angle.
Sealing and Protecting Your Neon Manicure
To complete your refined beauty ritual, a high-quality top coat is indispensable. Once your neon layers are dry to the touch, apply a generous layer of a glossy, quick-drying top coat. This step serves multiple purposes. First, it smooths out any minor texture differences or tiny brush strokes that may have occurred during the neon application. Second, it provides a protective shield against daily wear, preventing premature chipping and fading.
Because neon pigments can be sensitive to ultraviolet light, choosing a top coat with UV protection can help maintain the vibrant, fresh look of your yellow manicure for longer. Let your nails dry fully in a quiet, relaxed environment, enjoying the process of self-care and the beautiful, professional-looking outcome.




