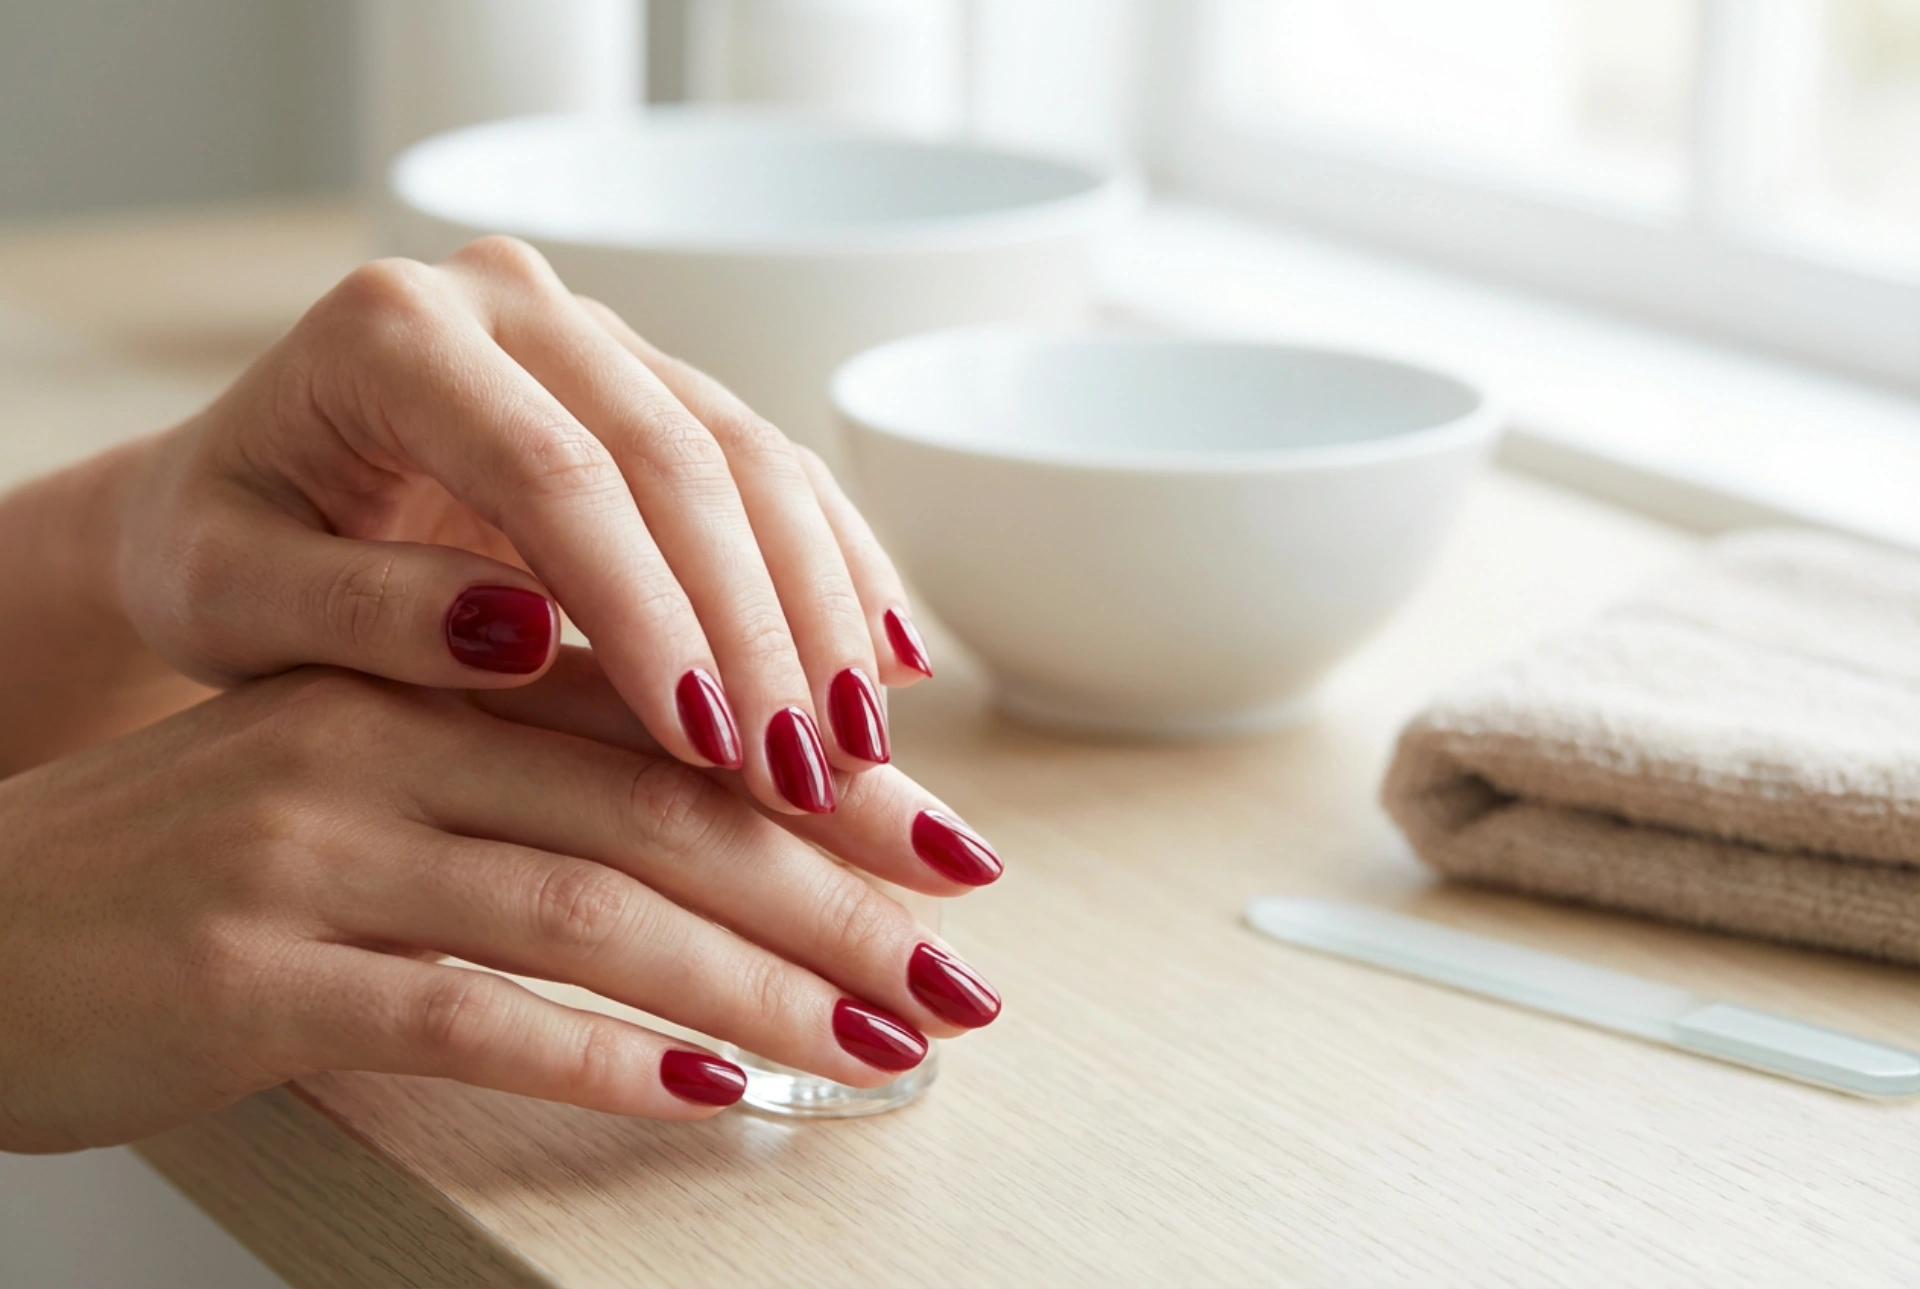


Red gel nails are a timeless symbol of elegance and confidence. A perfectly executed manicure, glowing with a rich, glossy finish under natural light, can elevate any look and serve as a beautiful daily ritual. Creating this classic look at home requires precision, starting from the structural foundation to the final high-shine top coat. Understanding the steps of nail preparation, building, colouring, and shining is key to achieving a professional, long-lasting result. Whether you are prepping for a special occasion or simply enjoy the meditative process of self-care, mastering the gel technique allows you to enjoy flawless, salon-quality hands from the comfort of your own home.
Nail Preparation: The Essential Foundation
The longevity of any gel manicure depends entirely on how well the natural nail plate is prepared. Skipping or rushing this step often leads to premature lifting and chipping. To begin, thoroughly wash and sanitise your hands. Use a high-quality wooden stick or a cuticle pusher to gently push back the cuticles. It is crucial to remove any dead skin from the nail plate, as gel will not adhere to skin.
Shaping and Buffing
Next, use a 180-grit file to shape the free edge of your nails into your desired look, whether that is a classic oval, a modern almond, or a sleek square. Once the shape is achieved, use a gentle buffer to lightly remove the natural shine from the nail surface. This step should be done with care—the goal is simply to create a slightly textured surface for the gel to grip onto, not to thin the natural nail. Finish by wiping away all dust with a lint-free wipe soaked in a gentle nail cleanser.
Dehydrating and Priming
To ensure maximum adhesion, apply a dehydrator to remove any remaining moisture and natural oils from the nail plate. Follow this with a thin layer of a non-acid primer. The primer acts like double-sided tape, creating a secure bond between the natural keratin of your nail and the base gel layer. Allow it to air-dry completely before moving on to the next step.
Mastering the Builder Gel
The architecture of the nail is what gives gel manicures their durability and beautiful, natural curve. Builder gel is used to strengthen the natural nail and, if desired, extend its length. This step is essential for preventing breakage, especially for longer nails.
Applying the Base Layer
Start by applying a very thin, even layer of base gel over the entire nail, making sure to avoid the cuticles and side walls. Cure this layer under your LED or UV lamp according to the manufacturer's guidelines. This base acts as a protective shield and provides a smooth surface for the builder gel.
Building the Apex and Structure
Place a medium-sized bead of builder gel near the centre of the nail, slightly below the cuticle area. Using a detail brush, gently guide the gel towards the cuticles, sides, and free edge, keeping the bulk of the product in the middle to form the "apex"—the strongest point of the nail. One of the best tips for achieving a smooth, self-levelled surface is to turn your hand upside down for a few seconds before curing. This allows gravity to pull the gel into a perfect, smooth dome shape. Once satisfied with the shape, cure it immediately in the lamp.
Filing and Refining the Shape
After curing the builder gel, wipe off the sticky dispersion layer with a cleanser. Use your file to refine the surface, ensuring the transition near the cuticles is completely flat and seamless, and the overall structure is symmetrical. Buff the surface smooth and wipe away any remaining dust.
Applying the Perfect Red Colour
Red is a demanding shade that beautifully highlights the hands but also reveals any application mistakes. Precision and patience are highly recommended when working with such vibrant pigments.
Thin and Even Layers
When applying red gel polish, the golden rule is to apply two extremely thin layers rather than one thick coat. Thick coats of highly pigmented polish may not cure properly in the lamp, leading to bubbling or peeling. Gently brush the polish onto the nail, starting slightly away from the cuticle and pushing it upwards carefully to create a clean, round line. Cure each layer thoroughly.
Capping the Free Edge
Never forget to "cap" the free edge of the nail. This means running the brush lightly along the very tip of the nail with both the colour and top coat. Capping seals the layers together, protecting the tip of the nail from moisture and daily wear, which significantly reduces the risk of chipping.
Common Mistakes to Avoid During Application
To ensure your red gel manicure remains flawless for weeks, it is helpful to be aware of a few common pitfalls that can occur during the home application process. Addressing these details will save time and ensure a professional finish every time.
Flooding the Cuticles
One of the most frequent errors is allowing gel polish or builder gel to run into the cuticle area or side walls. If cured, this creates a lip that will inevitably catch on hair and clothing, causing the entire gel overlay to lift. Always keep a clean wooden stick or a fine brush on hand to wipe away any excess product before placing your hand in the lamp.
Improper Curing Times
Each gel formula has specific curing requirements. Undercuring can leave the lower layers of the gel soft, leading to peeling or allergic sensitivities over time. Always ensure your lamp is clean and functioning well, and strictly follow the recommended curing times for your specific products.
The Ultimate High-Gloss Finish
The final touch is what transforms a simple red manicure into an eye-catching, glass-like masterpiece. The top coat protects the colour from fading and scratches while adding incredible depth to the red pigment.
Selecting and Applying the Top Coat
Apply a generous but controlled layer of a high-shine, no-wipe top coat over the cured red polish. Ensure the coverage is completely even and free of air bubbles. Cure this final layer for the recommended time to achieve maximum hardness and shine.
Post-Manicure Nourishment
Once the nails are fully cured, allow them to cool down for a minute before touching them. Finish your beauty ritual by massaging a drop of nourishing cuticle oil containing natural sweet almond or jojoba oil into the surrounding skin. This not only hydrates the skin but also accentuates the glossy, immaculate appearance of your newly created red gel nails.




