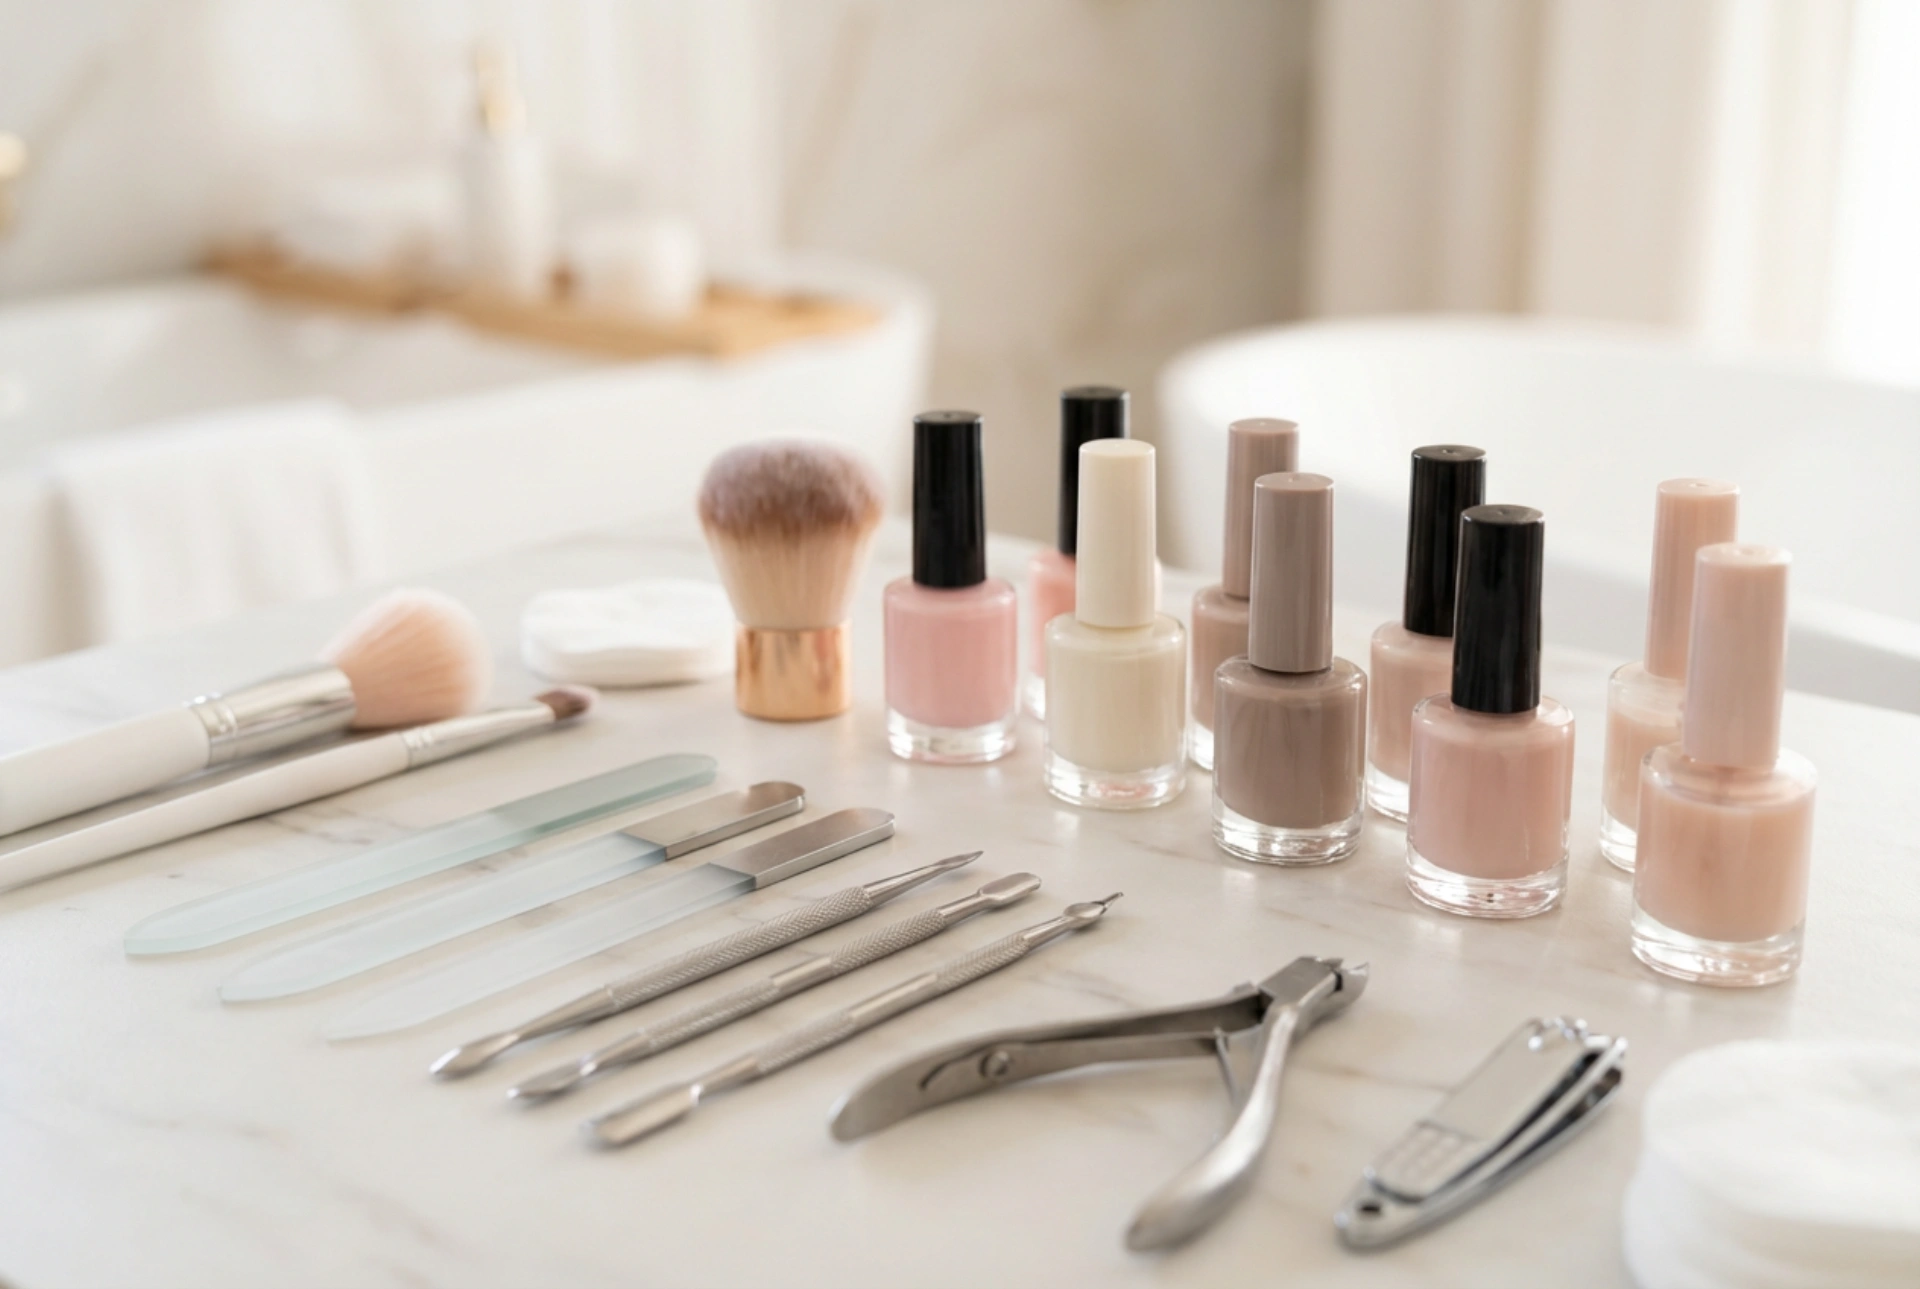


A beautifully organised manicure space with elegant, glossy bottles in pastel shades and high-quality accessories is more than just an aesthetic visual. It represents the starting point of a perfect home beauty ritual. Taking care of your nails with a gel manicure kit allows you to achieve professional, long-lasting results in the comfort of your own home. Creating your personal kit might seem overwhelming at first, but selecting the right generic tools and mastering the step-by-step technique is the key to a flawless, chip-resistant finish.
Essential Tools for Your Home Gel Manicure Kit
Assembling the perfect set requires a balance of preparatory tools and curing equipment. Unlike traditional nail polish, gel formulations require specific wavelengths of light to harden, making a high-quality lamp the centrepiece of your collection. Here are the essential accessories you need to gather before beginning your journey:
- LED or UV Lamp: A reliable lamp with a built-in timer is crucial for curing the gel layers efficiently. Opt for a device with a modern LED light source, as it cures products much faster than traditional UV bulbs.
- Nail Files and Buffer Blocks: A fine-grit file (such as a 180/240 grit) is ideal for shaping the edge of your natural nails. A soft buffer block is necessary to gently remove the natural shine from the nail plate, allowing the base coat to adhere securely.
- Cuticle Tools: A wooden orange stick or a dual-ended metal pusher helps tidy the cuticle area. Clean nail beds ensure the gel does not lift prematurely.
- Lint-Free Wipes and Cleanser: Regular cotton pads leave tiny fibres behind, which can ruin your smooth finish. Specialised lint-free wipes soaked in an alcohol-based cleanser are essential for removing oils and the sticky residue.
Liquids and Preparations for Longevity
The secret to a manicure that lasts up to three weeks lies in the preparatory liquids and the quality of your base and top coats. When selecting your liquids, look for generic, dermatologically tested formulations that respect the natural structure of the nail plate.
The Power of Primers and Dehydrators
Before any colour is applied, the nail must be completely free of moisture and natural oils. A dehydrator temporarily dries out the top layers of the nail plate, while an acid-free primer acts like double-sided tape, creating a strong bond between the natural nail and the gel base coat. Applying these products sparingly prevents premature lifting near the edges.
Base, Colour, and Top Coats
Your base coat is the protective layer that shields your natural nail from pigment staining while providing a smooth surface for the colour. For the colour coat, selecting elegant pastel or classic neutral shades offers a timeless aesthetic that complements any style. Finally, the top coat seals in the design. You can choose a high-gloss finish or a modern matte effect depending on your personal preference.
Step-by-Step Guide to a Flawless Application
Patience and precision are your best tools when applying a gel manicure at home. Following a systematic approach ensures a beautiful, even finish that looks as though it was crafted by a professional.
Step 1: Preparation
Begin by shaping your nails with a nail file. Gently push back your cuticles using a wooden stick. Next, use the buffer block to lightly mattify the surface of each nail, paying close attention to the areas near the cuticles and side walls. Wipe away all dust with a lint-free wipe saturated with cleanser.
Step 2: Base Coat Application
Apply a very thin layer of base coat, ensuring you do not touch the surrounding skin or cuticles. Be sure to cap the free edge of the nail by running the brush along the very tip. Cure this layer under the LED lamp for the duration recommended, usually 30 to 60 seconds.
Step 3: Colour Application
Apply your chosen neutral or pastel gel polish in thin, even strokes. It is always better to apply two thin coats rather than one thick layer, as thick layers may wrinkle under the lamp. Cure each coat separately under the lamp.
Step 4: Sealing with Top Coat
Finish your manicure by applying a layer of top coat, remembering to cap the free edge once more. Cure under the lamp. If your top coat leaves a sticky residue, wipe it clean using a fresh lint-free wipe and cleanser. Finish the treatment by applying a nourishing cuticle oil to restore moisture.
Safe Practices and Home Nail Care
Maintaining the health of your natural nails is just as important as achieving a beautiful look. Always allow your nails to rest periodically between applications, and use nourishing hand creams to keep your skin hydrated. When removing the gel, never scrape or peel the product off, as this can strip the delicate layers of your natural nail plate. Instead, use a gentle soaking method with cosmetic acetone to dissolve the product safely.




