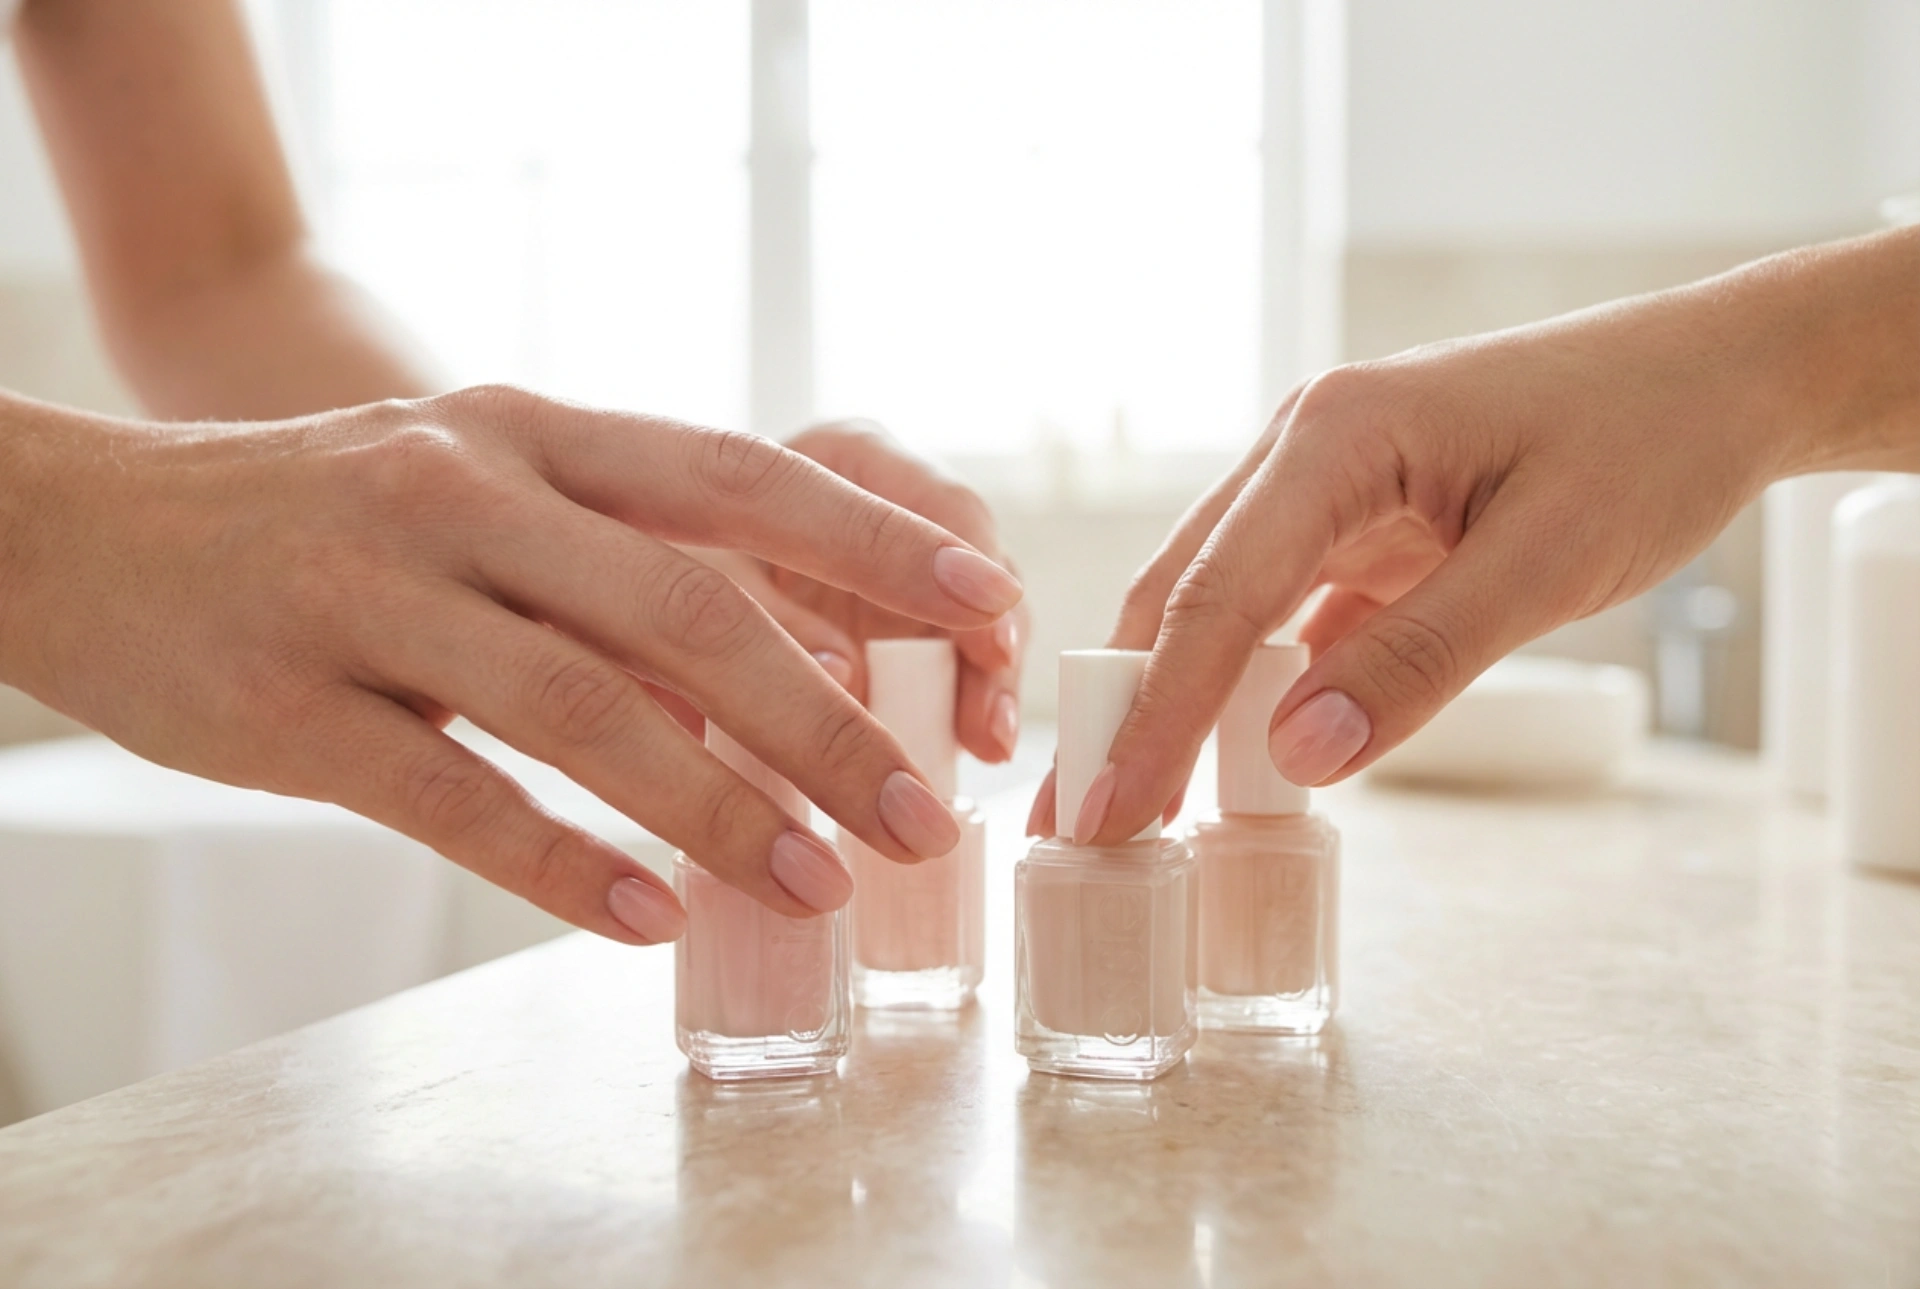


An elegant, pristine manicure has the power to elevate any look, and few designs achieve this quite as effortlessly as the ombre nail. Visualising a soft, seamless transition from a delicate blush pink to a sophisticated nude, illuminated by gentle natural light, instantly evokes a sense of modern refinement. The beauty of this gradient effect lies in its subtle transition, which creates an illusion of elongated fingers and a pristine finish. However, achieving this perfect blend requires more than just a steady hand; it begins with a conscious and thoughtful selection of complementary hues that harmonise with your natural skin tone.
The Philosophy of Ombre: Why Colour Harmony Matters
The term ombre originates from the French word for shading, and in the world of nail art, it refers to the gradual blending of one colour into another. To achieve a professional-looking result at home, the selection of your colour palette is paramount. When hues are chosen without careful consideration, the transition can appear stark, muddy, or disjointed, detracting from the desired elegance.
A conscious approach to colour selection involves understanding how different shades interact on a small canvas. For a classic, everyday look, pairing a soft blush pink with a warm nude offers a timeless appeal. These shades mimic the natural tones of the nail bed and fingertips, making the gradient appear organic and sophisticated. For those wishing to experiment with bolder palettes, the same principles of colour theory apply: selecting shades that share a common undertone ensures a smooth, visually pleasing transition.
How to Choose Your Shades Based on Skin Undertones
To make your ombre manicure truly stand out, it is beneficial to align your colour choices with your skin's natural undertones. Just as in cosmetics, understanding whether your skin is cool, warm, or neutral can guide you towards the most flattering combinations.
- Cool Undertones: If your skin has hints of blue or pink, opt for cool-toned nudes, pastel pinks, and soft mauves. These shades will complement your natural colouring without looking washed out.
- Warm Undertones: For skin with golden, peach, or yellow undertones, warm peach-nudes, soft beige, and apricot-tinted pinks create a beautiful, glowing effect.
- Neutral Undertones: If you fall somewhere in between, you have the flexibility to experiment with both warm and cool shades. Classic dusty rose paired with a neutral beige works exceptionally well.
By taking the time to observe how different bottles of polish look against your bare skin in natural light, you can avoid shades that clash or make the hands appear tired. The goal is to enhance your natural beauty with a clean, polished finish.
Step-by-Step Guide to a Flawless Ombre Manicure
Creating a beautiful gradient at home is an accessible art form that requires patience, a few simple tools, and a methodical approach. Follow these steps to achieve a seamless blend.
Step 1: Preparation is Key
Begin by preparing your nails. Cleanse the nail plate thoroughly to remove any natural oils, reshape the edges with a gentle file, and push back the cuticles. A clean canvas ensures that your polish adheres smoothly and lasts longer. Apply a high-quality base coat to protect the natural nail and create an even surface.
Step 2: Apply the Base Colour
Choose the lighter of your two selected shades to serve as your base. Apply one or two thin, even coats of this colour across the entire nail and allow it to dry completely. Having a dry base prevents the subsequent layers from smudging or dragging during the blending process.
Step 3: Preparing the Blending Tool
A simple, fine-textured cosmetic sponge is the best tool for creating a soft gradient. Lightly dampen the sponge with water and squeeze out any excess; this prevents the sponge from absorbing too much polish. Paint two horizontal, overlapping stripes of your chosen colours directly onto the edge of the sponge. Ensure the colours touch and slightly overlap where they meet to pre-blend the transition.
Step 4: Dabbing and Blending
Gently press the sponge onto your nail, moving it slightly up and down to diffuse the line where the two colours meet. Use light, bouncing motions rather than dragging the sponge. It is always best to apply several thin layers rather than one thick one. Allow each layer to dry for a minute before repeating the process to build up the intensity of the gradient.
Step 5: Clean-up and Protection
Once you are satisfied with the transition, use a small, flat brush dipped in gentle nail polish remover to clean up any excess product on the surrounding skin. This step instantly gives your manicure a sharp, professional appearance.
The Secret Weapon: The Role of the Top Coat
While the sponging technique creates the gradient, the magic truly happens when you apply the top coat. A generous layer of a clear, glossy top coat acts as a smoothing agent. It melts the boundaries between the colours, erasing any textured texture left by the sponge and transforming the gradient into a smooth, liquid-like transition.
For the best results, apply the top coat while the ombre layer is still slightly damp. This allows the colours to blend together even more seamlessly. Be sure to cap the free edge of your nails to prevent chipping and seal in your hard work.
Maintaining Your Ombre Manicure
To keep your elegant hands looking pristine, daily maintenance is recommended. Apply a nourishing cuticle oil every evening to keep the skin surrounding your nails hydrated and healthy. Well-moisturised cuticles frame the ombre design beautifully, highlighting the meticulous effort put into your colour selection and application. Protect your hands from harsh detergents by wearing gloves during household chores, ensuring your beautiful gradient remains flawless for days to come.




