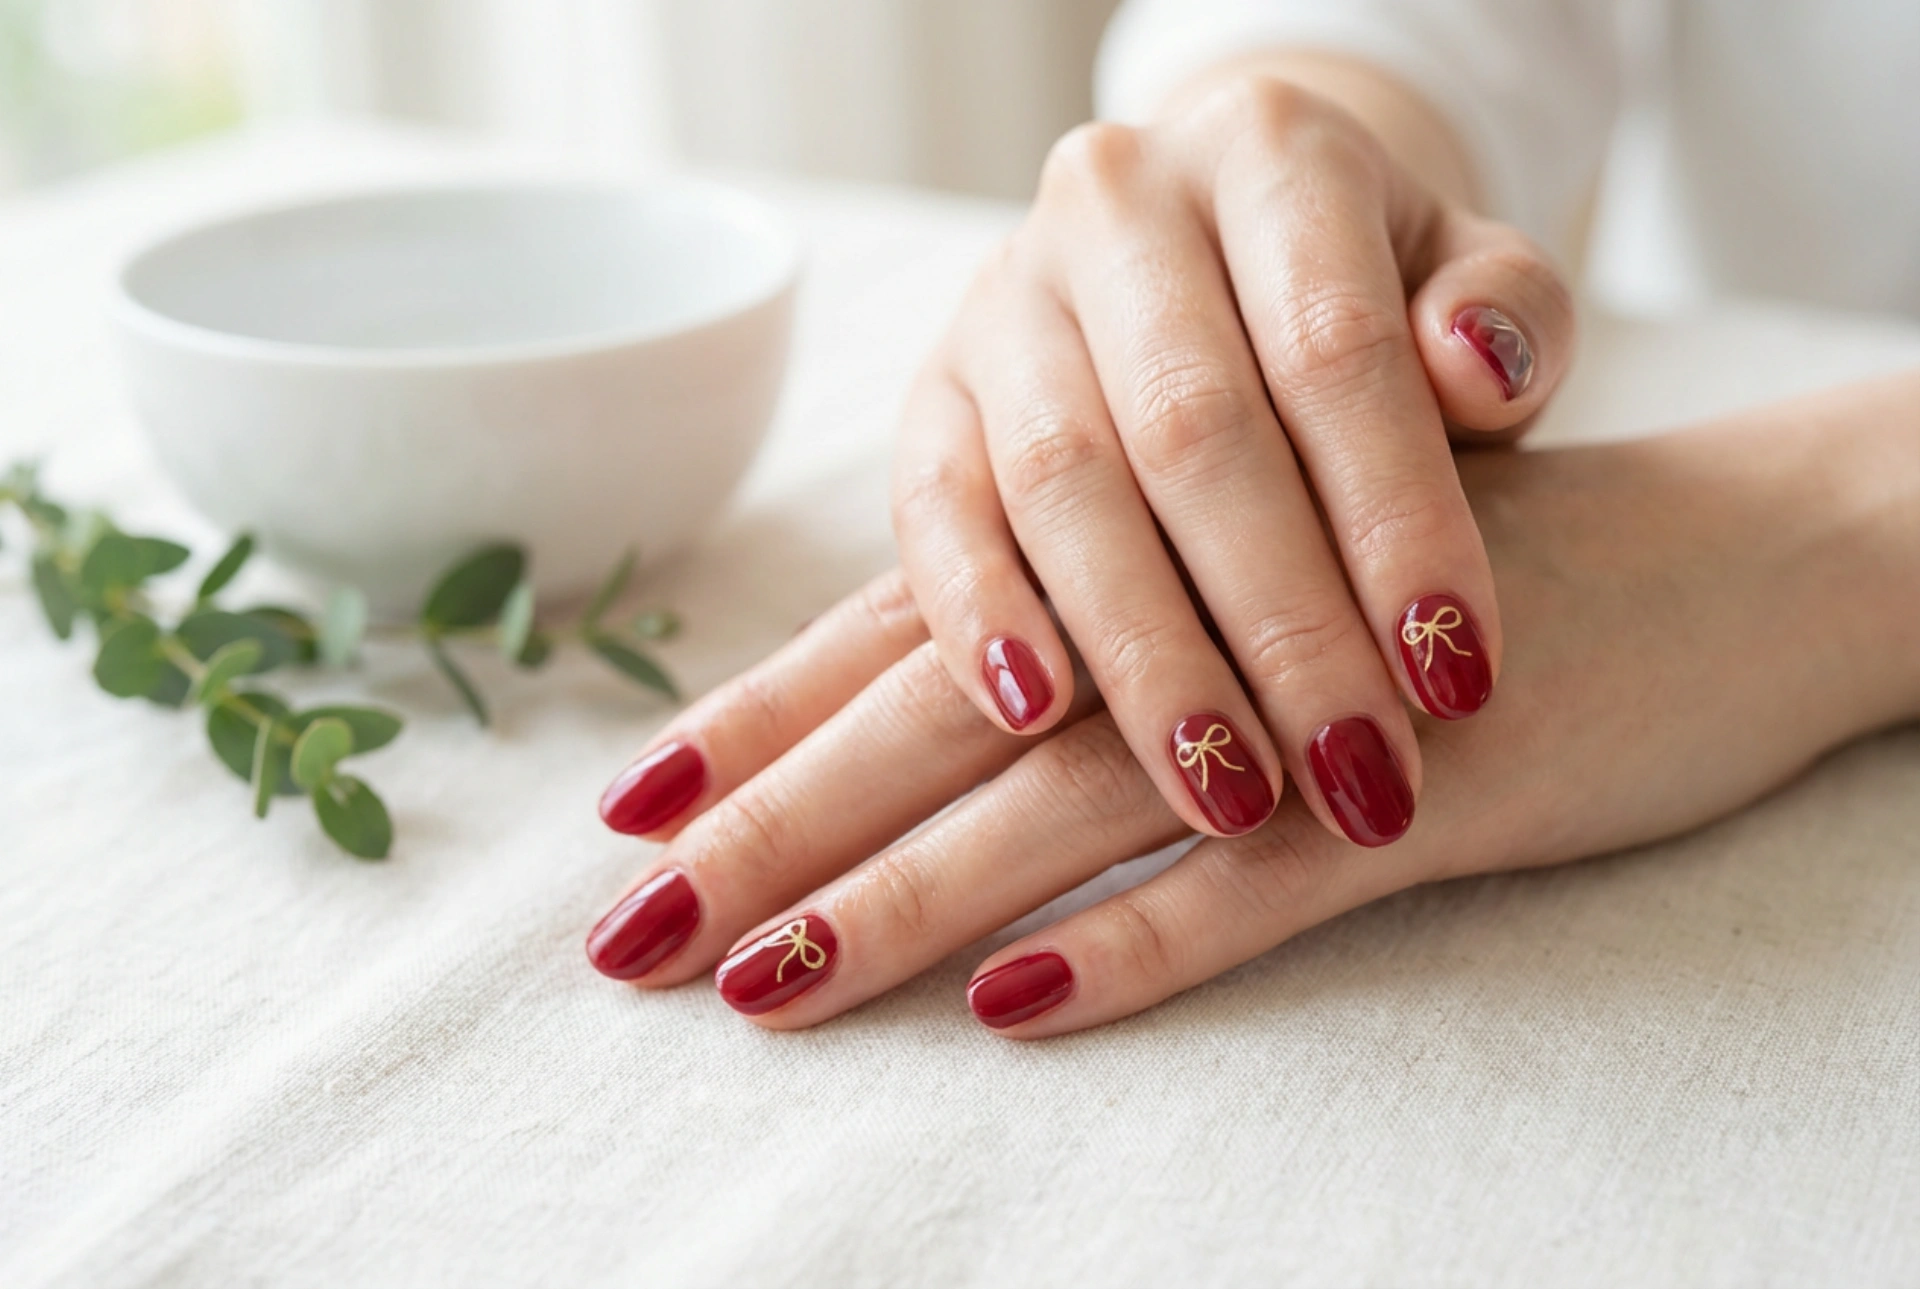


Beautifully manicured hands featuring a vibrant, glossy red polish are the ultimate symbol of classic elegance. When enhanced with a delicate bow design, this timeless manicure gains a playful yet sophisticated charm. Whether you prefer a subtle, minimalist look or intricate details highlighted by soft, natural light, bow-themed nail art offers a versatile way to express your personal style. Recreating this graceful design at home is entirely achievable through various accessible techniques, such as freehand painting, using stickers, or exploring nail stamping plates.
The Timeless Appeal of Red and Bows
Red nail polish has always held a special place in the world of beauty, exuding confidence and refinement. Introducing a delicate bow motif softens this bold hue, creating a balanced and romantic aesthetic. This style works wonderfully on any nail shape, from classic oval to modern almond, making it a universal choice for both special occasions and everyday wear. The key to a polished look lies in clean execution, ensuring that the details remain delicate rather than overwhelming.
Perfecting Fine Lines: The Freehand Approach
For those who love the creative process, hand-painting delicate bows with a detail brush is a rewarding method. This technique allows for complete customization of the bow’s shape and size. To succeed with freehand lines, consider these tips:
- Choose a very thin detailing brush with synthetic bristles for maximum control.
- Use a highly pigmented polish so you do not need to trace over your lines twice.
- Rest your hands on a flat, stable surface to minimize shaking and ensure steady strokes.
- Start with a small dot for the centre of the bow, then gently pull two loops outward and add two soft tails.
Alternative Tool: The Dotting Tool
If a fine brush feels too challenging, a simple dotting tool can help create the basic structure of the bow. By placing two dots side by side and dragging them inward to meet in the middle, you can easily form the loops of a cute, stylized bow.
Effortless Elegance with Nail Stickers
If you are looking for a quick and flawless result without the need for a steady hand, nail stickers and water decals are the perfect alternative. Modern stickers offer incredibly fine lines and intricate details that can be difficult to replicate by hand. To apply them seamlessly, follow these steps:
- Ensure your red base coat is completely dry to prevent the sticker from lifting or shifting.
- Use tweezers to carefully peel the sticker from its backing and place it onto the nail.
- Gently press the decal down, smoothing out any air bubbles or creases from the centre outward.
- Seal the entire design with a generous layer of high-gloss top coat to secure the edges and create a smooth, unified surface.
Achieving Symmetry with Nail Stamping
For a middle ground between hand-painting and stickers, nail stamping offers a fantastic way to achieve consistent, symmetrical bow patterns across all your nails. This technique uses a metal plate with engraved designs, a silicone stamper, and a scraper. To master stamping, apply a small amount of contrasting polish over the bow design on the plate, scrape away the excess at a forty-five-degree angle, press the silicone stamper firmly over the design, and roll it gently onto your nail. This method provides clean, professional-looking details with minimal effort.
Essential Tips for a Flawless Finish
No matter which technique you choose, the durability of your manicure depends heavily on the preparation and the final sealing steps. Always start with clean, oil-free nails to ensure maximum adhesion. Once your bow art is complete and dry, applying a high-quality top coat is crucial. A glossy top coat not only protects the delicate lines and stickers from chipping but also enhances the vibrant depth of the red base, leaving your nails looking professionally done and beautifully refined.




