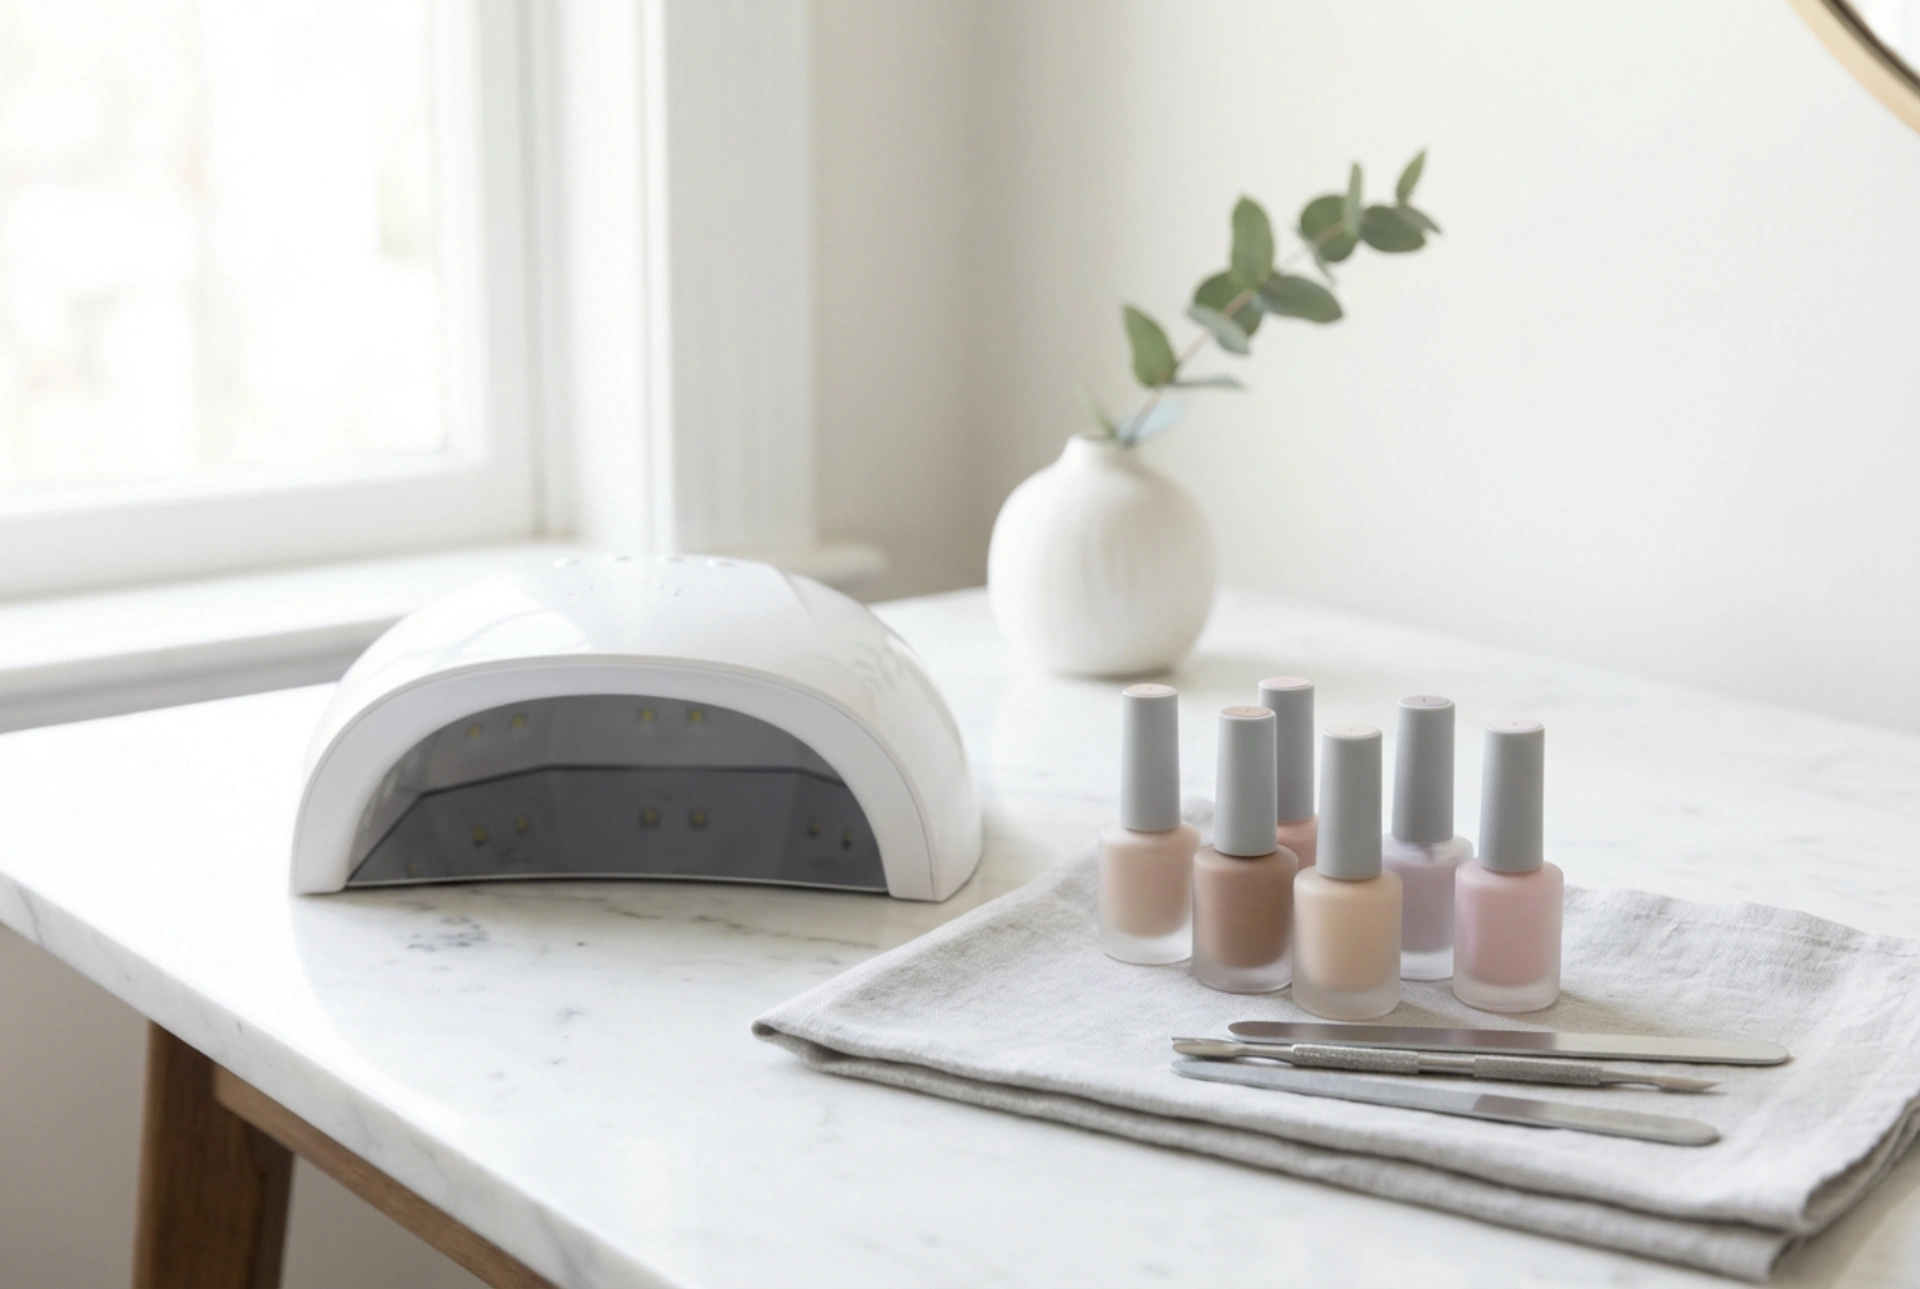


Creating a dedicated space for personal grooming can turn a daily beauty routine into a relaxing ritual. A pristine white vanity table adorned with a sleek, modern LED nail lamp, generic polish bottles, and essential manicure tools offers a perfect picture of modern at-home care. Choosing the right nail kit with a lamp allows you to achieve elegant, durable results in the comfort of your own home. However, with so many options available on the beauty market, selecting the perfect set requires understanding what components are essential for a safe, satisfying experience.
Understanding the Essential Components of a Starter Nail Kit
When exploring various manicure kits, it is important to look beyond just the curing device. A complete set should contain everything needed for the entire process, from surface preparation to the final nourishing touch. A well-rounded kit typically includes essential files, buffers, a base coat, colour polishes, and a protective top coat. Having all these items bundled together ensures that the formulas are compatible with one another, which is key to achieving a smooth, long-lasting finish.
For those starting their journey with home manicures, a kit that provides a variety of neutral shades is highly recommended. This allows you to practice application techniques before experimenting with more complex designs or vibrant colours. Additionally, check if the set includes prep solutions, such as a dehydrator or a gentle cleanser, which are crucial for ensuring the polish adheres perfectly to the natural nail plate without lifting.
Choosing the Curing Lamp: UV versus LED Technology
The heart of any home nail kit is the curing lamp. There are two primary types of lamps available for home use: ultraviolet (UV) lamps and light-emitting diode (LED) lamps. Understanding how these devices function will help you make an informed decision based on your personal routine and preferences.
- LED Lamps: These devices are highly popular for home setups because they cure compatible polishes very quickly, often in thirty to sixty seconds. They are energy-efficient and the bulbs typically last for the lifetime of the device, meaning you will not need to worry about replacements.
- UV Lamps: Traditional UV lamps can cure a wider variety of gel formulas, but they generally require a longer curing time, usually around two minutes per layer. The bulbs in these devices also need to be replaced periodically to maintain their effectiveness.
- Dual UV/LED Lamps: Many modern kits now feature hybrid dual-source lamps. These combine the benefits of both technologies, offering rapid curing times while being compatible with almost all light-curable formulas on the market.
When selecting a lamp, pay attention to the wattage. For home use, a lamp with a power output between 24 and 48 watts is usually ideal. It provides sufficient power to cure the layers thoroughly without overheating or causing discomfort during the process.
Key Accessories and Preparation Tools
A beautiful manicure depends heavily on the preparation phase. A high-quality kit should include the right tools to groom the cuticles and shape the nails safely. Look for sets that contain a dual-ended cuticle pusher, preferably made of durable stainless steel or high-quality wood, and a selection of nail files with different grit levels.
A gentle buffer block is also essential for lightly removing the natural shine from the nail surface, which helps the base coat bond securely. To keep the process hygienic, lint-free wipes and a mild cleansing spray should be included. Standard cotton wool pads can leave tiny fibres behind, which can ruin the smooth finish of your polish under the lamp.
Step-by-Step Guide for a Safe Home Application
Once you have chosen your ideal kit, adopting a safe and methodical application technique is key to maintaining the natural strength of your nails. Begin by gently pushing back the cuticles and shaping the free edge of your nails with a fine file. Use a buffer very lightly; the goal is simply to remove surface oils, not to thin the natural nail plate.
Apply a very thin layer of the base coat, making sure to seal the free edge of the nail to prevent lifting. Cure this layer under your lamp for the recommended duration. When applying the colour polish, always work in thin, even layers. Applying thick layers can lead to incomplete curing, which may cause the polish to wrinkle or peel prematurely. Finish with a layer of top coat to seal in the colour and add a beautiful gloss or matte effect, then cure one final time.
Maintaining Your Equipment for Longevity
To ensure your home beauty corner remains clean and your equipment functions beautifully for years, regular maintenance is required. Always unplug your curing lamp before cleaning it. Use a dry or slightly damp lint-free cloth to wipe down the exterior and the interior reflective panels. Avoid using harsh chemical solvents directly on the lamp's bulbs or sensors.
Store your polishes upright in a cool, dark place away from direct sunlight and away from the curing lamp while it is in use, as accidental exposure to light can cause the formula inside the bottles to cure and harden. By keeping your tools organised and clean, you will ensure a safe, hygienic, and enjoyable manicure experience every time.




