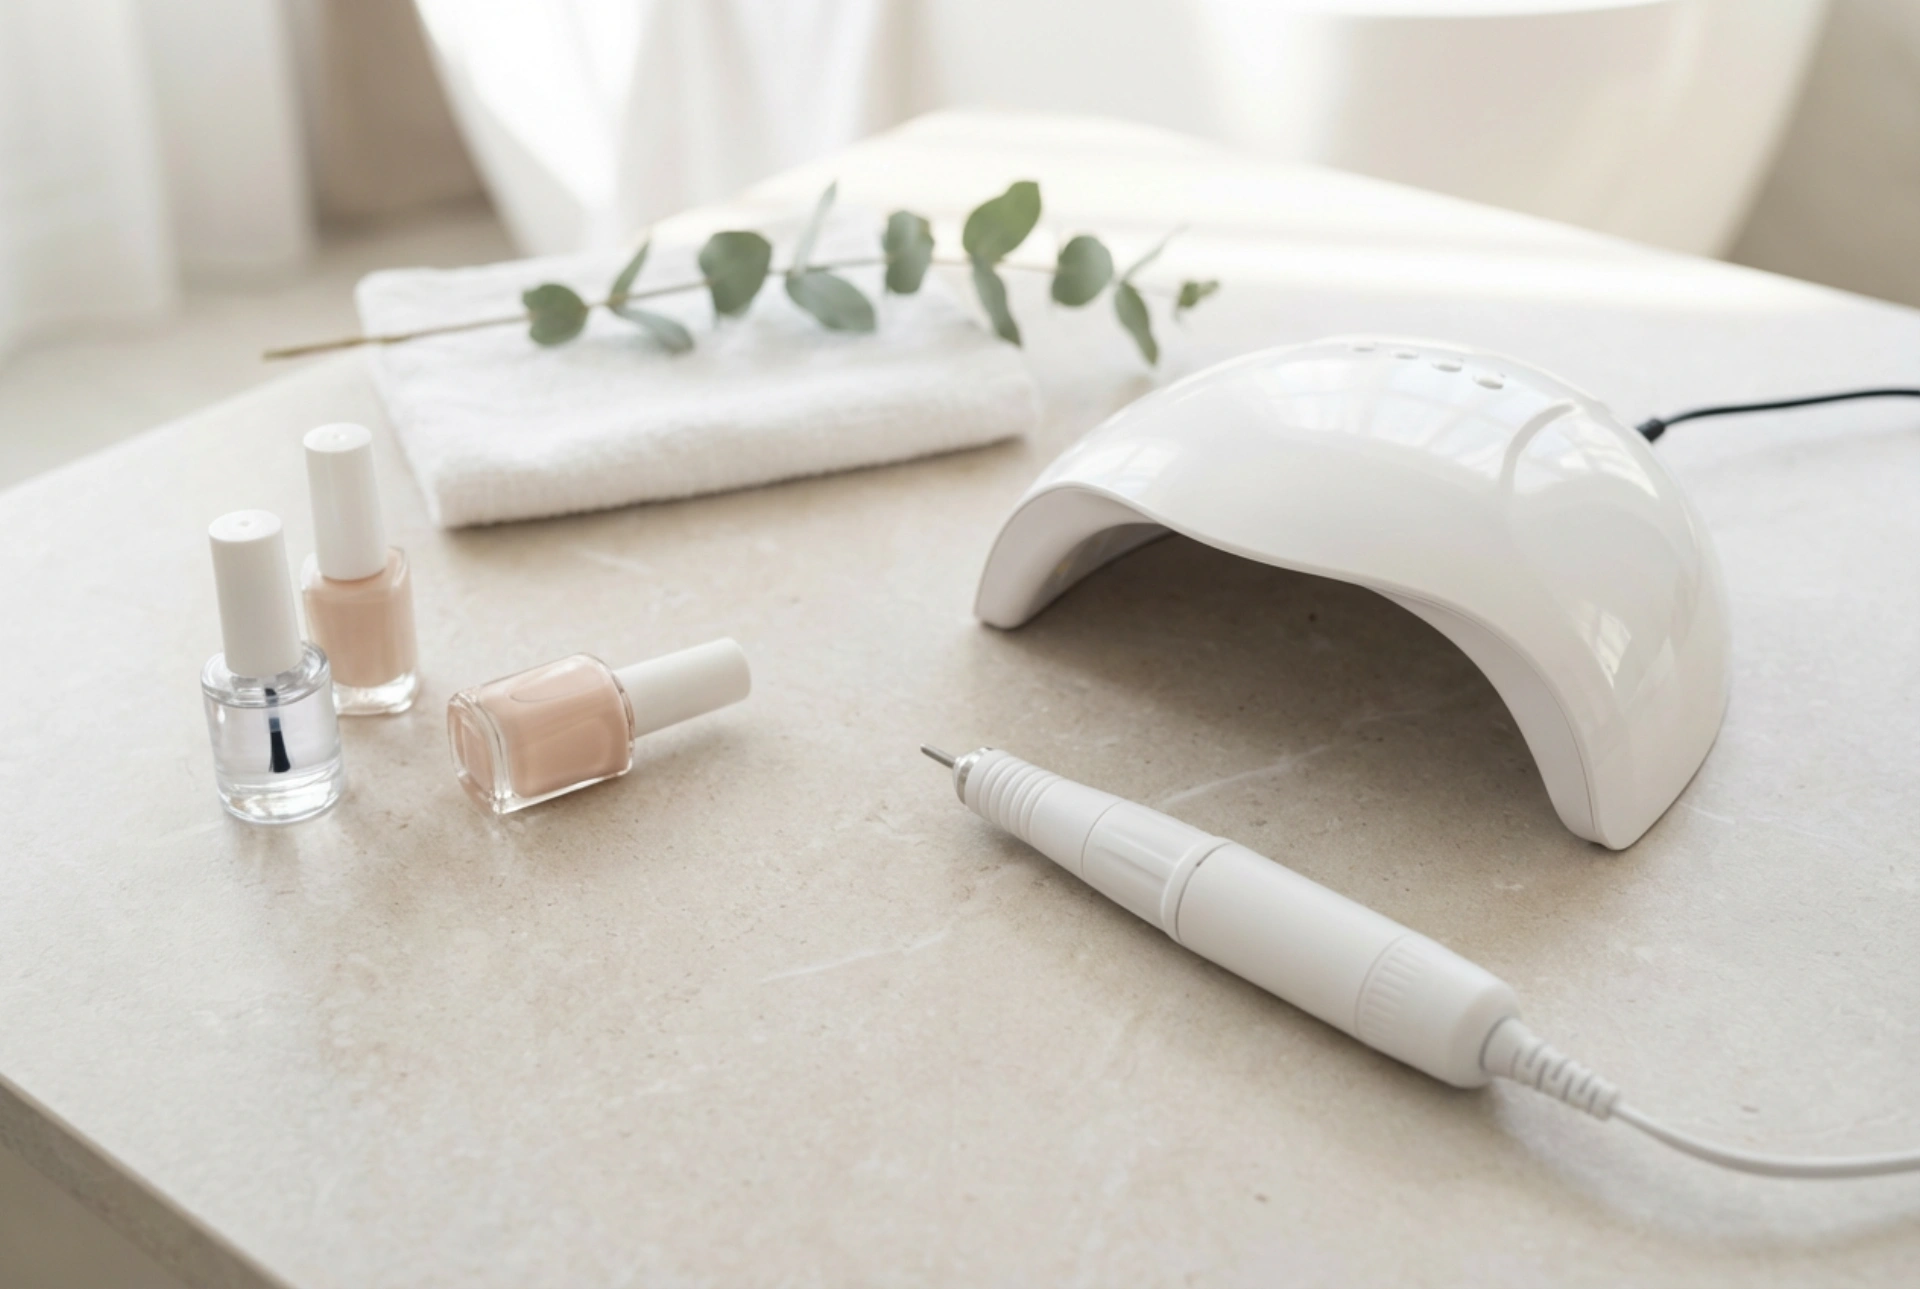


A beautifully styled home manicure station often begins with a couple of fundamental devices: a reliable curing lamp and an electric nail drill. When looking at a minimalist setup featuring a clean white LED lamp alongside a sleek, generic electric nail drill and elegant nude polishes, one appreciates the simplicity and sophistication of modern beauty tools. Achieving flawless, long-lasting results at home requires a harmonious combination of prep work and curing. Understanding how to select these two devices as a matching set and how to coordinate their use can elevate your routine, saving time while ensuring your nails remain strong and beautiful.
The Synergistic Relationship: Prep and Cure
To achieve a seamless manicure that lasts for weeks, the preparation stage is just as crucial as the final curing process. This is where the symbiotic relationship between your electric nail drill and nail lamp comes into play. The electric drill, often referred to as a nail file machine, handles the initial shaping, product removal, and cuticle refining. The nail lamp, on the other hand, is responsible for polymerising the gel, acrylic gel, or hybrid polish, locking the product into place.
Using these tools in tandem allows you to achieve a smooth, clean surface before applying any liquid products. When the nail plate is perfectly prepped and freed from old product residues, the subsequent layers of base coat and colour can adhere flawlessly. This pristine adhesion ensures that when the hand goes under the curing lamp, the gel bonds evenly without lifting or bubbling, resulting in a durable and sleek finish.
Key Features to Consider When Selecting an Electric Nail Drill
An electric nail drill is a versatile tool that can significantly speed up your nail routine, but choosing the right one requires looking at specific technical aspects. For home use, you do not need an overly noisy, industrial-strength machine, but you do need something stable and adjustable.
- Rotational Speed and Adjustability: Look for a drill that offers adjustable speeds, ideally ranging from 0 to at least 20,000 or 30,000 RPM (revolutions per minute). Lower speeds are ideal for gentle cuticle work, while moderate speeds work best for removing gel or acrylic layers.
- Vibration and Noise Levels: A high-quality handpiece should feel steady in your hand. Excessive vibration can cause hand fatigue and make precise movements difficult, which might damage the natural nail plate.
- Power and Torque: Even at lower speeds, the drill should maintain its power when meeting resistance. If the rotation slows down significantly when touching the nail, the machine lacks sufficient torque.
- Compatibility with Standard Bits: Ensure the device has a twist-lock system that accommodates standard 2.35 mm (3/32 inch) shank bits, allowing you to easily find replacement attachments.
Choosing the Perfect Curing Lamp: LED versus UV
Once the prep work is complete, your choice of curing lamp determines the durability of your manicure. Modern beauty standards highly favour dual LED/UV lamps due to their efficiency and safety features. When selecting a lamp, keep the following factors in mind:
- Wattage and Power: A lamp with a wattage of 36W to 48W is generally considered the sweet spot for home enthusiasts. It provides enough power to cure thick gels and dark colours thoroughly without causing unnecessary heat spikes.
- Dual Light Source Technology: Opt for a lamp that emits dual wavelengths (usually 365nm and 405nm). This ensures that the device can cure all types of light-cured products, whether they are formulated for traditional UV or modern LED systems.
- Sensors and Timer Settings: Built-in motion sensors that automatically activate the light when you insert your hand add convenience. Additionally, multiple timer options (such as 10, 30, 60, and a "low heat mode" of 99 seconds) allow you to customise the curing process to avoid heat discomfort.
- Ergonomics and Removable Base: A spacious interior allows you to cure all five fingers at once. A removable magnetic bottom plate is also highly practical, making the device easy to clean and comfortable to use for pedicures.
How to Coordinate the Work of Both Devices in Your Manicure Routine
To achieve the best results, you must establish a clear workflow that coordinates the use of both devices. Start with the electric drill to remove any existing styling. Using a medium-grit ceramic or carbide bit, gently glide over the old gel layer without applying downwards pressure. Once the bulk of the product is removed, switch to a fine diamond bit at a very low speed to clean the cuticle area and smooth any rough edges around the nail walls.
After completing the dry prep with the electric drill, thoroughly cleanse the nails to remove all fine dust particles. Any remaining dust can interfere with the curing process or cause premature peeling. Once the nails are clean, dry, and primed, you can begin applying your base gel. Insert your hand into the LED/UV lamp for the recommended curing time, usually between 30 and 60 seconds.
Repeat the application and curing cycles for your colour and top coats. By dividing your routine into a distinct prep phase with the drill and a precise curing phase with the lamp, you ensure maximum product adhesion and a glossy, professional finish.
Essential Maintenance for Longevity
Both your electric nail drill and curing lamp are investments that require regular care to perform optimally. Dust is the main enemy of both machines. After every session, wipe down the exterior of your lamp and the handpiece of your drill with a soft, slightly damp cloth. Avoid letting fine dust accumulate inside the drill’s motor or on the light diodes of the lamp, as this can reduce their lifespan.
Regularly sterilise and clean your drill bits, and store them in a dedicated case. For the lamp, ensure the reflective inner walls are kept free of gel residue, as any cured product on the LEDs can block the light waves and lead to under-cured nails. By keeping your tools pristine, you guarantee a safe and beautiful manicure experience every single time.




