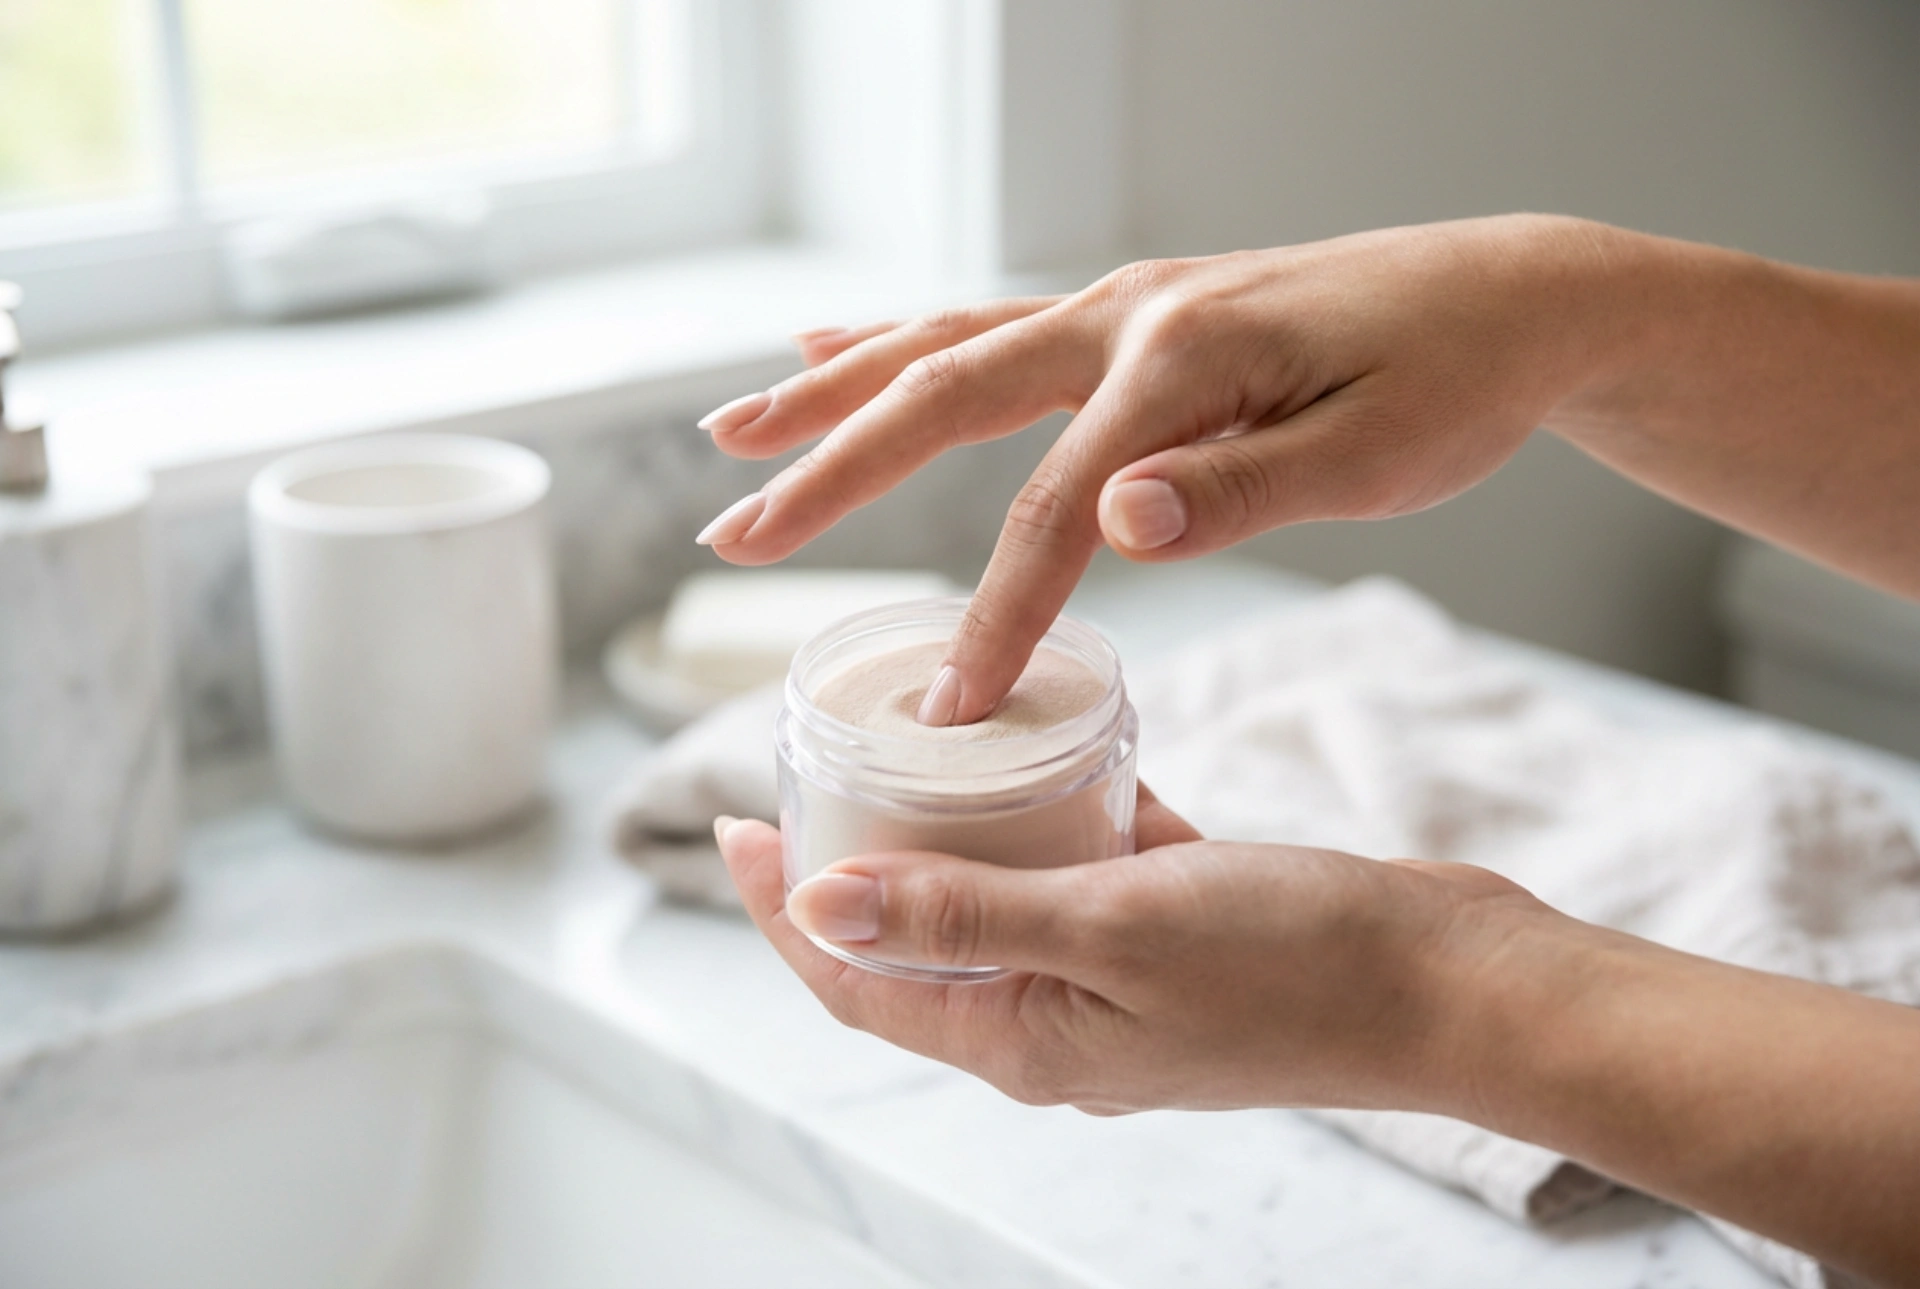


Beautifully manicured hands are a universal symbol of elegance and self-care. Picture a serene, minimalist setting where soft, natural light falls upon delicate hands, and a single finger is gently dipped into a small pot of fine, light-coloured powder. This precise, satisfying movement is the heart of the dip powder technique, commonly referred to as titanium manicures. Offering a perfect balance between durability and a lightweight feel, this method has transformed home nail care into a refined ritual. Achieving salon-quality results at home requires understanding the fundamental steps of plate preparation and the exact dipping technique.
Understanding the Dip Powder Technique
The dip powder method is an innovative approach to nail styling that does not require curing under a UV or LED lamp. Instead, the process relies on a system of adhesive liquids and finely milled acrylic powder enriched with vitamins and minerals to create a resilient, protective layer over the natural nail. It provides the strength of acrylics with the flexibility and ease of gel polish, making it an ideal choice for those looking to maintain strong, elegant nails without exposure to ultraviolet light.
This technique is particularly favoured for its longevity, often lasting up to three to four weeks without chipping. Because the powder is exceptionally fine, it adheres evenly to the liquid base, creating a smooth and uniform surface. By mastering the sequence of application, you can enjoy a flawless finish that looks both natural and sophisticated.
Essential Equipment for a Home Ritual
Before beginning the process, it is essential to gather the correct tools. Having everything arranged neatly in your workspace ensures a seamless and relaxing experience. You will need:
- A fine-grit nail file and a soft buffer block to shape and prep the plate.
- A cuticle pusher or orangewood stick to clear the nail bed.
- A dehydrator or prep liquid to remove natural oils and moisture.
- A base gel, which acts as the primary adhesive for the powder.
- A high-quality, finely milled dip powder in your chosen shade.
- An activator liquid to harden the powder and base layers.
- A glossy or matte top coat to seal the manicure and add shine.
- A soft, fluffy brush to sweep away excess powder between steps.
Step 1: Preparing the Nail Plate
The secret to a long-lasting manicure lies entirely in the preparation. Any residual oils, dust, or moisture left on the nail can prevent the adhesive from bonding correctly, leading to premature lifting. Begin by washing your hands thoroughly and drying them completely.
Use a cuticle pusher to gently push back the cuticles, ensuring the nail plate is completely clear. Next, shape the free edge of your nails using a fine-grit file, aiming for a consistent and smooth contour. Take your buffer block and very gently buff the surface of each nail to remove the natural shine. This step should be light and delicate; the goal is simply to create a slightly textured surface for the base coat to grip, not to thin the natural nail. Once buffed, wipe the nails with a dust brush or a lint-free wipe soaked in a dehydrating solution to ensure a clean, oil-free surface.
Step 2: The Art of Dipping
Once the nails are prepped, the dipping phase begins. This step requires a steady hand and careful attention to detail to avoid bulkiness. Work on one nail at a time to prevent the adhesive base from drying prematurely.
Apply a thin, even layer of the base gel to the nail plate, leaving a tiny gap near the cuticle line. This gap prevents the powder from sticking to the skin, which can cause lifting later. Hold your finger at a 45-degree angle and gracefully dip it into the pot of fine powder. Leave it immersed for a few seconds to allow the liquid to absorb the powder evenly. Gently tap your finger to release any loose particles, and use your soft brush to sweep away the remaining excess powder. Repeat this process a second time to build up the desired opacity and strength, ensuring each layer is thin and smooth.
Step 3: Activating, Filing, and Sealing
After completing the dipping process for all fingers, the next stage is curing and refining. Apply a generous layer of the activator liquid over the powder layers. This solution initiates a chemical reaction that hardens the formula, turning the soft powder into a solid, durable shield.
Allow the activator to dry completely for a couple of minutes. Once hardened, use your file and buffer to smooth out any unevenness, refine the shape, and slim down the edges. This step allows you to perfect the architecture of the nail, ensuring a natural profile. Wipe away any dust, apply a second light layer of activator, and wait for it to dry. Finish by applying two thin layers of the top coat to seal in the colour and provide a beautiful, protective shine.
Nurturing Your Hands and Cuticles
After your manicure is complete, take a moment to pamper your hands. Apply a nourishing cuticle oil to restore moisture to the skin around your nails. Gently massage the oil in, followed by a rich hand cream to keep your skin soft and hydrated. This simple post-manicure care completes the ritual, leaving your hands looking beautifully groomed and thoroughly refreshed.




