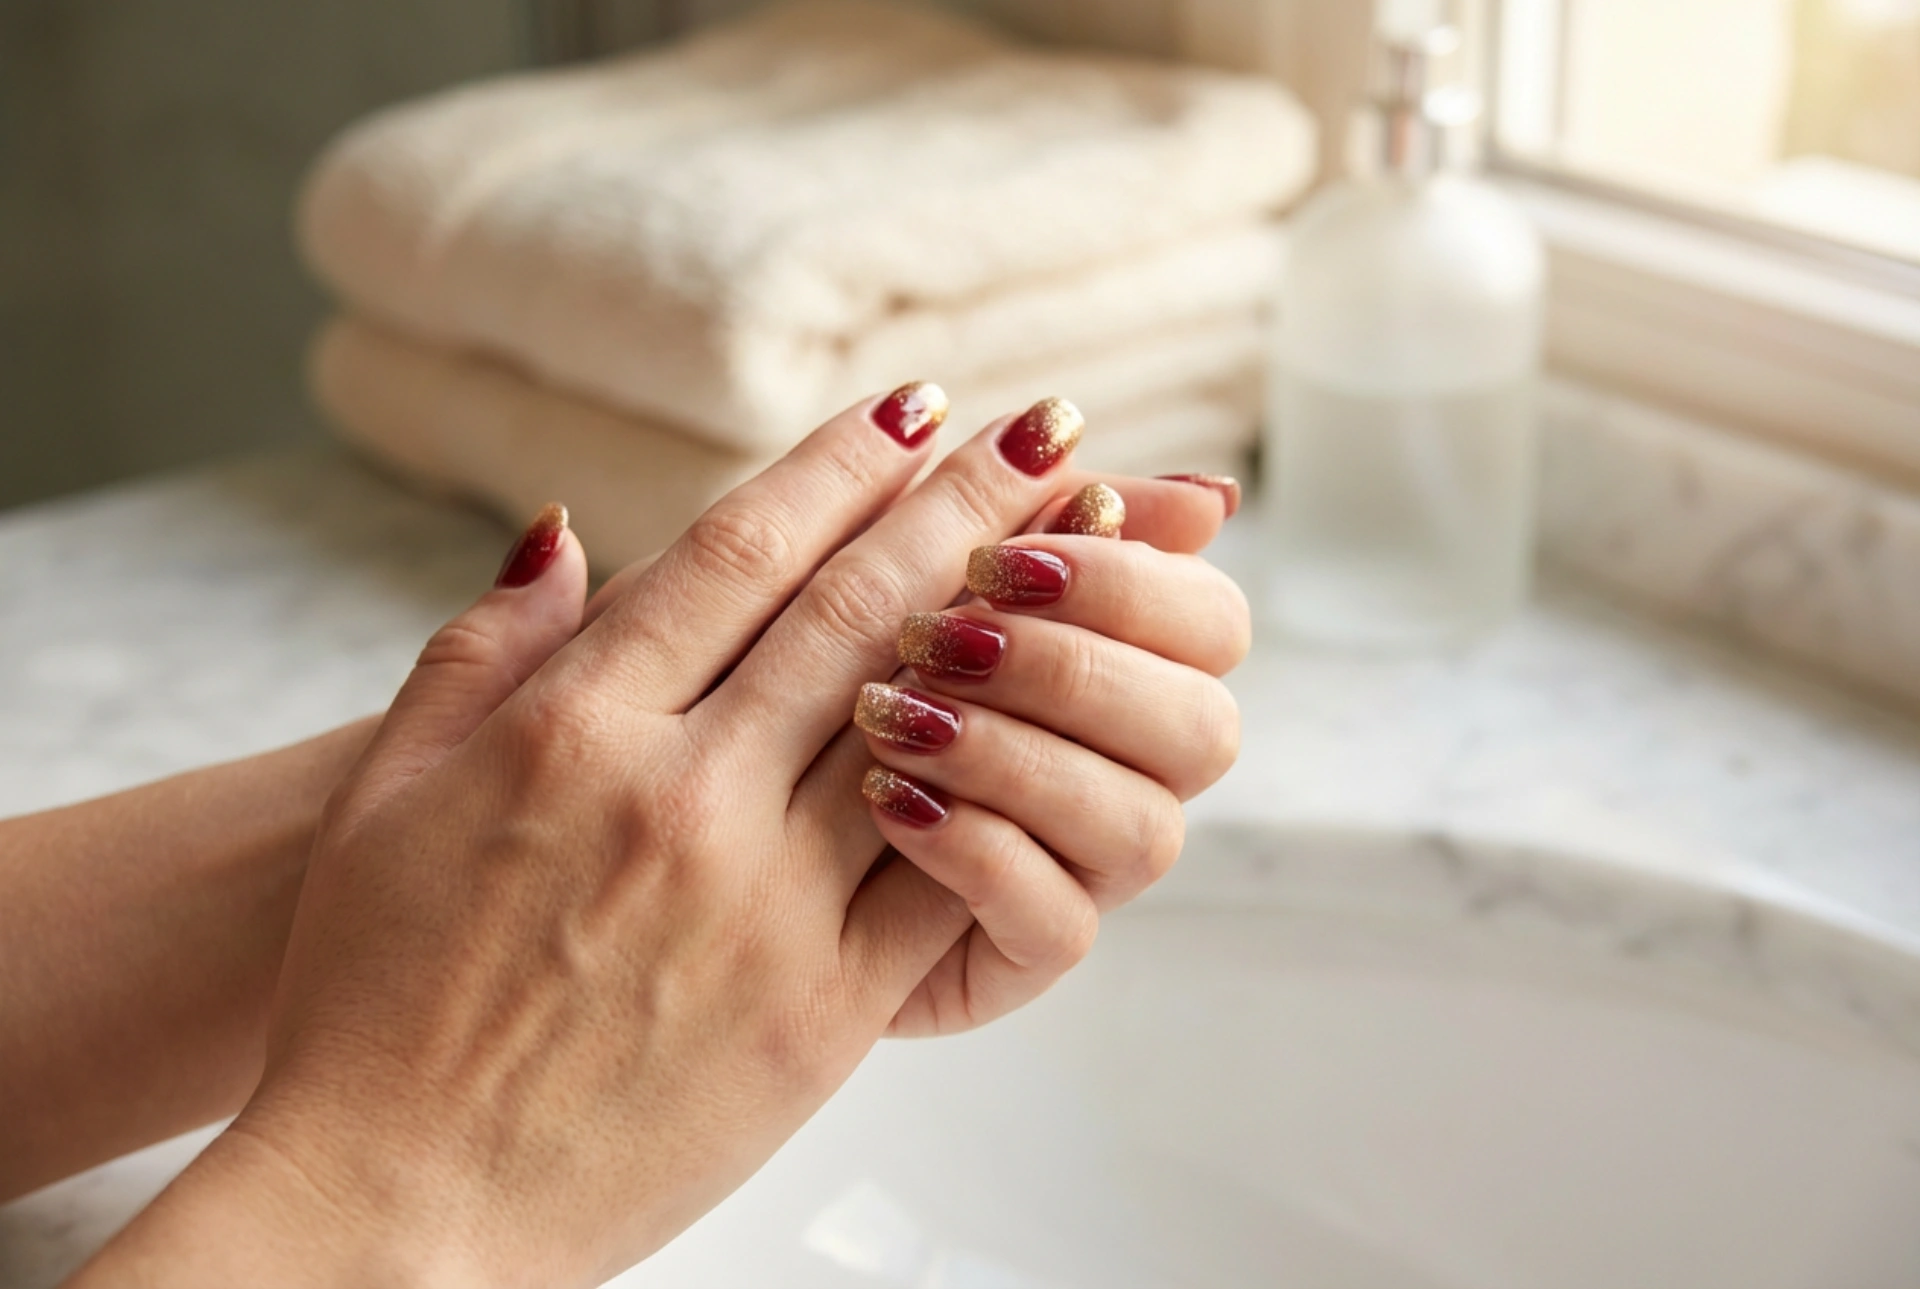


There is nothing quite as timeless and captivating as a classic red manicure, but when combined with the warmth of gold glitter, it transforms into an exceptionally elegant statement. Beautifully manicured hands featuring a rich red base with a shimmering gold gradient exude sophistication, especially when the finish is flawlessly smooth and reflects a brilliant, high-gloss shine. Achieving this seamless transition and perfect reflectivity at home requires a blend of the right techniques and a little patience. Whether you are preparing for a special occasion or simply love a touch of everyday glamour, mastering the gold glitter ombre on a red background can elevate your styling routine.
Choosing the Perfect Shades and Textures
The success of this striking look begins with selecting the appropriate base colour and glitter type. Red is an incredibly versatile hue, ranging from bright, cool-toned scarlets to deep, warm burgundies. When planning a gold glitter combination, consider the undertones of your red polish. A warm, tomato-red pairs beautifully with bright yellow-gold glitter, while a deep crimson or wine shade looks exquisite with antique or champagne gold tones. Harmonising these temperatures ensures that the transition looks intentional and luxurious rather than mismatched.
To make the styling look even more cohesive, think about the occasion. A vibrant crimson paired with micro-fine gold dust creates an elegant shimmer that is perfect for professional environments or daytime wear. For evening events, a deep bordeaux base paired with chunky gold glitter sequins will catch the candlelight beautifully. Testing different combinations on a swatch palette before applying them to your nails is a great way to preview the final colour harmony.
Equally important is the texture of the glitter you choose. For a smooth ombre effect, a mix of fine glitter dust and slightly larger hexagonal flecks works best. Ultra-fine glitter provides a soft, misty background, while larger particles catch the light dynamically, creating depth. If you are using loose glitter powder, ensure it is of cosmetic grade to guarantee a brilliant sparkle that does not fade under a top coat. Alternatively, glitter-infused polishes with a clear base can be used, provided the density of the glitter is high enough to build up gradient coverage.
The Secrets to a Flawless Glitter Ombre
Creating a smooth gradient—where the gold glitter seamlessly fades into the rich red base—can be achieved using a few different methods. The key is to avoid a harsh, solid line where the glitter begins and ends. Preparation of the nail plate is also vital before starting your ombre design. Ensure your nails are clean, shaped, and free of any natural oils by wiping them with a gentle prep solution. Applying a high-quality base coat not only protects your natural nail from the strong pigments of red polish but also provides a smooth, adhesive foundation that helps both the red lacquer and the gold glitter adhere evenly, reducing the risk of premature chipping.
Here are the most reliable techniques to try at home:
- The Makeup Sponge Method: This is perhaps the most popular way to achieve a soft gradient. After your red base coat has dried completely, apply a small amount of gold glitter polish onto the edge of a clean cosmetic sponge. Gently dab the sponge onto the tip of the nail, moving slightly upwards towards the middle. Because the sponge absorbs excess liquid, it leaves behind a concentrated layer of glitter at the free edge that naturally thins out as you move up the nail plate.
- The Ombre Brush Technique: If you are working with loose glitter or a gel-like glitter polish, a thin, flat nail art brush with feathered bristles is your best tool. Apply a small drop of glitter near the tip of the nail, and use the dry feathered brush to gently pull the particles upwards toward the cuticle area. This allows you to place individual flecks precisely, creating a highly customised fade.
- The Wet-on-Wet Sprinkle Method: For a very delicate shimmer, you can lightly sprinkle loose gold glitter over a slightly tacky second coat of red polish. Use a soft, fluffy brush to tap the glitter over the tips, allowing gravity to distribute the smaller dust particles further up the nail. Gently tap away any excess before sealing.
Achieving an Even, High-Gloss Finish
One of the biggest challenges with glitter manicures is the textured, bumpy surface that glitter particles can leave behind. A rough finish not only detracts from the elegance of the look but also makes the manicure more prone to chipping and catching on fabrics. To achieve a smooth, glass-like reflection that mimics a professional finish, a strategic top-coating method is essential.
Firstly, allow the glitter layer to settle and dry for a few minutes. If the surface feels exceptionally uneven, apply a thin layer of a smoothing base coat or a ridge-filling product directly over the glitter. This acts as a levelling agent, filling in the microscopic gaps between the glitter particles without dulling their sparkle. Once this layer is dry, apply a generous layer of a high-shine, quick-drying top coat.
When applying the top coat, use a light hand and float the brush over the surface of the nail rather than pressing down hard. This prevents the brush bristles from dragging the glitter particles or creating streak marks in the polish. Be sure to seal the free edge of the nail by running the brush along the very tip; this locks in the glitter and prevents water from lifting the edges of your manicure.
Long-Lasting Wear and Gentle Care
To keep your red and gold manicure looking pristine for as long as possible, daily maintenance is crucial. Glitter polishes tend to be slightly thicker, which means they can become brittle if exposed to harsh conditions. Wearing gloves while performing household chores, such as washing dishes or gardening, protects the high-gloss shine from being scratched or dulled by household chemicals.
Moisture is also key to maintaining the flexibility of both the natural nail and the polish layers. Apply a nourishing cuticle oil containing natural oils, such as jojoba or sweet almond oil, to the contours of your nails at least once a day. This keeps the surrounding skin soft and prevents the edges of the polish from lifting prematurely.
When it comes to removing your glitter manicure, avoid scraping or rough buffing, which can severely thin out and damage the natural nail plate. Instead, use the soaking method. Soak small pieces of cotton wool in a gentle, acetone-based remover, place them over each nail, and wrap the fingertips in small pieces of aluminium foil. Allow them to sit for five to ten minutes. This softens the heavy glitter layers, allowing the entire manicure to slide off smoothly without any harsh scrubbing.




