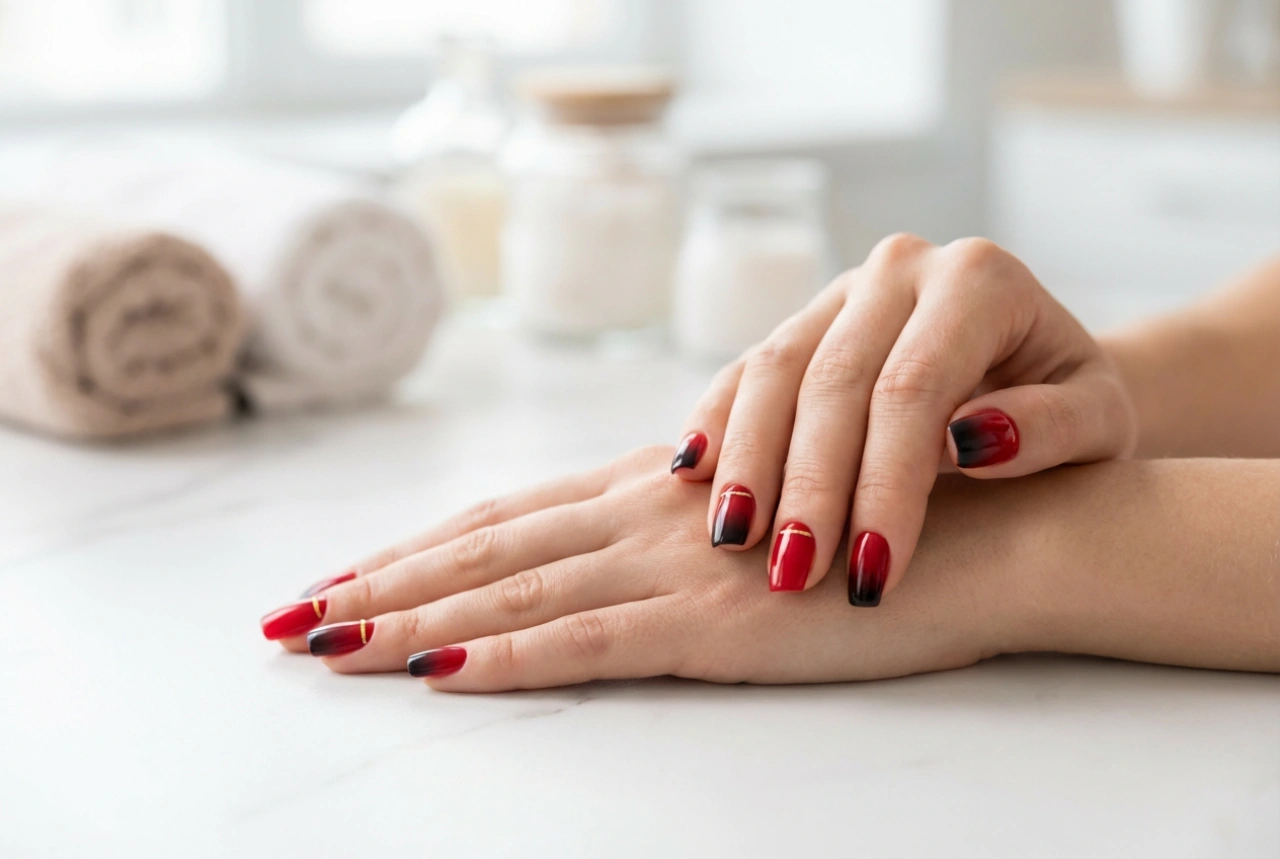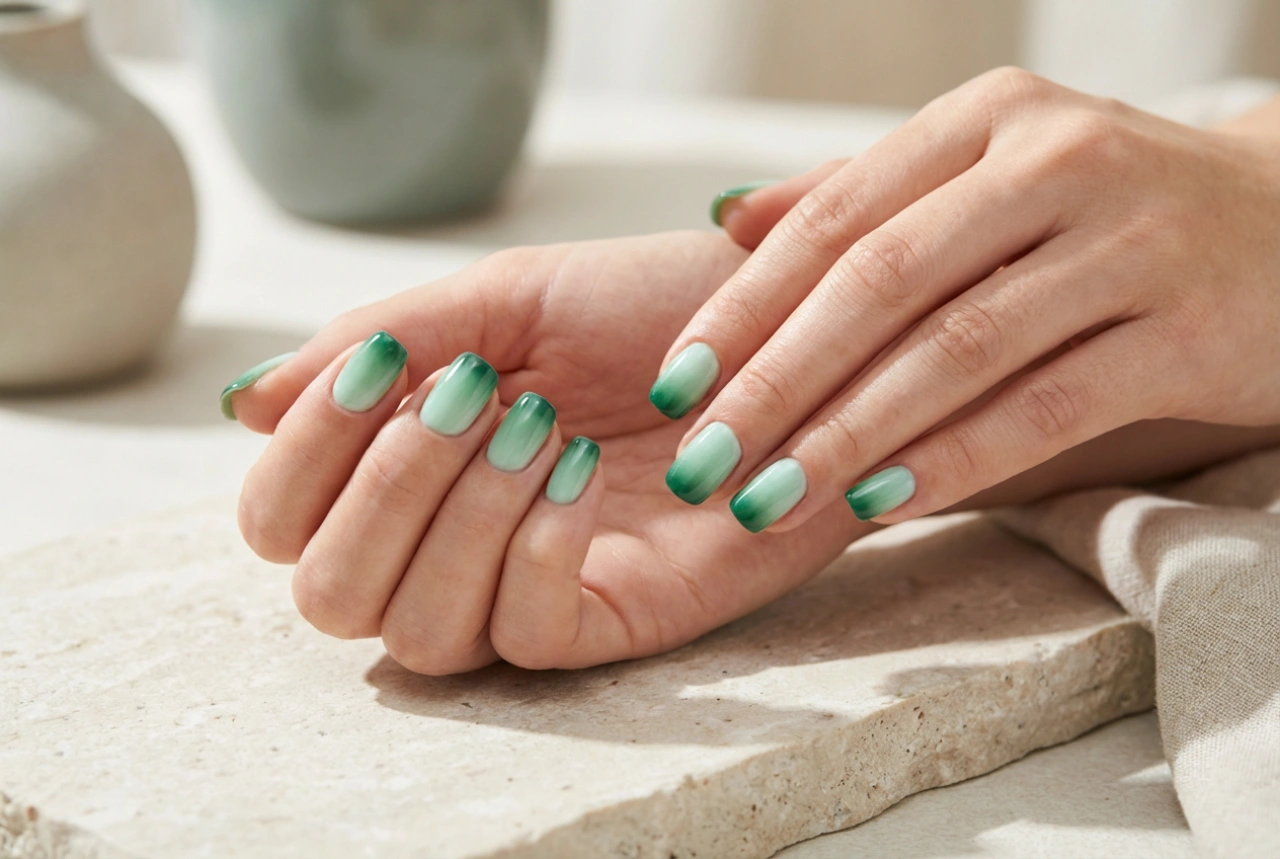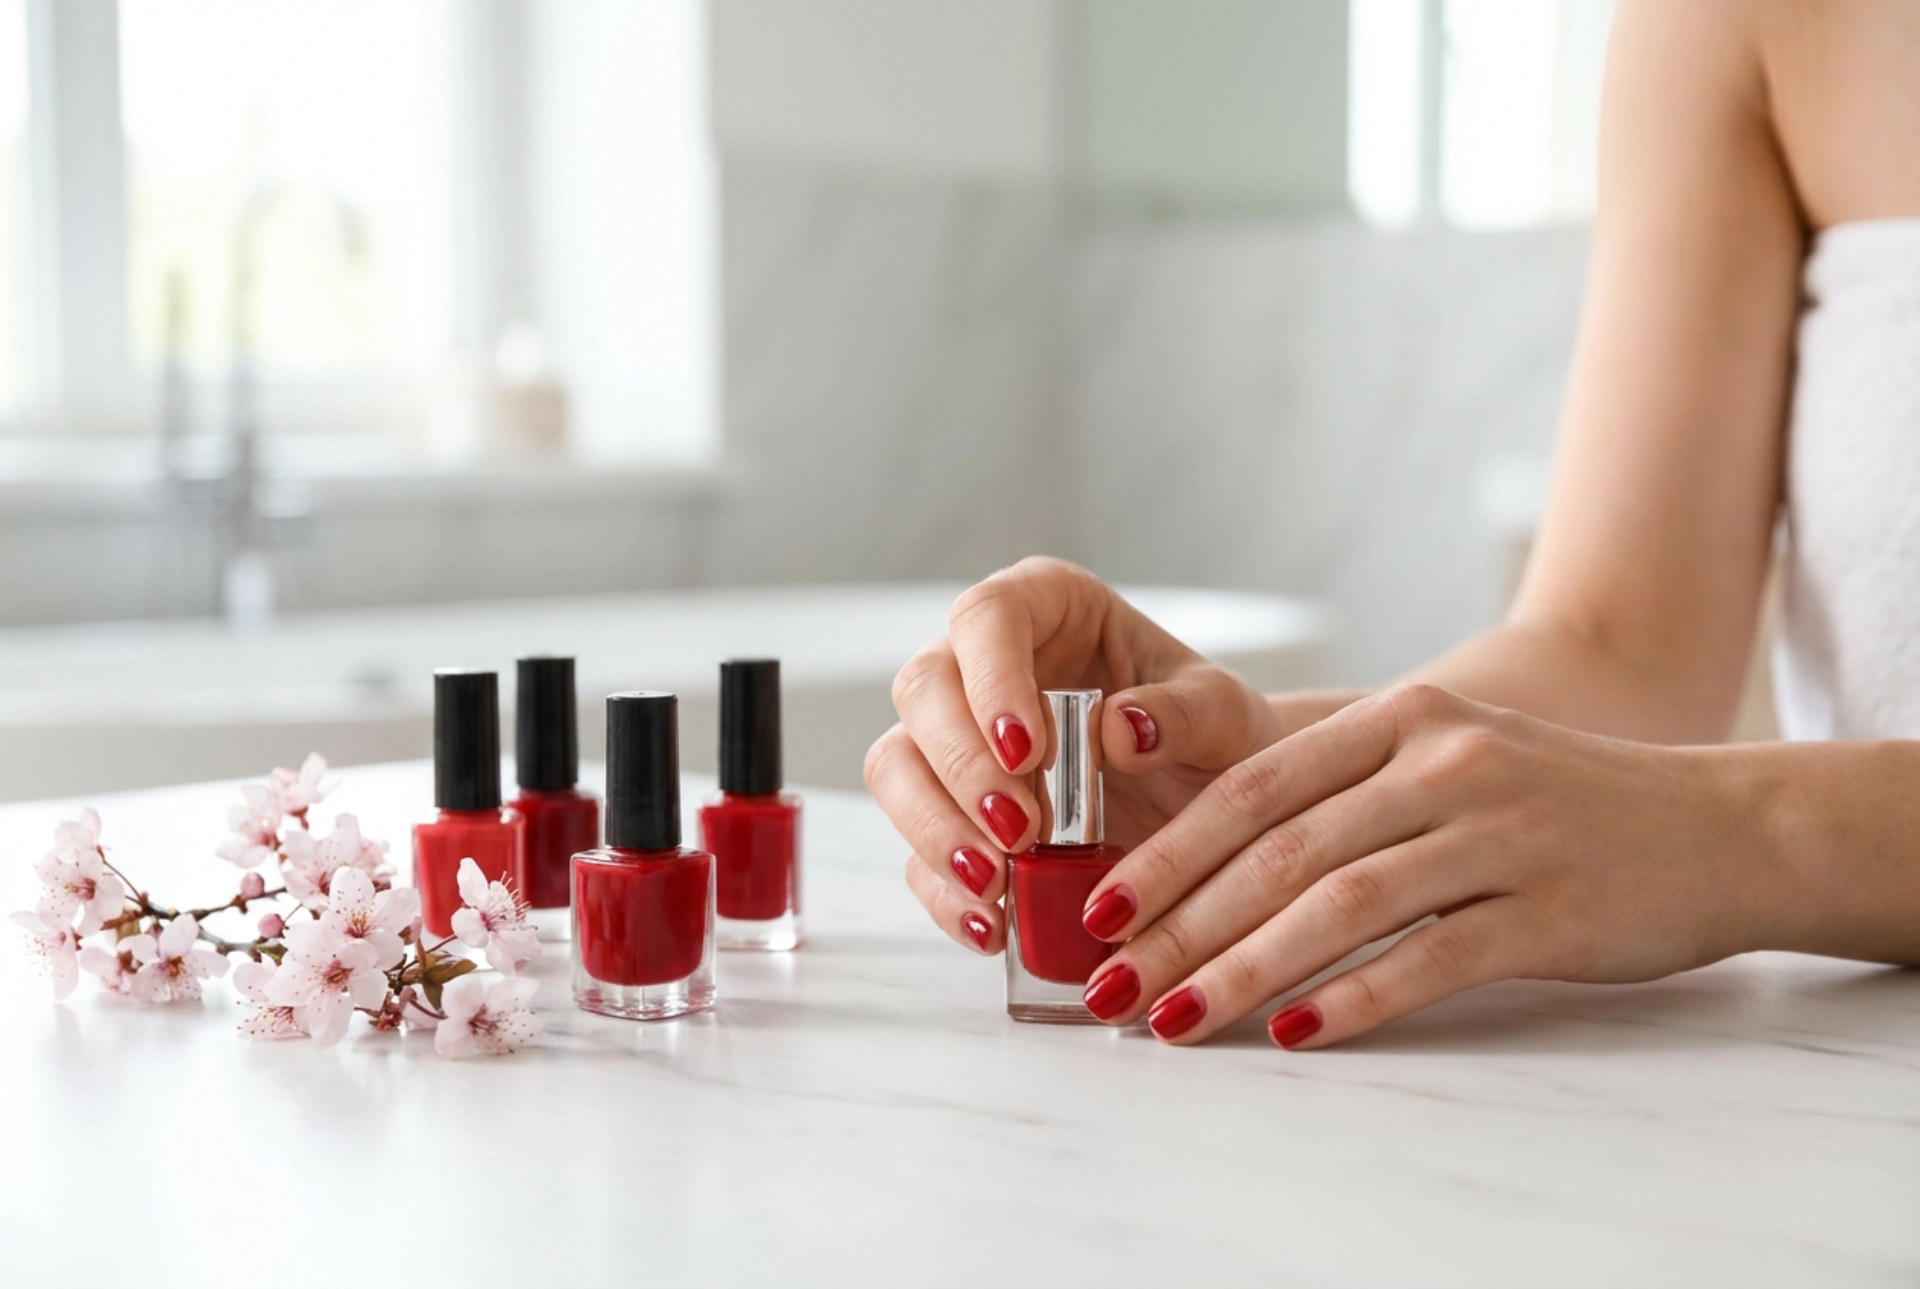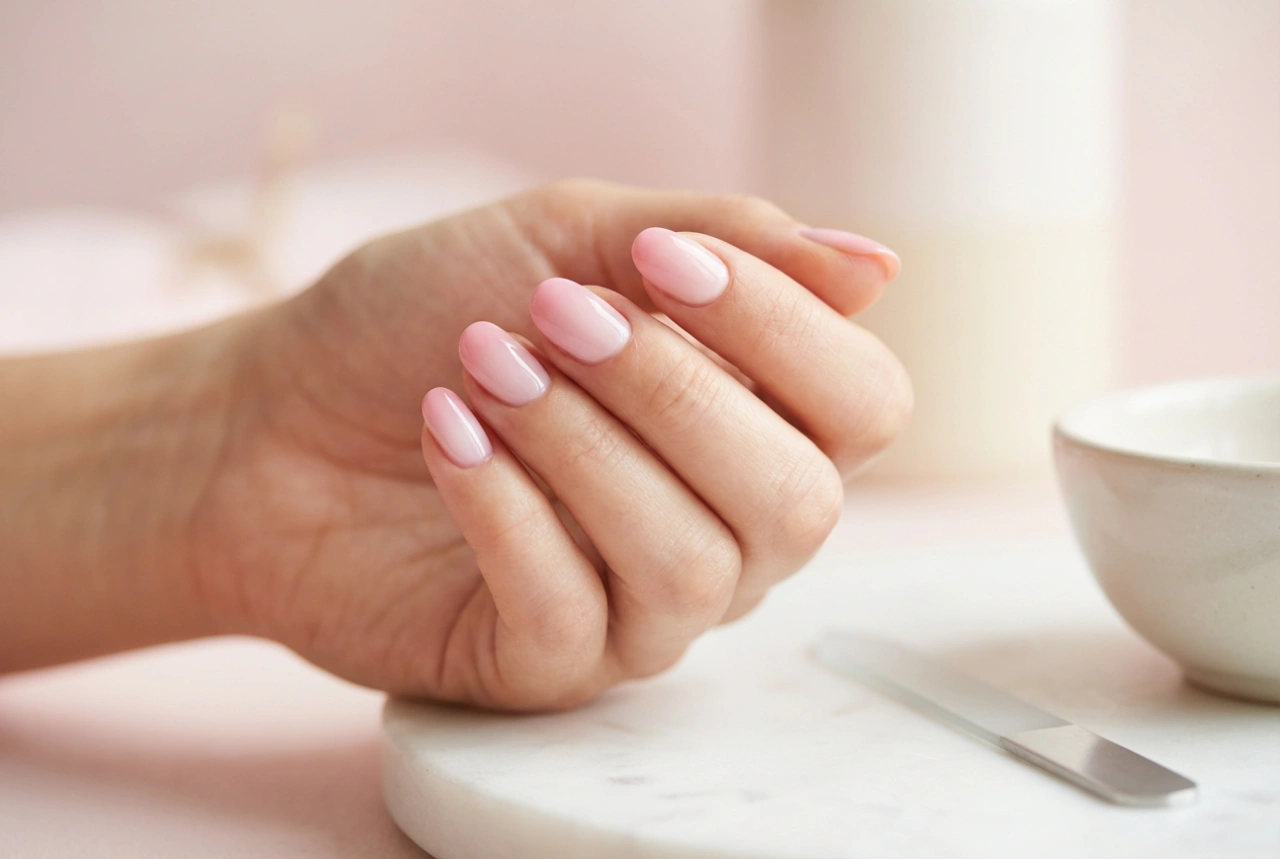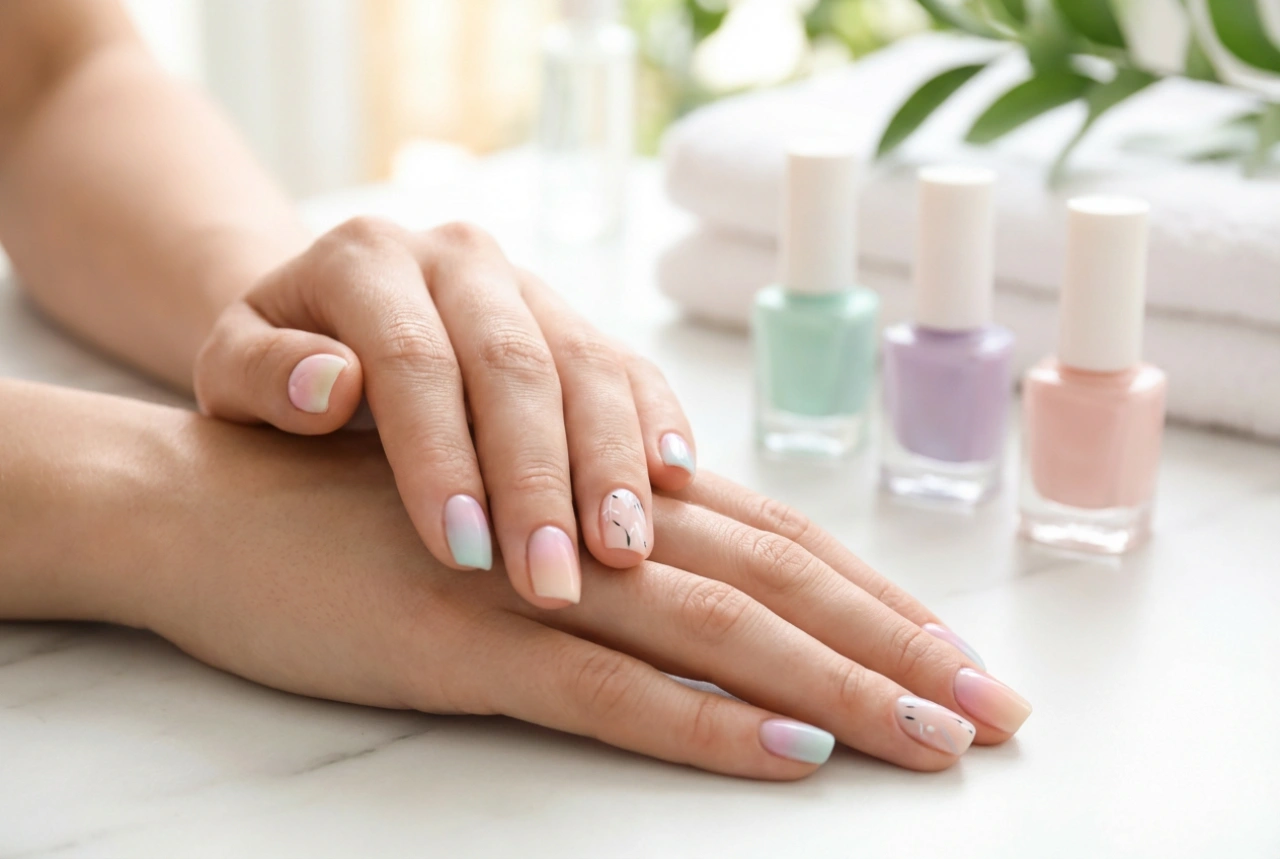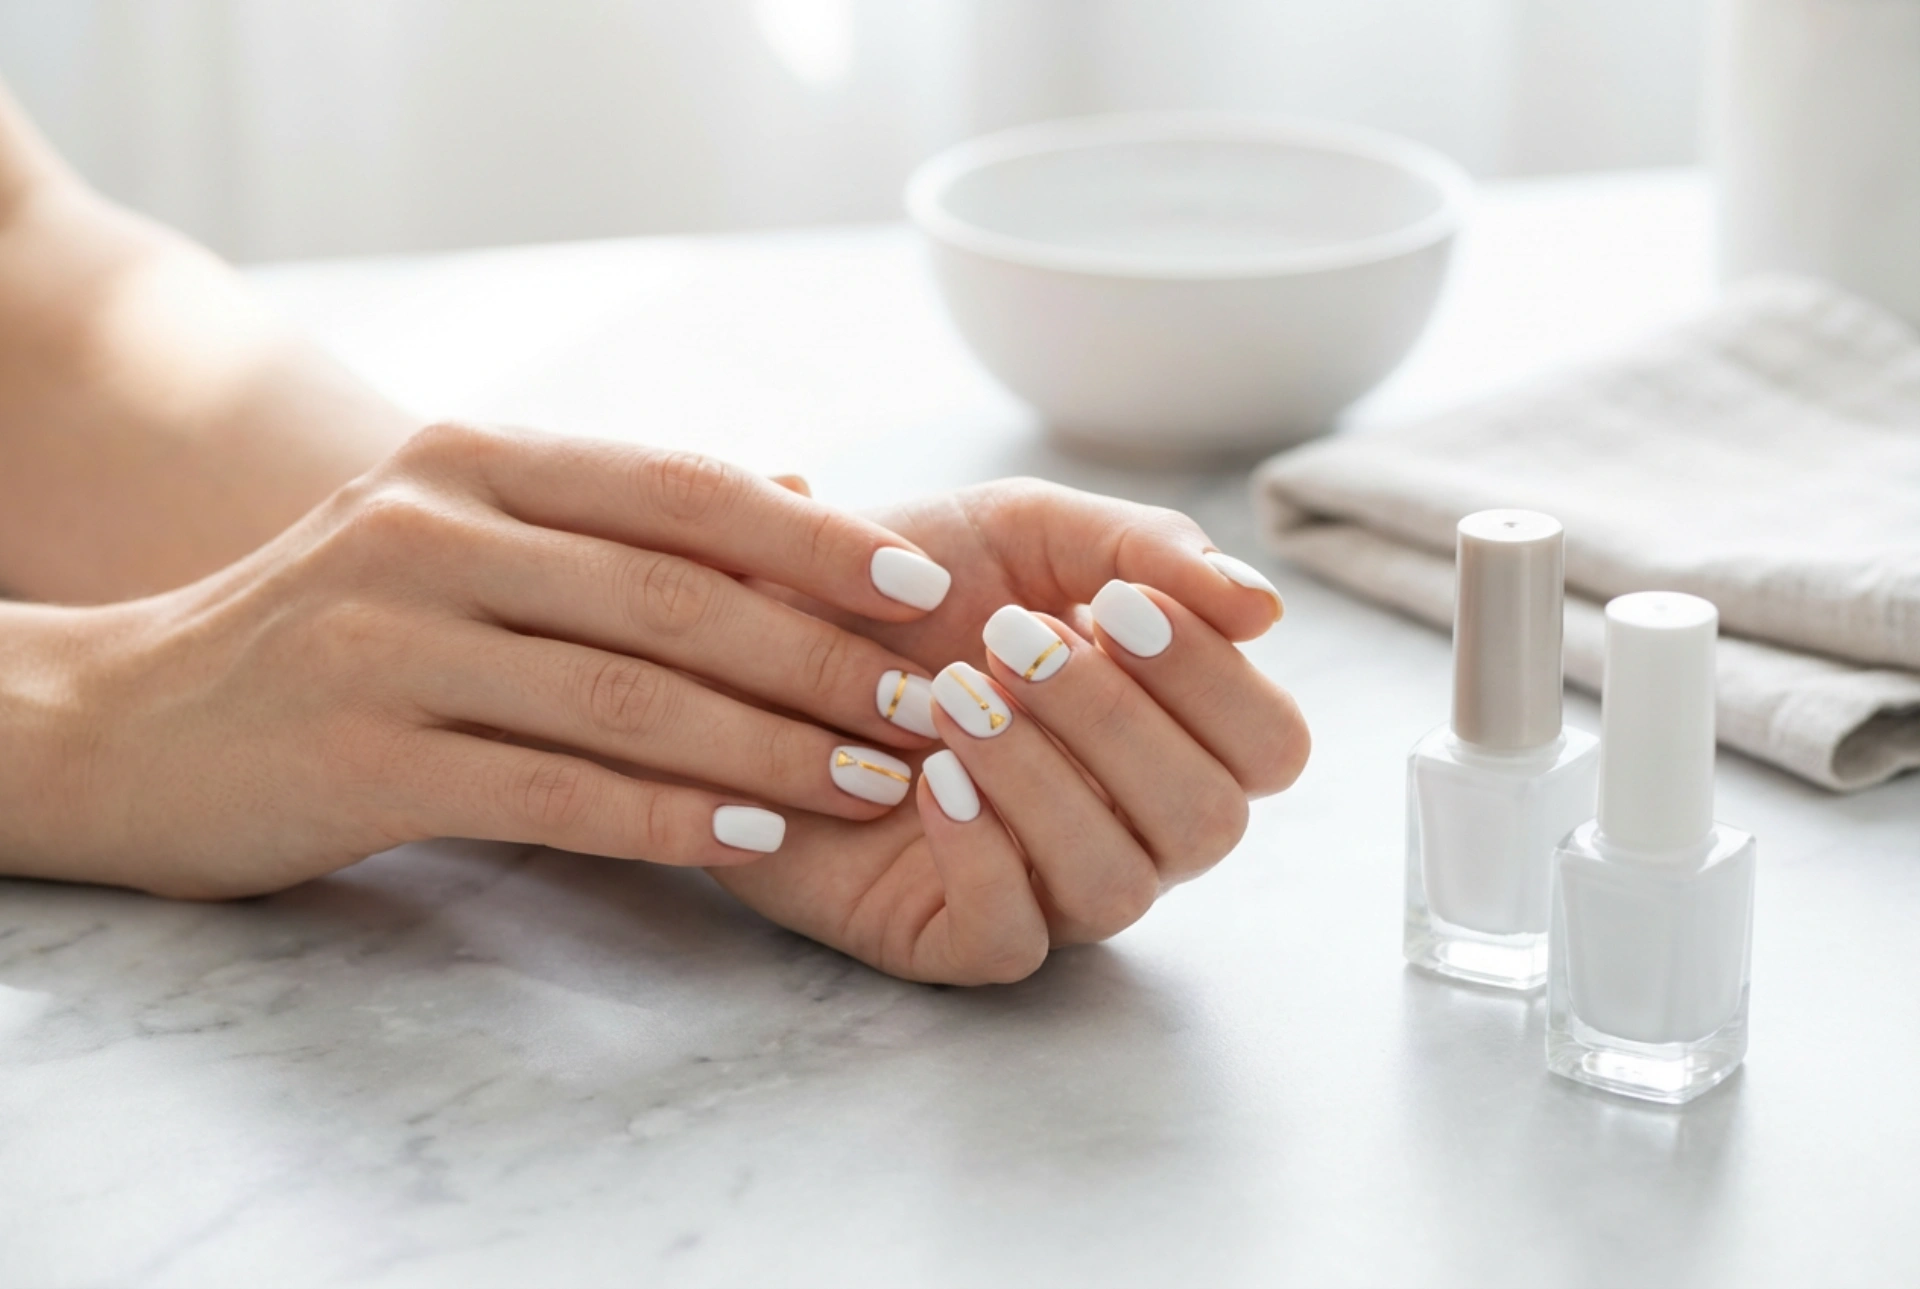


Beautifully groomed hands with clean, pristine white nails adorned with delicate gold details represent the ultimate minimalist beauty. This classic combination captures natural light elegantly, bringing a touch of quiet sophistication to any look. Whether you are preparing for a special occasion or simply want to elevate your everyday manicure, combining a crisp white base with shimmering gold accents is a timeless choice. With a few simple tools and techniques, you can easily achieve this chic, high-end aesthetic in the comfort of your own home, turning your nails into a canvas of elegant, wearable art.
The Timeless Appeal of the White and Gold Palette
The pairing of white and gold is a favourite in modern design, fashion, and beauty for a very good reason. White serves as the perfect neutral canvas—clean, bright, and fresh. Adding gold creates an instant contrast that is both warm and luxurious. This colour scheme is incredibly versatile, complementing all skin tones and working beautifully on nails of all lengths and shapes, from short, sporty squares to elegant almonds.
By choosing different textures, such as matte white paired with high-shine gold, or a soft, milky white base with textured gold flakes, you can create a manicure that feels personal and unique. It is a look that strikes the perfect balance between understatement and opulence.
Selecting Your Shades and Materials
To achieve a professional-looking finish at home, it is helpful to understand how different undertones of white and gold interact. This helps you select the right materials for a harmonious and flattering look.
Finding the Perfect White Base
- Opaque Chalk White: A bold, bright option that offers high contrast. It is perfect for modern, geometric designs and clean lines.
- Milky or Sheer White: A softer, semi-translucent option that looks incredibly natural and delicate. It provides a gentler background for shimmering gold accents.
- Cream and Off-White: Warm-toned whites that offer a softer, slightly vintage aesthetic, pairing beautifully with deeper, antique gold shades.
Choosing Your Gold Accents
- Yellow Gold: Bright and traditional, offering the highest contrast against a crisp white background.
- Champagne Gold: A softer, pale gold with slightly cool undertones, perfect for a subtle, minimalist look.
- Rose Gold: A warm, pink-toned gold that adds a romantic and contemporary twist to your manicure.
Techniques for Incorporating Gold Accents at Home
Creating stunning gold designs on a white base does not require advanced artistic skills or specialized salon machinery. There are several user-friendly techniques and materials that yield professional results with just a little patience.
Using Metallic Striping Tape
Striping tape is an excellent tool for lovers of geometric designs. It is a thin, self-adhesive ribbon of colour that can be applied directly to dried nail polish. You can use it to create precise horizontal, vertical, or diagonal lines, framing the nail or dividing it into elegant sections. Once placed, the tape is trimmed slightly shorter than the nail edge and sealed with a top coat to prevent lifting.
Mastering Nail Transfer Foils
Transfer foils are perfect for creating a textured, organic, or distressed metallic finish. These thin sheets of foil are pressed onto the sticky residue layer of dry nail polish or a specific safe foil adhesive. When the foil sheet is pulled away, random fragments of gold remain behind, creating a beautiful, light-catching abstract pattern that is entirely unique on every nail.
Applying Shimmering Gold Flakes
Gold leaf or gold flakes offer a highly luxurious, artistic look. These extremely lightweight flakes can be picked up with a damp wooden stick or tweezers and gently pressed onto the nail surface while the polish is still slightly tacky. Because the flakes crumble and spread naturally, they create a soft, marbled, or organic speckled effect that looks incredibly sophisticated.
Hand-Painting with Fine Brushes
For those who enjoy a more personal touch, a fine-detail brush can be used with a metallic gold polish to paint freehand designs. Simple ideas include a thin gold French manicure tip, delicate dots near the cuticle line, or minimalist wavy lines. This technique allows for endless creativity and a soft, hand-crafted finish.
Step-by-Step Home Guide for a Flawless Manicure
To ensure your white and gold manicure looks pristine and lasts as long as possible, follow these simple, practical steps:
- Prepare the Nail Plate: Gently shape your nails, push back the cuticles, and wipe the nail surface to remove any natural oils, ensuring better polish adhesion.
- Apply a Protective Base Coat: Always start with a high-quality base coat to protect your natural nails and create a smooth surface for your colour.
- Apply the White Base: Apply two thin, even coats of your chosen white polish. Thin layers dry faster and are much less likely to bubble or smudge. Allow the polish to dry completely before applying any decorations.
- Add Your Gold Details: Use your chosen technique—whether applying striping tape, tapping transfer foil, or placing delicate gold flakes onto the nail.
- Seal with a Top Coat: Protect your design with a generous layer of clear top coat. Be sure to run the brush along the free edge of the nail to seal in the tape or foil, preventing chips and preserving the high-shine finish.
Care and Maintenance Tips
A white manicure is beautiful, but it requires a little extra care to keep it looking clean and bright. To prevent yellowing or staining, wear gloves when doing household chores or gardening. Applying a fresh layer of top coat every few days will help secure the gold details and maintain that fresh-from-the-salon gloss. Finally, keep your hands and cuticles well-hydrated with a nourishing hand cream or natural oil to beautifully frame your minimalist white and gold nail art.