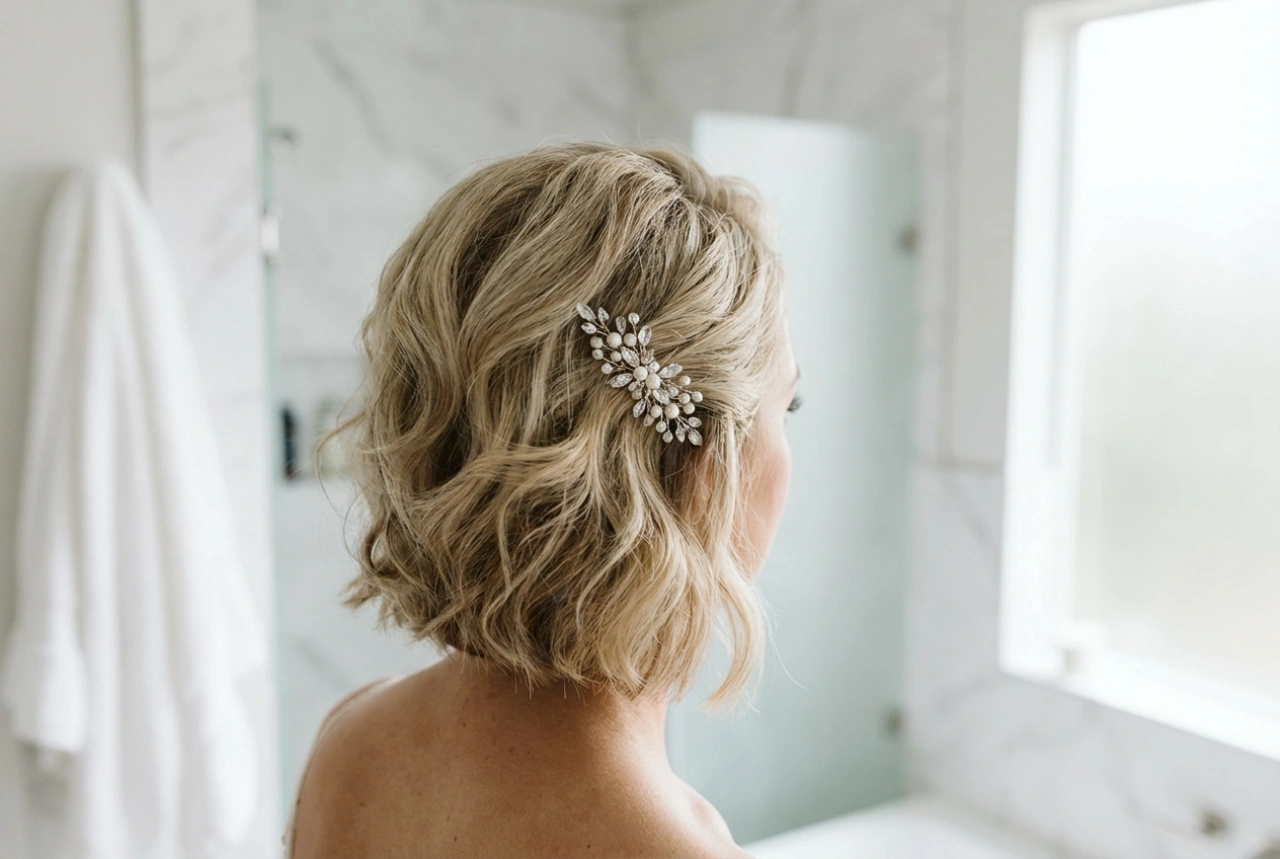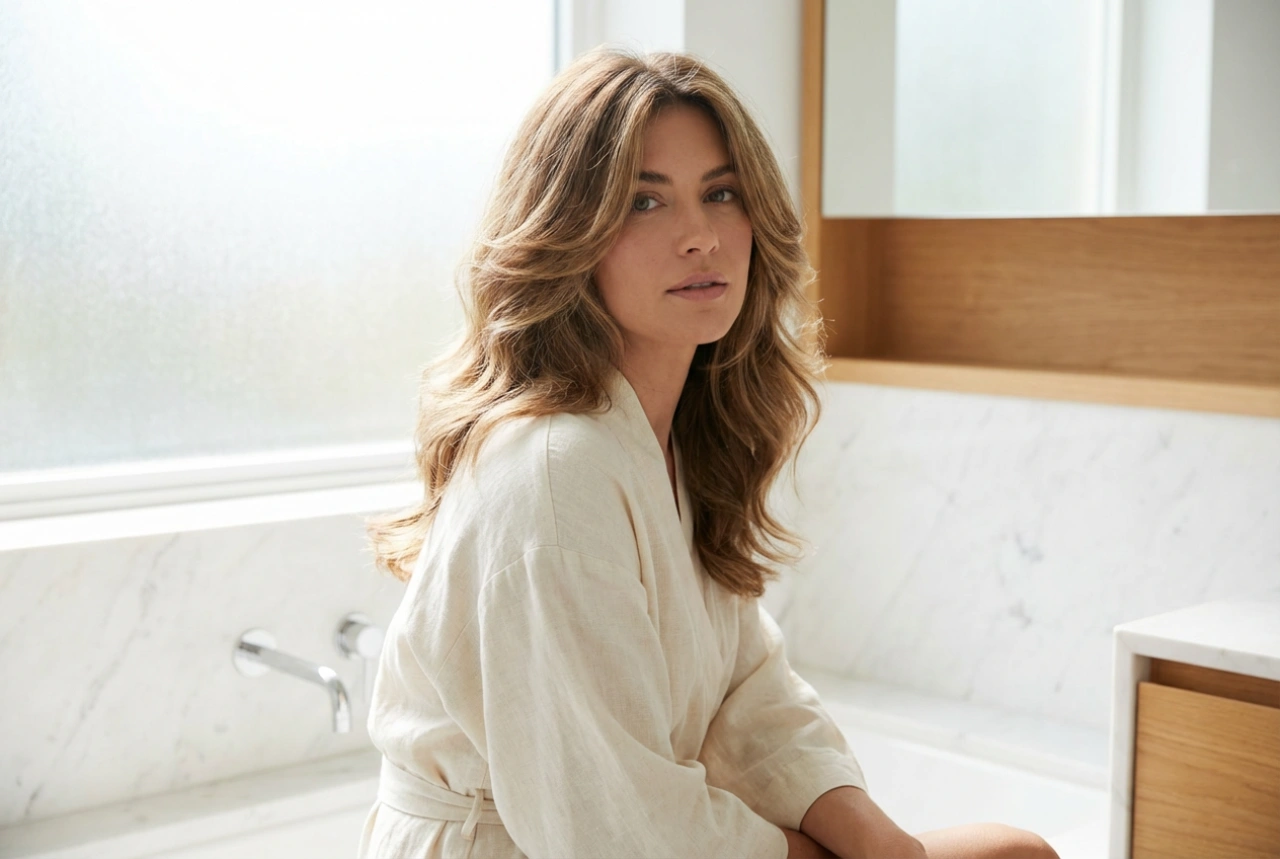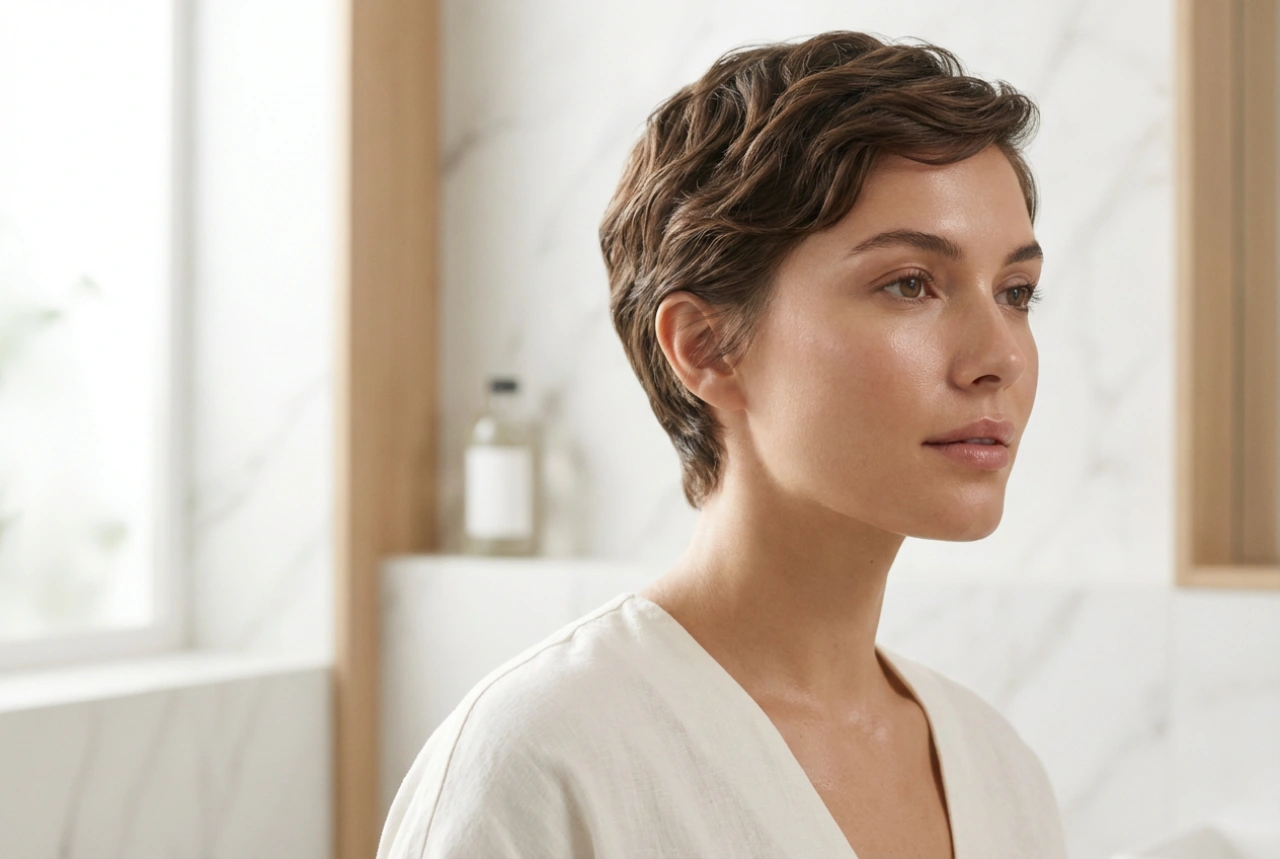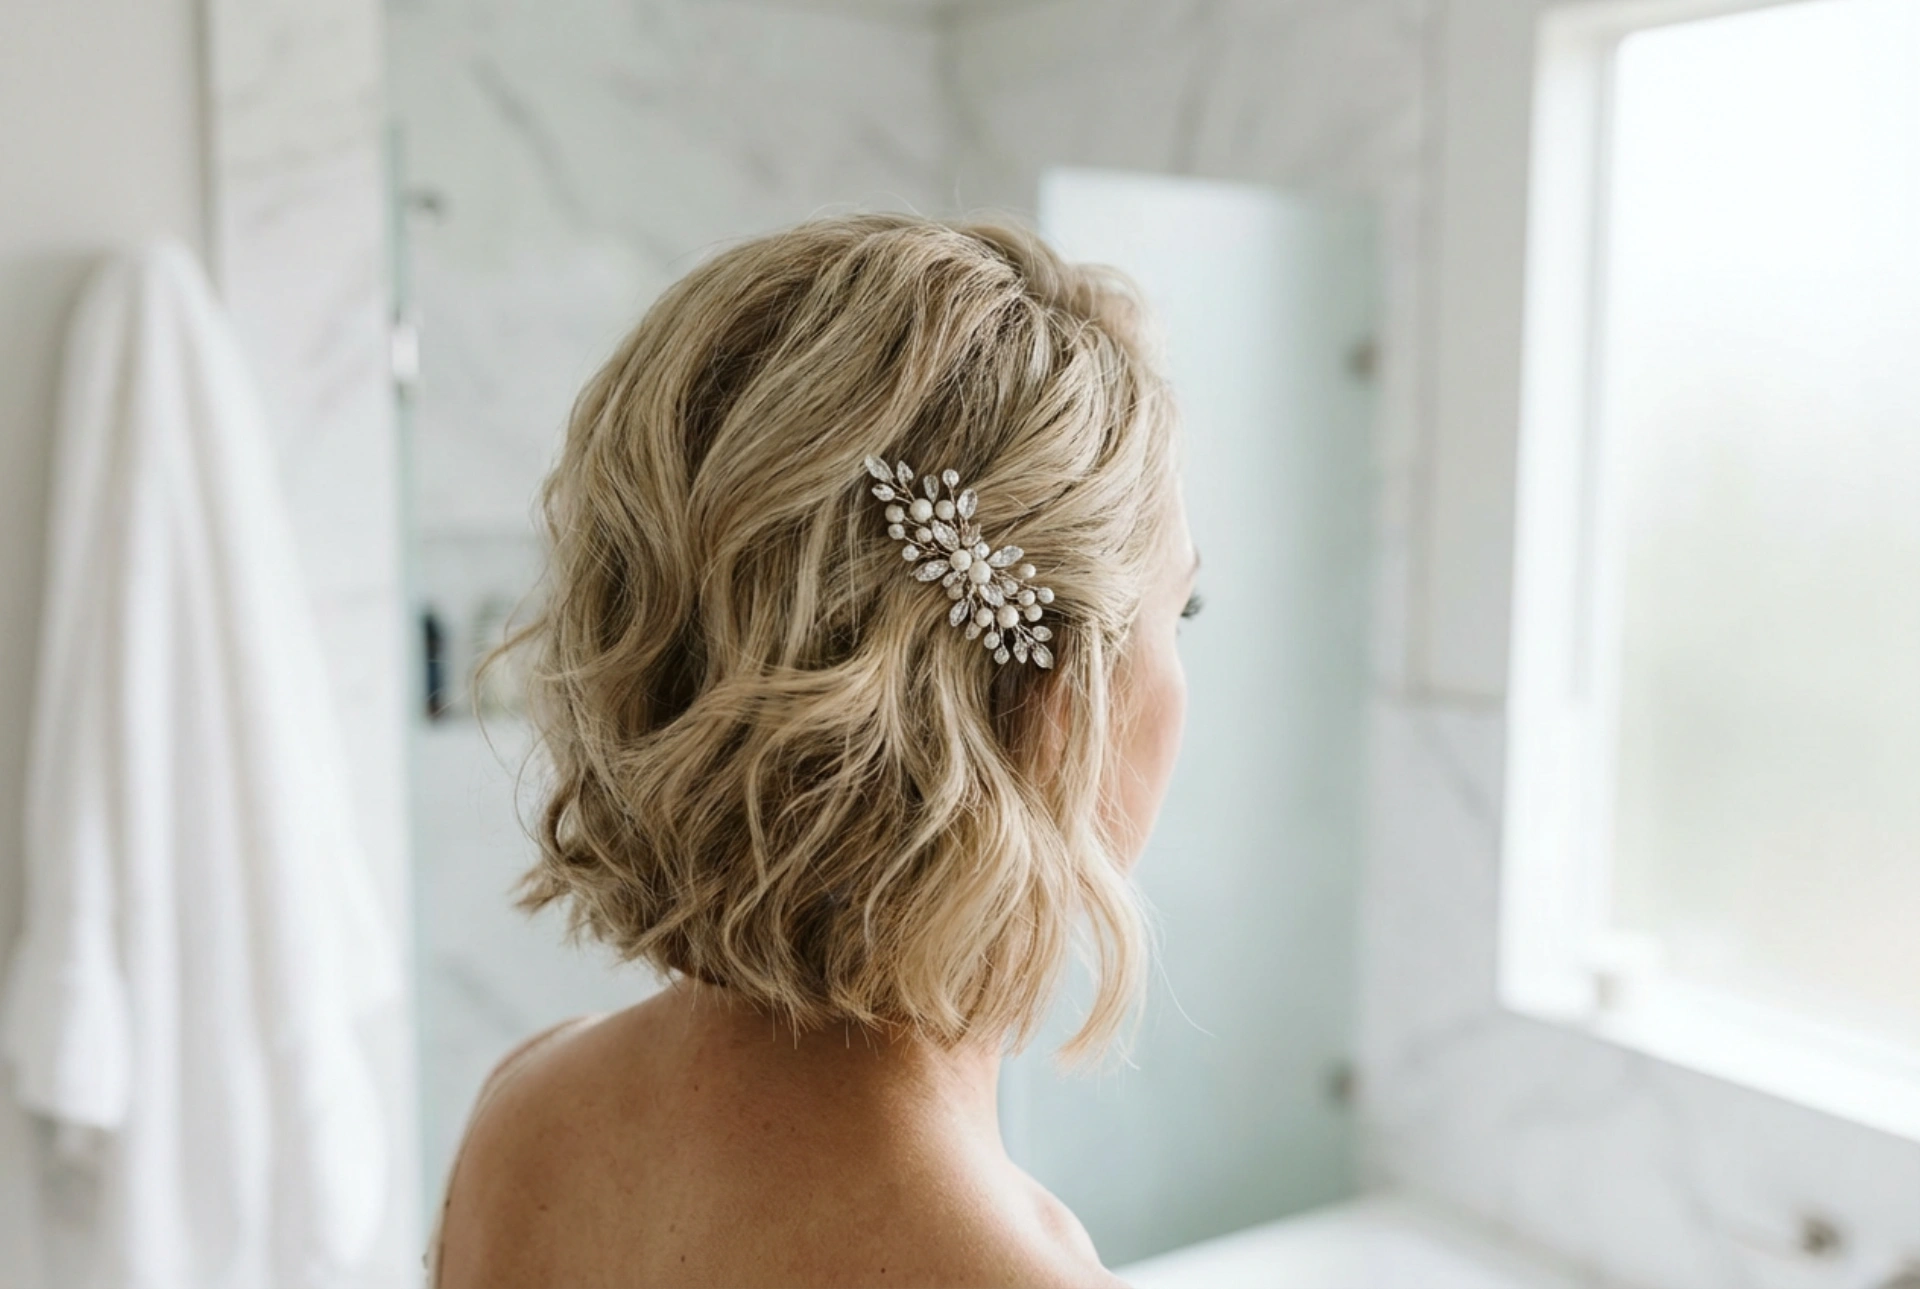


Creating a beautiful hairstyle for a wedding does not always require an expensive salon appointment. With medium-length hair, you have the perfect canvas to design a look that is both sophisticated and romantic. Delicately arranging your tresses into soft, natural-looking curls brings out a lovely texture and subtle shine that frames the face beautifully. Whether you are a bridesmaid, a wedding guest, or the bride herself opting for a more intimate, natural look, styling your hair at home can be a relaxing and highly satisfying experience. With the right preparation and a few simple techniques, you can achieve a professional-standard result that lasts from the ceremony right through to the final dance.
Preparing Your Hair for Long-Lasting Curls
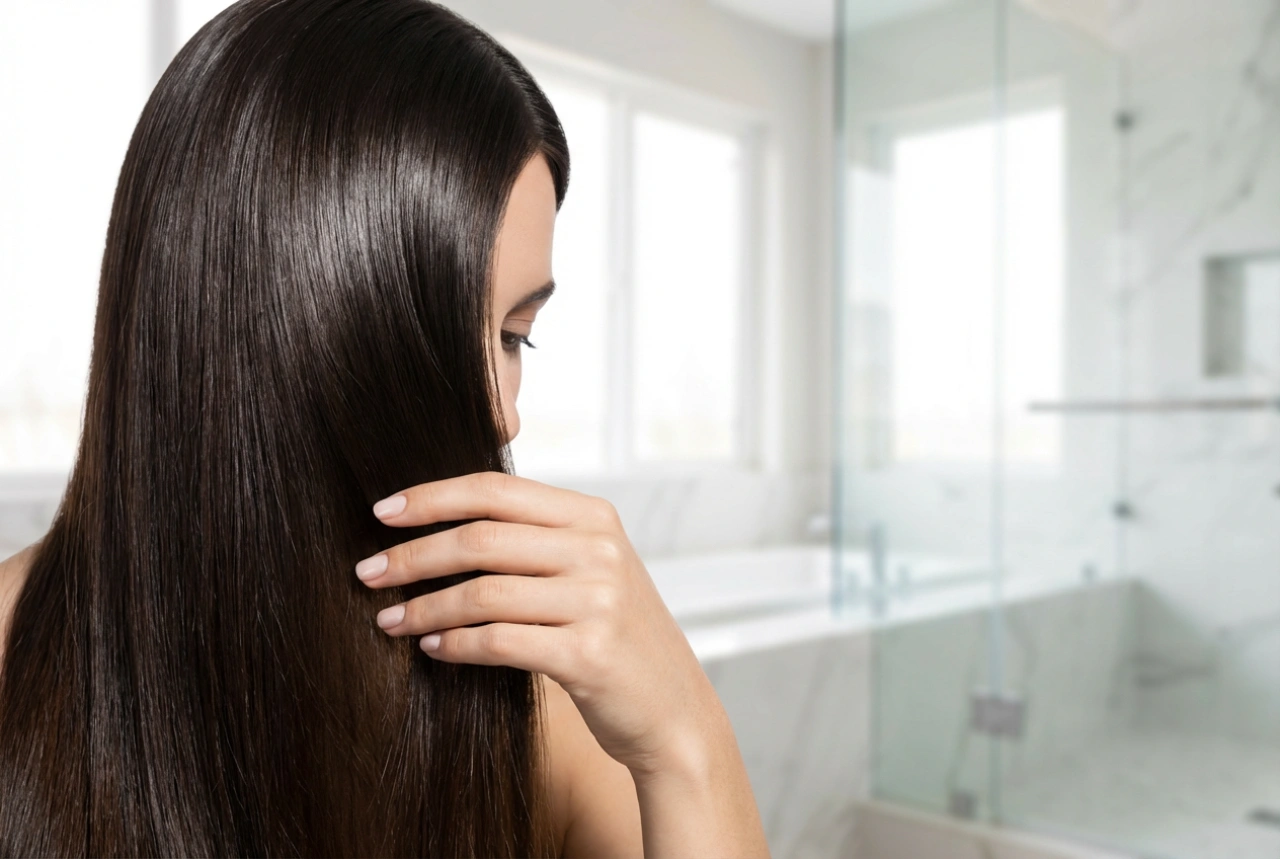
The secret to any successful wedding hairstyle lies in the preparation. Medium-length hair has enough weight to look lush, but needs the proper foundation to hold curls throughout a long day of celebrations. It is generally recommended to wash your hair the day before the event rather than on the day itself. Freshly washed hair can be too slippery, making it difficult for pins and curls to stay in place.
Washing and Drying Steps
- Use a clarifying shampoo to remove any product build-up, ensuring your hair is light and bouncy.
- Apply conditioner primarily to the mid-lengths and ends to avoid weighing down the roots.
- Apply a lightweight styling mousse to damp hair to add volume and grip.
- Blow-dry your hair thoroughly using a round brush to lift the roots and create a smooth base.
Once your hair is completely dry, ensure you apply a high-quality heat protection spray. This shield is essential for maintaining the health and shine of your hair, particularly when using hot styling tools.
Classic Romantic Curls: Step-by-Step DIY Guide
Classic, soft curls are a timeless choice for weddings. They add volume, movement, and an air of effortless elegance to medium-length hair. To achieve this look, you can use either a classic curling wand or a hair straightener, depending on the type of wave you prefer.
Creating the Perfect Curl
Start by sectioning your hair into manageable parts. Divide your hair horizontally into three main layers: the bottom, the middle, and the top. Clip the upper sections out of the way. Take a section of hair about two to three centimetres wide. Wrap it around the barrel of your curling wand, keeping the tool pointed downwards. For a modern and flattering look, always wrap the hair away from your face.
Hold the hair on the barrel for about five to eight seconds, then gently release the curl into your hand. Do not let it drop immediately; instead, hold the warm coil in your palm for a few seconds to let it cool, or secure it with a clip. This simple step helps the curl set, ensuring it maintains its shape for hours. Repeat this process throughout all the sections, keeping the size of the sections consistent for a harmonious finish.
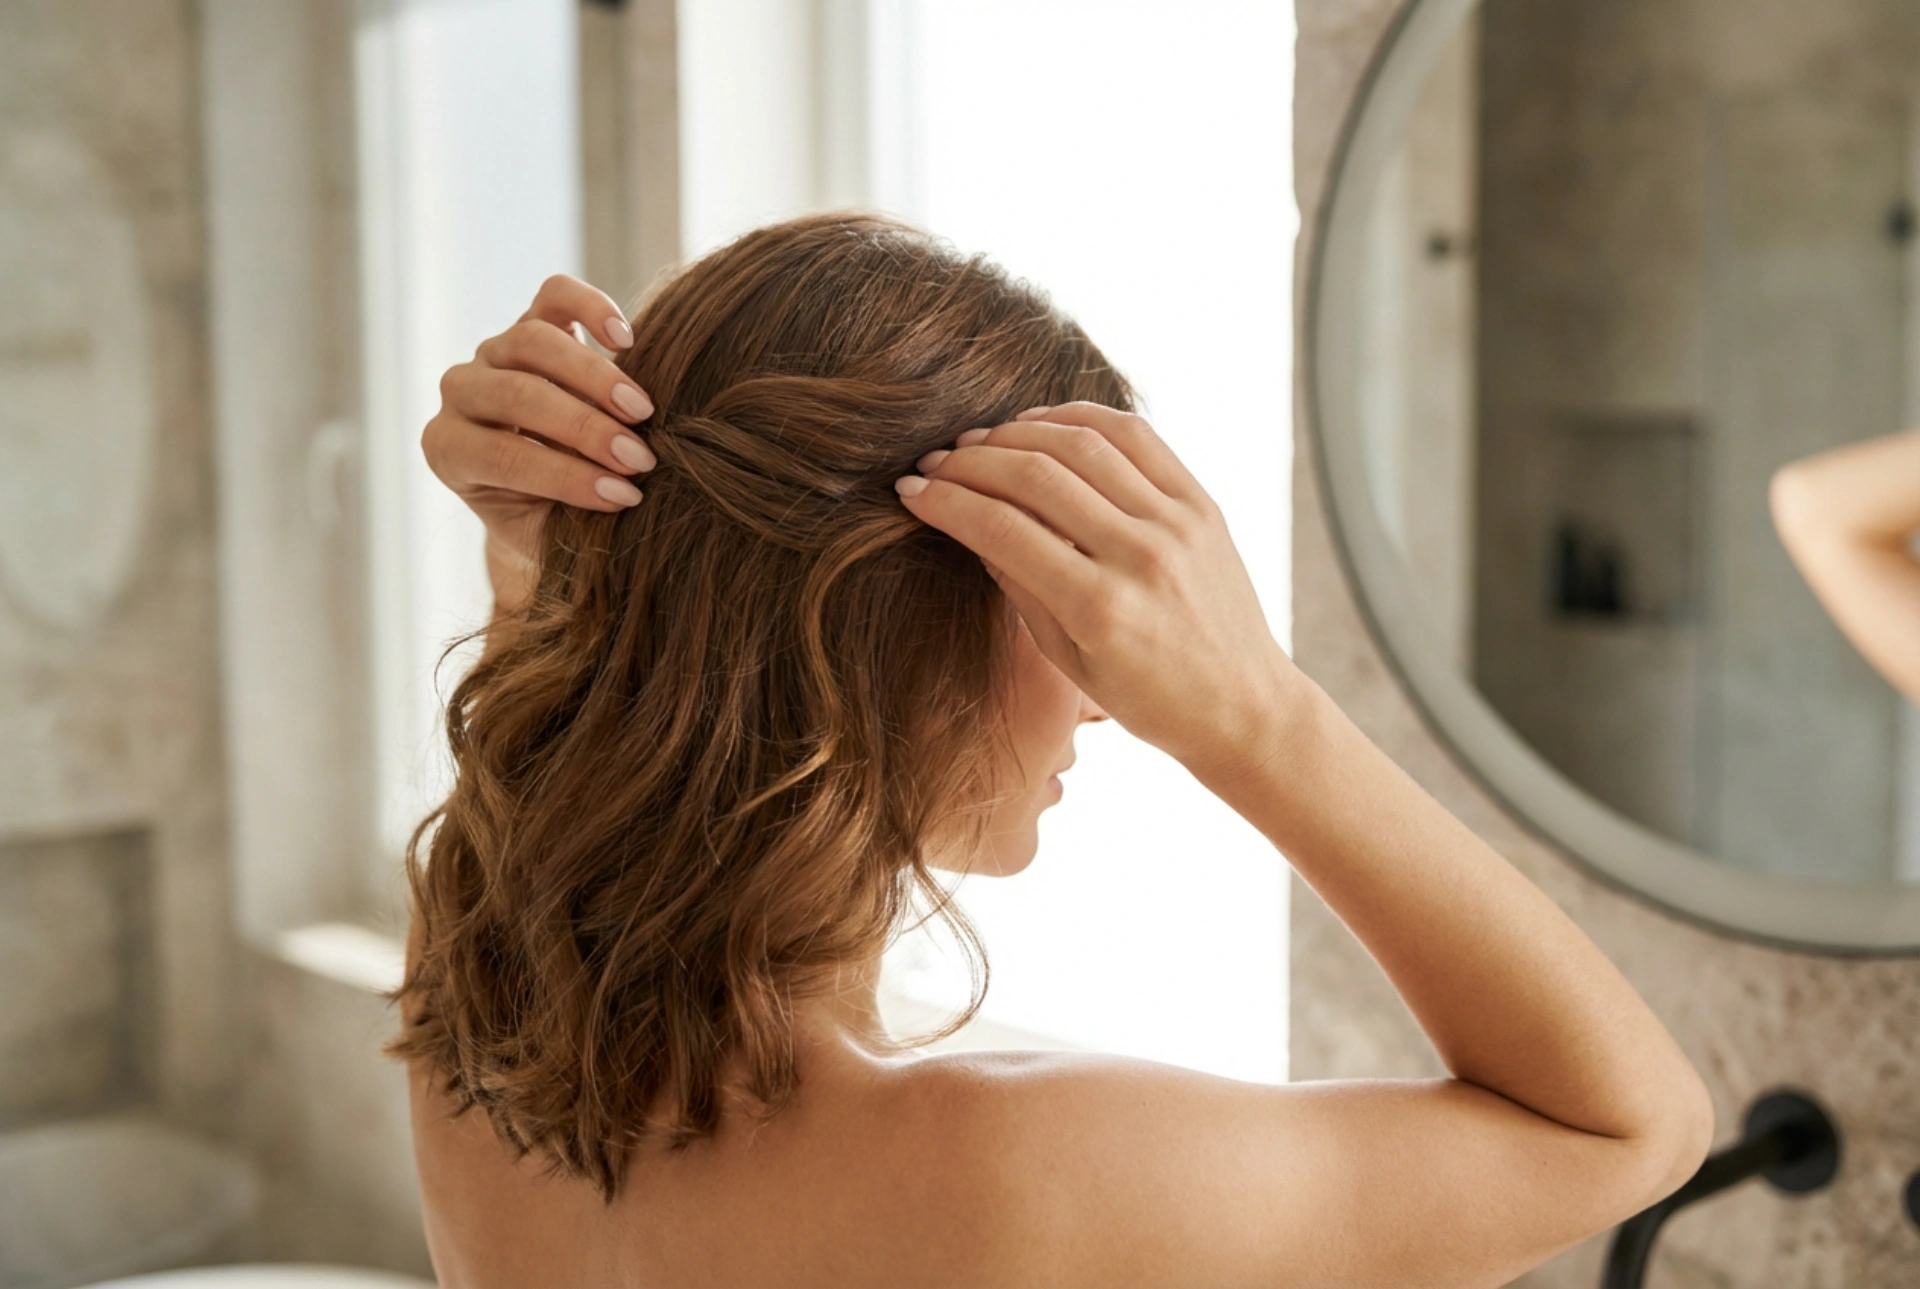
The Half-Up, Half-Down Curly Style
If you prefer to keep your hair out of your face while still showing off your beautiful curls, a half-up, half-down style is the perfect compromise. It combines the romance of flowing curls with the polished elegance of an elegant updo.
How to Assemble the Look
Once you have curled your entire head and allowed the curls to cool completely, gently run your fingers through them to soften the look. Take a section of hair from just above your ears on both sides of your head. Bring these two sections to the back of your head. You can twist them gently or braid them for added detail. Secure the sections at the back using small, hair-coloured bobby pins or a decorative hair slide that complements your outfit. To add a touch of softness, pull out a few delicate strands around your face to frame your features naturally.
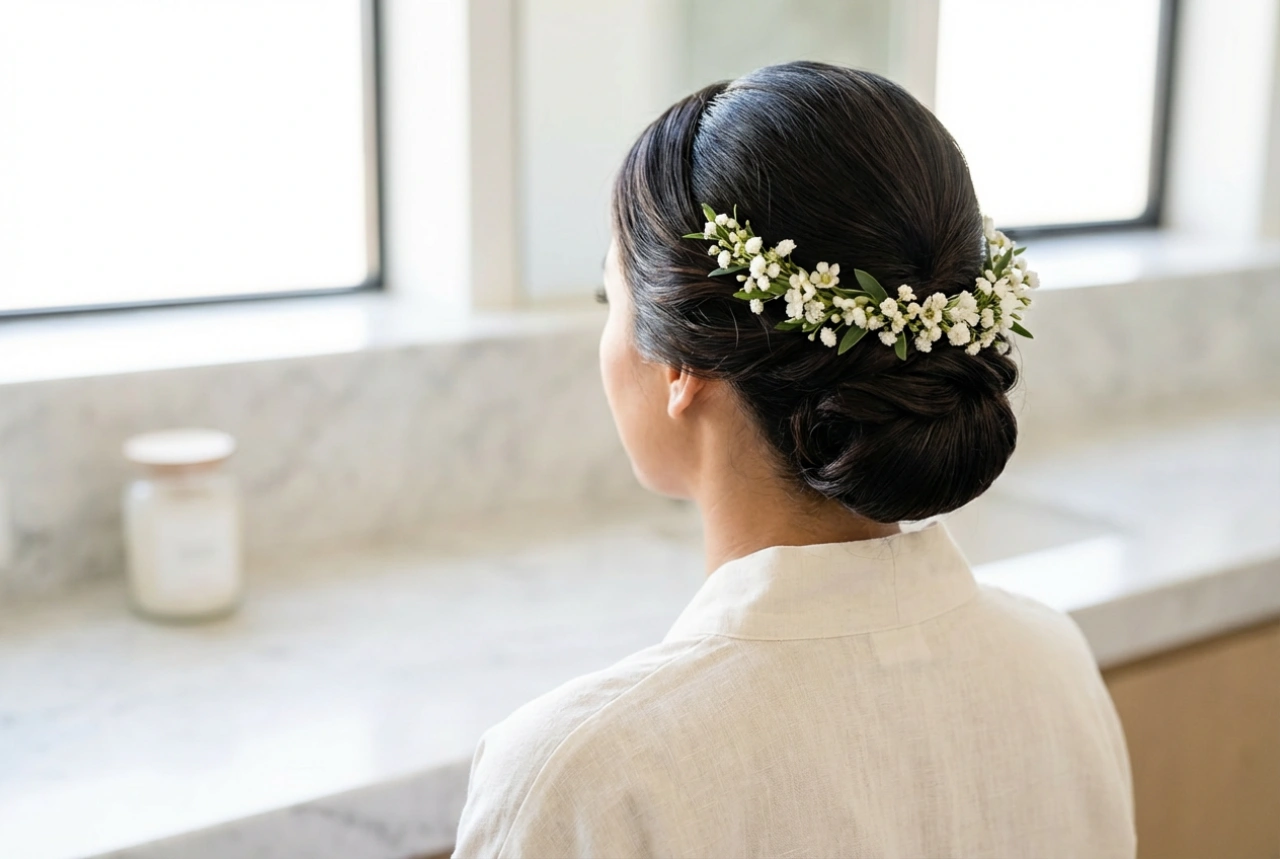
An Elegant Textured Low Bun with Curls
For a highly sophisticated and classic wedding look, you can easily transform your medium-length curls into a textured low bun. This style looks intricate but is surprisingly simple to recreate at home once your hair is already curled.
Step-by-Step Low Bun
- Gather your curled hair into a loose, low ponytail at the nape of your neck, securing it with a thin elastic band.
- On the final loop of the elastic, do not pull the hair all the way through, creating a small loop or bun.
- Take the remaining curled ends and wrap them loosely around the base of the bun to hide the elastic.
- Secure the pieces with bobby pins, allowing some texture to remain visible for a soft, romantic finish.
- Gently pull at a few sections on the crown of your head to create volume and a relaxed, modern silhouette.
How to Make Your Wedding Hair Last All Day
A wedding is a long event, often involving outdoor ceremonies, photoshoots, dining, and dancing. To ensure your beautiful curls do not drop before the evening ends, final setting steps are essential. Once your hairstyle is complete, mist it with a fine-control hairspray. Choose a formula that offers a strong hold but leaves the hair touchably soft and natural-looking, avoiding any stiff or crunchy textures. Carrying a few spare bobby pins in your handbag will also give you peace of mind, allowing you to make quick adjustments if any strands come loose during the celebrations.