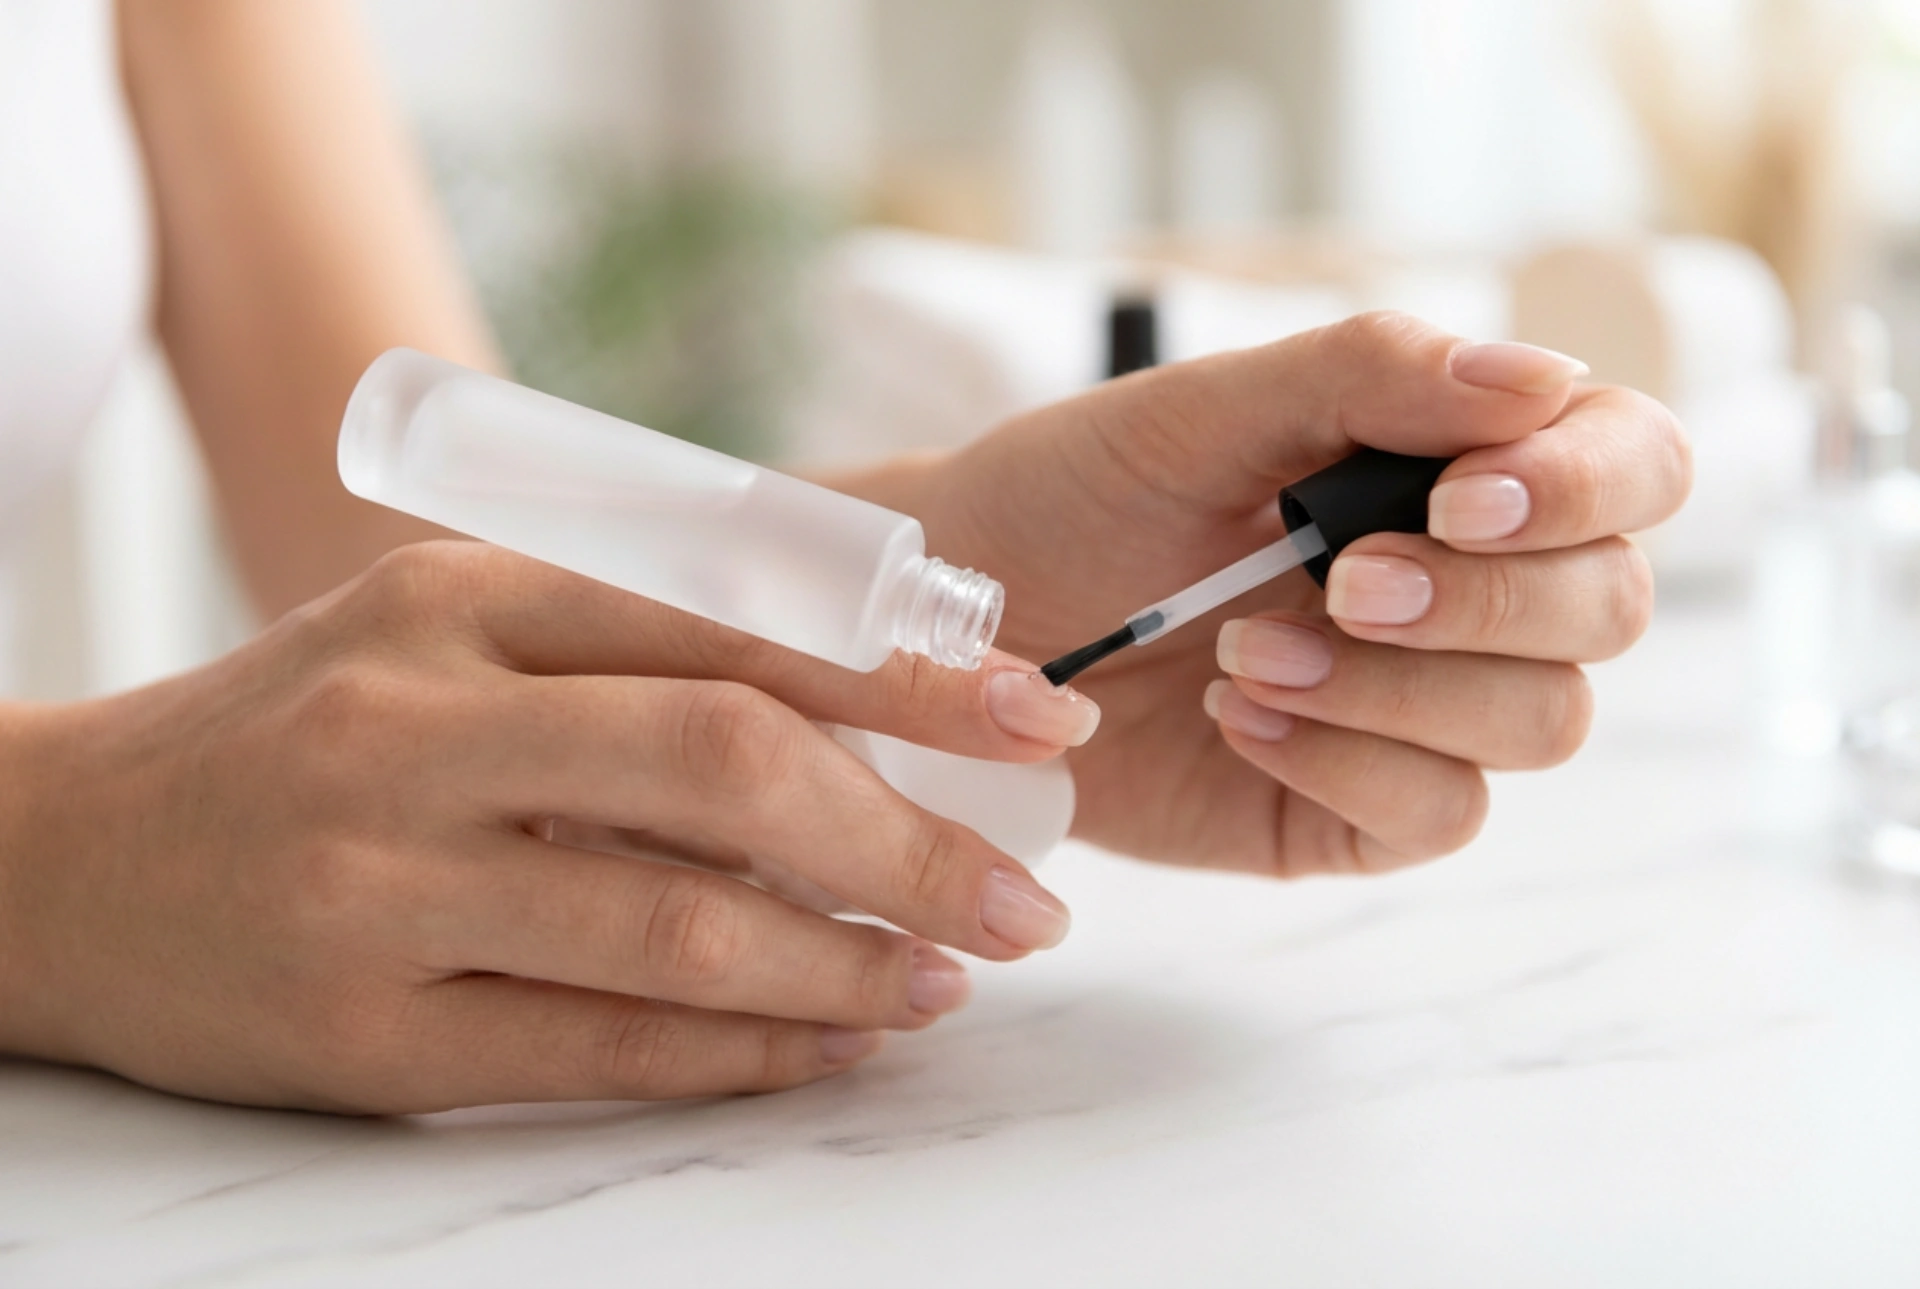


Achieving a flawless, salon-standard manicure at home requires not only patience but also the right techniques, especially when working with modern gel formulas. When we observe the meticulous process of squeezing a clear, pristine tube gel onto a beautifully prepped nail, it becomes evident that precision is the key to success. Tube gels, often celebrated for their hybrid nature combining the strength of acrylics with the flexibility of traditional gels, offer an excellent control system for beauty enthusiasts. However, one of the most common challenges during application is the occurrence of microscopic air bubbles, which can compromise both the aesthetic finish and the durability of the manicure. Understanding how to handle, dispense, and cure this product is essential for a smooth, glass-like result.
What is Tube Gel and Why Does It Require Special Care?
Tube gel represents a significant innovation in nail styling, designed to provide a highly viscous, putty-like consistency that does not run into the cuticles. Unlike traditional liquid gels that require swift, delicate movement before they self-level, this thick compound stays exactly where it is placed until it is manipulated with a brush. This user-friendly characteristic makes it highly appealing for those who prefer to take their time shaping the perfect nail extension or overlay without rushing.
Despite its stability, the unique thickness of tube gel means that any air trapped inside the product during manufacturing, dispensing, or application will remain there unless actively worked out. Standard self-levelling gels allow air bubbles to rise to the surface and pop naturally, but tube gels hold onto air pocket imperfections. Consequently, a dedicated technique is required from the moment you squeeze the tube to the second the hand enters the curing lamp. Learning how to control this material prevents premature lifting and guarantees a professional finish.
How to Dispense Tube Gel Without Trapping Air
The journey to a bubble-free nail begins with how the product is extracted from its packaging. Aggressive squeezing or rolling the tube from the middle can create internal air pockets that are later transferred directly onto the nail plate. To minimise this risk, follow these precise steps:
- Squeeze from the bottom: Always roll or press the tube from the very end, pushing the product uniformly towards the nozzle. This prevents air from being sucked back into the main body of the tube, which is a major cause of internal bubbles.
- Slice cleanly with a tool: Use a dedicated metal spatula or a flat tool to slice the bead of gel cleanly from the nozzle. Do not drag or pull the gel, as this stretching motion can introduce tiny pockets of air into the product bead before it even touches the nail.
- Place gently on the nail plate: Set the sliced bead gently onto the centre of the prepared nail. Pressing it down too hard or dropping it from a height can trap a cushion of air beneath the gel, which can be incredibly difficult to work out later.
The Art of Shaping: Working with the Brush and Liquid
Once the gel bead is placed on the nail, the shaping process begins. Since the product does not move on its own, you must guide it using a flat, synthetic brush lightly moistened with a shaping liquid or sanitising alcohol. The choice of fluid and the wetness of the brush are critical to preventing bubbles and maintaining product integrity.
If the brush is too dry, the gel will stick to the bristles, lifting away from the nail and creating hollow pockets underneath. Conversely, if the brush is too wet, the excess liquid can pool around the edges, leading to premature lifting and a cloudy appearance after curing. Always pat the brush on a clean, lint-free wipe after dipping it into the shaping liquid to ensure it is damp, not soaking wet.
When shaping, use gentle, patting motions rather than patting too forcefully. Avoid whipping or stabbing the gel with the brush tip, as these aggressive movements introduce air bubbles into the thick structure. Instead, smooth the product outwards from the cuticle area towards the free edge using long, sweeping strokes. Keep the brush flat against the gel surface to distribute the pressure evenly and create a uniform layer.
Precise Curing Techniques for a Flawless Finish
Once you have achieved the desired shape, the curing process must be managed carefully. Air bubbles can sometimes expand during the chemical reaction that occurs inside the curing lamp, especially if the product is exposed to intense heat too quickly. This reaction, known as an exothermic heat spike, can cause the gel to shift and trap air beneath the surface, resulting in structural weakness.
To prevent this, opt for a low-heat mode on your lamp if available. This gradually increases the light intensity, allowing the gel to cure slowly and steadily without sudden temperature spikes. Ensure your hand is placed flat and level inside the lamp so that the light hits all angles of the gel evenly. Uneven curing can cause the top layer to shrink faster than the bottom, resulting in internal tension, lifting, and the formation of unsightly bubbles.
Refining and Sealing the Manicure
After the curing process is complete, a sticky inhibition layer will remain on the surface of the nail. This layer must be thoroughly wiped away with a high-quality cleanser before any filing or shaping takes place. Filing over a sticky surface can clog your nail file and drag debris into the freshly cured gel, ruining the clean finish.
Use a medium-grit file to shape the free edge and smooth out any minor surface imperfections. Once the desired silhouette is achieved, use a fine buffer to create a completely smooth surface. Remove all dust with a soft manicure brush. To seal your hard work and ensure long-lasting shine, apply a thin, self-levelling top coat, making sure to cap the free edge to prevent any water or air from getting underneath the gel over time. This final touch provides a brilliant shine and protects your bubble-free design for weeks to come.