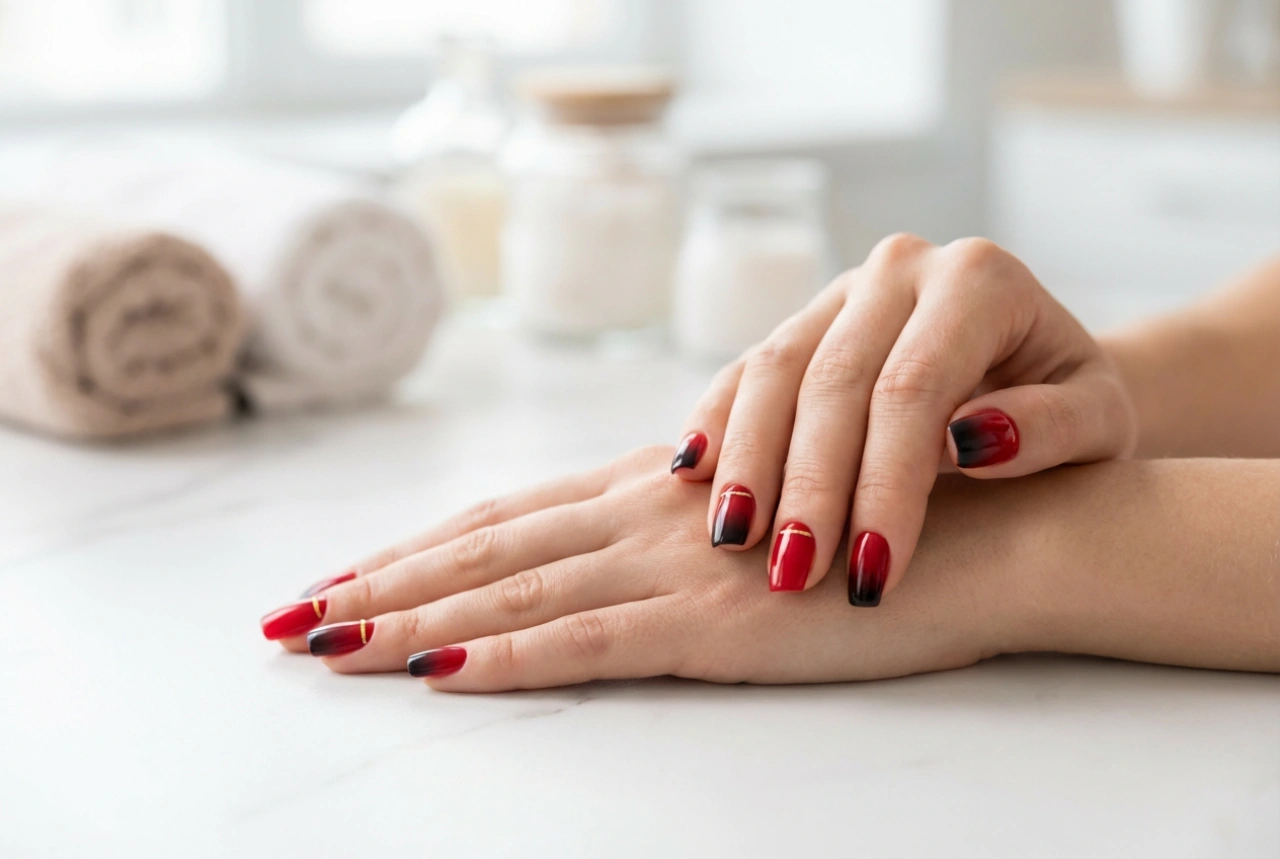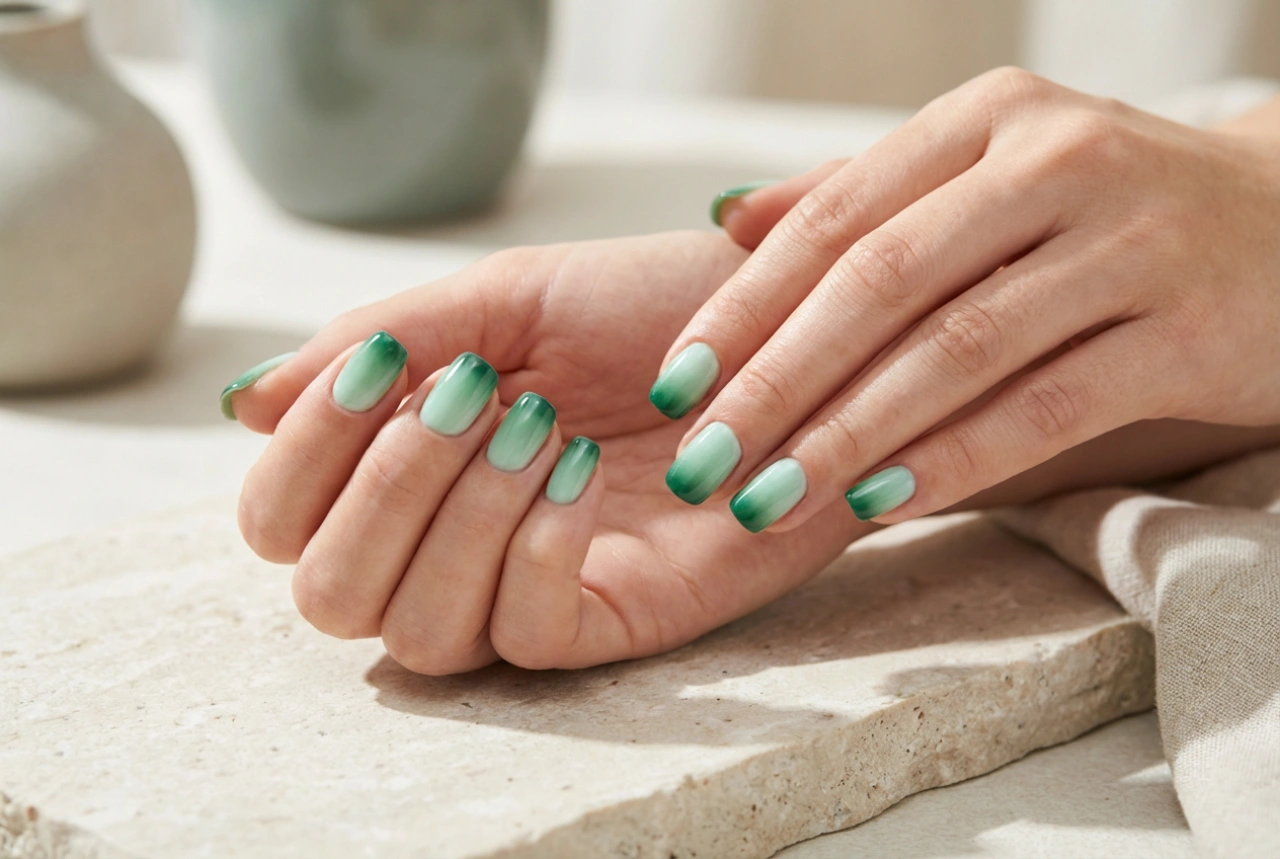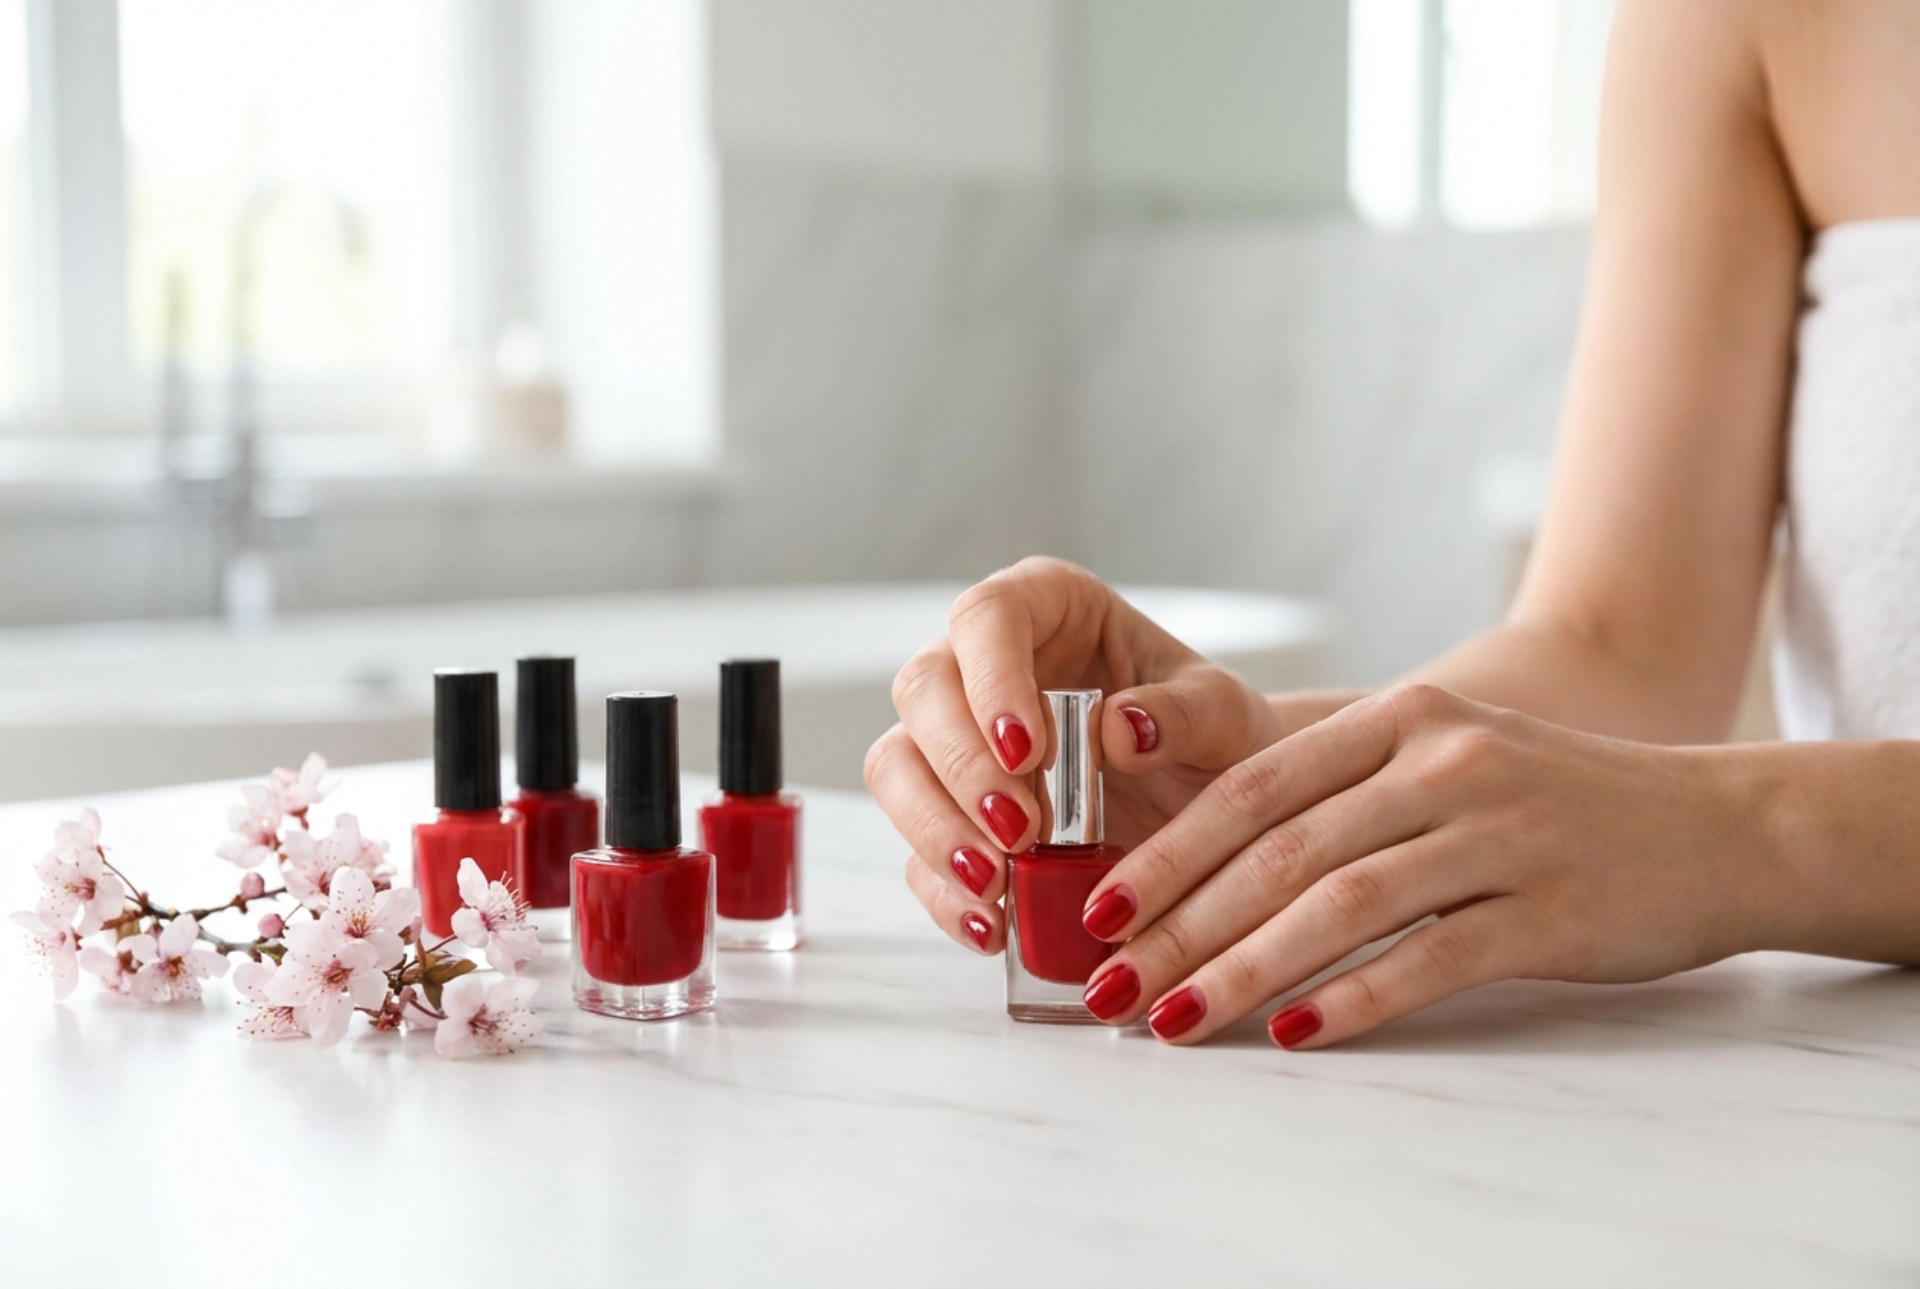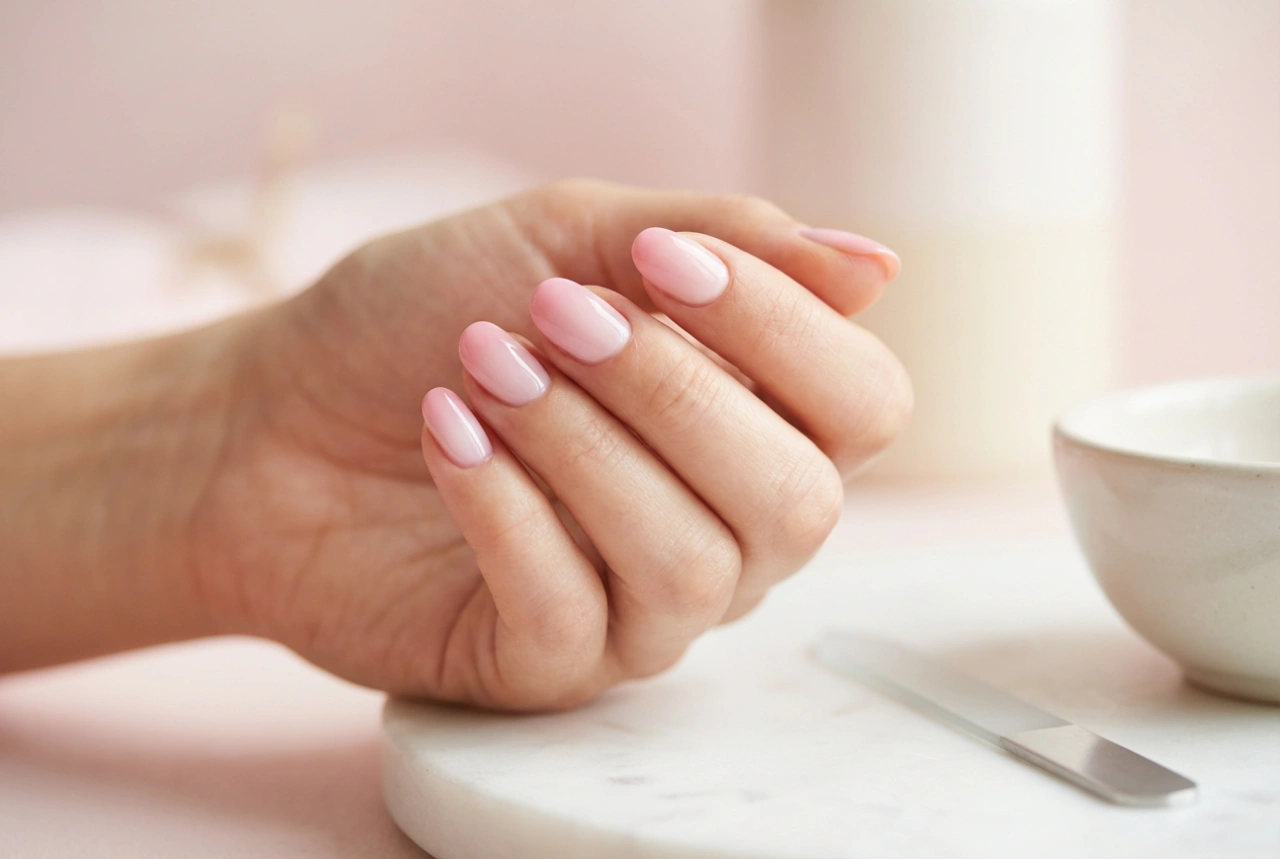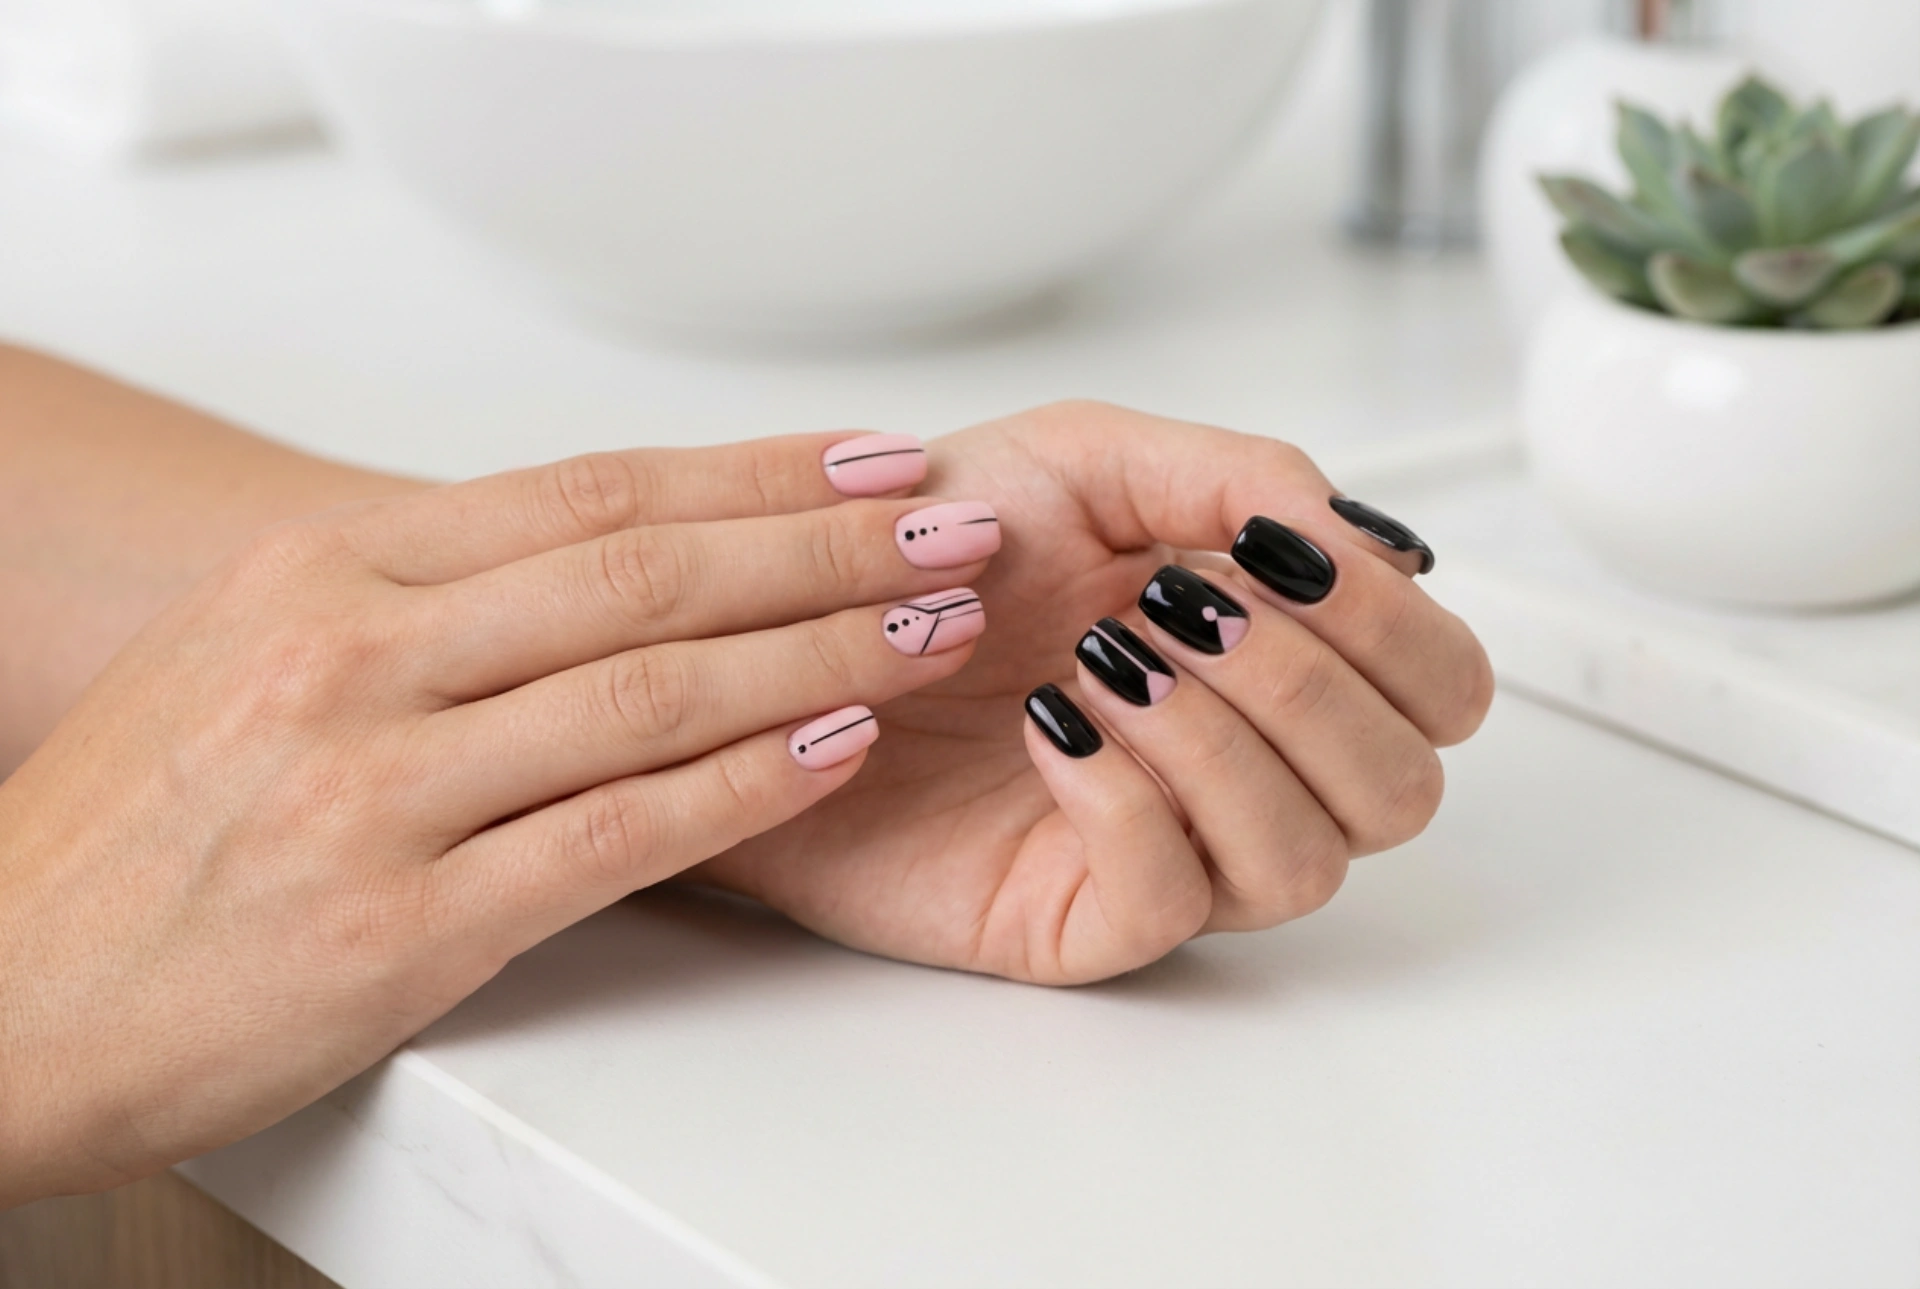


Elegant hands showcasing a striking combination of pink and black nail art immediately draw the eye, especially when captured against a clean, minimalist surface under soft, natural light. This particular colour pairing bridges the gap between delicate femininity and bold, contemporary edge. By contrasting the gentle, soft tones of pink with the deep, dramatic strength of black, you can create a sophisticated design that highlights a glossy finish and impeccably clean lines. Achieving this modern elegance at home does not require complex equipment; with a few basic techniques and a little patience, you can master a variety of high-contrast manicures that look polished and professional.
The Art of Contrast: Selecting the Perfect Shades
The success of a pink and black manicure lies in the balance between the two colours. Black is absolute, deep, and dramatic, which means the shade of pink you choose will define the overall mood of your nails. For a subtle, sophisticated look, pastel or dusty pinks are ideal. These soft hues create a gentle contrast that is perfect for everyday wear or office environments, offering a whisper of colour against the starkness of black details.
If you prefer a more vibrant, energetic aesthetic, opting for bright fuchsia, bubblegum, or neon pink will create a high-impact contrast. This combination is playful and expressive, making it a popular choice for summer or special events. When choosing your polishes, ensure they have a rich pigment and a smooth consistency to prevent streaking, which can easily ruin the clean lines essential for this style.
Simple Techniques for Clean Lines at Home
Creating precise designs with contrasting colours can seem daunting, but several accessible techniques can help you achieve clean, sharp lines without professional training. Before starting, ensure your workspace is well-lit and you have a steady surface to rest your hands on.
- The Dotting Method: One of the easiest ways to introduce contrast is by using a dotting tool or even the round end of a hairpin. Applying a single, perfect black dot near the cuticle of a light pink nail, or a series of tiny pink dots along the side of a black nail, creates a minimalist design that is both chic and effortless to execute.
- Using Striping Tape: For geometric patterns, striping tape is an invaluable tool. Once your base coat and initial colour layer (usually the lighter pink) are completely dry, apply thin strips of tape to partition the nail. Paint over the exposed areas with black polish, and carefully peel the tape away while the polish is still wet to reveal crisp, straight lines.
- The Fine Detail Brush: A very thin nail art brush allows you to paint delicate accents, such as thin borders, half-moons, or micro-French tips. When working with a detail brush, use very little polish on the bristles to maintain maximum control.
Inspiring Nail Art Ideas to Try
The versatility of pink and black allows for endless creativity. Here are a few timeless, easy-to-recreate design concepts that make the most of this striking combination:
The Minimalist Split
Divide the nail diagonally or vertically, painting one half in a soft rose pink and the other in a glossy black. This half-and-half style is modern and balanced, especially when finished with a high-shine top coat that blends the two textures seamlessly.
Modern French Tips
Put a contemporary twist on the classic French manicure by using a pale pink base and swapping the traditional white tip for an ultra-thin black line. This subtle detail adds an unexpected touch of sophistication without being overpowering.
Alternating Accent Nails
If intricate painting feels too challenging, you can achieve a stunning contrast simply by alternating colours. Paint most of your nails a delicate pink, reserving the ring finger or thumb for a solid black finish decorated with a simple pink accent, such as a small heart or geometric triangle.
How to Secure a Long-Lasting, Glossy Finish
To ensure your hard work lasts and maintains its vibrant contrast, the preparation and finishing stages are crucial. Because black polish can easily stain the natural nail plate, always begin with a high-quality base coat. This not only protects your nails but also creates a smooth, even surface for your colour application.
Apply your chosen polishes in thin, even layers. It is far better to apply two thin coats than one thick layer, which can bubble and peel. Allow each layer to dry completely before applying the next, especially when layering black over pink, to prevent the colours from bleeding into each other.
Finally, seal your design with a generous layer of glossy top coat. Make sure to glide the brush gently over the nail to avoid smearing the underlying design, and cap the free edge of each nail to prevent chipping. A good top coat not only protects your art but also enhances the depth of the black and the softness of the pink, creating a cohesive, professional-looking lustre.