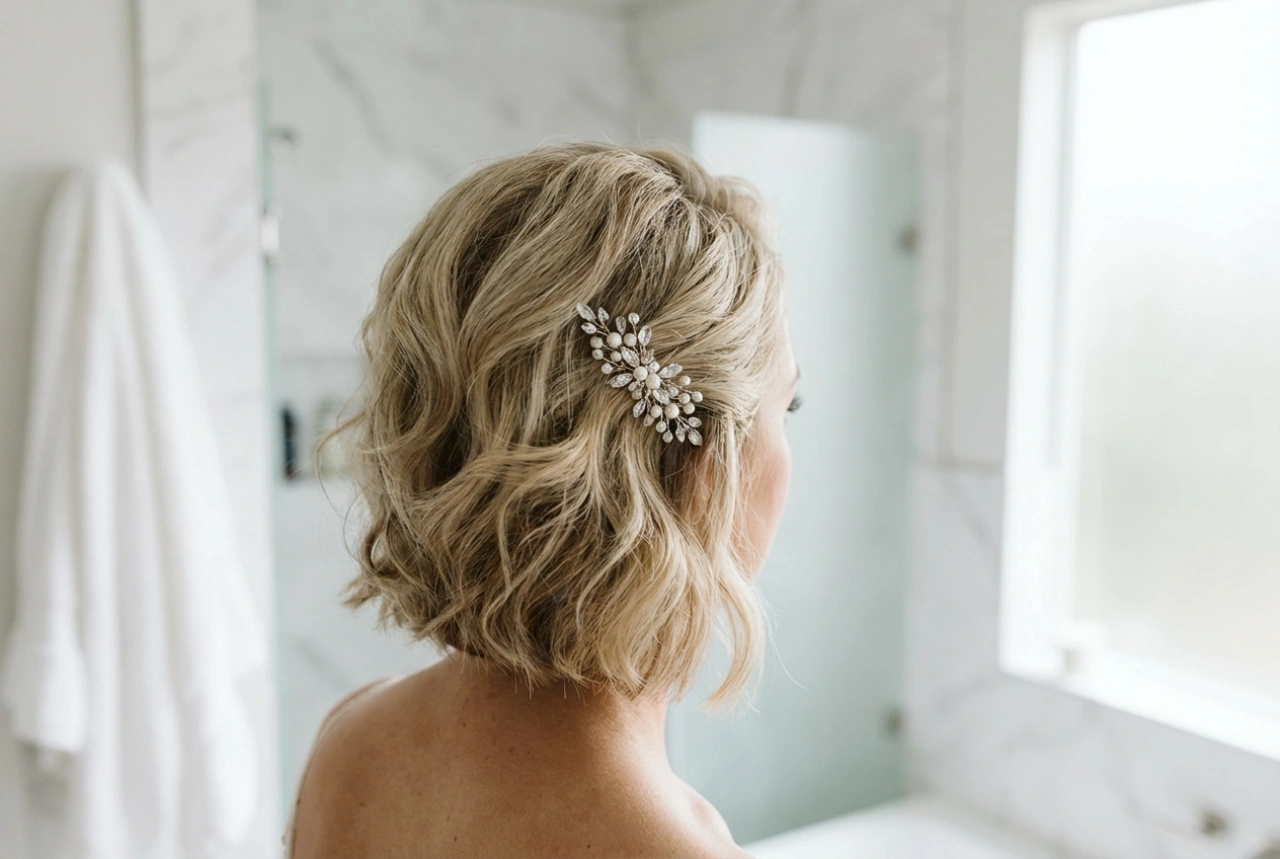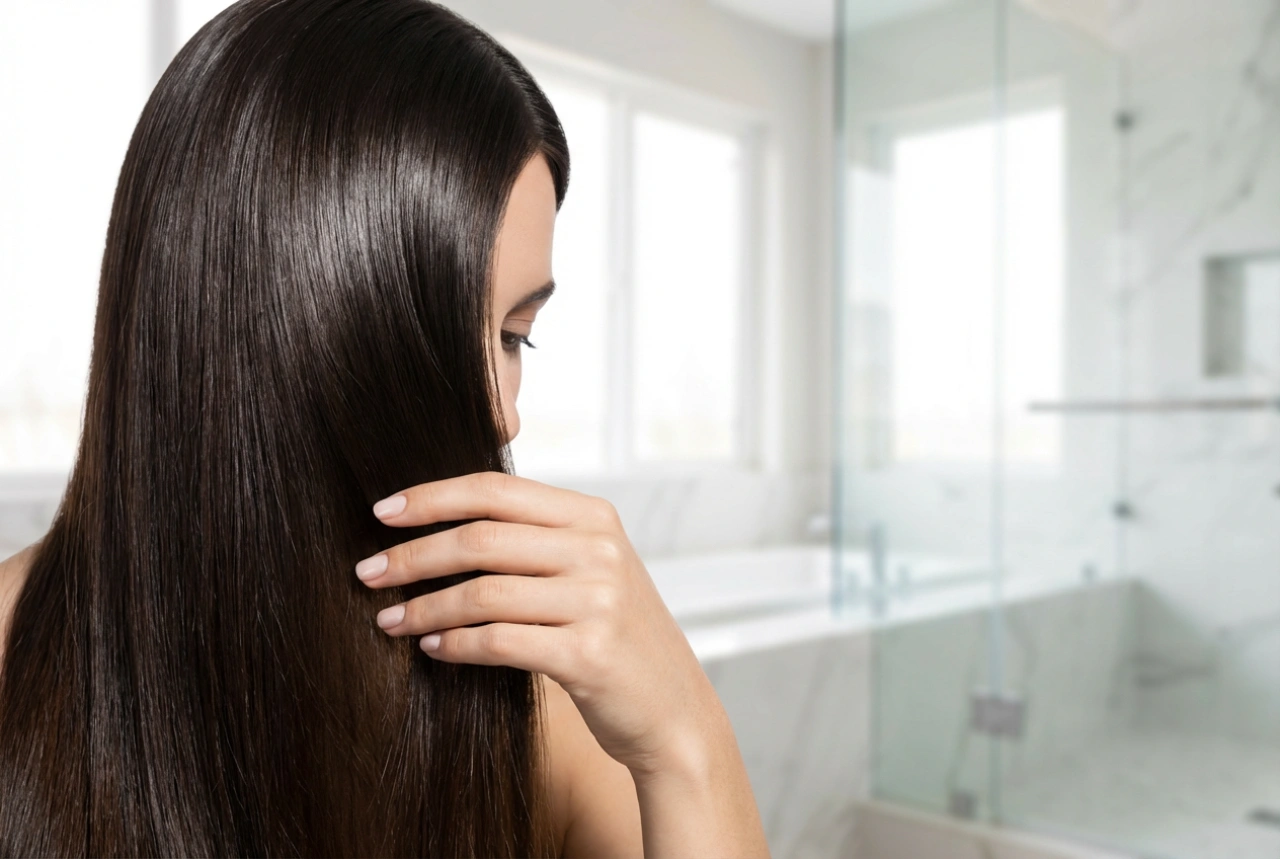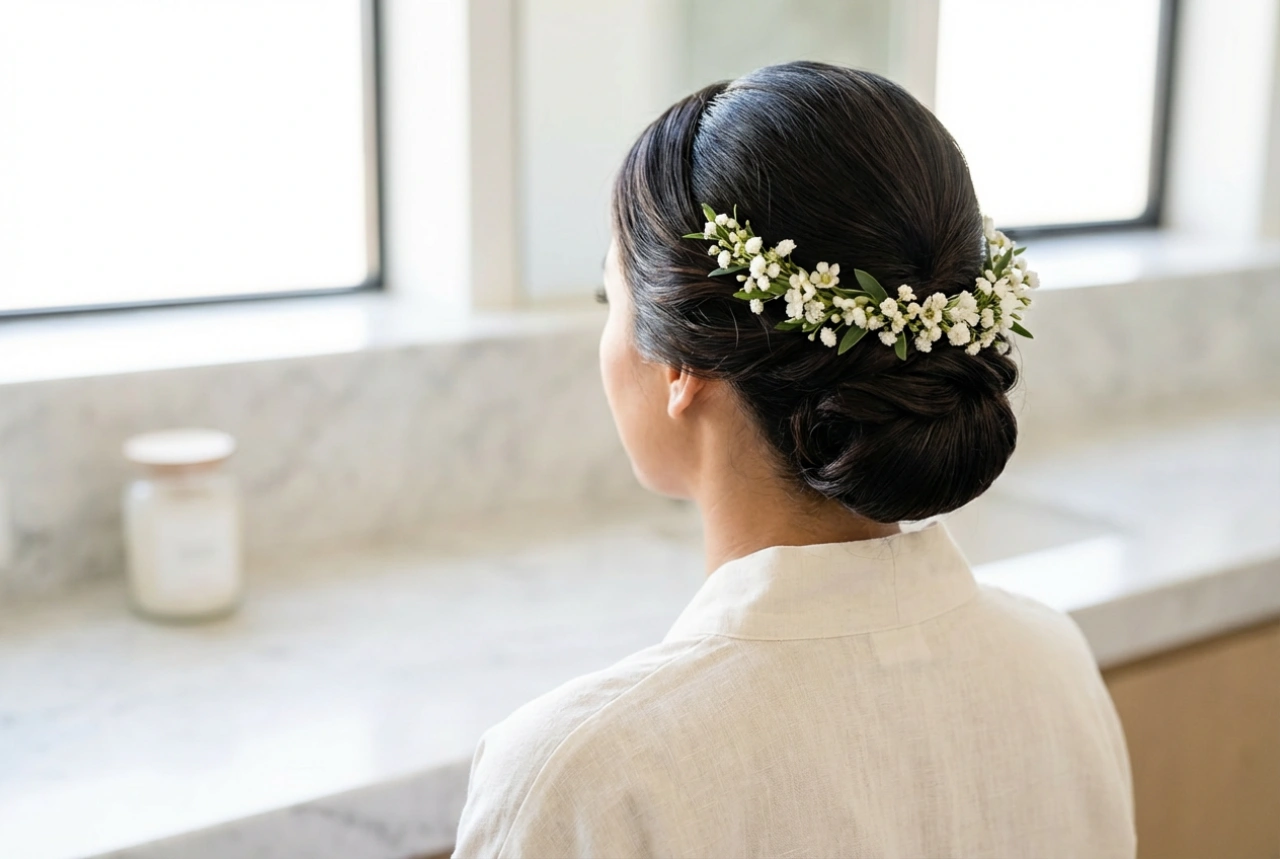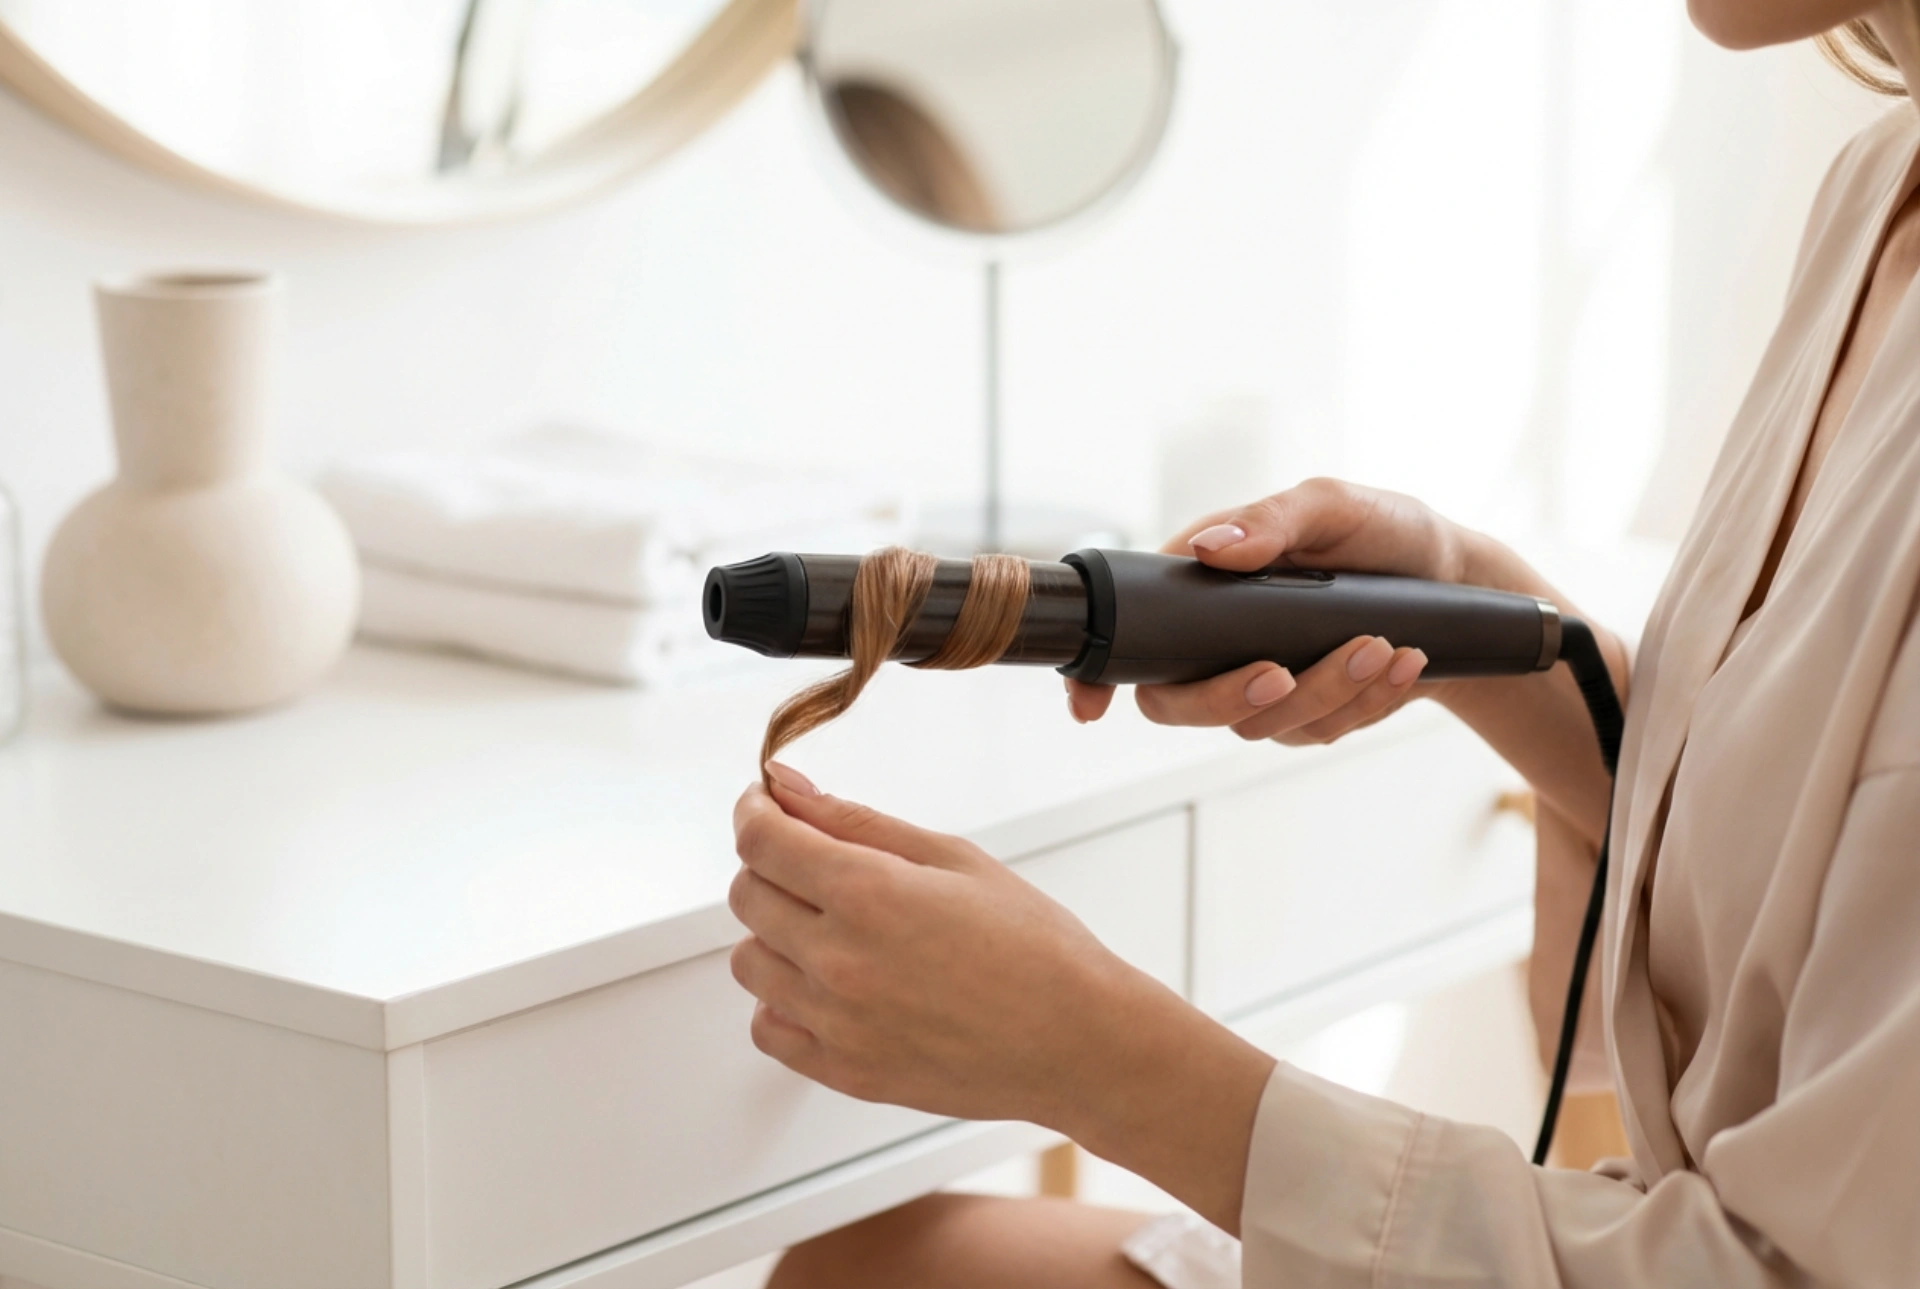


Creating beautiful, bouncy curls at home has never been easier, thanks to modern styling innovations. Sitting at a minimalist vanity bathed in soft morning light, guiding your hair through a sleek automatic curler feels less like a chore and more like a pampering ritual. Unlike traditional styling tools that require manual dexterity and pose a constant risk of accidental burns, an automatic curling device does the hard work for you. By gently drawing hair into a protected heating chamber, it shapes perfect curls with minimal effort. However, to achieve the best results and ensure your hair remains lustrous and healthy, it is essential to understand how to use this technology safely, avoiding common pitfalls like tangling or overheating.
Understanding the Technology Behind Automatic Curlers
Before diving into the styling process, it is helpful to understand how these devices operate. An automatic curler features a specialised chamber, usually lined with ceramic or tourmaline coating, which houses a rotating barrel. When a section of hair is placed near the opening, the device gently draws the strand inside, wrapping it around the heated barrel. This design offers a significant advantage over classic curling wands: the heating element is fully enclosed, which drastically reduces the risk of burning your fingers, forehead, or neck.
Furthermore, these devices are equipped with smart sensors and timers. They distribute heat evenly across the hair strand, ensuring a consistent curl pattern from roots to tips. Most models include audible beeps to signal when the curl is ready, preventing the hair from being exposed to high temperatures for too long. By automating the timing and temperature control, you can achieve professional-looking results while preserving the structural integrity of your delicate strands.
Pre-Styling Preparation: The Key to Preventing Tangles
The secret to a smooth, tangle-free curling session lies in the preparation of your hair. Attempting to use an automatic curler on unprepared hair is the primary cause of jamming and uneven styling. To ensure a seamless experience, follow these essential preparation steps:
- Complete Drying: Never use an automatic curler on damp or wet hair. Wet hair is highly vulnerable to heat damage, and the moisture can cause steam pockets inside the closed chamber, leading to potential structural damage to the hair shaft. Ensure your hair is one hundred per cent dry before styling.
- Thorough Detangling: Brush your hair meticulously from roots to ends. Any small knot or tangle can cause the automatic mechanism to halt or jam. Use a paddle brush or a wide-tooth comb to ensure each strand is perfectly smooth.
- Heat Protection: Apply a lightweight heat protectant spray or serum evenly throughout your hair. This creates a protective barrier, reducing moisture loss and shielding the cuticle from heat-induced dryness. Allow the protectant to dry completely before starting the styling process.
- Sectioning: Divide your hair into neat, manageable sections. Working with random, messy sections increases the likelihood of stray hairs getting caught in the rotating mechanism. Use sectioning clips to keep the rest of your hair out of the way.
Step-by-Step Guide to Safe and Effortless Styling
Once your hair is prepared, you can begin the styling process. Following a structured technique will ensure that each curl turns out perfectly defined and bouncy without any complications.
Step 1: Selecting the Right Settings
Most automatic curlers allow you to adjust both the temperature and the timer settings. It is always wise to start with the lowest settings, especially if you have fine, thin, or colour-treated hair. Lower temperatures (around 150 to 170 degrees Celsius) are sufficient to style delicate hair. For thicker or coarser hair types, a slightly higher temperature (up to 190 degrees Celsius) may be required to lock the curl in place. Adjust the timer based on the desired curl style: shorter times result in soft, loose waves, while longer durations produce tight, bouncy curls.
Step 2: Feeding the Hair into the Chamber
Take a small section of hair, approximately two to three centimetres wide. If the section is too thick, the device may struggle to draw it in smoothly, triggering the safety auto-stop mechanism. Hold the curler vertically, with the open side of the chamber facing your head. Place the hair section into the designated slot, holding the end of the strand gently. Press the rotation button, and let the device smoothly glide the hair into the heated chamber.
Step 3: Waiting for the Signal
Once the hair is completely inside, release your grip on the strand. Keep the device steady and wait for the consecutive beeps. These signals are designed to tell you exactly when the heat has successfully reshaped the hair bonds without causing thermal damage. As soon as you hear the final release beep, gently lower the device straight down to let the newly formed curl slip out naturally.
How to Deal with Jams and Prevent Overheating
Even with careful preparation, minor mishaps can happen. Modern automatic styling devices are equipped with safety features to handle these situations gracefully. If too much hair is inserted, or if a strand enters at an angle, the device will automatically stop rotating and power down the heating element. Should this occur, do not panic or pull the device forcefully. Gently slide the curler away from your head, allowing the hair to unravel from the chamber naturally. Most devices have an open-barrel design or a manual release feature that makes freeing trapped hair simple and painless.
To prevent overheating, avoid holding the device in one spot for too long after the timer signal. Additionally, keep the ceramic chamber clean. Over time, styling products, hairsprays, and natural oils can build up on the internal barrel. This build-up can cause friction, making it harder for hair to slide out smoothly. Clean the device when it is completely cool and unplugged, using a soft, damp cloth to wipe the internal surfaces.
Post-Styling Care for Long-Lasting, Bouncy Curls
To make your beautiful curls last throughout the day, let them cool down completely before touching them. When a curl is warm, the hair bonds are still malleable; manipulating them too soon will cause the curl to drop and lose its shape. Once your entire head is styled and the hair is cool to the touch, gently run your fingers through the curls or use a wide-tooth comb to soften the look into elegant waves. Finish with a light mist of flexible-hold hairspray to lock in the volume and bounce without stiffness. This simple, safe routine ensures gorgeous, salon-like results in the comfort of your own home.