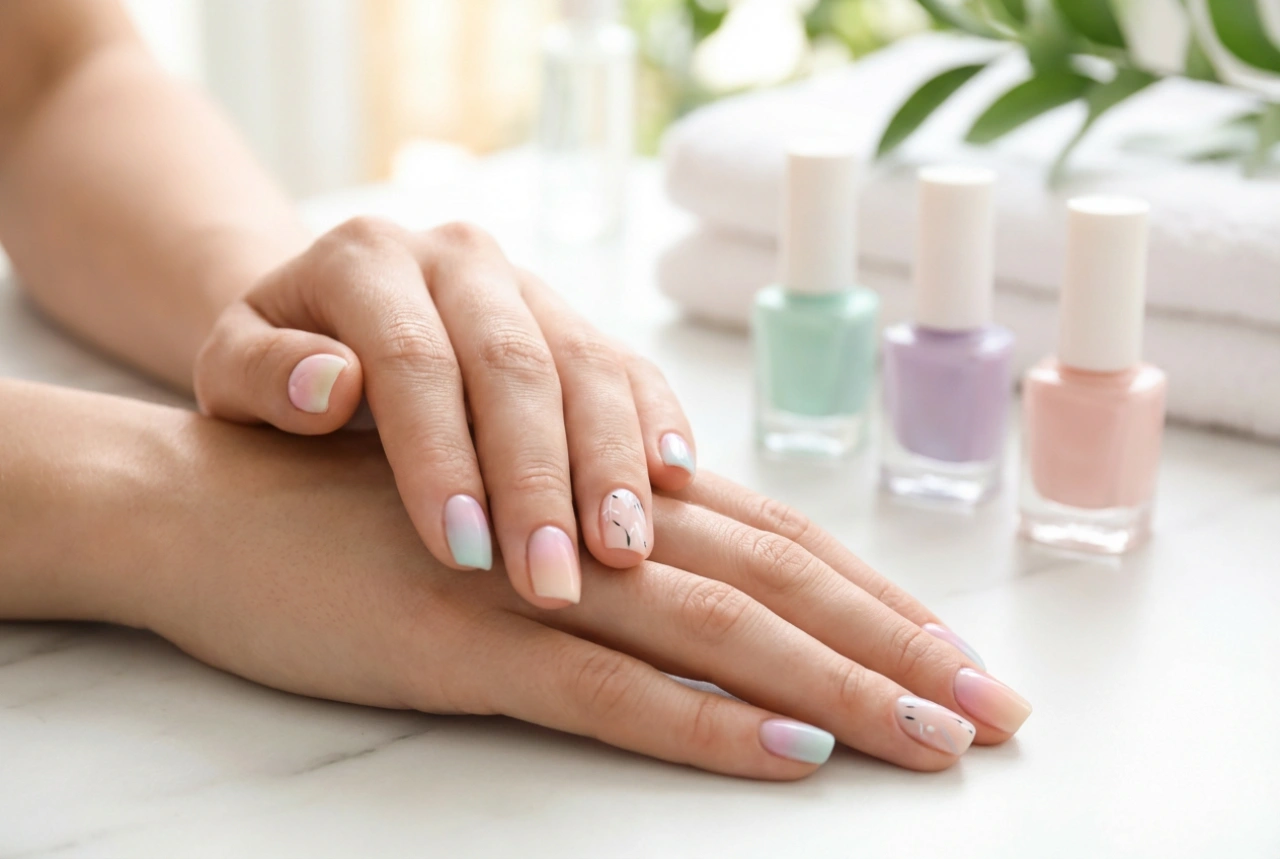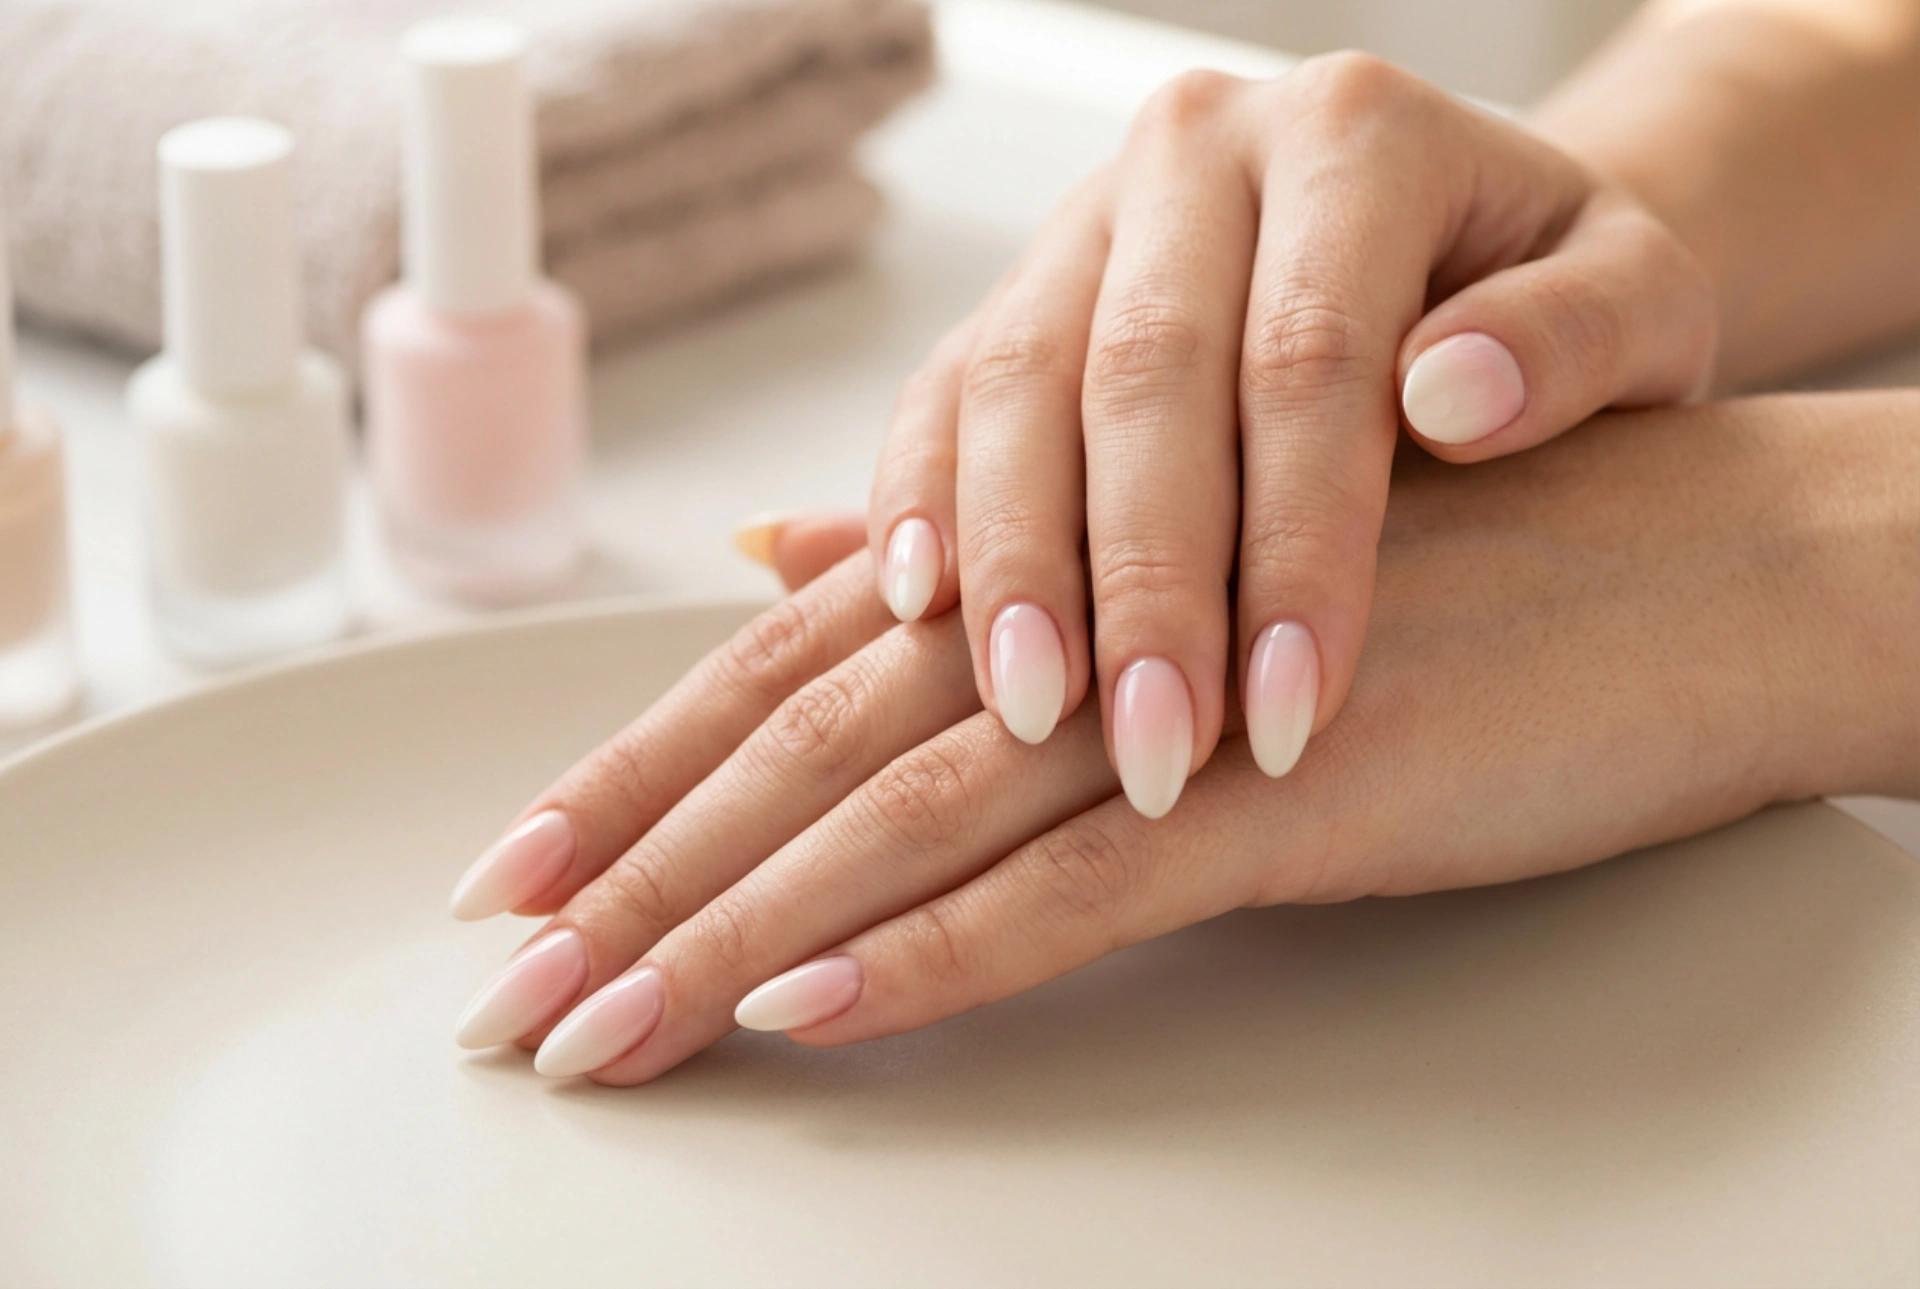


Elegant, perfectly manicured hands with soft white and pink gradients are the epitome of sophisticated beauty. This classic colour pairing reflects gentle light and offers a clean, subtle aesthetic that suits every occasion. Whether you prefer a sharp, traditional look or a soft, blended transition, mastering these techniques at home allows you to achieve stunning, professional-looking results without leaving your vanity table. By using simple tools and focusing on careful preparation, you can enjoy a flawless finish that enhances the natural beauty of your hands.
The Timeless Appeal of the Pink and White Palette
The combination of delicate pink and crisp white is a staple in the beauty world. It mimics the natural colours of a healthy nail bed while adding a polished, refined finish. This versatile duo works beautifully on all nail shapes, from short and rounded to elegant almonds or modern square tips. Selecting the right shade of pink is key to personalising this look. Soft pastel pinks, sheer blush tones, and warm peach-pinks all offer unique vibes, allowing you to choose a hue that complements your skin's natural undertones.
Beyond aesthetics, this colour combination is highly practical. Unlike bright or dark colours, minor chips or growth near the cuticle are much less noticeable, making it an excellent choice for busy individuals who want their manicure to last. By learning how to create different styles with these two simple colours, you open up a world of elegant nail designs.
Classic French Manicure: Precision and Elegance
The traditional French manicure remains a symbol of understated elegance. Unlike blended gradients, this style relies on a clean, defined contrast between the pale pink base and the bright white tip. Here is how to achieve this precise look at home:
- Prepare the canvas: Begin by shaping your nails with a fine-grit file and gently pushing back the cuticles. Cleanse the nail plate with a gentle dehydrator or rubbing alcohol to remove any natural oils, ensuring better adhesion.
- Apply the base shade: Paint your nails with one or two coats of a sheer, milky pink polish. Allow this layer to dry completely before moving on to the next step.
- Define the tip: Using a fine detail brush or guide strips, carefully paint a clean white crescent along the free edge of your nail. Take your time to ensure the curve matches on every finger, adapting the width of the tip to your nail length.
- Seal with shine: Once the white tips are dry, apply a high-shine top coat to smooth out any ridges and lock in the design. This step is crucial for blending the transition between the two colours.
The Seamless Transition: Pink and White Ombre
For those who love a modern twist, a pink and white ombre offers a beautiful, horizontal colour transition. This technique creates a soft, diffused effect where the pink gradually shifts into white, rather than having a sharp line of demarcation. It is highly customisable and incredibly flattering, giving the illusion of longer, more slender fingers.
How to Create the Perfect Gradient
To achieve this seamless blend, you will need a small, clean cosmetic sponge. Apply a strip of sheer pink polish and a strip of white polish directly onto the sponge, slightly overlapping them where they meet. Gently press the sponge onto your nail in a light dabbing motion. Do not press too hard, as this can create air bubbles. Repeat this process in thin layers, allowing each layer to dry slightly, until you reach your desired opacity. Finish with a generous layer of top coat to blend the colours together perfectly and erase any sponge texture.
The Elegant Baby Boomer: The Modern Classic
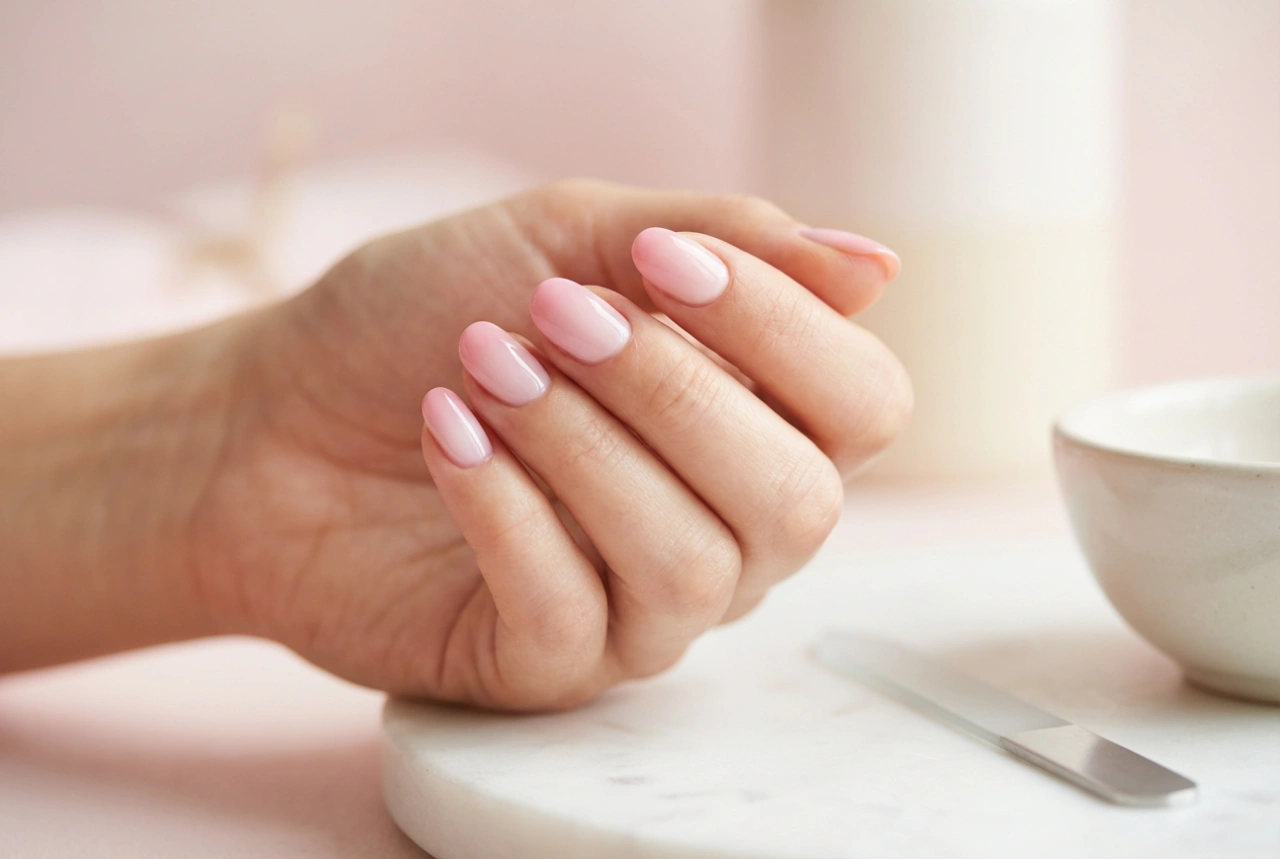
Often referred to as the French fade, the baby boomer style is a sophisticated evolution of the classic French manicure. Instead of a sharp white tip, the white edge softly dissolves into a delicate pink base, mimicking a natural, healthy glow. This style looks exceptionally beautiful when reflecting gentle light, creating a clean, soft-focus aesthetic.
Step-by-Step Baby Boomer Guide
Unlike standard ombre, the baby boomer focuses on keeping the softest pink near the cuticle and the most concentrated white at the very tip. Start with your sheer pink base. Once dry, apply a tiny amount of white polish to the tip of your nail and use a sponge or a damp blending brush to fade the white downwards towards the middle of the nail. The key is patience; building up very thin layers ensures a smooth, cloud-like transition without any harsh lines. A milky top coat can be used as a final step to harmonise the transition even further, creating a dreamy, unified finish.
Essential Care Tips for a Flawless Finish
To keep your white and pink manicure looking fresh and beautiful for longer, proper preparation and post-application care are essential. Follow these simple steps to maintain your nails:
- Hydrate your cuticles: Apply a drop of natural oil, such as jojoba or almond oil, to your cuticles daily to keep the surrounding skin soft and prevent peeling.
- Protect your design: Reapply a clear top coat every few days to protect against chipping and maintain that fresh-out-of-the-salon gloss.
- Mind the edges: When applying your top coat, remember to "cap" the free edge of the nail to seal the polish and prevent lifting.
- Wear gloves: Protect your hands with gloves when doing household chores or gardening to prevent yellowing or chipping of the light colours.
With these classic techniques and a little practice, you can easily enjoy beautifully styled pink and white nails that enhance your natural beauty and complement any look.