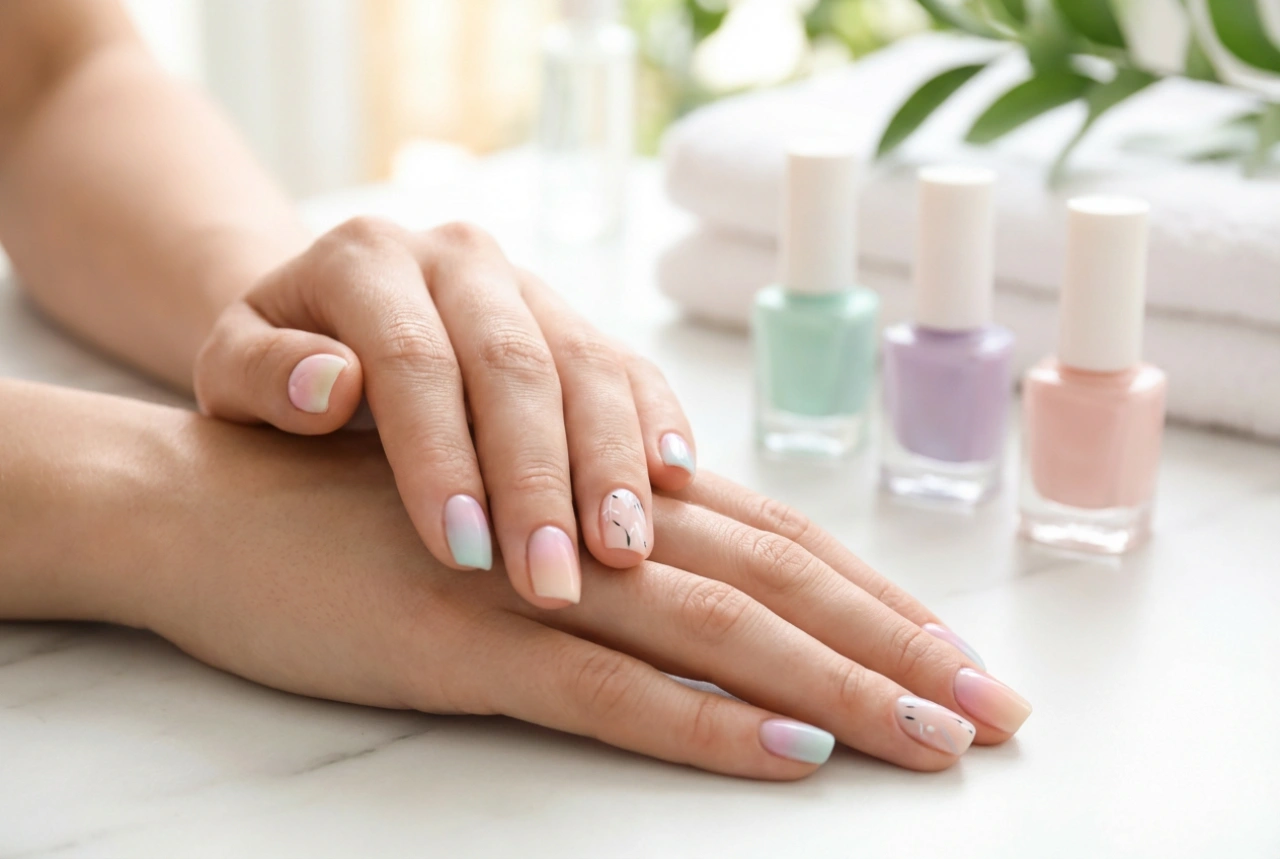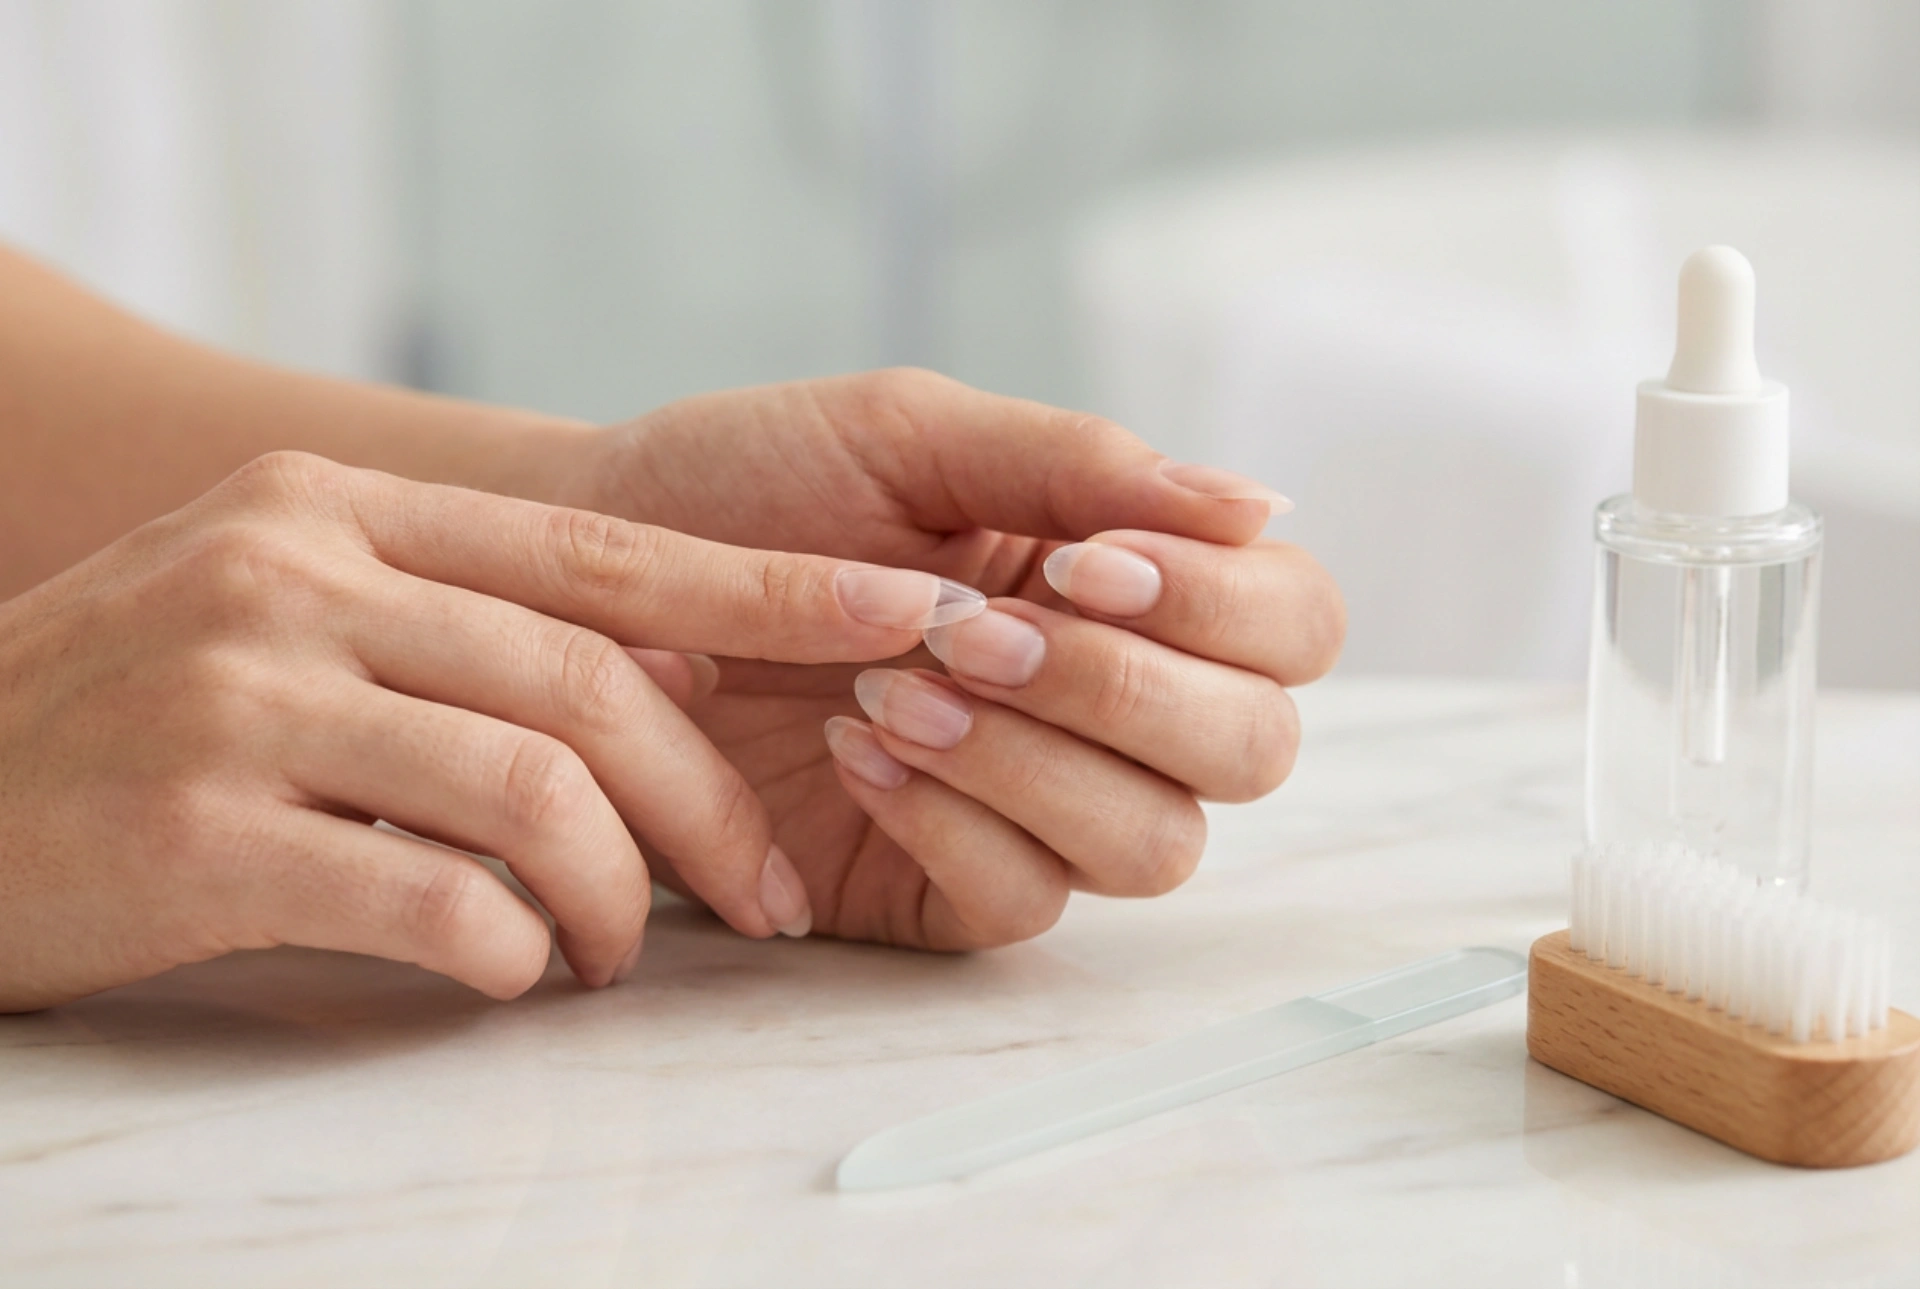


Achieving beautifully long, manicured nails is a classic beauty ritual that many enjoy for its transformative effect on the hands. While modern techniques have evolved, extending nails with tips remains one of the most reliable and accessible methods to create a perfect canvas. When performed with care and precision, using high-quality tools such as files, brushes, and safe adhesives, this process delivers elegant and durable results. To achieve a seamless finish, it is essential to understand the meticulous steps involved, from initial preparation to the final shaping process.
The Importance of Proper Nail Preparation
The foundation of any long-lasting nail extension lies in the preparation of the natural nail plate. Skipping or rushing this stage often leads to premature lifting and a less-than-perfect appearance. To start, ensure your hands and nails are thoroughly clean and dry. A clean workspace with neatly arranged tools is key to maintaining a hygienic environment.
- Gently push back the cuticles: Using a wooden cuticle stick or a precise pusher, gently push back the cuticles to expose the entire nail surface. Avoid aggressive scraping, as the nail plate is delicate. Removing dead skin from the nail plate ensures the tips adhere directly to the nail keratin.
- Remove the natural shine: Use a fine-grit buffer or file to lightly buff the surface of the natural nail. The goal is not to thin the nail, but to remove the natural oils and create a slightly textured surface for the adhesive to grip. Always file in one direction to minimise potential damage.
- Dehydrate the plate: Wipe each nail thoroughly with a lint-free pad soaked in a dehydrator or a standard prep solution. This step removes residual dust and oils, ensuring optimal adhesion and preventing any moisture from being trapped beneath the tip.
Selecting and Fitting the Ideal Tips
Choosing the correct size of nail tips is critical for both comfort and longevity. A tip that is too wide or too narrow will place unnecessary stress on the natural nail, leading to cracking, lifting, or popping off. Ensure you have a varied selection of clear or natural tips to match the unique curvature of each finger.
When fitting a tip, place it over the free edge of the natural nail. It must fit perfectly from sidewall to sidewall without requiring you to press down too hard. If you find yourself between sizes, always select the slightly larger tip and use a precise file to gently customise the sides for a bespoke fit. A well-fitted tip should sit comfortably and align seamlessly with the natural growth direction of your nail, without pinching the skin or leaving gaps at the edges.
The Precise Art of Gluing
Applying the adhesive requires a steady hand and a clear technique to prevent air bubbles from forming. Air pockets not only weaken the bond but can also trap moisture, which is undesirable for nail health. To apply, place a small drop of high-quality nail adhesive onto the well or the contact area of the selected tip, ensuring it is spread thinly and evenly.
Hold the tip at a 45-degree angle to the free edge of the natural nail. Slowly lower the tip onto the nail plate, allowing the adhesive to spread evenly from the edge toward the cuticle area. Once the tip is flat and properly aligned, apply firm, even pressure for about ten to fifteen seconds. Avoid shifting or moving the tip while the adhesive is setting to ensure a secure, bubble-free bond. Any excess adhesive that squeezes out should be wiped away immediately with a clean tool.
Blending and Shaping the Extensions
Once the adhesive has dried completely, the next phase is to trim and blend the tips into the natural nail. This step is where the extension begins to look truly natural and elegant. Use a dedicated tip cutter to shorten the extensions to your desired length, leaving them slightly longer than the final desired shape to allow for filing.
- Filing the transition zone: Use a medium-grit file to carefully blend the seam where the tip meets the natural nail. Focus your efforts solely on the plastic tip, avoiding contact with the natural nail plate to prevent damage. File until the ridge disappears and the surface feels completely smooth. This transition must be completely flat to ensure a flawless finish.
- Shaping the free edge: Style the free edge into your preferred silhouette, whether it is a classic oval, a modern square, or a soft squoval. Ensure both sides are symmetrical and align beautifully with the natural shape of your fingers. Keep the file at a consistent angle to avoid uneven edges.
- Smoothing the surface: Finish by lightly buffing the entire surface of the extended nail with a fine buffer to prepare it for your chosen topcoat, polish, or builder gel. Clean away any residual dust with a small, soft brush.
Maintenance and Gentle Care
To keep your extended nails looking immaculate, it is vital to treat them with care. Wear gloves when performing household chores to protect the adhesive bond from prolonged exposure to water and cleaning agents. Applying a drop of nourishing cuticle oil daily will keep the skin around the nails hydrated and supple, enhancing the overall elegance of your hands. Avoid using your nails as tools to prevent lifting.
When the time comes to remove the tips, never attempt to peel or pull them off, as this can severely damage the underlying natural nail. Instead, use a gentle soaking method with a suitable remover solution, allowing the adhesive to soften gradually before wiping it away with a soft pad. This patience ensures your natural nails remain strong and healthy.