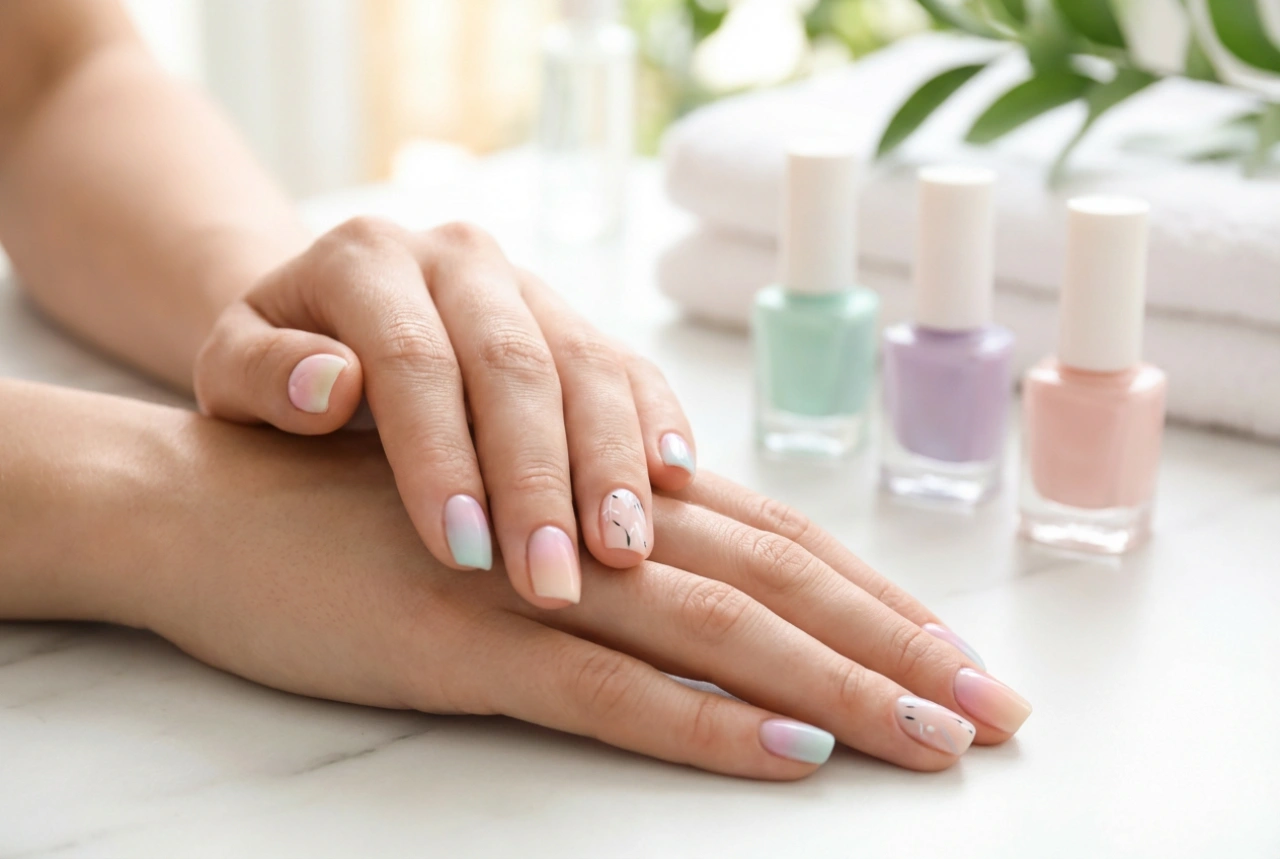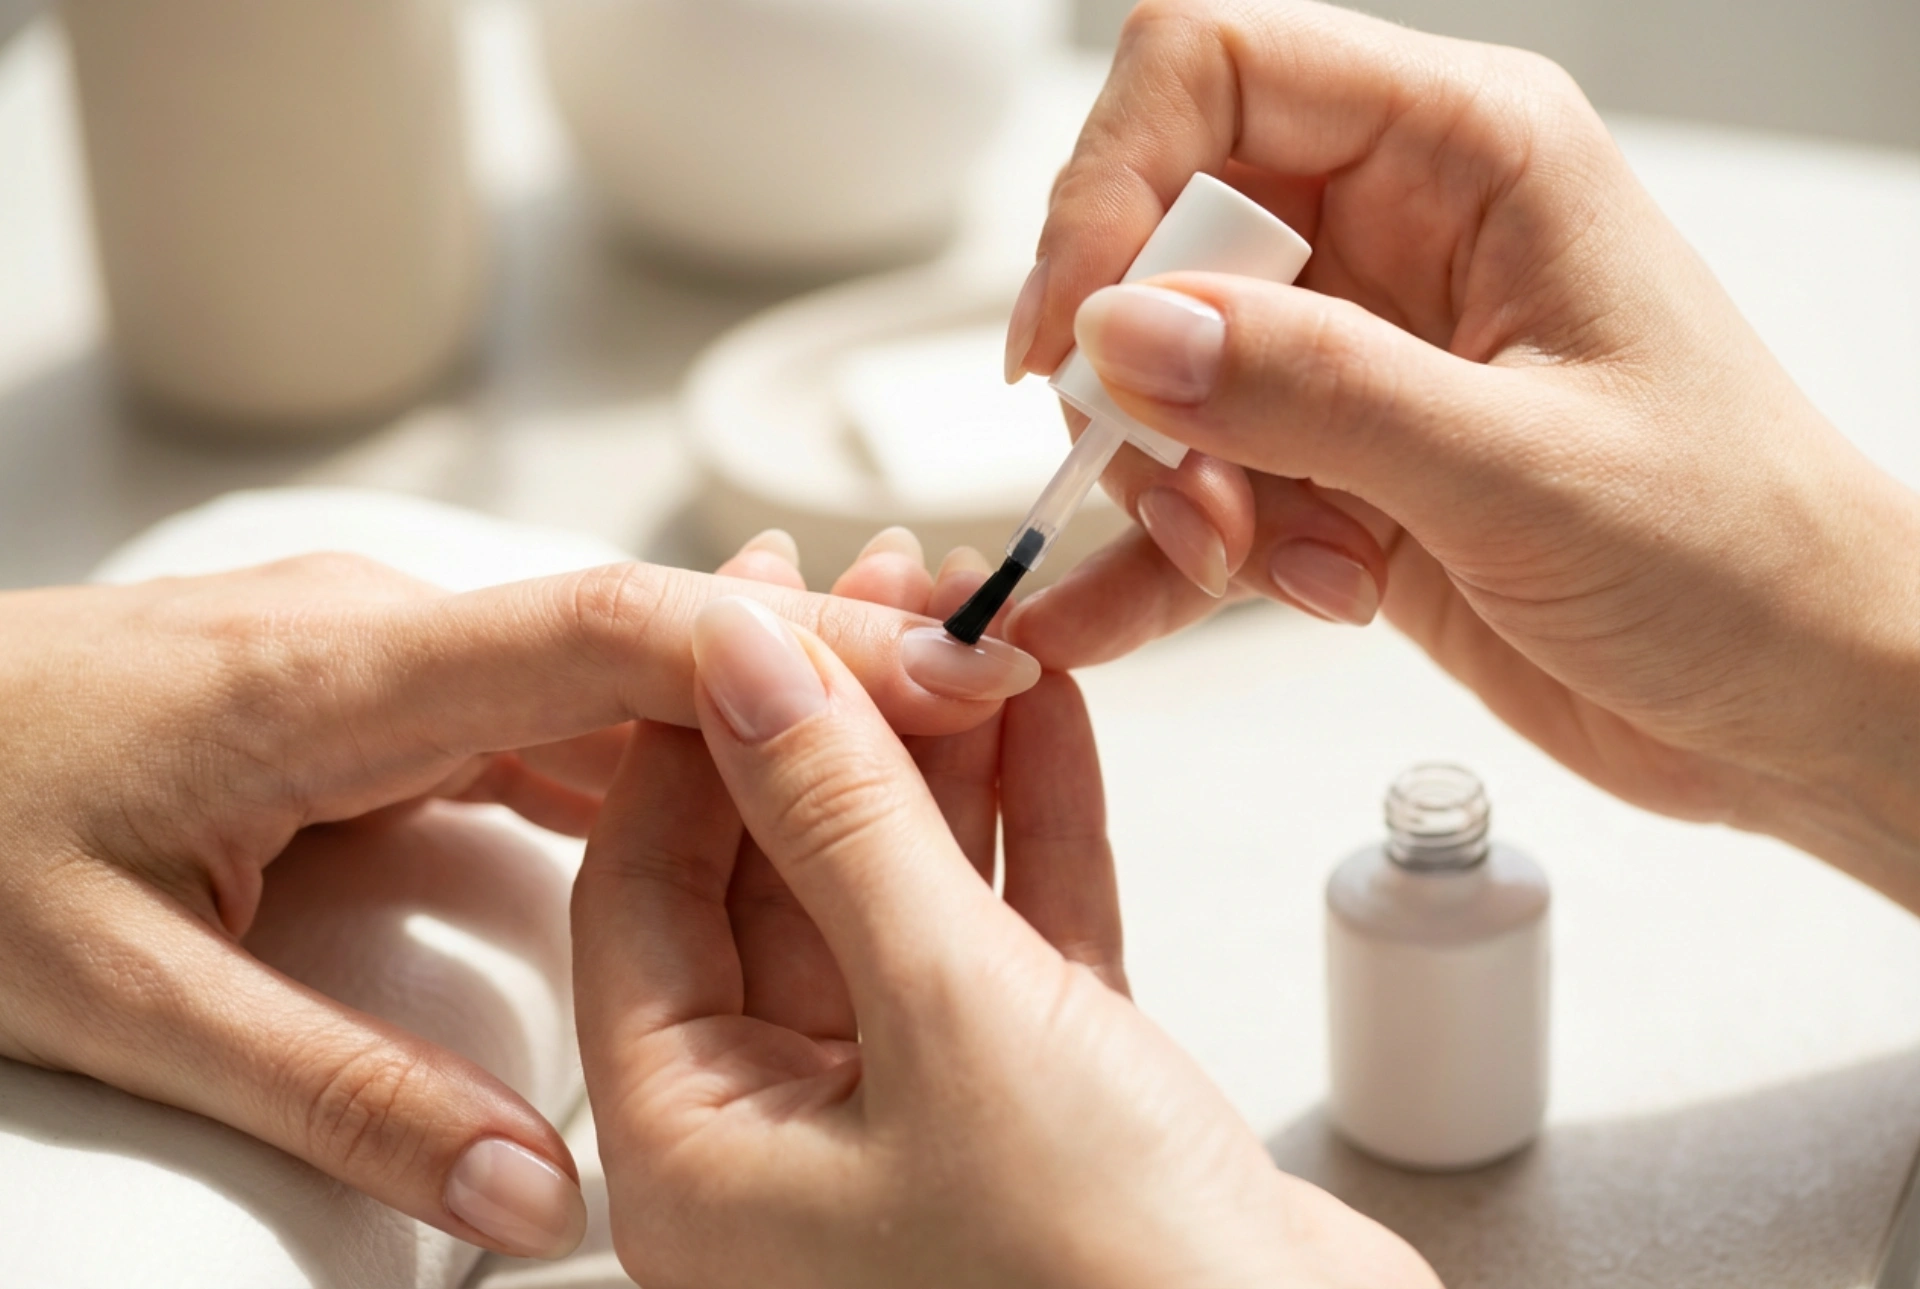


Beautiful, elegant hands and impeccably manicured nails are a wonderful addition to any look. In modern home nail care, achieving a smooth, durable, and healthy-looking finish has become much easier thanks to innovative nail care products. One such essential product is the builder base coat. Designed to add strength and create an even surface, this thick, versatile product helps protect the natural nail while providing a flawless canvas for colour or a clean, minimalist natural look. Precise application with a focus on nail health can transform weak, brittle plates into a resilient, beautifully shaped manicure.
Understanding the Builder Base Coat
Unlike standard thin base coats, a builder base has a thicker, more viscous consistency. This unique texture allows it to stay exactly where it is placed without immediately running into the cuticles. It is specifically formulated to add a layer of reinforcement to the natural nail plate, making it highly effective for individuals with weak, brittle, or flexible nails that tend to split, bend, or break. It serves as both a protective shield and an architectural tool for the nail, allowing you to build up a beautiful, natural-looking shape and support healthy growth.
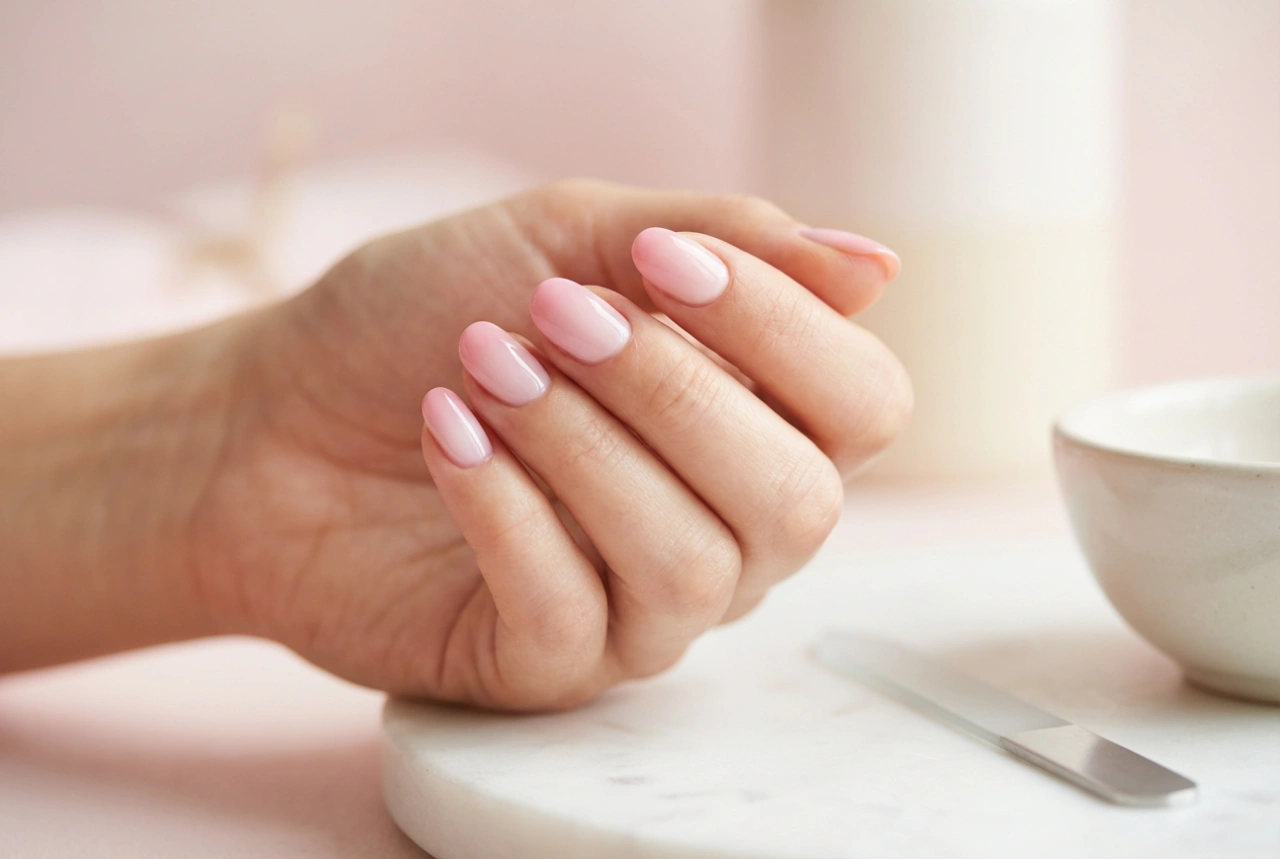
Additionally, many modern builder bases feature self-levelling properties. This means that once applied, the product naturally smooths out under the influence of gravity, filling in any ridges, dents, or natural imperfections on the surface of the nail plate. The result is a perfectly sleek, dome-like finish that mimics professional work, even when applied in the comfort of your own home.
The Core Benefits of Builder Bases
Integrating a builder base into your regular home nail routine offers several key advantages that go far beyond simple polish adhesion. Here are the primary reasons why this product has become a staple in modern nail care:
Superior Nail Strengthening
The primary appeal of a builder base is its structural strength. If your natural nails are prone to bending, peeling, or cracking, standard polish or thin gels may lift and chip easily under pressure. A builder base creates a resilient, flexible layer that absorbs daily impacts, preventing chips and encouraging healthy natural nail growth beneath the protective coating.
Flawless Surface Levelling
Natural nails often have horizontal or vertical ridges, minor damage from previous treatments, or uneven textures. Thin base coats are rarely able to disguise these imperfections. A builder base settles into these micro-crevices, creating a completely flat, mirror-like surface that ensures any subsequent colour application looks perfectly smooth and pristine.
Architecture and Apex Creation
In professional nail styling, the apex is the highest point of the nail's natural arch, which provides essential structural integrity. A builder base allows you to reinforce this specific zone, ensuring that the nail can withstand daily mechanical stress without breaking. This architectural support is crucial for maintaining beautiful, slightly longer natural nails.
Step-by-Step Guide to a Flawless Application
Achieving a beautiful, neat, and long-lasting result at home requires patience, precision, and the correct technique. Follow these steps to ensure your builder base application is smooth, durable, and completely safe for your natural nails:
- Step 1: Gentle Preparation
Begin by gently pushing back the cuticles using a wooden stick. Lightly buff the surface of the natural nail with a high-grit buffer to remove any natural oils and shine. This texture helps the base adhere properly. Cleanse the nail plate thoroughly with a prep solution to remove any dust and residual oils, ensuring a clean canvas.
- Step 2: The Slip Layer
Apply a very thin, even layer of the builder base over the entire nail, keeping a safe distance from the cuticles and side walls. Do not cure this layer yet. This is called a slip layer or wet path. It acts as a guide, helping the next, thicker drop of gel flow smoothly across the nail plate without running into the surrounding skin.
- Step 3: Placing and Distributing the Bead
Pick up a larger drop of the builder base on your brush. Place it near the cuticle area, taking care not to touch the skin, and gently glide it down the centre of the nail towards the free edge. Use light, floating motions to guide the product sideways, letting the wet path pull it into place. Do not press hard with the brush; let the gel do the work.
- Step 4: The Inversion Trick
To achieve a perfect, self-levelled apex, turn your hand upside down, with your palm facing upwards, parallel to the ground for five to ten seconds. Gravity will naturally pull the gel towards the centre of the nail, creating a beautiful, smooth, and natural-looking arch. Turn your hand back over quickly and inspect the shape under a light source before curing.
- Step 5: Curing and Finishing
Once you are happy with the shape, immediately place your hand under the curing lamp. Because builder bases are thicker, you may experience a slight warming sensation during the curing process. If this happens, briefly remove your hand from the lamp for a few seconds, then place it back inside to complete the full curing cycle recommended for your device.
Common Mistakes and How to Avoid Them
Even with high-quality products, certain errors can affect the durability and overall appearance of your manicure. One of the most frequent mistakes is flooding the cuticles. If the gel touches the skin, it will lift as the nail grows, allowing moisture to get underneath. Always leave a tiny, clean gap between the product and your skin.
Another issue is applying too much product at once. If the layer is too thick, the light may not penetrate completely, leading to an uncured under-layer, which can cause peeling or irritation. It is always better to build up the thickness in two thin, controlled layers rather than one excessively thick layer. With a little practice, mastering the application of a builder base coat can elevate your home manicures to a whole new level, providing the perfect balance of care, protection, and beautiful aesthetics.