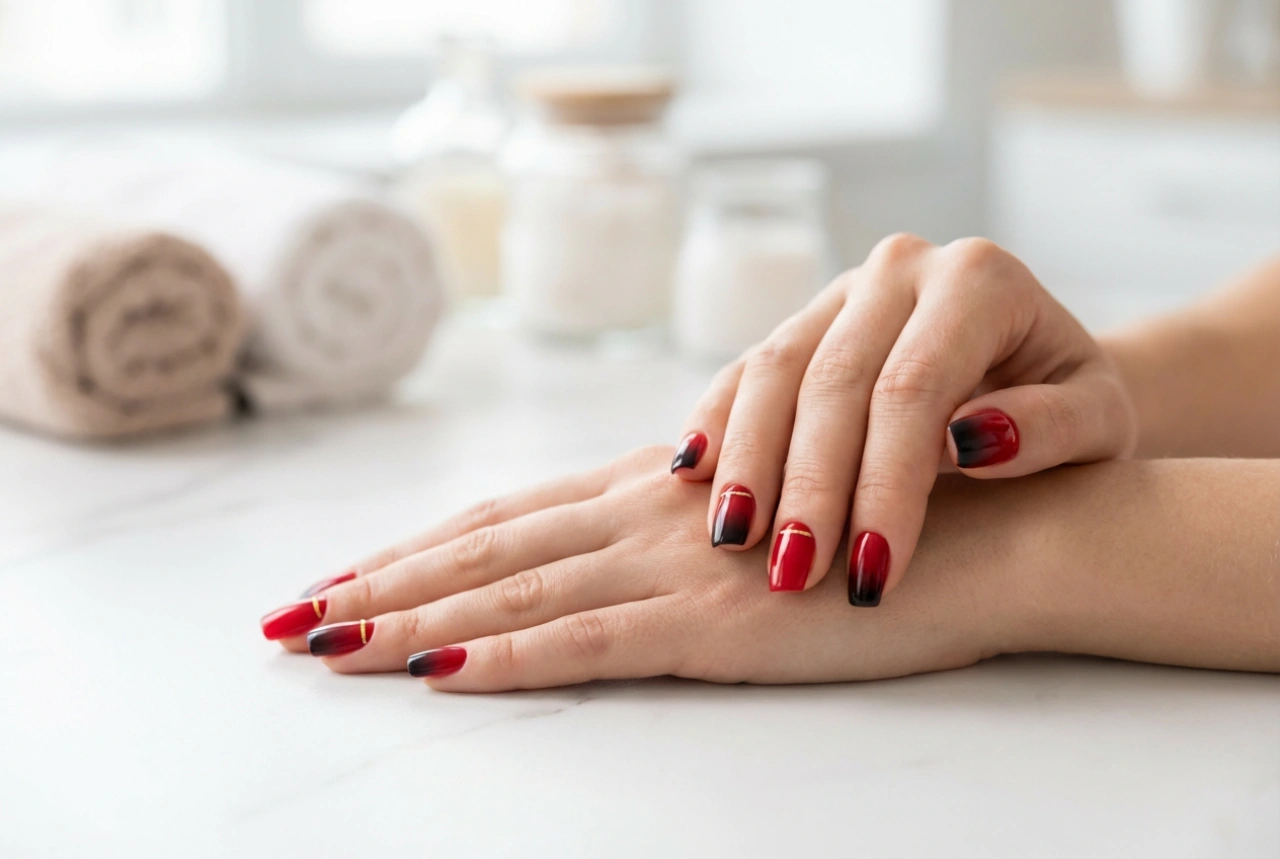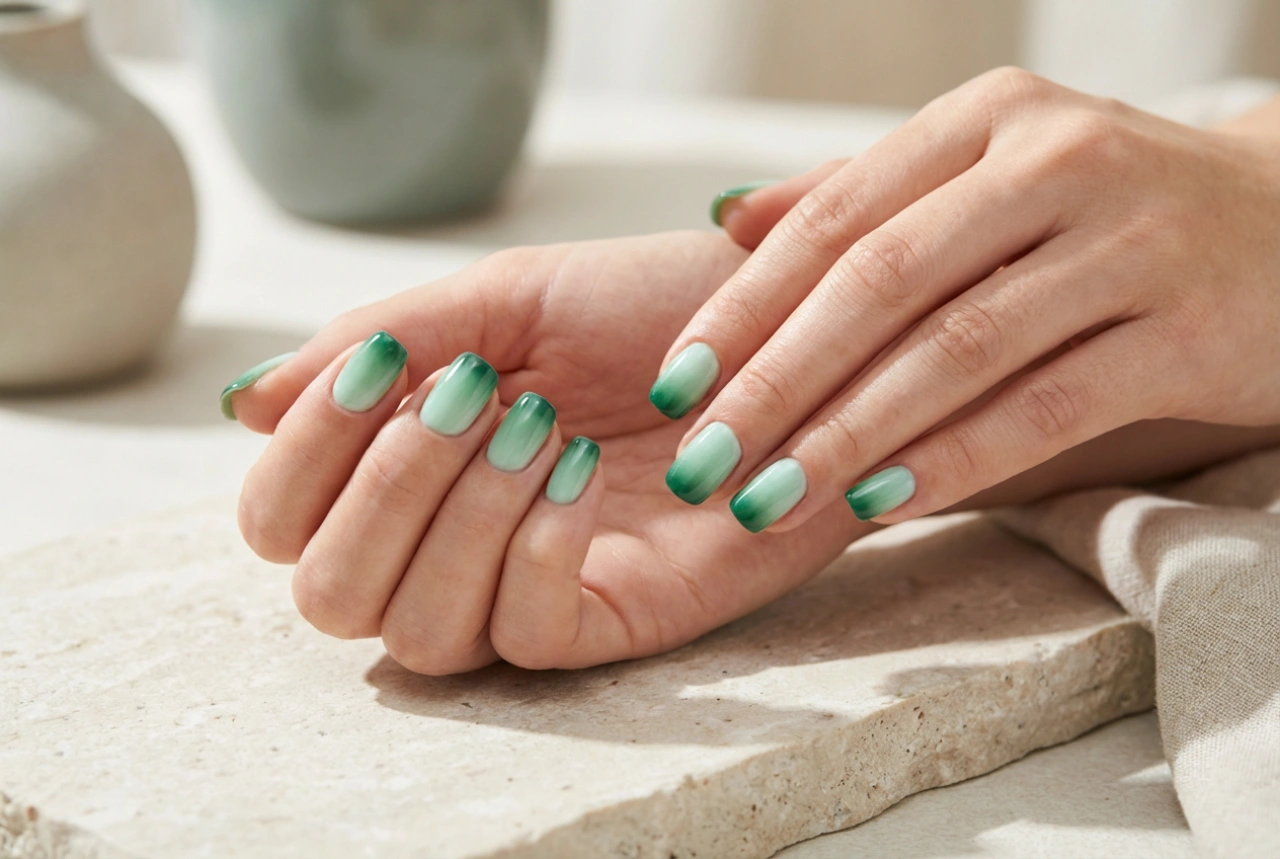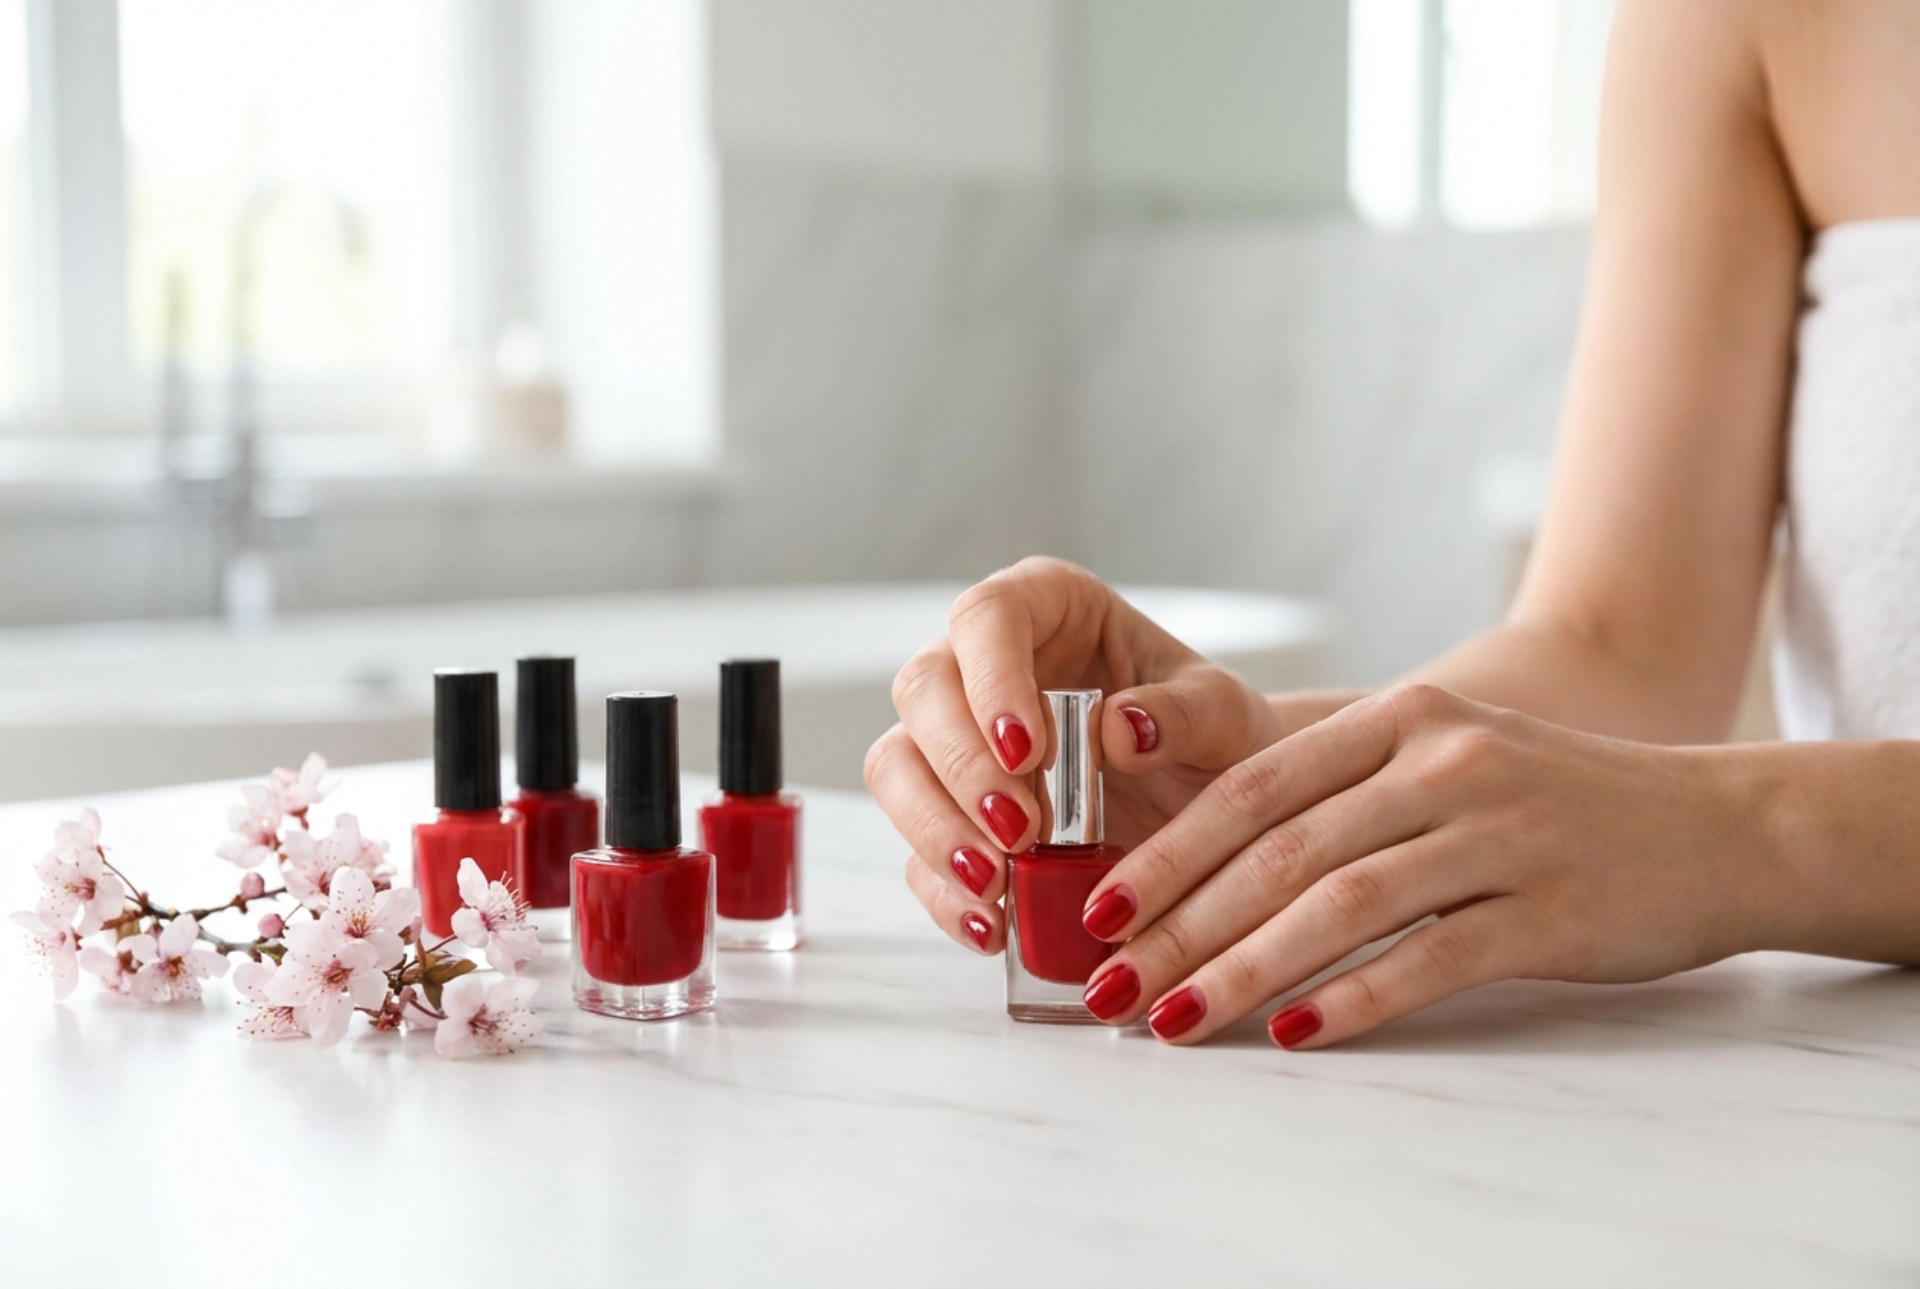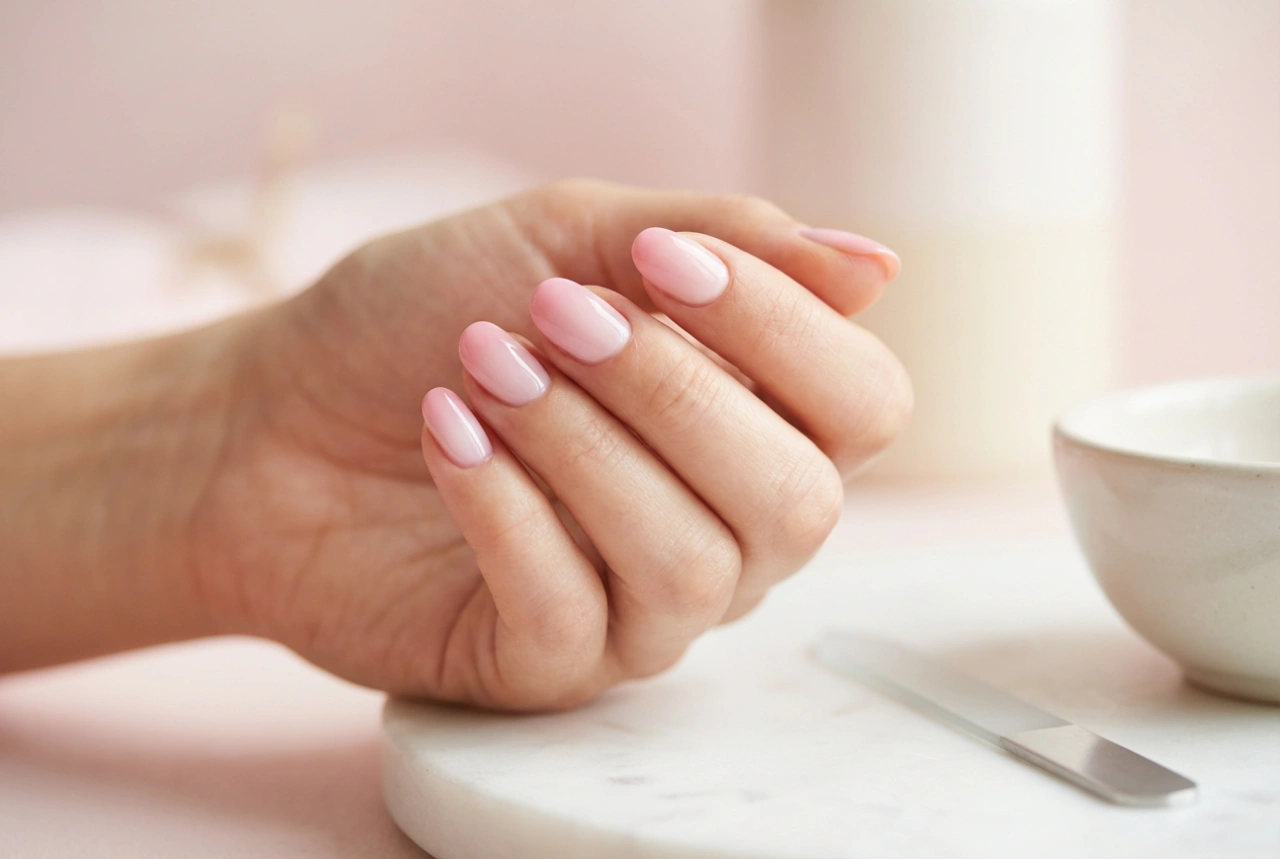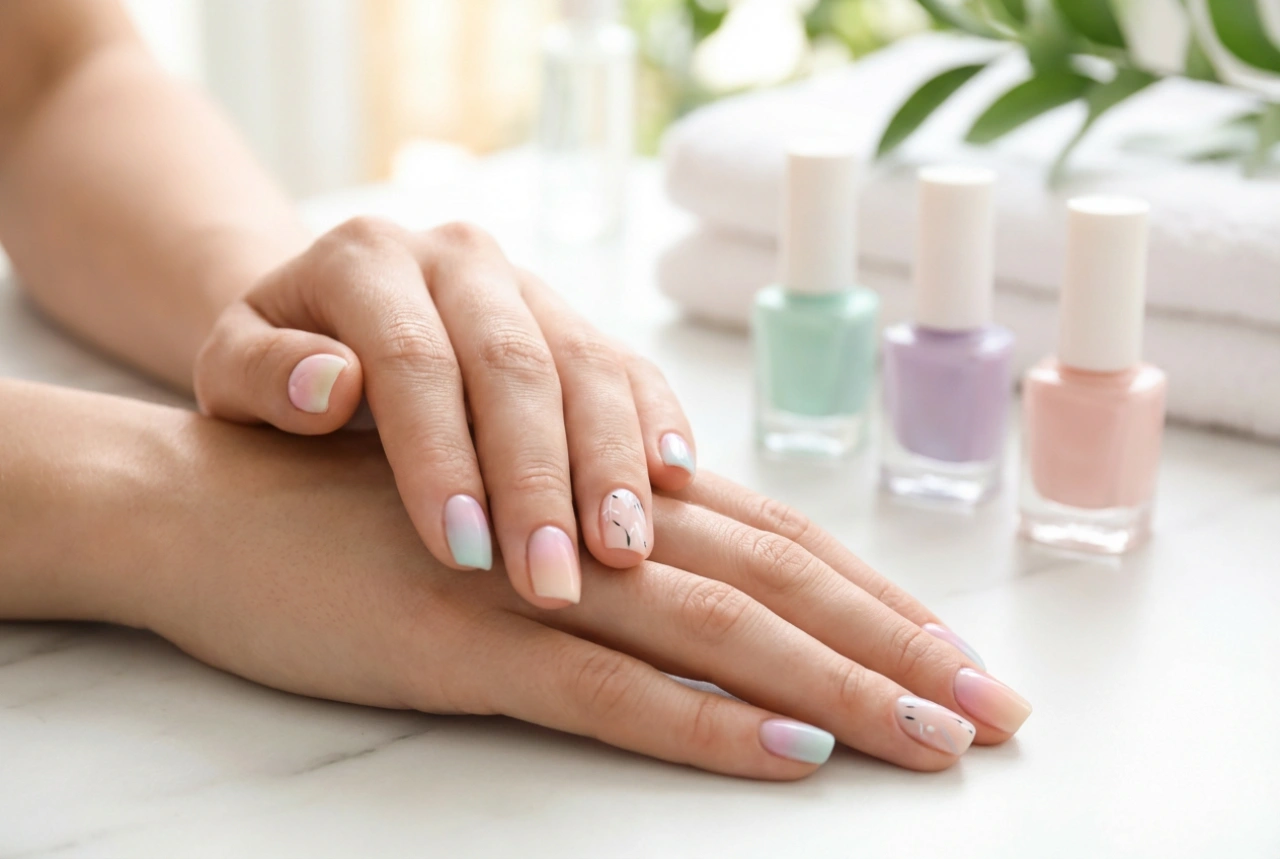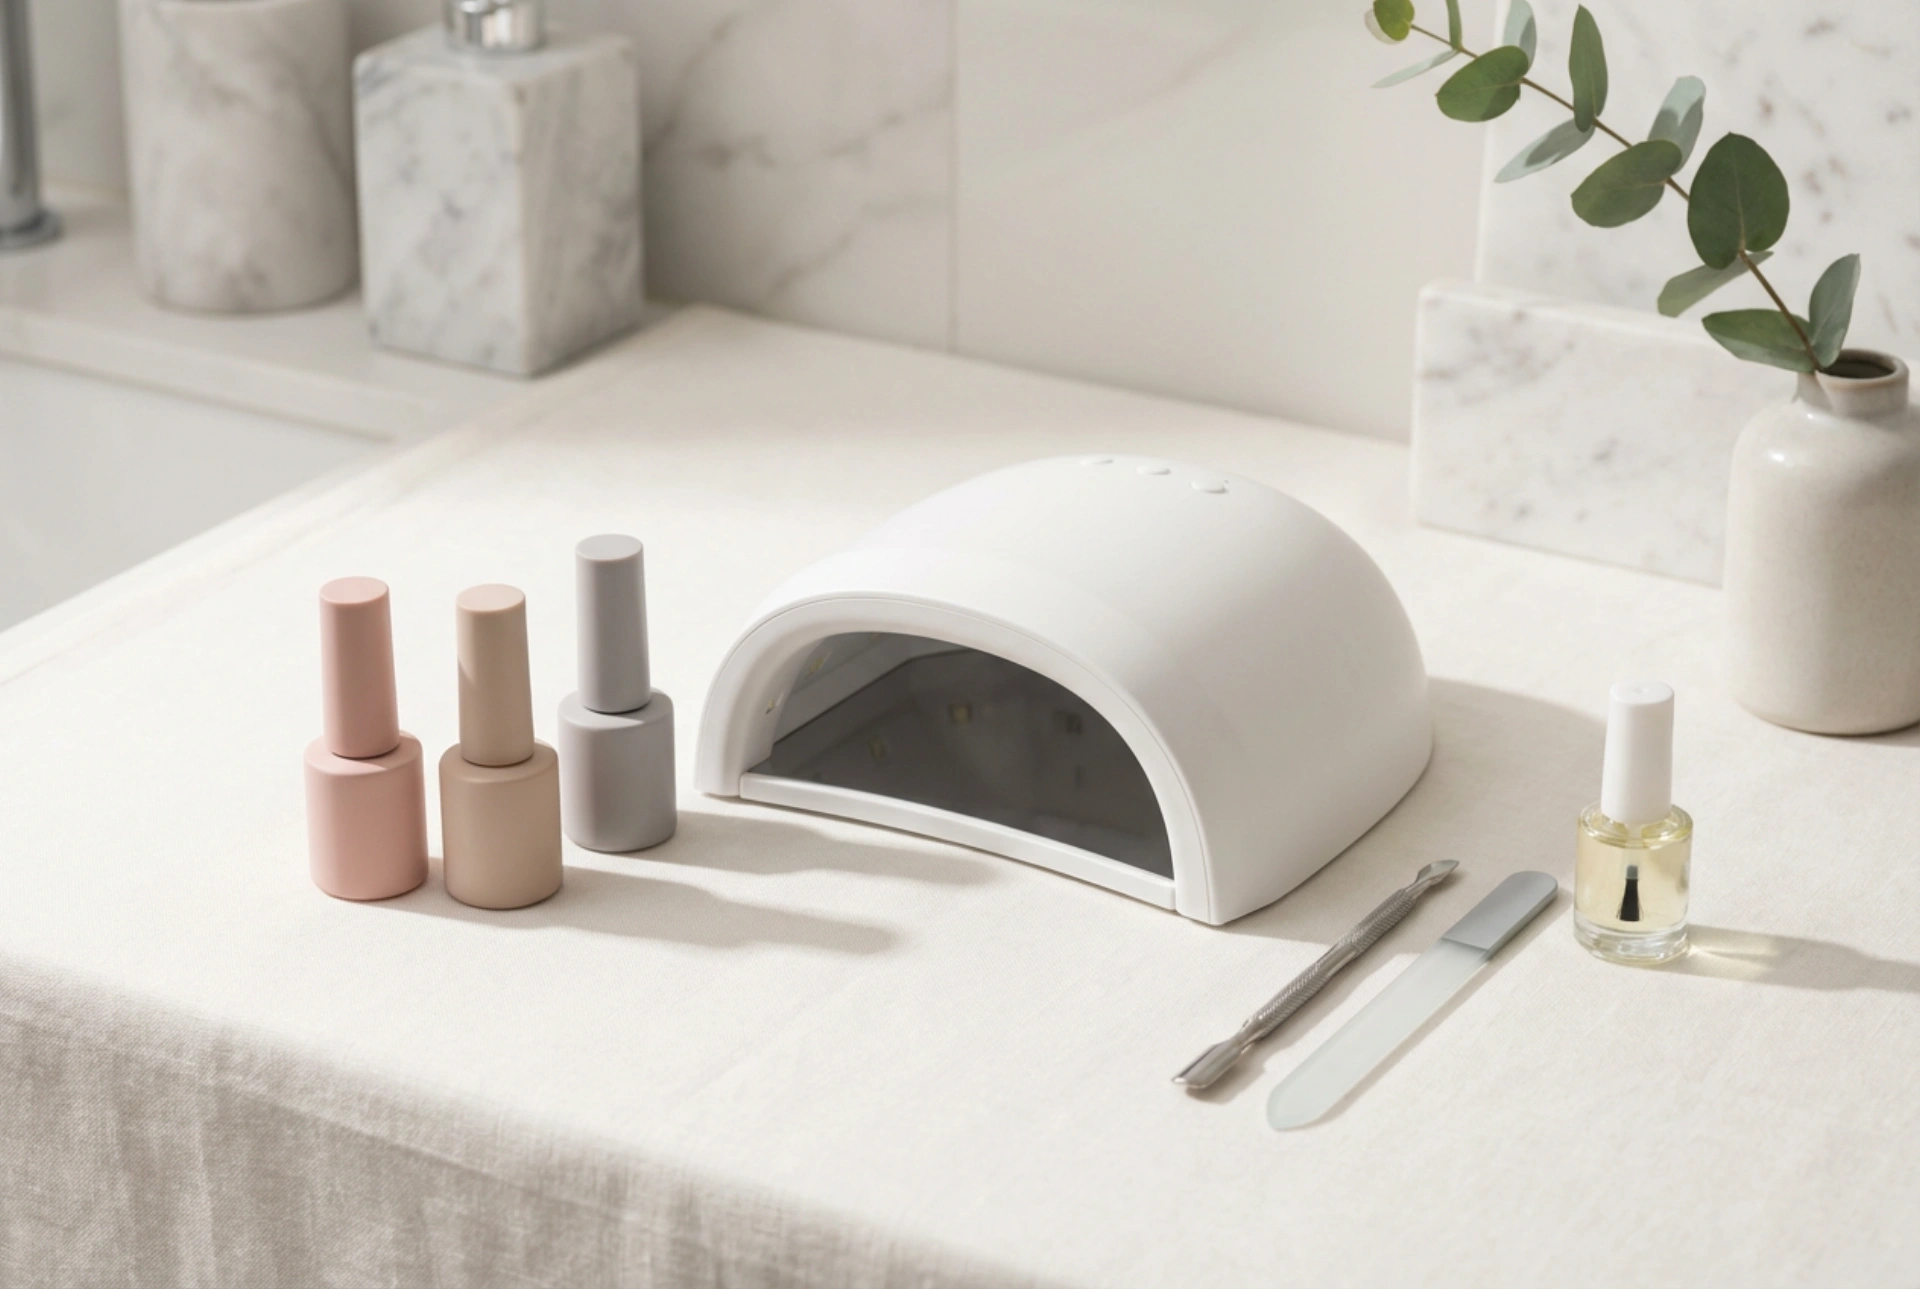


Achieving a salon-quality manicure in the comfort of your own home has become one of the most popular and satisfying self-care rituals. Many beauty enthusiasts are drawn to the durability and glossy finish of gel and hybrid nails, prompting them to invest in their own starter kits. If you have ever looked at a beautifully arranged flat lay of minimalist manicure tools under soft, natural light, you might have felt inspired to begin your own journey. Doing your own nails is not only cost-effective in the long run, but it also offers a creative outlet and a moment of pure relaxation. However, stepping into the world of gel manicures can feel overwhelming due to the sheer variety of products available. Knowing exactly what to buy and how to start is the key to achieving professional, long-lasting results from your very first attempt.
Essential Components of a Beginner Gel Nail Kit
To embark on your home manicure journey, you do not need an overwhelming array of professional gadgets. Instead, focusing on a few high-quality, essential items will yield the best results. A minimalist yet functional starter kit should contain several core components designed to prepare, style, and protect your nails.
1. The UV/LED Lamp
The heart of any hybrid nail setup is the curing lamp. Gel polishes require a specific wavelength of light to polymerise and harden. When choosing a lamp, look for a dual UV/LED device, as these are highly versatile and cure almost all types of modern gel products. For beginners, a lamp with a power rating of at least 36 to 48 watts is ideal. This ensures even and efficient curing without causing unnecessary delays. Timers and automatic motion sensors are incredibly helpful features that make the process smoother and more intuitive.
2. The Three-Step Polish System
Unlike traditional nail polishes that dry in the air, hybrid manicures rely on a structured, three-step formula system. You will need:
- Base Coat: This is the foundation of your manicure. It adheres to the natural nail plate, protects it from discolouration, and ensures the colour coats bond securely.
- Colour Gel Polish: Choose two or three versatile, neutral shades to start with. Classic nudes, soft pinks, or elegant reds are perfect for practicing your application technique.
- Top Coat: This final layer seals the colour, provides a high-gloss or matte finish, and protects the manicure from chipping and scratching.
3. Prep and Finishing Liquids
Proper chemical preparation is vital for ensuring your manicure lasts for up to three weeks. You will require a professional nail prep or dehydrator to remove natural oils from the nail plate. Additionally, a cleaner (isopropyl alcohol solution) is necessary to wipe away the sticky inhibition layer left on the nails after curing the top coat, unless you opt for a "no-wipe" top coat formulation.
4. Precision Manicure Tools
Before any polish is applied, the nail plate must be shaped and cleaned. A complete beginner's kit must include wooden cuticle sticks or a metal pusher, nail files (a 180/240 grit file is perfect for natural nails), a gentle buffer block to remove shine, and lint-free cotton wipes. Regular cotton wool pads should be avoided, as they leave small fibres behind that can ruin your smooth gel finish.
Step-by-Step Guide to Your First Hybrid Manicure
Once you have gathered your essential tools, it is time to set up your workspace. Choose a clean, flat surface with excellent lighting. Preparing your nails thoroughly is actually the most important phase of the entire process, as even the best polish will lift if applied to poorly prepped nails.
Step 1: Preparation and Shaping
Begin by washing and thoroughly drying your hands. Use a wooden stick to gently push back your cuticles. If necessary, shape the free edge of your nails using a fine-grit nail file. Next, take your buffer block and very gently buff the surface of each nail to remove the natural shine. This creates a slightly textured surface that allows the base coat to grip effectively. Avoid over-buffing, as you only want to remove the oily shine, not thin out the nail plate.
Step 2: Dehydrating the Plate
Soak a lint-free wipe in your nail cleaner or prep solution and thoroughly wipe each nail. This removes any dust left over from filing, as well as lingering moisture and oils. From this point onward, avoid touching your nails with your fingers, as this will reintroduce natural oils and reduce polish adhesion.
Step 3: Base Coat Application and Curing
Apply a very thin layer of the base coat to your nails. It is crucial to leave a tiny gap between the polish and your cuticles, as getting product on the skin can cause the manicure to peel prematurely. Remember to "cap the free edge" by gently running the brush along the very tip of your nail. Place your hand under the UV/LED lamp and cure for the time recommended by the manufacturer (usually 30 to 60 seconds).
Step 4: Applying the Colour
Apply your chosen colour polish in thin, even strokes. It is always better to apply two or three very thin layers rather than one thick layer. Thick layers may not cure properly in the lamp, leading to bubbling or peeling. Cure each layer individually under the lamp for the required duration.
Step 5: Sealing with Top Coat
To lock in your hard work, apply a layer of top coat. Ensure you cover the entire colour layer and cap the free edge once more. Cure this final layer under the lamp. If you are using a standard top coat, wipe away the sticky residue with a lint-free wipe soaked in cleaner. If using a non-wipe top coat, your manicure is complete as soon as it leaves the lamp.
Essential Tips for Beginners
Patience is the most valuable tool in your new beauty kit. If you make a mistake and get polish on your skin or cuticle, always wipe it off with a wooden stick dipped in cleaner before curing. Once cured under the lamp, any excess polish on the skin becomes difficult to remove and will cause lifting. Additionally, keep your gel polishes away from the lamp while it is turned on, as stray light can cause the product to harden inside the bottle. After your manicure is complete, apply a drop of nourishing cuticle oil to keep your skin hydrated and glowing.