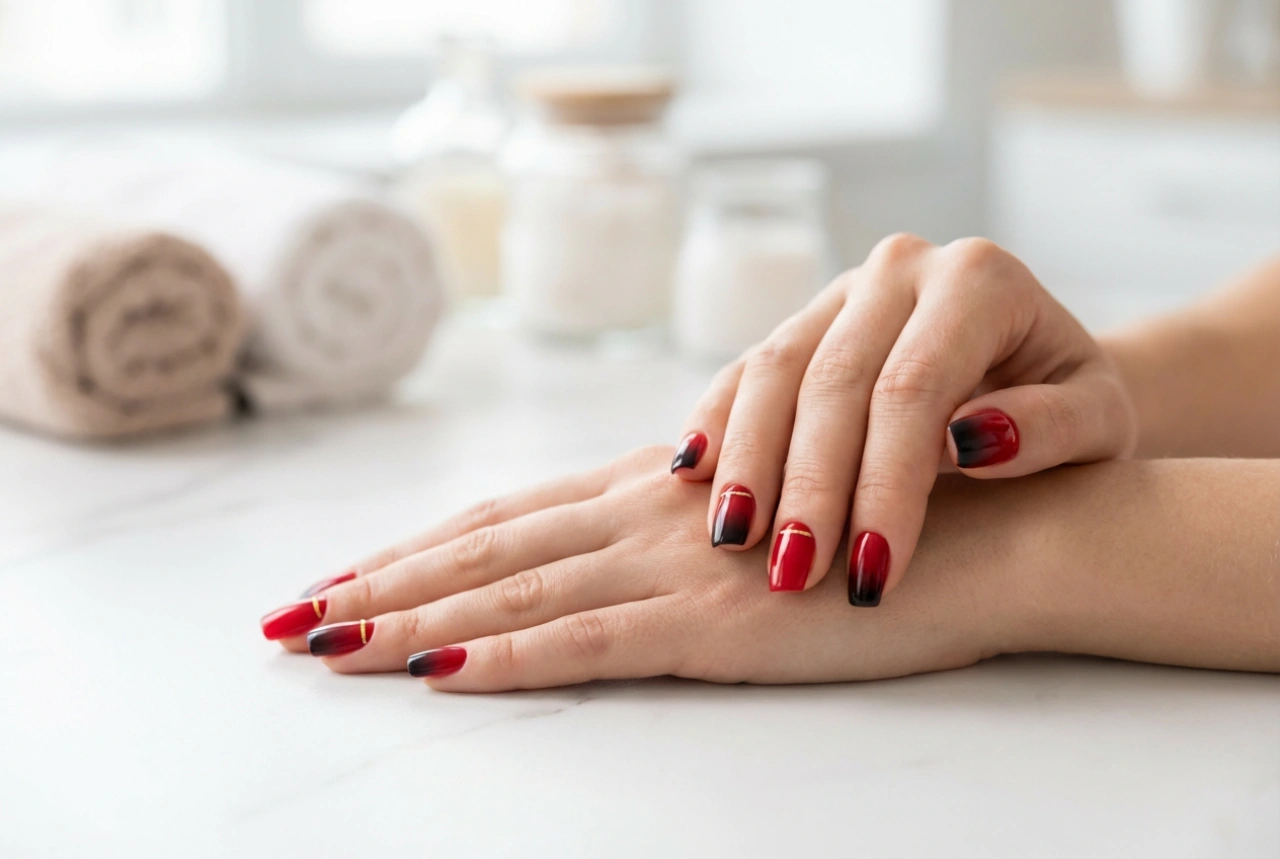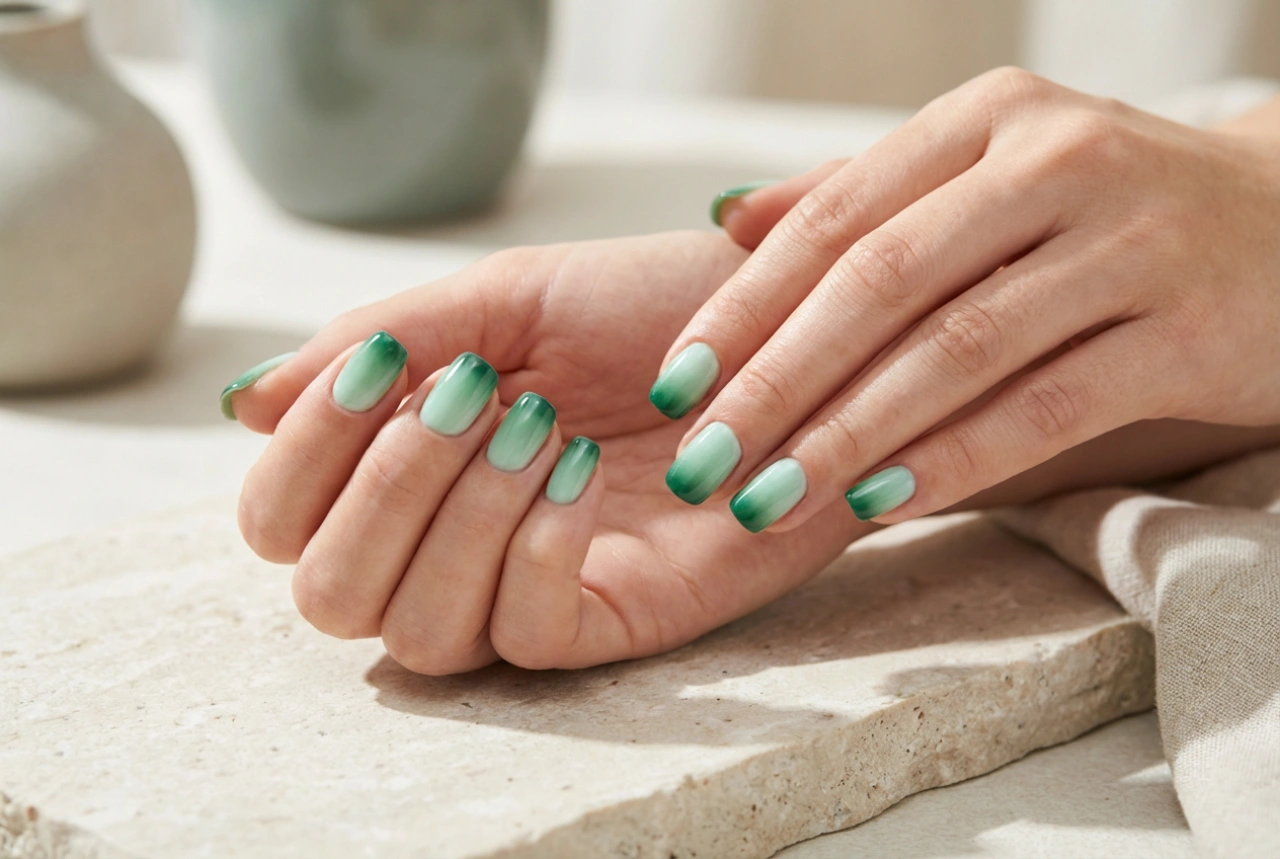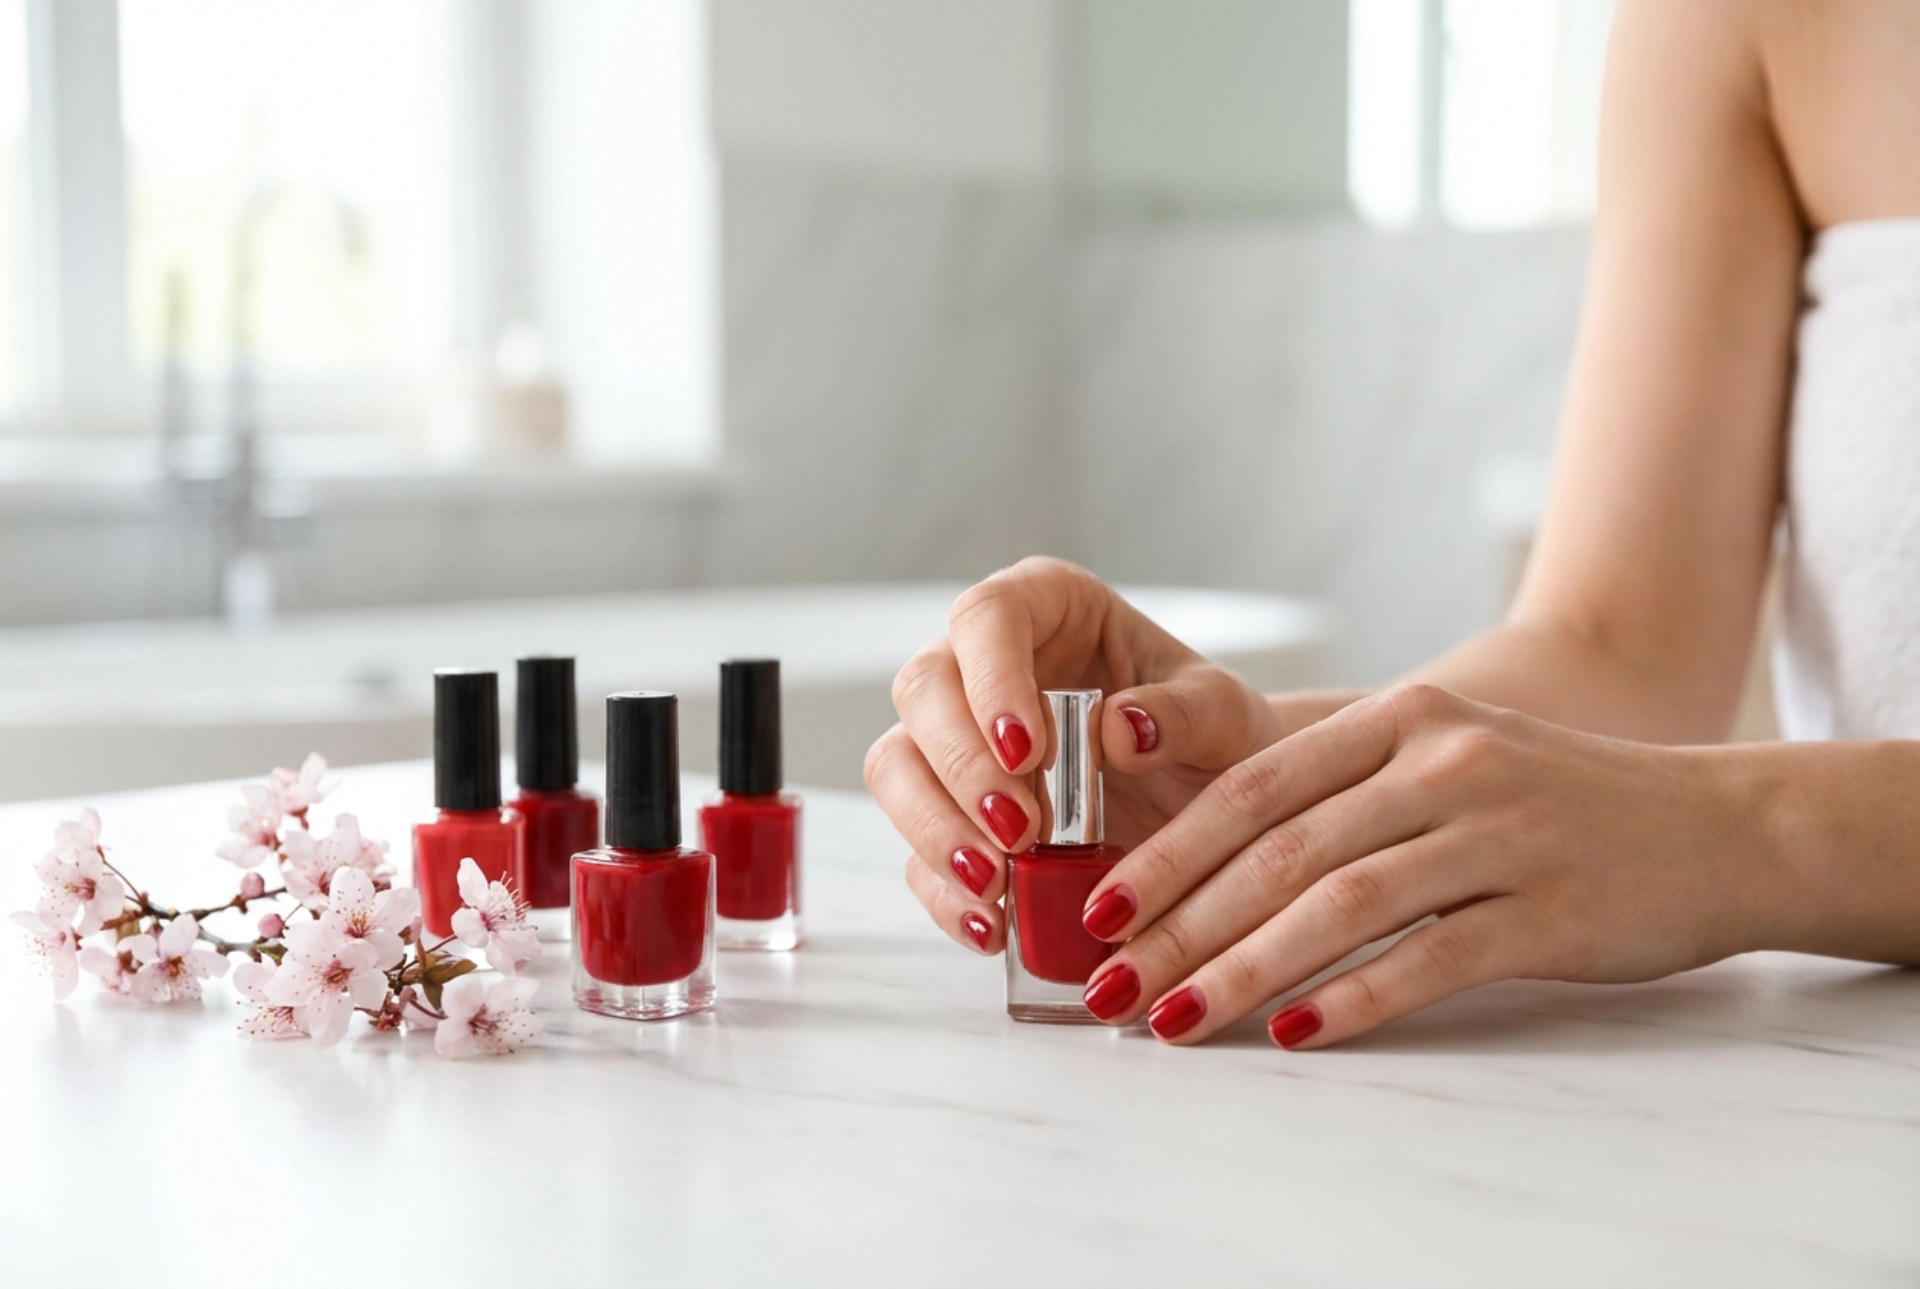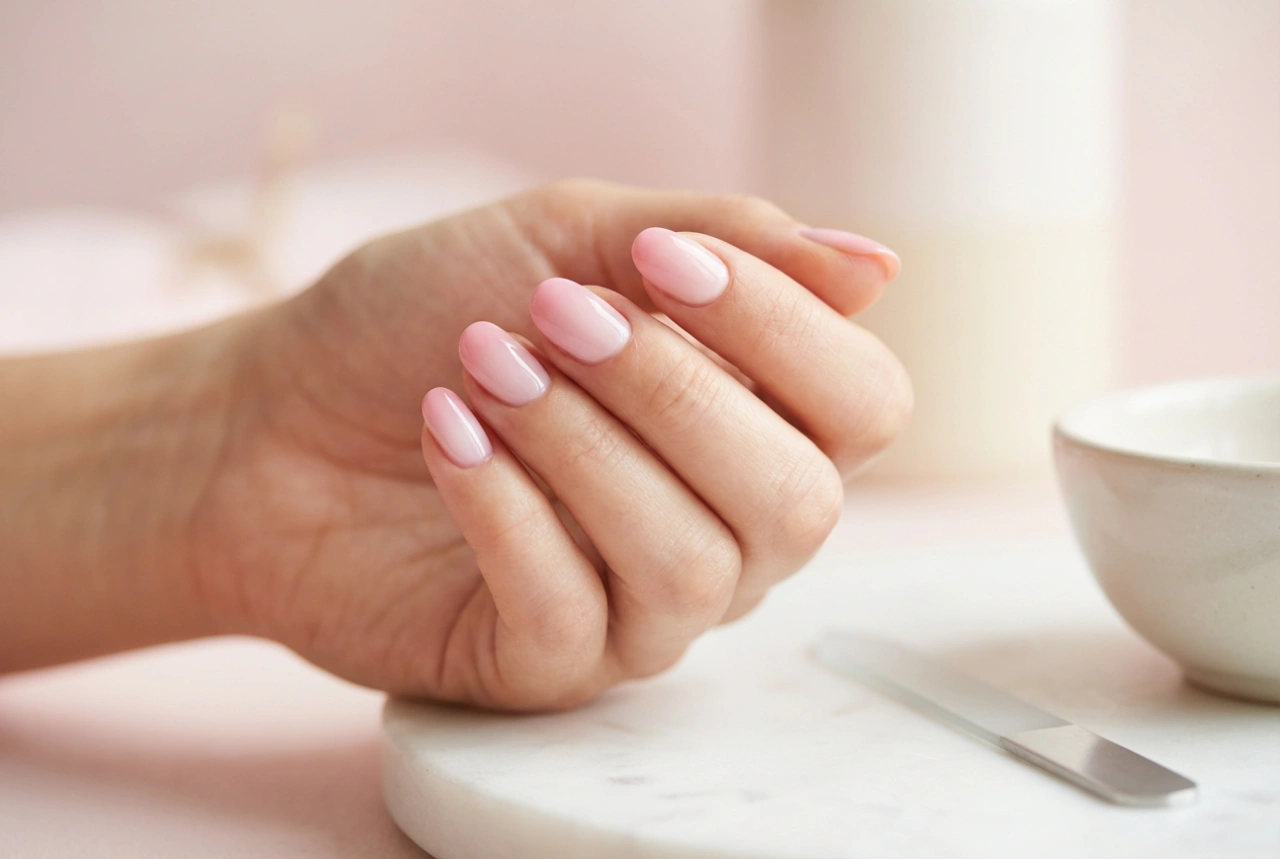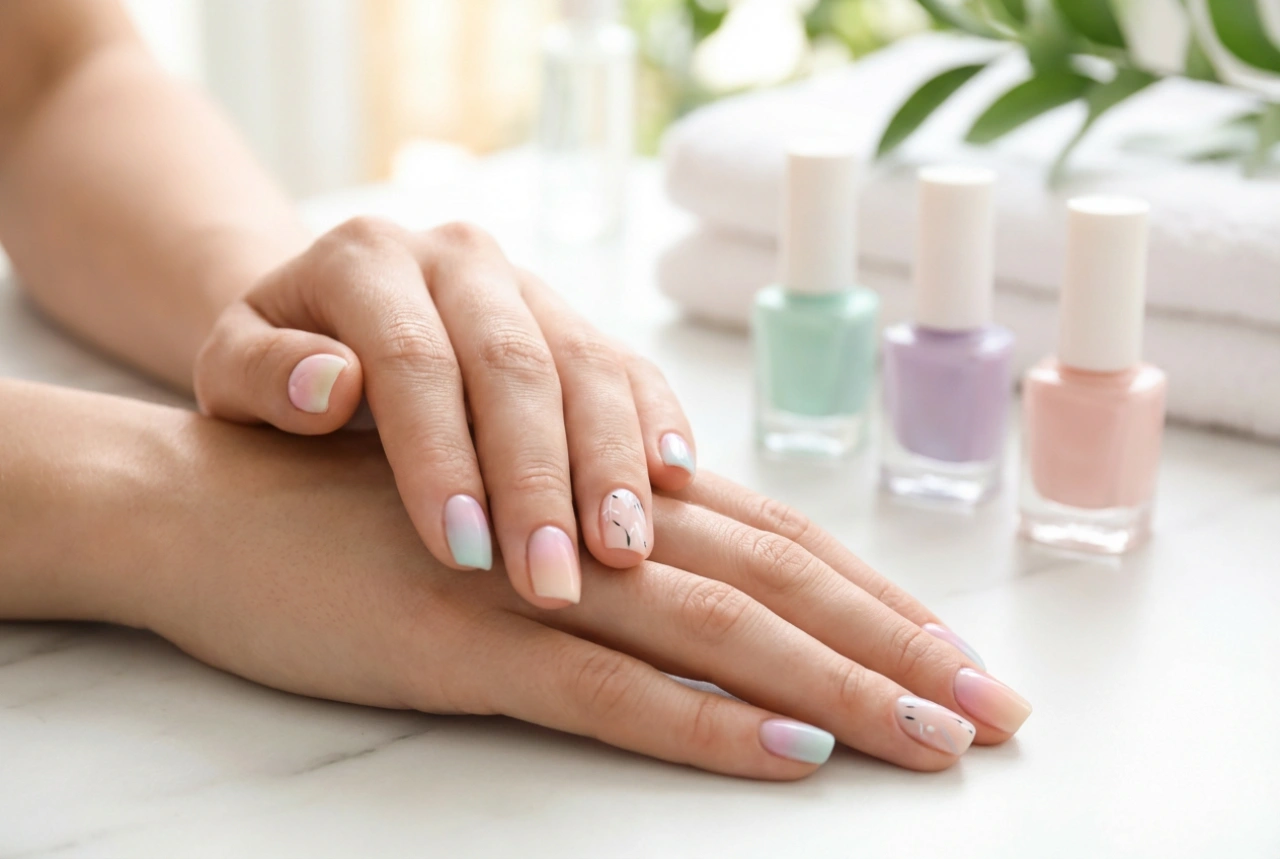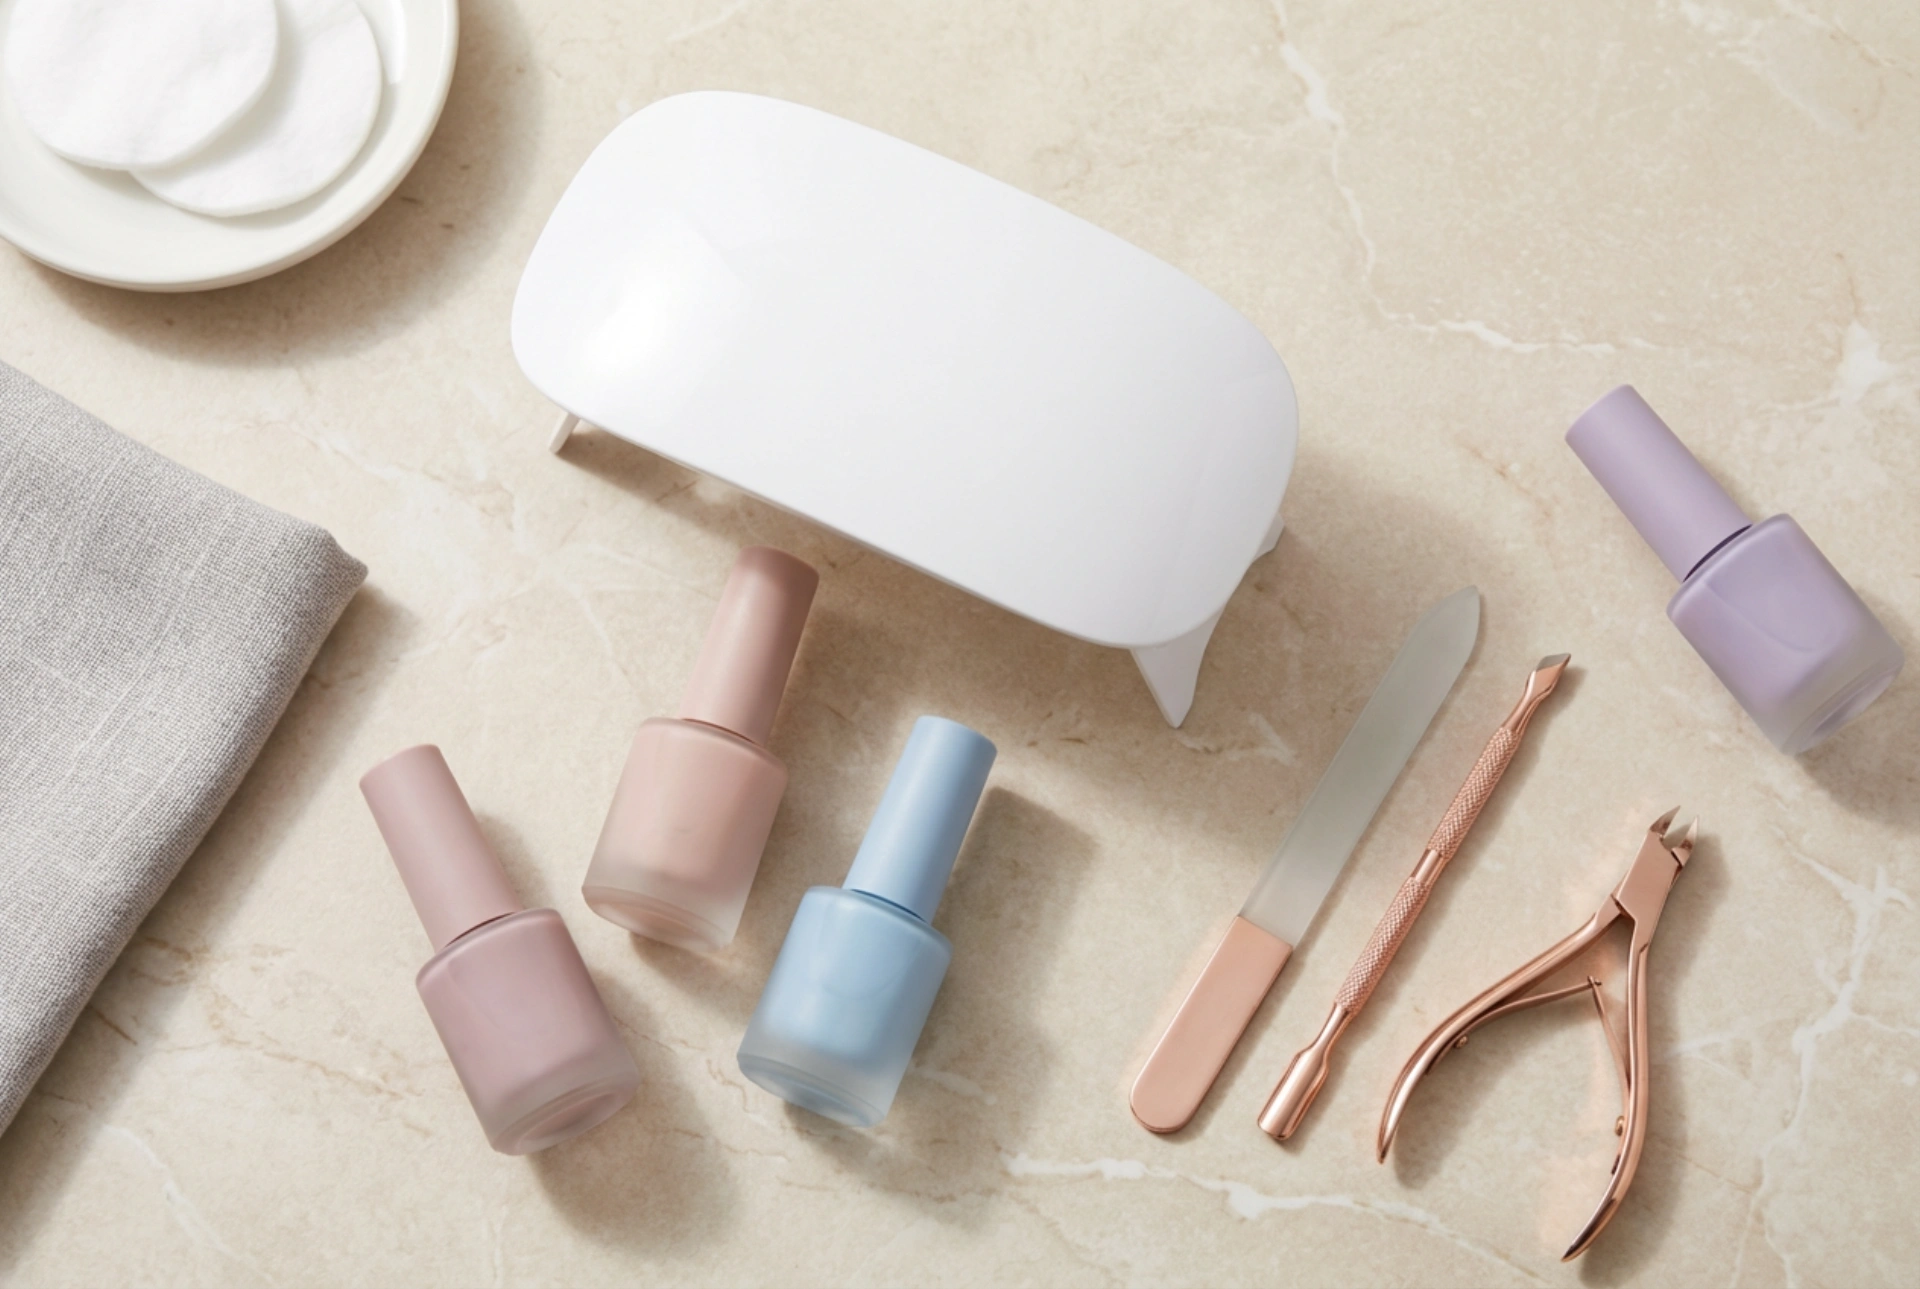


Achieving a salon-quality manicure at home has never been easier, especially with the wide availability of sleek, modern curing lamps and generic pastel gel polish bottles that sit elegantly on any vanity table. A minimalist and neat setup, complete with essential manicure tools, sets the perfect stage for a flawless and long-lasting nail finish. However, the secret behind a truly professional-looking manicure does not just lie in the application technique or the shade of polish; it relies heavily on the science of curing. Selecting the right lamp and understanding how it works is vital to avoiding common pitfalls such as under-curing, which can ruin hours of careful work.
Understanding Nail Curing Lamps: UV vs. LED
When exploring the world of home manicures, you will encounter two primary types of curing devices: traditional UV lamps and modern LED lamps. Although both utilise ultraviolet light wavelengths to harden gel polishes, their internal technology and efficiency differ significantly. Knowing these differences helps in selecting the ideal device for your beauty routine.
Traditional UV Lamps
Traditional UV lamps use fluorescent bulbs that emit a broad spectrum of light. These devices are highly versatile because they can cure almost all types of gel polishes available on the market. However, they require longer curing times—typically two minutes per layer. The bulbs inside traditional UV lamps also degrade over time and must be replaced regularly to maintain their effectiveness, even if they still appear to light up.
Modern LED and Dual-Source Lamps
LED lamps, on the other hand, use light-emitting diodes that target a narrower, more concentrated wavelength of light. This allows them to cure compatible gel polishes much faster, often in just thirty to sixty seconds. They are highly energy-efficient and the bulbs generally last for the lifetime of the device without needing replacement. Many modern devices are dual-source lamps, combining both UV and LED wavelengths. These hybrid lamps offer the speed of LED technology with the universal compatibility of traditional UV light, making them the preferred choice for home beauty enthusiasts.
Why Wattage and Power Levels Matter
The power of a nail lamp is measured in watts, which indicates how much energy the device consumes. While it is a common belief that higher wattage automatically guarantees faster and better curing, the relationship is slightly more nuanced. The wattage determines the intensity of the light emitted, which directly impacts how deeply the light can penetrate the layers of gel polish.
- Low Wattage (under 24W): Often found in small, portable, or travel-sized mini lamps. While highly convenient, they require significantly longer exposure times and are best suited for very thin layers or quick touch-ups.
- Standard Wattage (24W to 48W): The sweet spot for most home manicures. These lamps provide sufficient power to cure most gel formulations thoroughly within standard time frames, balancing efficiency with heat control.
- High Wattage (over 48W): These powerful lamps offer rapid curing times. However, they can sometimes generate a sudden sensation of heat on the nail plate, especially if the gel polish is applied too thickly.
The Chemistry of Curing and the Risk of Under-Curing
Gel polishes contain special ingredients called photoinitiators. When exposed to the specific light wavelengths emitted by a curing lamp, these photoinitiators trigger a chemical reaction that links molecules together, turning the liquid polish into a hard, durable polymer. For this process to be successful, the correct intensity of light must reach every layer of the product.
Under-curing occurs when the light fails to fully penetrate the gel polish. This often leaves the top layer looking dry and glossy, while the underlying product remains wet, soft, or semi-liquid. Visually, under-cured nails may look perfect initially, but within a few days, you may notice premature lifting, peeling, or bubbling. Ensuring complete polymerisation is the key to maintaining the structural integrity and aesthetic appeal of your home manicure.
How to Avoid Under-Curing: Practical Solutions
To achieve a flawless, resilient finish and make the most of your sophisticated home nail setup, several practical habits should be integrated into your beauty routine:
- Apply Ultra-Thin Layers: It is always better to apply three extremely thin coats of gel polish rather than two thick ones. Thick layers block the light from reaching the bottom of the polish, leaving the lower section uncured.
- Ensure Correct Hand Placement: The position of your hand inside the lamp is critical. Ensure your hand lies completely flat on the base, with your fingers spread slightly. The thumb is particularly prone to under-curing because it naturally tilts sideways; it is often best to cure thumbs separately to ensure they receive direct, even light.
- Monitor the Age of Your Bulbs: If you use a traditional UV lamp, remember to change the bulbs every few months depending on usage. If your LED or dual-source lamp starts taking longer to cure the same product, it may be time to upgrade the unit.
- Keep the Interior Reflective Surfaces Clean: Dust from filing and residues of sticky gel can accumulate on the interior walls of your lamp. Clean the reflective base and sides regularly with a soft, dry cloth to ensure the light bounces and distributes evenly across all angles of your nails.
Selecting the Perfect Curing Companion
When investing in a new lamp to complement your pastel polishes and manicure tools, look for convenient user-friendly features. A built-in timer with multiple settings (such as 30, 60, and 90 seconds) allows for precise control without manual tracking. Motion sensors that automatically activate the light when you insert your hand add a seamless, luxurious feel to your self-care session. By choosing a quality lamp and adopting correct curing habits, you can enjoy a beautiful, durable, and professional-looking manicure from the comfort of your own home.