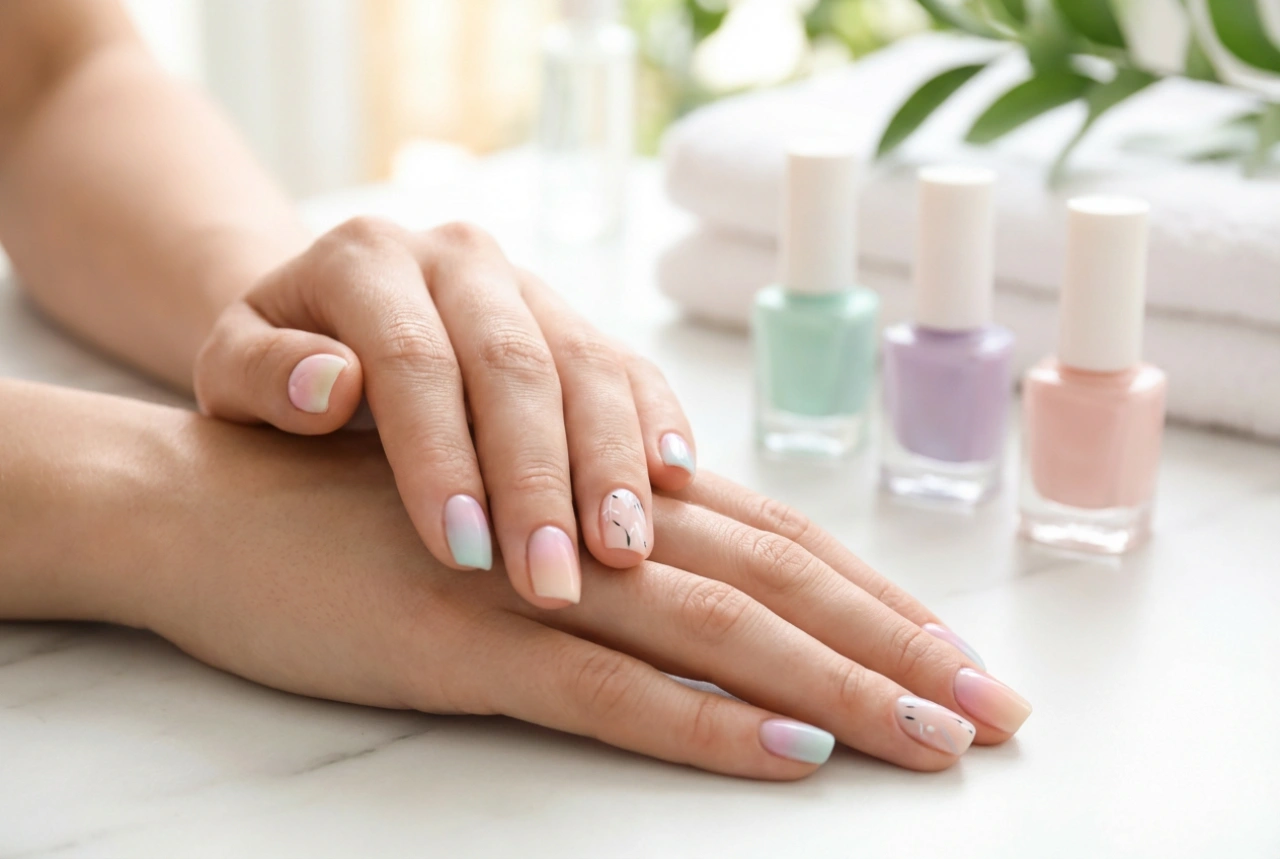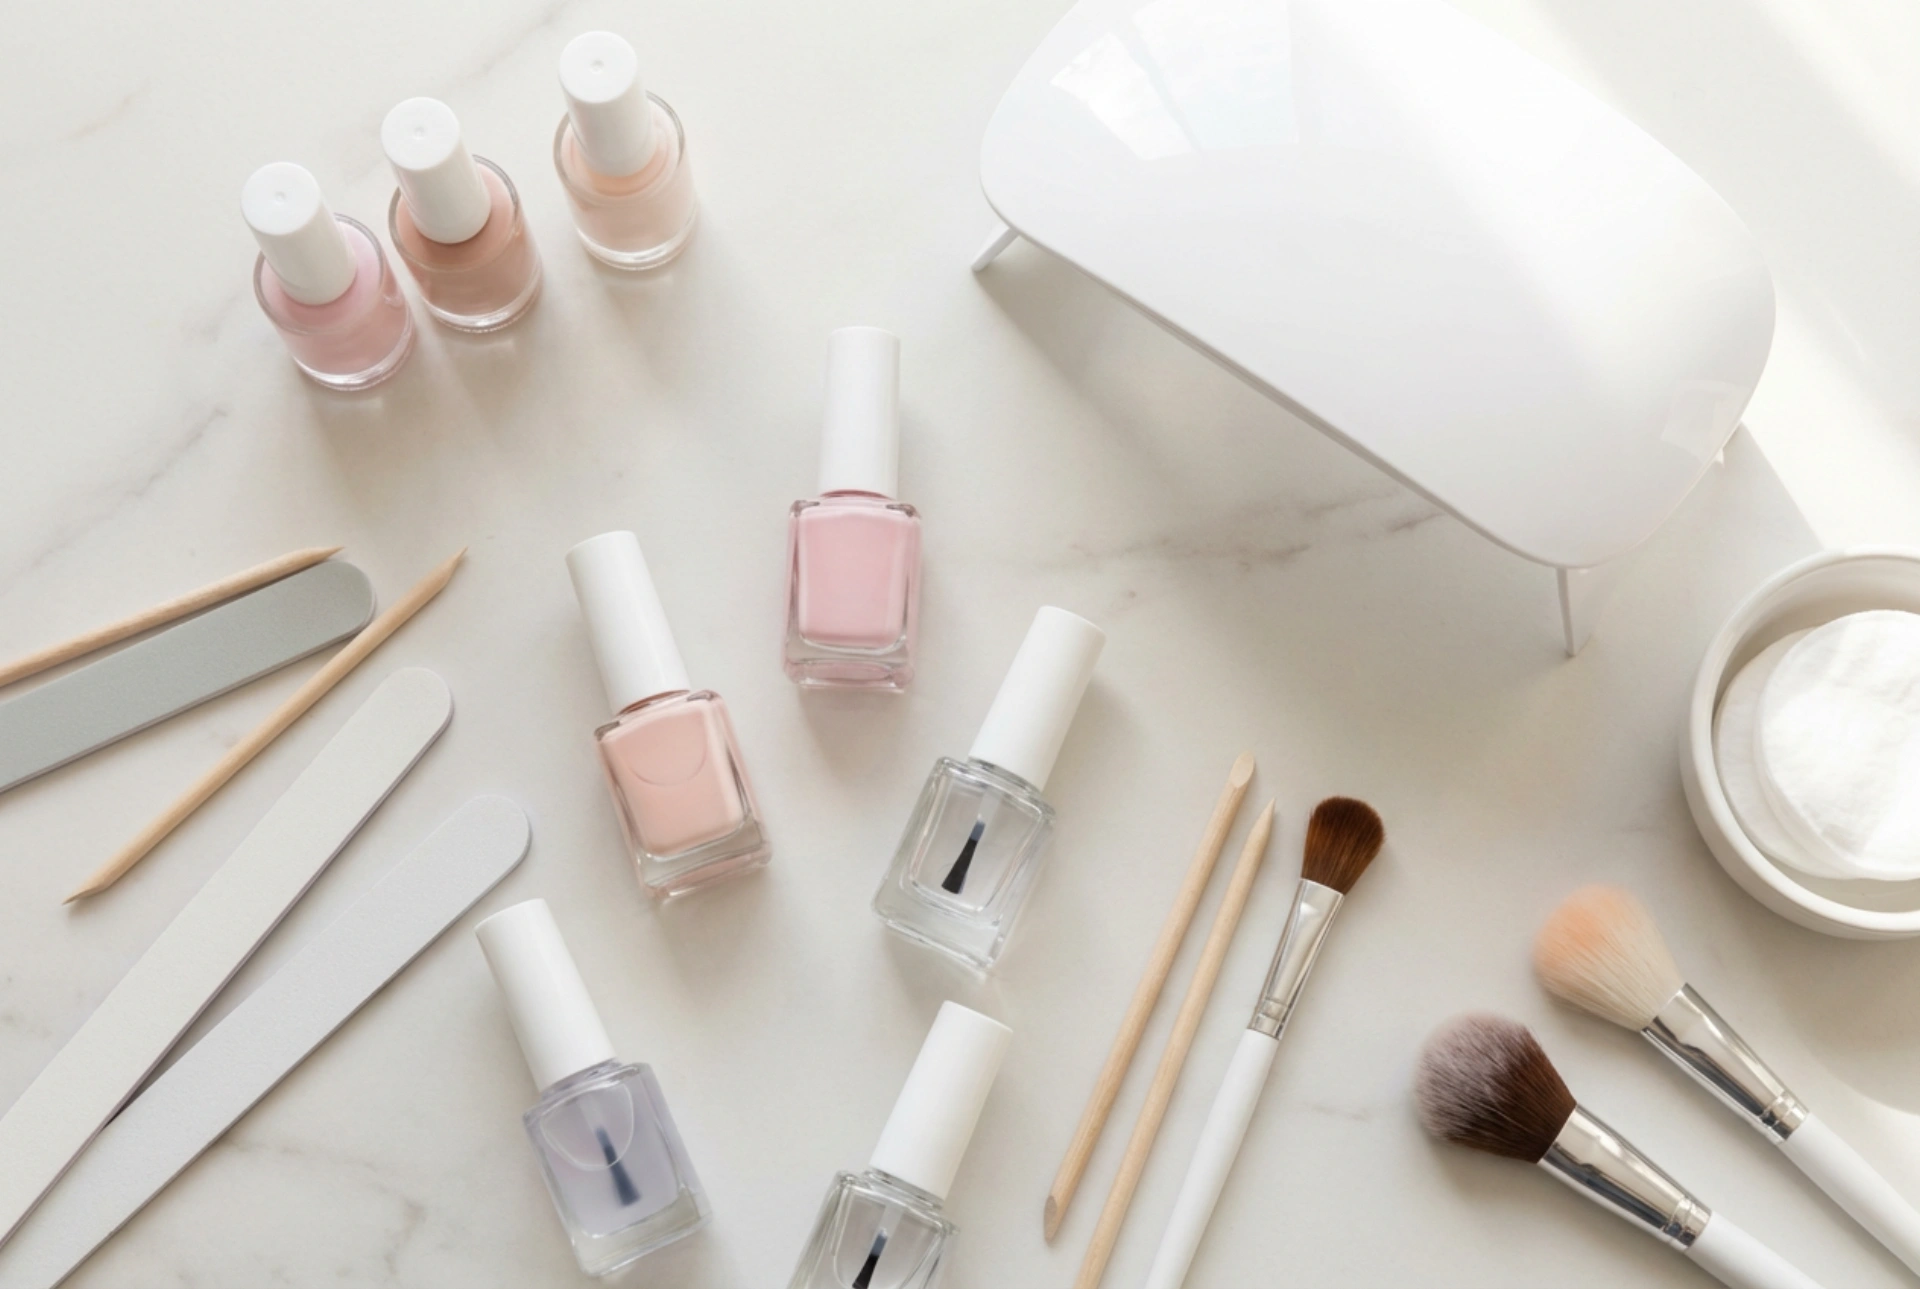


Creating a beautiful, salon-quality manicure at home has never been more accessible. With a neat setup of essential styling tools, a sleek curing lamp, and a collection of nourishing formulas, you can transform your nails into a canvas of long-lasting elegance. The secret to achieving professional results lies in having the right tools. A complete gel nail starter kit contains everything you need to prepare, build, and seal your nails, ensuring a flawless finish that withstands daily activities. Before diving into the application process, understanding each component of your kit and how they work together is key to ensuring both the beauty and the health of your natural nails.
The Heart of the Kit: The UV/LED Curing Lamp
Any reliable gel manicure relies on a specific chemical process called polymerisation. Gel polish remains in a liquid state until it is exposed to ultraviolet light, which triggers a hardening process. Therefore, a high-quality curing lamp is the most important component of your starter kit. When choosing a kit, look for a dual-source UV/LED lamp, as these are compatible with almost all types of gel formulas available on the beauty market.
For home use, a lamp with a power rating of at least 36 to 48 watts is ideal. This ensures that the gel cures evenly and thoroughly within the recommended timeframe, usually between 30 and 90 seconds per layer. Lower wattage lamps may require longer curing times, which can lead to under-cured layers. Under-cured gel is not only prone to peeling and chipping but can also sensitise the skin over time. A reliable lamp often features a built-in timer and motion sensors, allowing for a seamless, hands-free curing experience.
The Essential Liquids: Primers, Bases, and Polishes
A comprehensive starter kit must contain a sequence of specific liquid formulas. Each of these products plays a distinct role in securing the gel layers to the natural nail plate. Understanding the correct order of application is fundamental to achieving a durable result.
- Nail Prep or Dehydrator: This solution removes excess moisture and natural oils from the surface of the nail plate, ensuring optimal adhesion of subsequent layers.
- Acid-Free Primer: Acting like double-sided tape, a primer prepares the nail surface and creates a strong bond between the natural nail and the base coat.
- Base Coat: This is the foundation layer. It protects the natural nail from staining and provides a smooth surface for the colour gel to grip onto.
- Gel Polish (Colour): The pigmentation layer. Starter kits usually include a few neutral or classic shades, allowing you to practice application techniques.
- Top Coat: The final sealing layer. It can offer a high-gloss or a modern matte finish. The top coat protects the manicure from scratches, chipping, and fading.
Prep and Shaping Tools for a Flawless Finish
The secret to a long-lasting gel manicure is in the preparation. Without proper nail shaping and cuticle care, even the most expensive gel polishes will lift within a few days. Your starter kit should feature a selection of manual tools designed to prep the nail plate gently and safely.
First, a dual-sided nail file (usually 180/240 grit) is necessary for shaping the free edge of the nail. A gentler buffer block is then used to lightly remove the natural shine from the surface of the nail. This step should be done with a very light hand, as the goal is only to create a microscopic texture for the base coat to adhere to, not to thin the nail plate. Additionally, wood sticks or a metal cuticle pusher are essential for pushing back the cuticles. Clearing the nail plate of invisible cuticle growth prevents the gel from lifting at the proximal nail fold.
How to Start: A Step-by-Step Guide for Beginners
Once your workspace is set up with your starter kit components arranged on a clean, light surface, you can begin the application process. Patience and precision are your best tools when learning how to apply gel polish at home.
Step 1: Preparation
Begin by washing and drying your hands thoroughly. Use the cuticle pusher to gently push back the cuticles. Shape your nails with the nail file, and then lightly buff the surface of each nail. Wipe away the dust using a lint-free wipe soaked in a professional nail cleanser. Apply a thin layer of nail dehydrator, followed by the primer, and let them air dry.
Step 2: Base Coat Application
Apply a very thin, even layer of base coat, making sure to seal the free edge (the tip) of the nail. Be careful not to let the product touch the skin or cuticle area. Cure the base coat under your UV/LED lamp for the recommended time (typically 30 seconds).
Step 3: Colour Application
Apply your chosen gel colour in thin coats. It is always better to apply two or three ultra-thin layers rather than one thick layer. Thick layers may not cure properly and can bubble or peel. Cure each layer individually under the lamp.
Step 4: Sealing with Top Coat
Apply a layer of top coat, ensuring you seal the edges carefully. Cure this final layer under the lamp. If your top coat leaves a sticky residue, wipe it clean with a lint-free wipe and a dedicated cleanser to reveal a beautiful, high-shine finish.
Safe Removal and Aftercare
Maintaining nail health is just as important as the application itself. Gel polish should never be peeled or scraped off forcibly, as this tears away the delicate layers of the natural nail plate. To remove the gel safely at home, gently buff the shiny top coat layer to allow the remover to penetrate. Soak cotton pads in a gentle cosmetic acetone remover, place them on the nails, and wrap each finger in foil for about ten to fifteen minutes. The gel will soften and can be gently nudged off with a wooden stick.
After removal, and indeed daily throughout your manicure’s life, apply a nourishing cuticle oil to keep the surrounding skin hydrated and healthy. Consistent hydration prevents peeling and promotes strong, resilient nail growth.