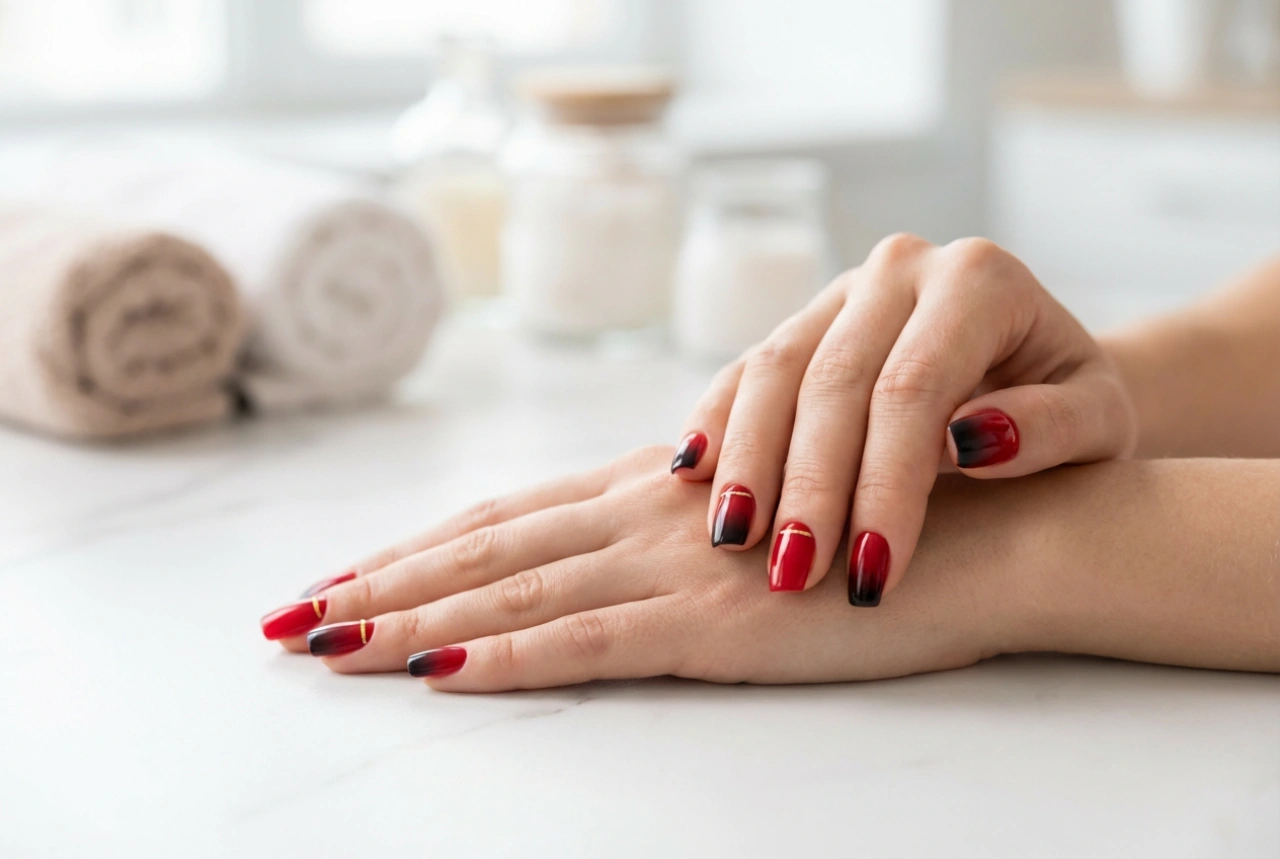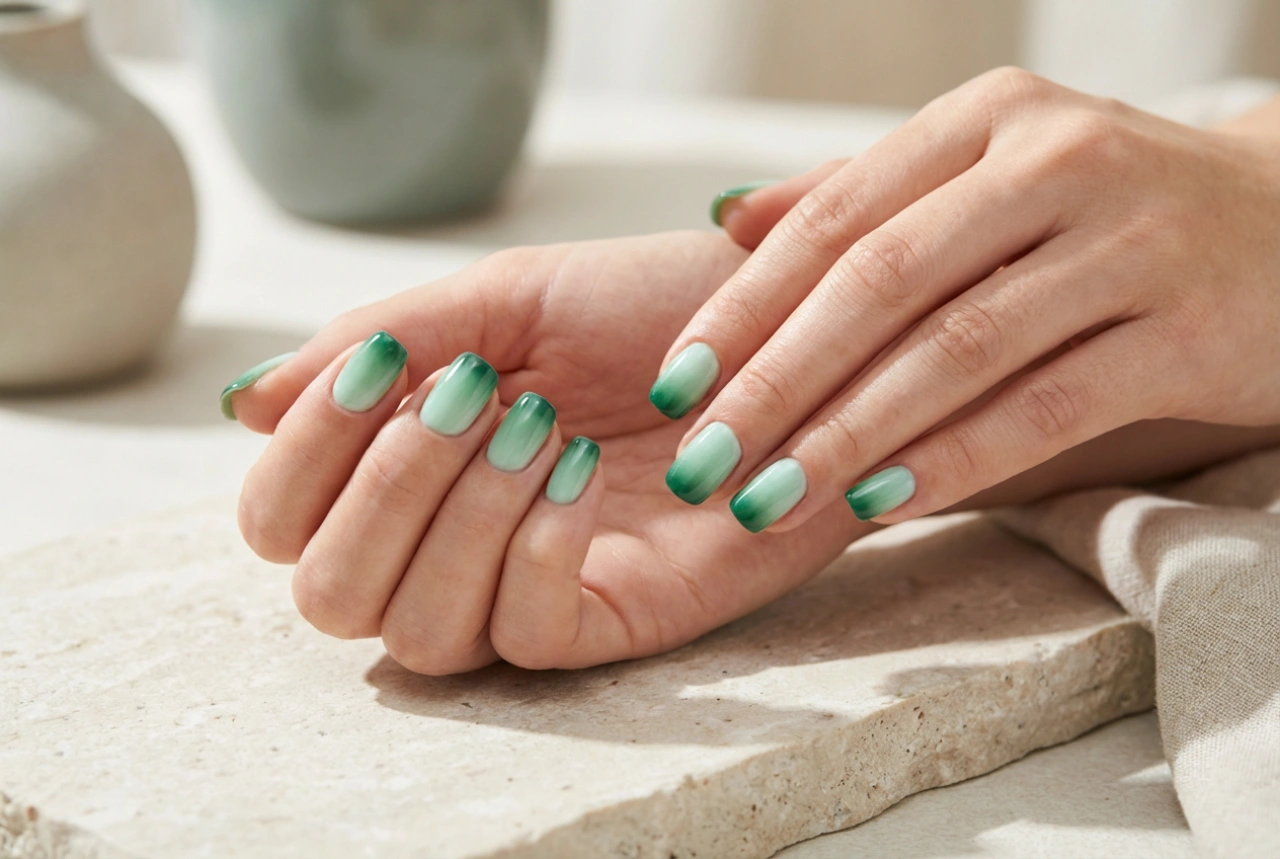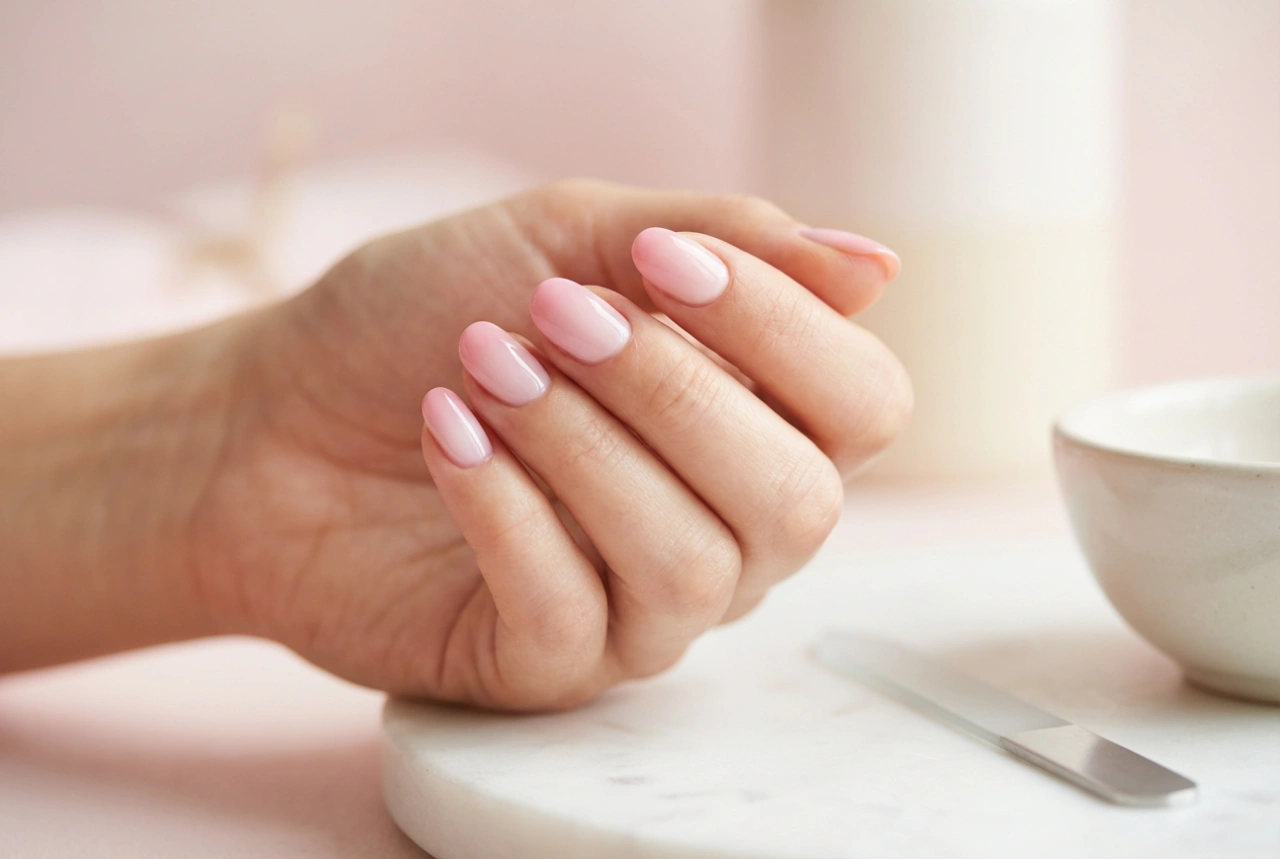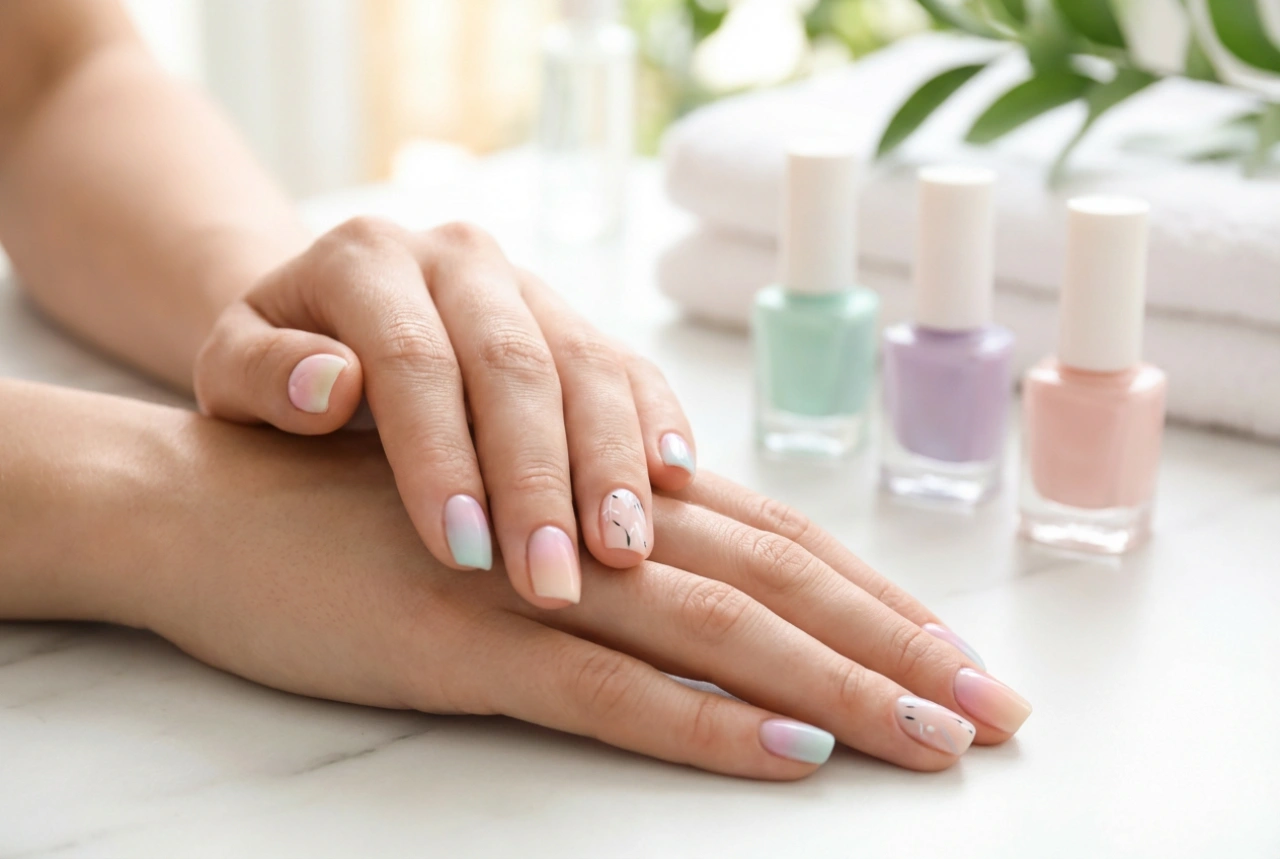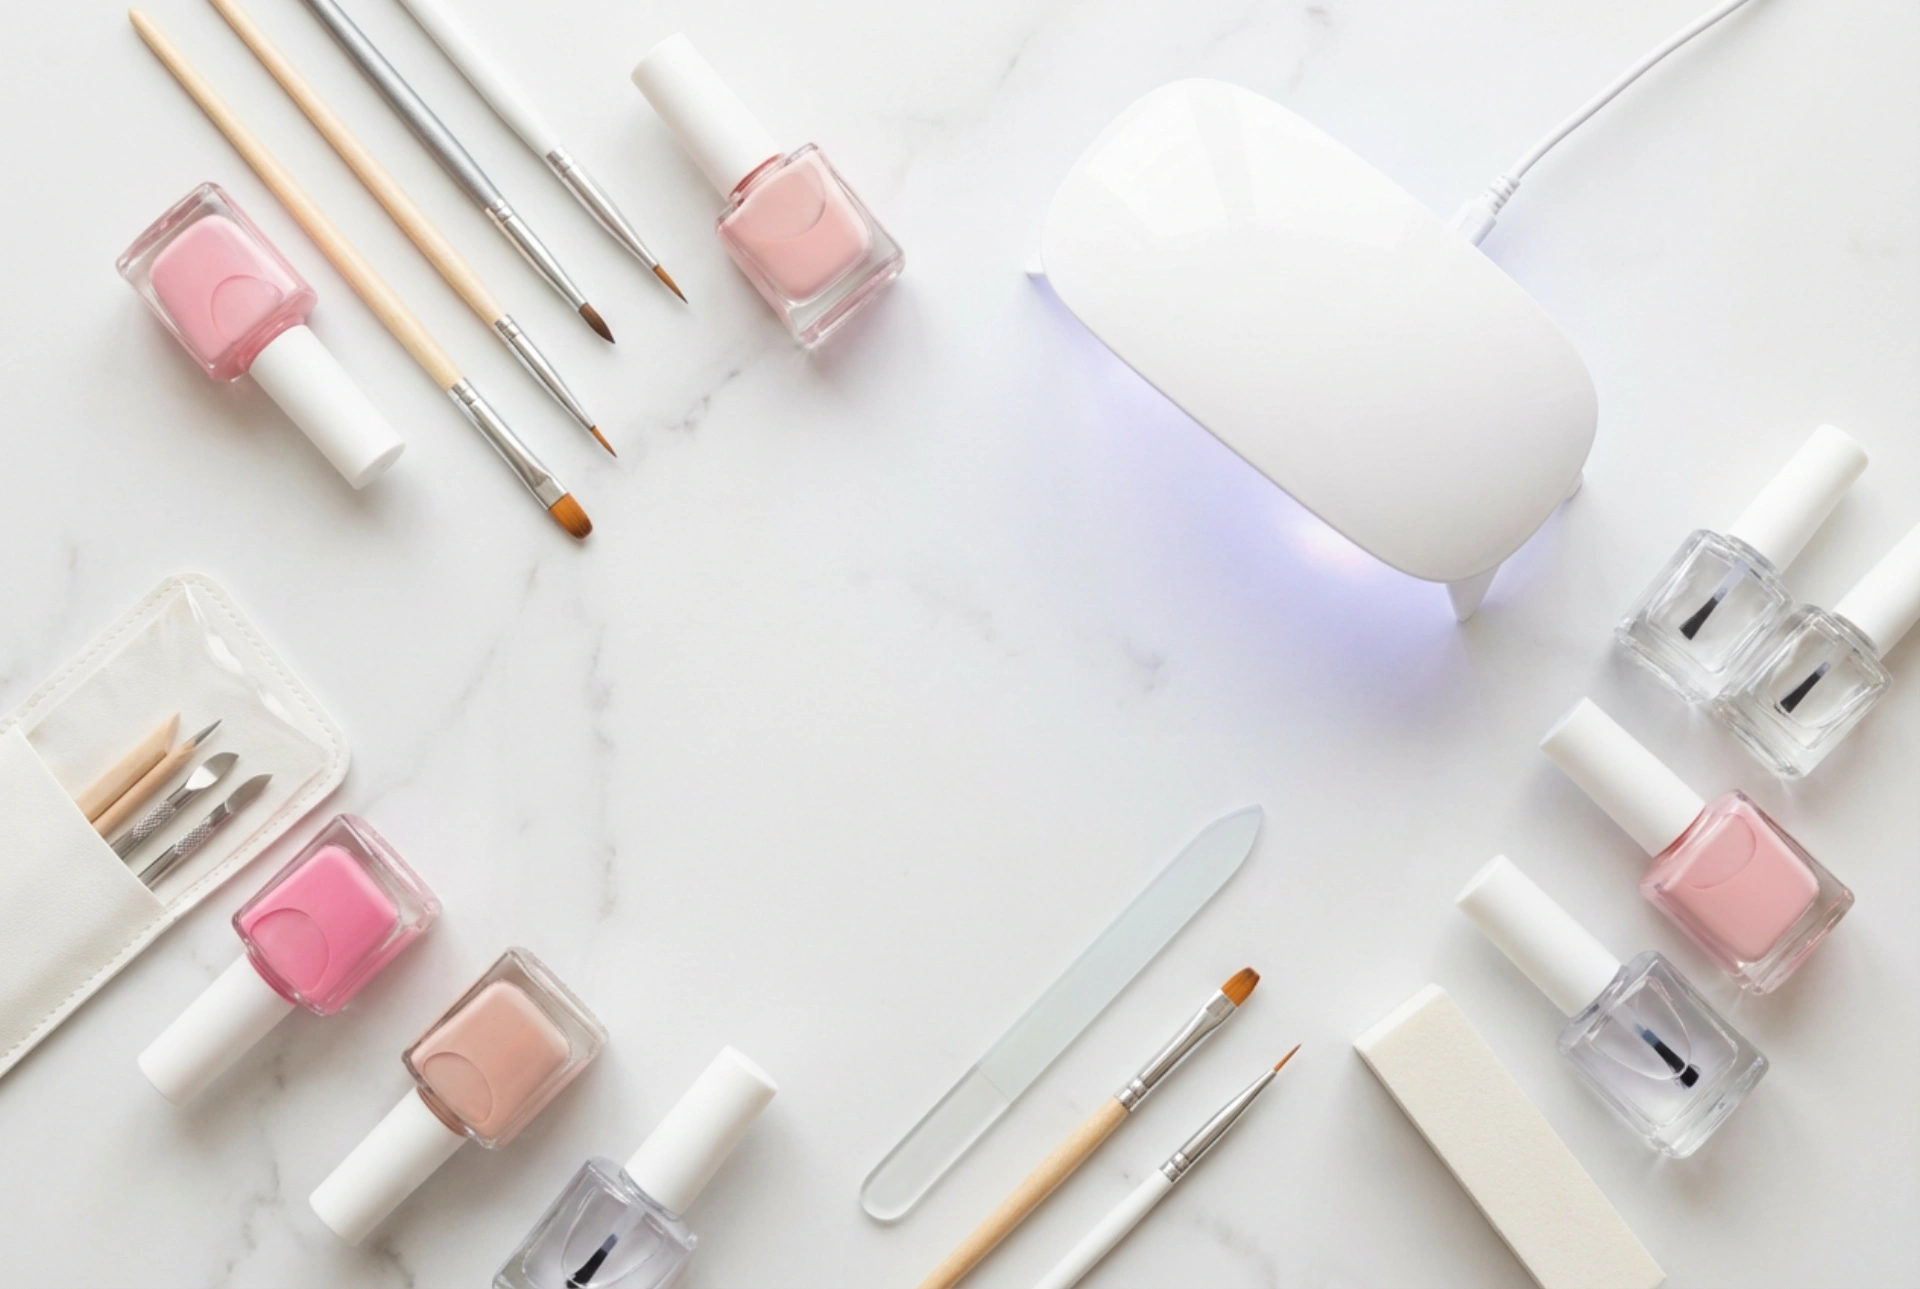


Creating a salon-worthy manicure at home has never been more accessible, as showcased by elegant flat lays of modern nail kits featuring sleek UV/LED lamps, generic builder gels, and precise styling tools. Taking the first steps into the world of DIY nail extensions can feel overwhelming due to the sheer variety of products available. However, having a complete home kit not only simplifies the process but also allows you to enjoy a sophisticated beauty routine at your own pace. Understanding what goes into these starter sets and mastering the basic techniques is the key to achieving professional, long-lasting results from the comfort of your living room.
Essential Components of a Home Nail Extension Kit
To begin your journey, it is vital to familiarise yourself with the tools and products included in a standard home extension kit. Each item serves a specific purpose in ensuring the durability, shape, and overall appearance of your manicure.
The Curing Lamp
At the heart of any modern nail extension system is a dual UV/LED lamp. This device is responsible for curing, or hardening, the gel products. A sleek, compact lamp with multiple timer settings is ideal for home use, providing even light distribution to ensure that every layer dries thoroughly and safely.
Builder Gels and Polygel
Depending on the system you choose, your kit will feature either traditional builder gel, polygel, or acrylic gel. Traditional builder gels are self-levelling and excellent for creating smooth, glossy overlays. Polygel offers a thicker, putty-like consistency that is easy to mould, making it highly recommended for beginners who require more time to shape the extension before curing.
Nail Prep and Priming Solutions
Longevity depends heavily on proper adhesion. Kits typically include a dehydrator to remove natural oils from the nail plate, alongside an acid-free primer which acts as double-sided tape between your natural nail and the base coat. A high-quality base coat and a protective top coat are also essential to seal your design and add brilliant shine.
Files, Buffers, and Brushes
Shaping is where the artistry happens. Your kit will contain files of varying grits—usually a coarser file for shaping the extension and a gentler buffer for smoothing the surface of the natural nail. Specialised dual-ended brushes, featuring a spatula on one side and synthetic bristles on the other, are standard for applying and sculpting polygel.
Forms and Dual Forms
To build length, you need a support structure. Traditional paper forms fit under the free edge of the nail, allowing you to sculpt the extension outward. Alternatively, dual forms are reusable plastic moulds that you fill with gel and press onto the natural nail, offering an easier route to a perfectly smooth surface.
Preparing Your Natural Nails for Extension
Before applying any gel, preparing your natural nails is the most crucial phase. Neglecting this step can lead to lifting, which compromises the durability of the extension and can trap moisture underneath.
- Sanitisation: Begin by washing and sanitising your hands and tools to maintain a hygienic environment.
- Cuticle Care: Gently push back your cuticles using a wooden stick or a metal pusher. Carefully remove any dead tissue from the nail plate to prevent lifting at the cuticle line.
- Buffing: Use a fine-grit buffer to gently remove the natural shine from your nails. This creates a textured surface that allows the base coat to adhere securely. Do not over-file, as this can thin your natural nails.
- Dehydration: Wipe the nails with a lint-free wipe soaked in a dehydrating solution or isopropyl alcohol to remove dust, moisture, and oils.
How to Start Your First Extension: A Step-by-Step Guide
Once your nails are prepared, you can proceed with the application. Take your time during these steps, as patience yields the best results.
Step 1: Base Coat Application
Apply a thin, even layer of base coat to your prepared natural nails. Be careful not to let the product touch your cuticles or side walls. Cure this layer under your UV/LED lamp for the recommended time, usually 60 seconds.
Step 2: Fitting the Moulds
If you are using dual forms, select the correct size for each nail. The mould should cover the nail from side to side without spilling over. If using paper forms, fit them snugly under the free edge of your nail, ensuring there are no gaps.
Step 3: Sculpting the Gel
Squeeze a small bead of gel or polygel onto your brush or spatula. Place it inside the dual form or directly onto the paper form. Dip your brush in a small amount of slip solution or isopropyl alcohol to keep the gel from sticking to the bristles, and gently pat the product into the desired shape and length. Keep the layer thin near the cuticle and slightly thicker in the middle for structural strength.
Step 4: Curing and Shaping
Press the dual form onto your nail at a 45-degree angle to avoid air bubbles, and clean away any excess gel that squeezes out at the edges. Hold it in place and cure under the lamp. If using paper forms, sculpt the shape and place your hand directly under the lamp. Once fully cured, gently wiggle the dual form off or peel away the paper form.
Step 5: Refining and Finishing
Wipe away the sticky dispersion layer with a cleanser. Use your file to refine the shape of the edges and smooth the surface. Buff the top of the extension to prepare for the final steps. Apply a glossy top coat, cure once more, and finish by applying nourishing oil to your cuticles.
Safe Removal and Aftercare Tips
Maintaining the health of your natural nails is just as important as the styling itself. Avoid peeling or forcing the extensions off, as this can tear away layers of your natural nail plate. Instead, use a file to reduce the bulk of the gel, then soak the remaining product in cosmetic acetone or use a dedicated removal method specified for your product. Keeping your cuticles hydrated with regular oil applications will ensure your natural nails remain strong, flexible, and ready for your next sophisticated manicure session.