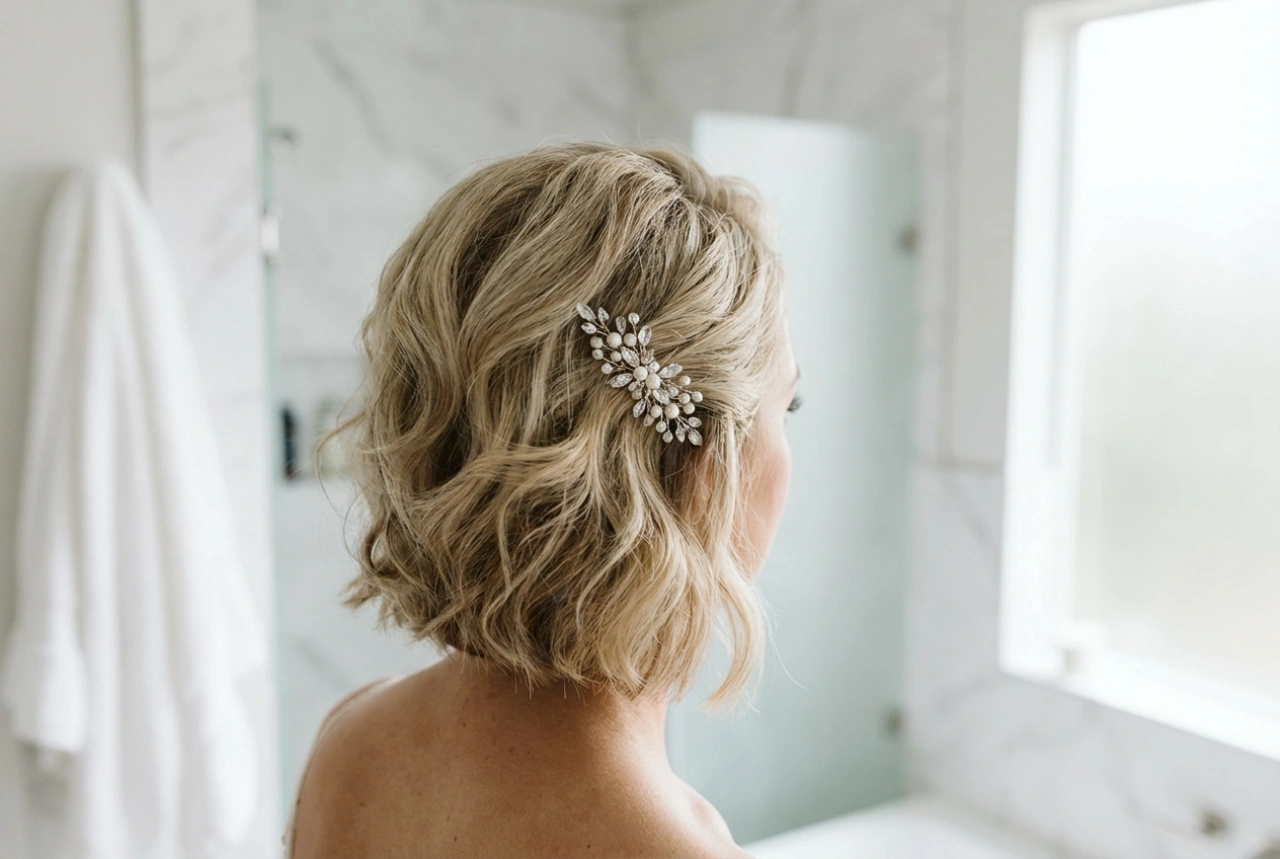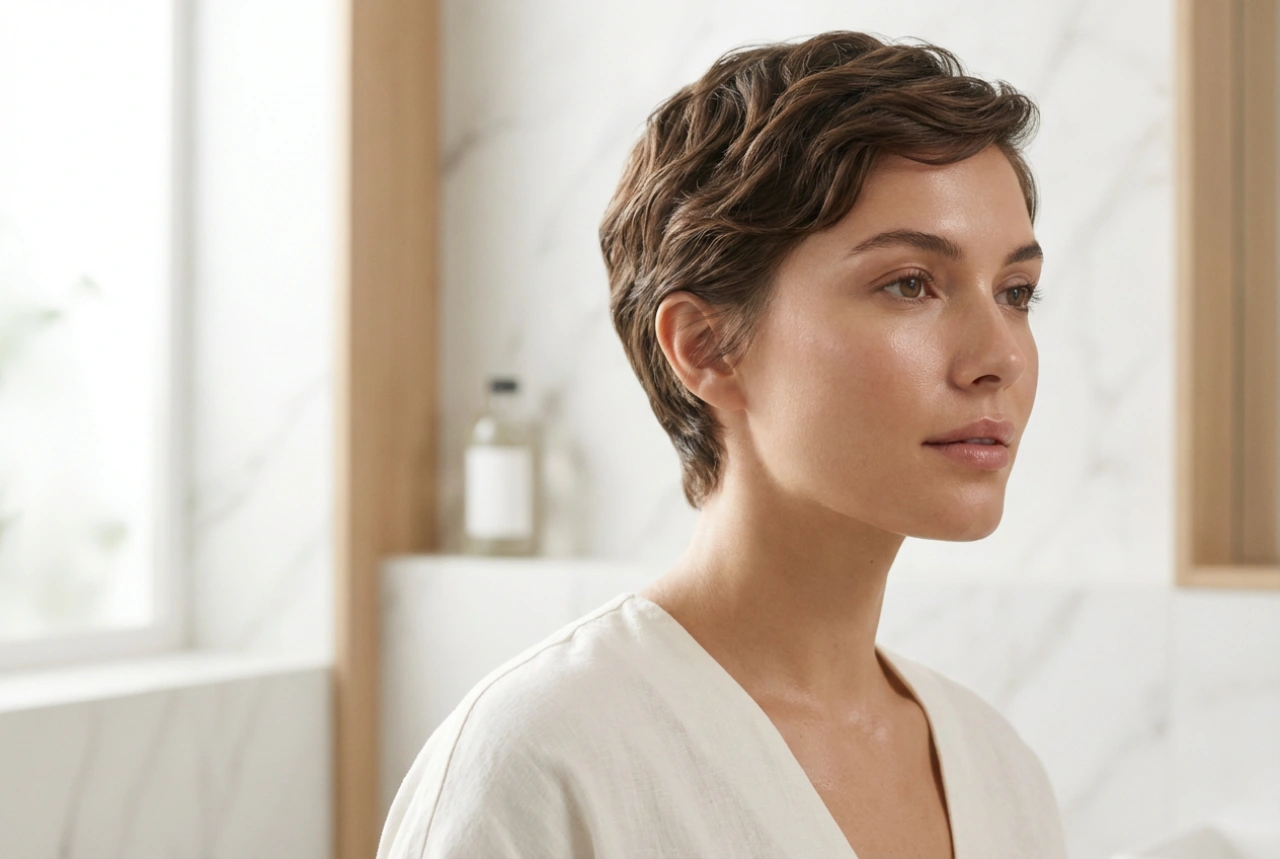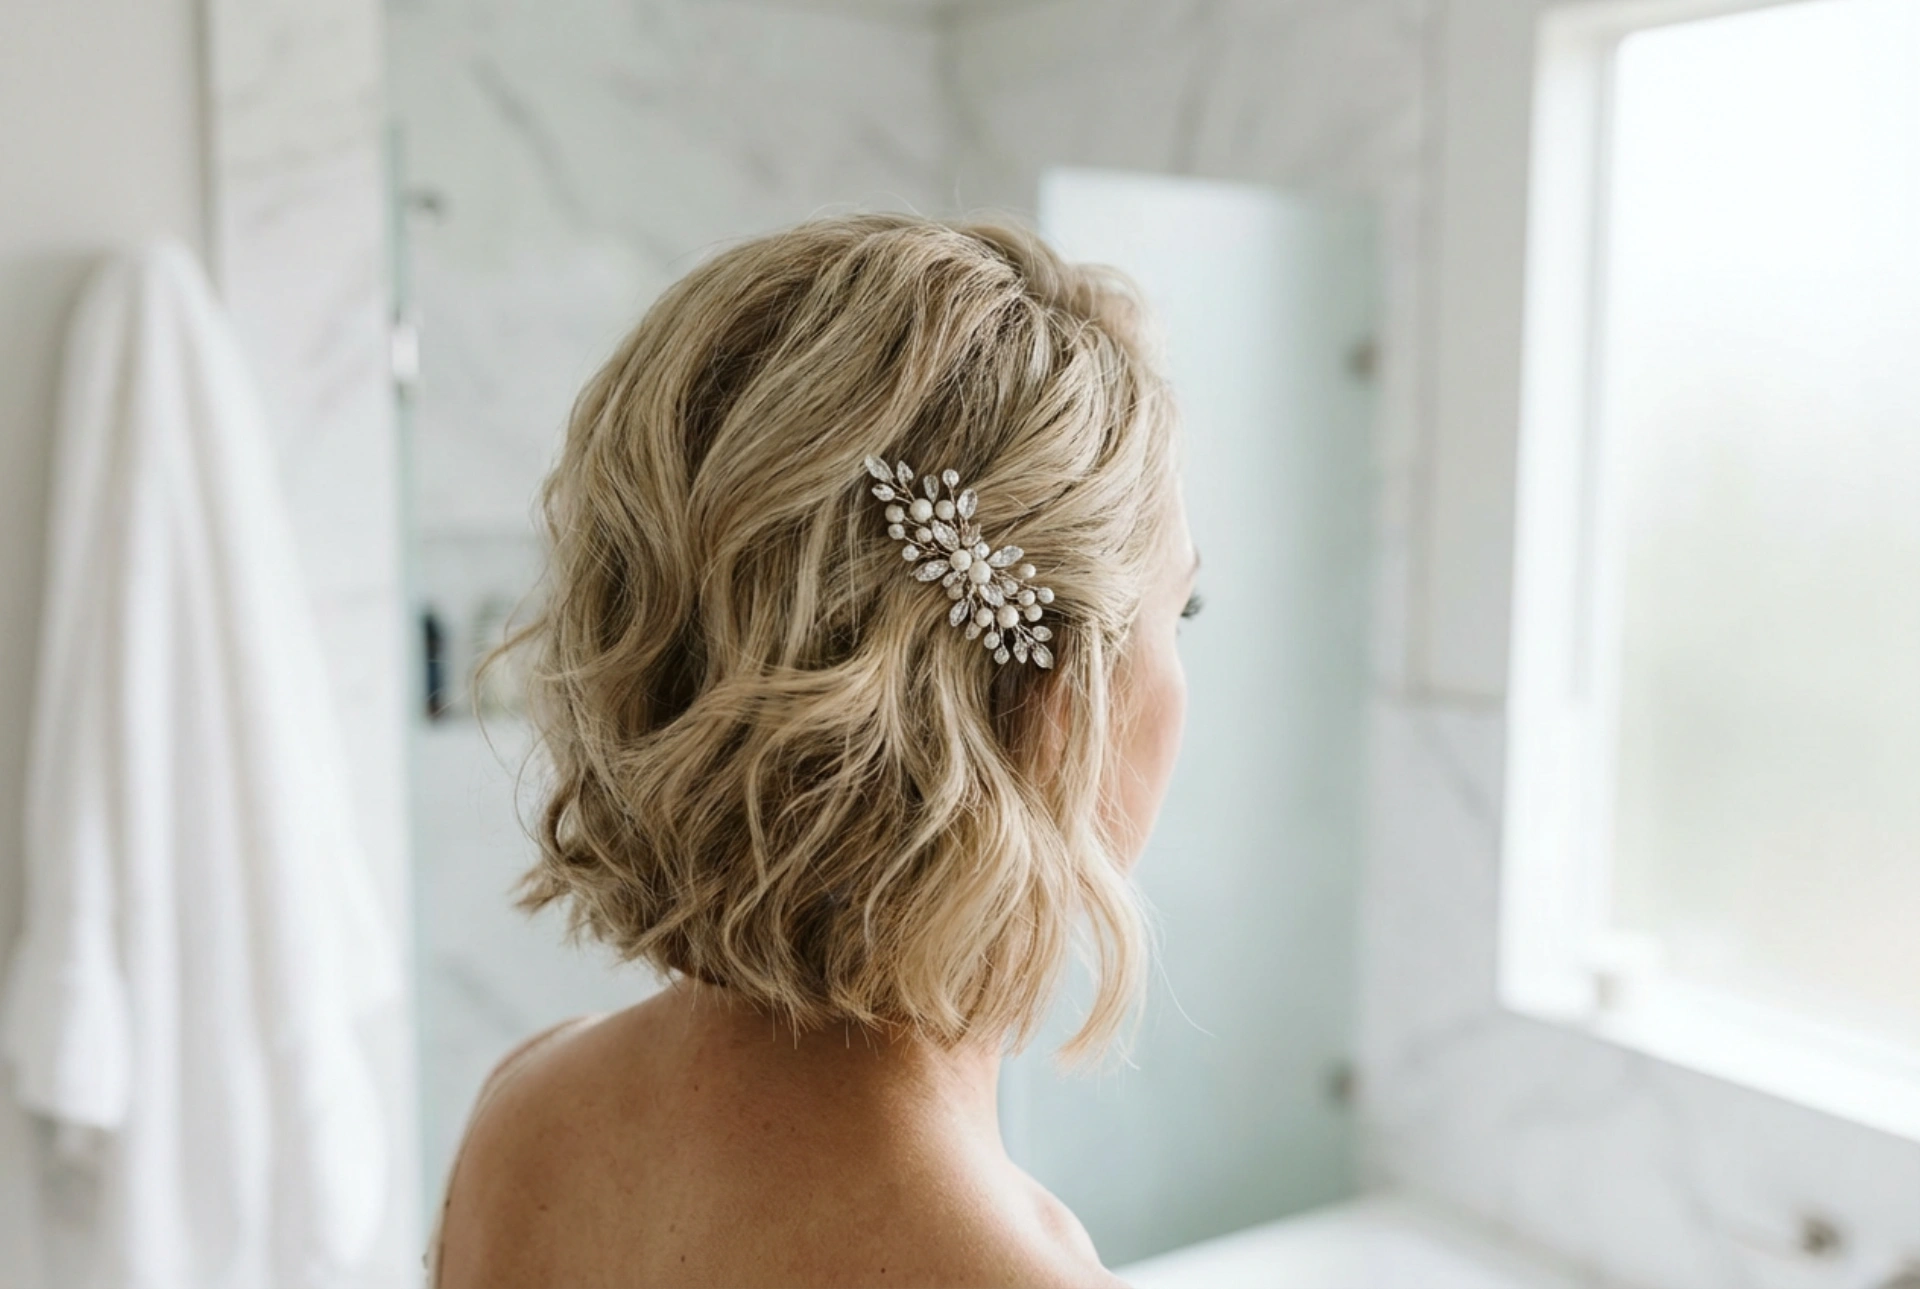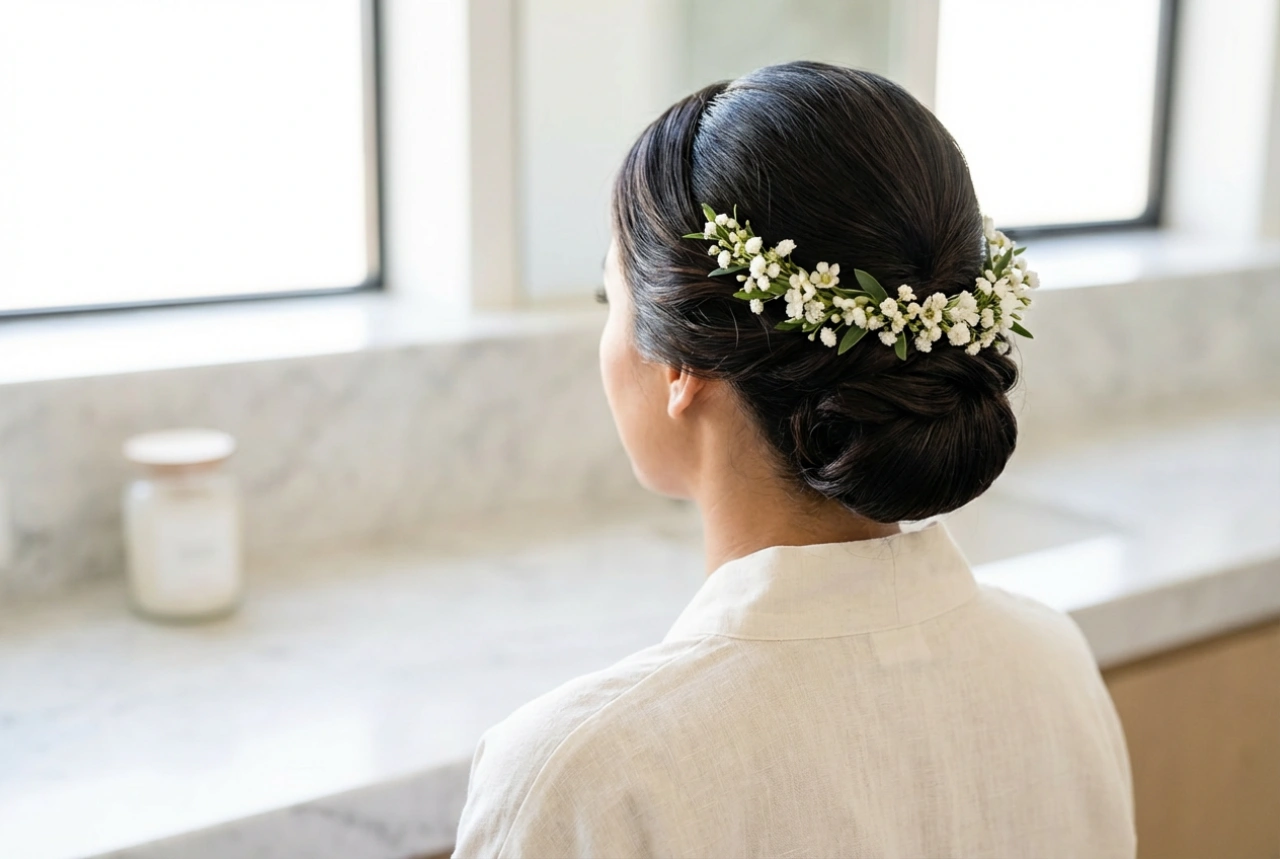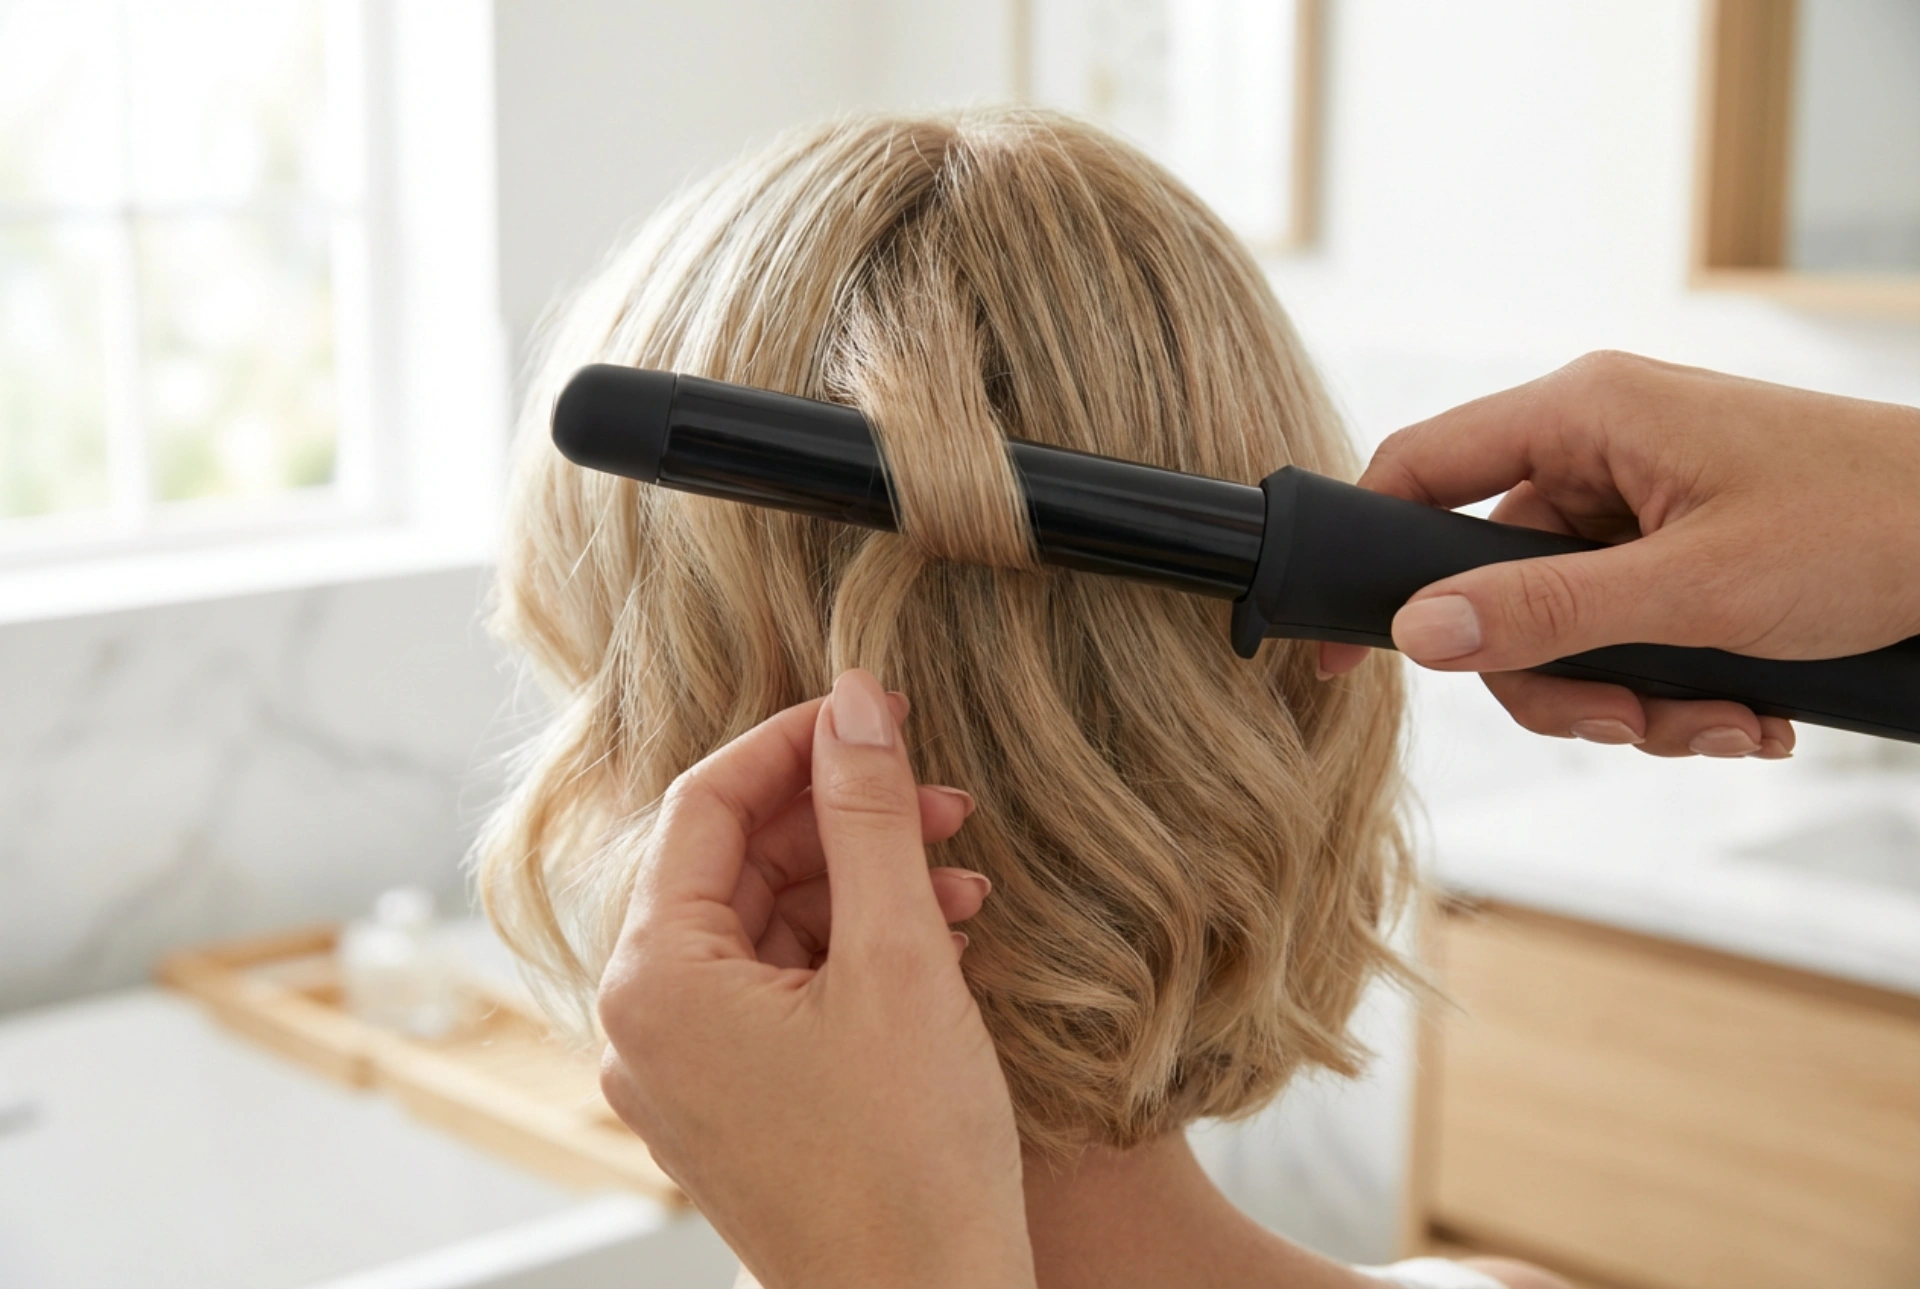


Styling short hair with a curling iron requires a blend of precision, technique, and the right tools. When working with shorter lengths, every movement of your hands and every turn of the wand directly impacts the final shape and movement of the hair. Achieving that effortless, textured look—where soft, subtle curls catch the light naturally—is all about mastering the fundamentals. Whether you are aiming for a classic refined bob or a playful textured pixie, understanding how to select your tool, direct your curls, and navigate the trickiest parts of your head, such as the nape of the neck, will elevate your daily styling routine.
Selecting the Ideal Barrel Diameter for Shorter Lengths
The secret to successful styling on shorter lengths lies in the diameter of your curling iron. Unlike long hair, which offers ample canvas for wide barrels, short hair requires a smaller tool to effectively wrap the strands around the heating element. If the barrel is too large, you will end up with volume at the roots but no actual curl or wave. Conversely, a barrel that is too small can create tight, springy curls that may look shorter and more coiled than intended.
For most short haircuts, a barrel size between 19mm and 25mm is considered the gold standard. A 19mm wand is perfect for creating defined waves, adding structure to very short sections, and ensuring that even the shortest layers can be securely wrapped. A 25mm barrel is ideal for creating soft, loose, lived-in waves and adding subtle volume to bobs and lobs. When selecting your tool, look for a sleek design that allows for precise control and easy handling, making the process smooth and comfortable for your hands.
Mastering Curl Directions: Alternating for a Natural Finish
The direction in which you wind your hair around the curling iron plays a crucial role in how the final hairstyle frames your face. There are two primary directions: away from the face and towards the face. Each technique yields a vastly different aesthetic, and knowing when to use which is key to achieving a balanced look.
- Away from the face: This technique opens up your features and creates a breezy, modern look. To achieve this, hold the iron vertically and wind the hair backwards, away from your eyes. This is particularly flattering for the sections directly framing your face.
- Towards the face: Curling towards the face creates a more classic, structured appearance. It can add volume at the sides but can sometimes feel heavy if used around the entire head.
- The alternating technique: For a contemporary, textured finish, alternate the direction of each curl. Curl one section away from your face, and the next section towards it. This prevents the curls from clumping together into one solid wave, creating a multi-dimensional, natural movement that mimics effortlessly tousled locks.
How to Safely Style the Nape of the Neck
The nape of the neck is often the most challenging area to style when working with short hair. The hair here is shorter, harder to see, and incredibly close to the sensitive skin of your neck and ears. Achieving a seamless transition from the longer sections at the crown to the shorter pieces at the back requires patience, safety, and a refined technique.
To start, always section your hair properly. Use small, flat clips to secure the upper layers out of the way, exposing only the lowest section at the back of your head. Because these strands are often too short to wrap fully around a standard barrel, try using a tap-and-twist motion rather than a full wrap. Simply pinch the section, lightly press it against the iron for a brief second to create a subtle bend, and release. This adds texture and blending without the risk of burning your skin. Keeping the iron at a lower temperature setting for this delicate area is also highly recommended to prevent heat damage and ensure safety.
Prepping and Finishing for Long-Lasting Results
To protect the health of your hair and ensure your styling efforts last throughout the day, preparation is key. Always begin with completely dry hair. Applying heat to damp strands can cause significant damage and will prevent the curls from holding their shape. Before you switch on your curling iron, mist your hair evenly with a lightweight heat-protecting spray, ensuring every layer is shielded from high temperatures.
Once you have finished curling all sections, resist the temptation to touch or brush through the waves immediately. Let the curls cool completely down to room temperature. This cooling phase is when the hair structure sets into its new shape. Once the hair is cool, gently run your fingers through the curls to break them up into soft, flowing waves. You can finish with a touch of lightweight hair oil on the tips for added shine and definition, highlighting the beautiful texture and graceful movement of your newly styled short hair.