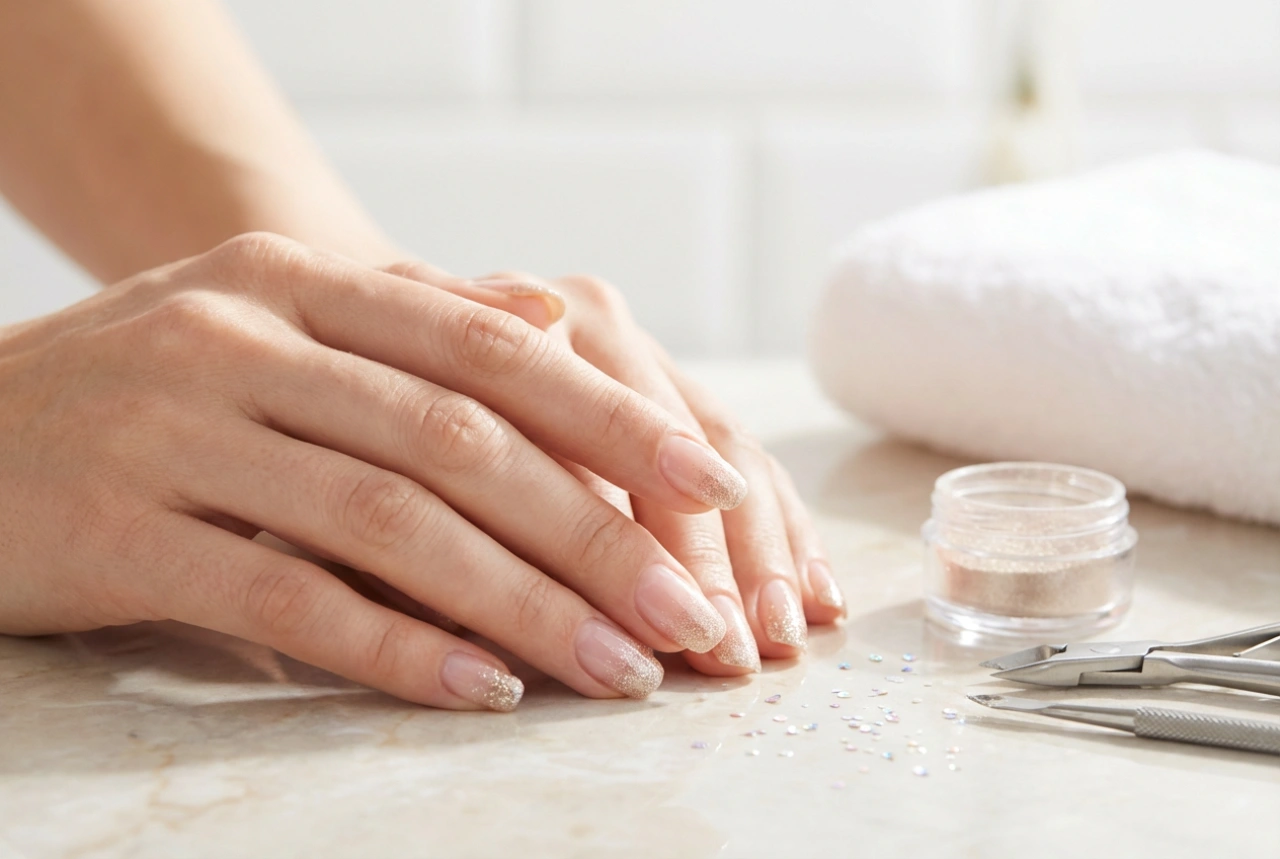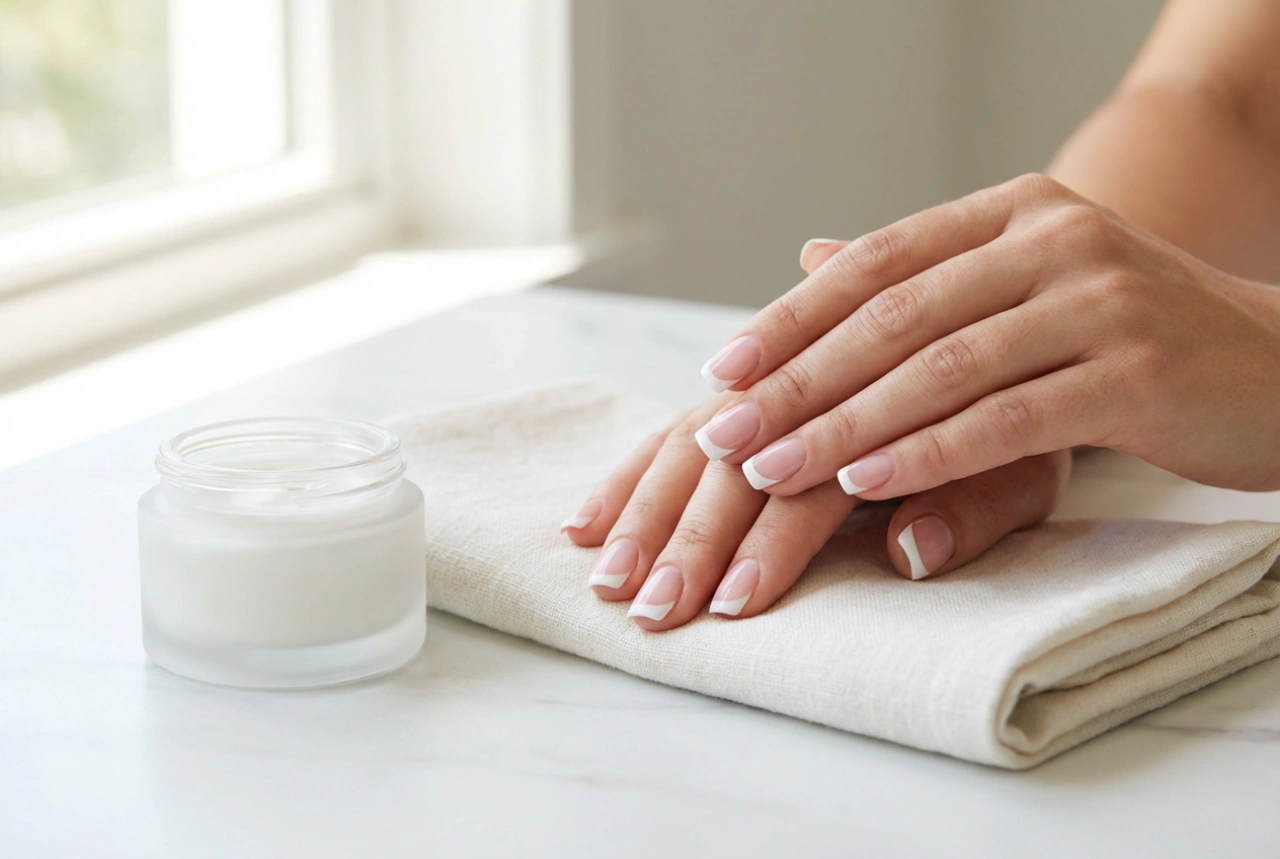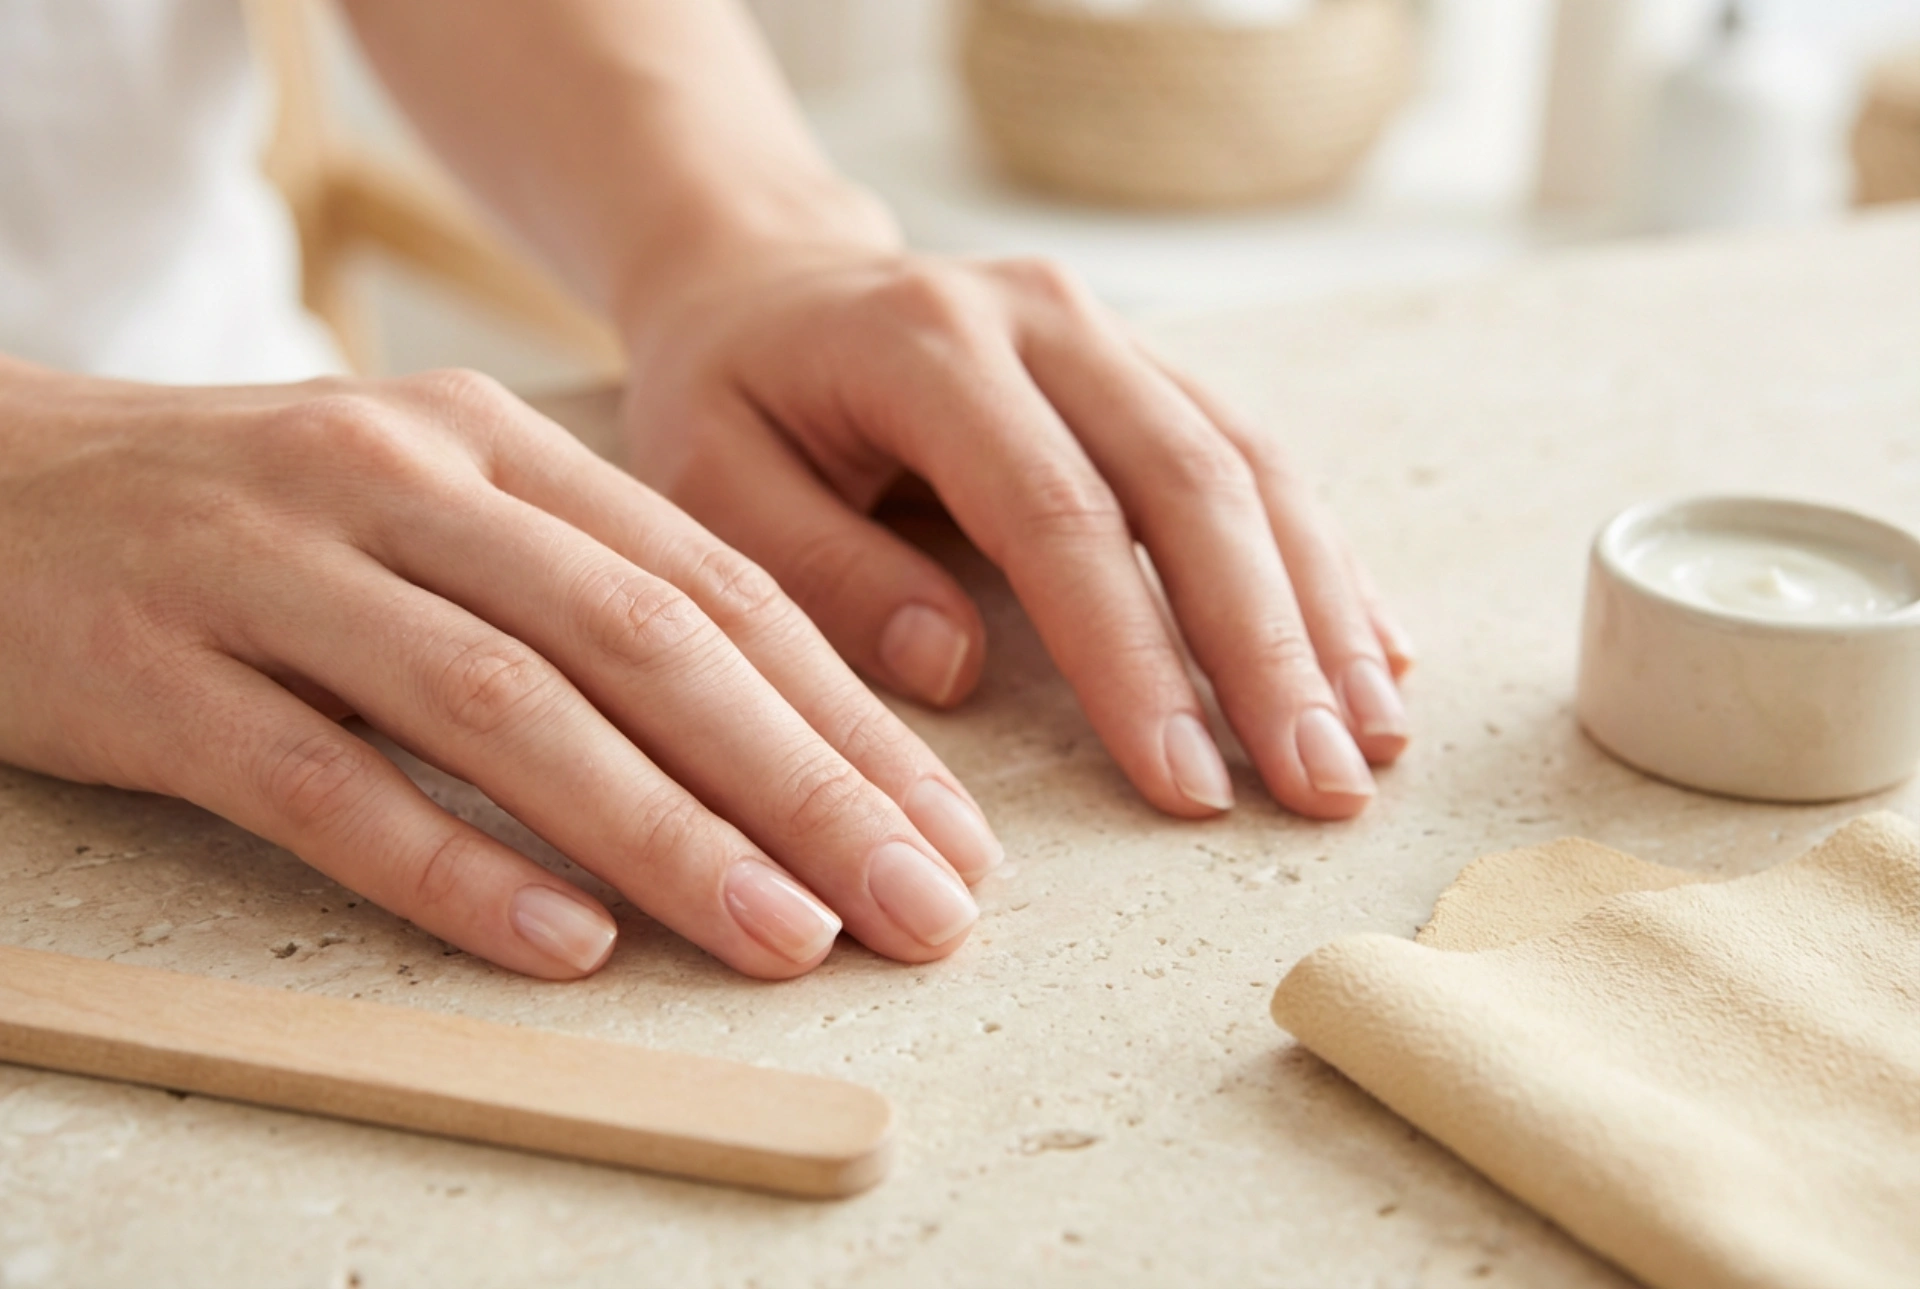


Elegant, well-groomed hands are often considered a personal calling card, and the desire for naturally radiant, glossy nails has led many to discover the time-honoured secrets of the Japanese manicure. Unlike modern techniques that rely heavily on synthetic polishes and UV lamps, this traditional method focuses on deep nourishment and physical polishing. It showcases the inherent beauty of the nail plate, transforming dull or uneven surfaces into a picture of health and elegance. By utilising natural ingredients, this routine offers a gentle alternative for anyone seeking to restore their nails' natural lustre.
Understanding the Philosophy of Japanese Manicure
The Japanese manicure is not merely a cosmetic treatment but a holistic approach to nail care that dates back several centuries. Historically favoured for its ability to grant nails a delicate, pearl-like shine, this technique is deeply rooted in the appreciation of natural beauty and minimalism. The core philosophy revolves around feeding the nail plate with essential nutrients rather than masking imperfections with coloured lacquers.
Instead of chemical hardeners, this method uses a special paste and a sealing powder rich in natural substances. These ingredients typically include beeswax, diatomaceous earth, bamboo extract, and various minerals. Together, they work to smooth out ridges, seal microscopic cracks, and create a protective barrier that locks in moisture, leaving the nails looking exceptionally healthy and vibrant.
Before and After: The Transformative Effects
To truly appreciate this technique, one must understand the visual and structural transition of the nail plate. Before the application, nails may appear matte, dry, or slightly uneven, often displaying minor ridges or discolouration from previous styling methods. The tips might look brittle, and the overall surface lacks that coveted healthy glow.
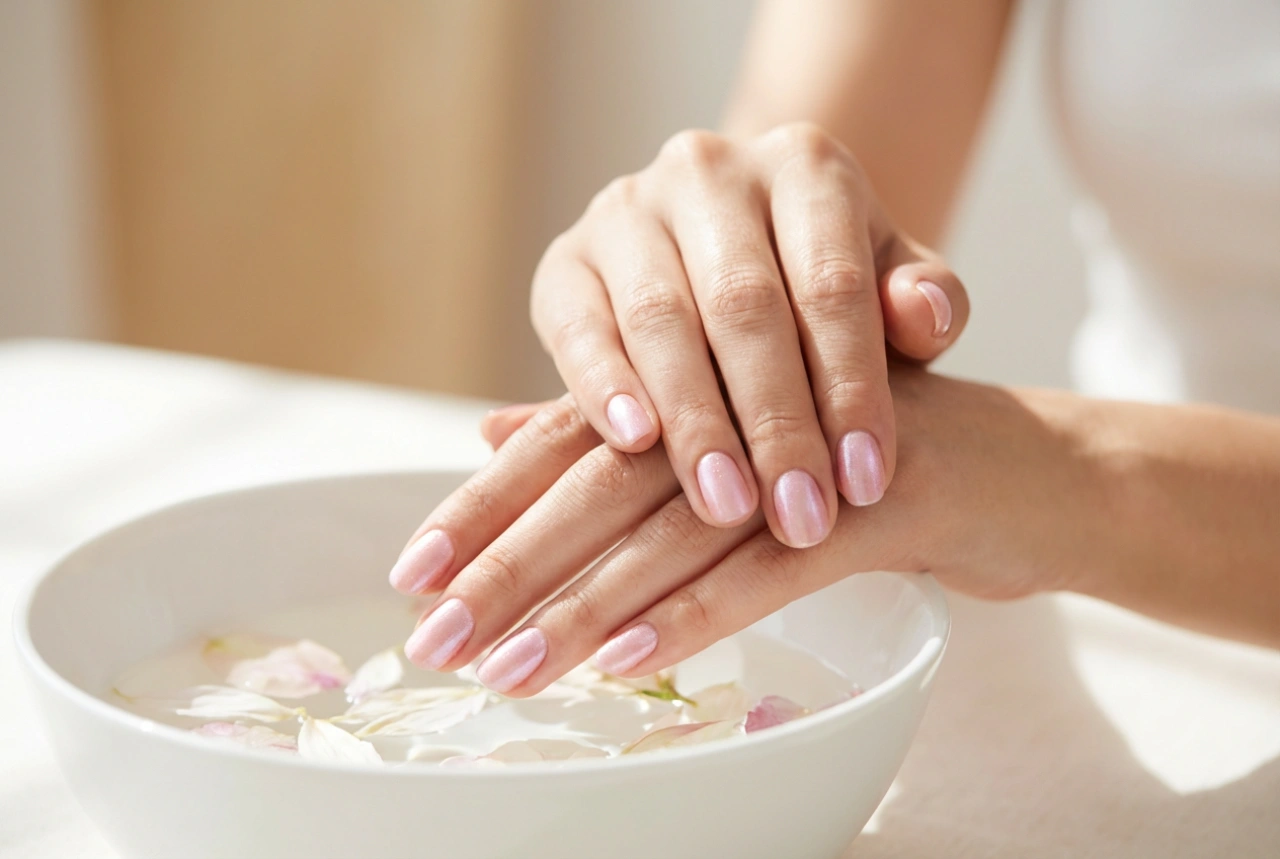
After the process is complete, the transformation is immediately visible. The most striking change is the mirror-like, glass-soft shine that covers the entire nail. This glossy finish is completely natural and does not peel or chip like traditional polish. The nails acquire a healthy pinkish hue, and the surface feels remarkably smooth to the touch. This radiant finish typically lasts for up to two weeks, gradually fading naturally as the nail grows, without requiring any harsh removal processes.
How to Prepare Your Nails for the Treatment
Proper preparation is key to ensuring that the nourishing ingredients penetrate the nail plate effectively and that the brilliant shine lasts as long as possible. The preparation stage is simple but requires precision and gentleness to protect the delicate nail structure.
- Nail Shaping: Begin by filing your nails to the desired length and shape using a gentle glass or paper file. Avoid metal files, which can cause micro-splits.
- Cuticle Care: Gently push back the cuticles using a wooden stick. It is best to avoid cutting them excessively, keeping the natural protective barrier intact.
- Surface Cleansing: Ensure that the nails are completely clean, dry, and free of any oils or old polish residue. A dry surface is crucial for the paste to adhere correctly.
- Gentle Matting: Use a very fine, gentle buffer to slightly roughen the surface of the nail. This step should be done with minimal pressure, aiming only to open up the nail scales so they can absorb the nutrients.
Step-by-Step Application Guide
Performing a Japanese manicure involves a systematic two-step buffing process that must be executed with care to avoid over-thinning the nail plate. Here is how the process unfolds:
Step 1: Applying the Nourishing Paste
First, a small amount of the nutrient-rich paste is applied directly to the prepared nail plate. Using a special buffer, traditionally made of green deer hide, the paste is thoroughly rubbed into the nail. The buffing motion should always be executed in one direction to properly align the nail fibres. This action helps the beeswax and minerals penetrate deep into the keratin layers, smoothing out all unevenness.
Step 2: Sealing with the Powder
Once the paste is fully integrated, the next step is to seal the nutrients inside. A special powder, often formulated with silicon earth, is applied to the nail. Using a second, clean buffer (usually pink), the powder is polished into the surface. This step locks in the paste, creates a protective shield against external factors, and coaxes out that spectacular, long-lasting glass-like shine.
Who Is the Japanese Manicure Best Suited For?
This natural care method is highly versatile, making it an excellent choice for individuals who prefer a minimalist, clean aesthetic over vivid colours. It is particularly beneficial for those looking to give their nails a break from intensive cosmetic procedures, allowing the nail plate to recover its strength naturally. Since the ingredients are purely physical and mechanical, it is a safe and universal option for almost everyone seeking a healthy, polished look.
However, it is important to note that if the nails are extremely thin, split down to the quick, or damaged from improper removal of synthetic overlays, it is wise to wait until they have grown out slightly before performing the buffing steps. The process relies on a healthy baseline of nail thickness to achieve the best results without causing discomfort.
Post-Treatment Care and Best Practices
To maintain the beautiful results of your Japanese manicure, a few simple post-care rules should be followed. Since the surface of the nail is sealed and highly polished, it is highly recommended to avoid applying any standard nail polishes or gel overlays immediately after the procedure. The sleek surface will prevent traditional polishes from adhering properly, and chemical removers would strip away the natural protective waxes.
It is also beneficial to moisturise the surrounding cuticles daily with a drop of natural oil, such as jojoba or almond oil. This keeps the entire hand looking polished and elegant. To maintain the beautiful gloss and continuous nourishment, the treatment can be repeated every two to three weeks, focusing primarily on the new nail growth to prevent over-buffing the tips.