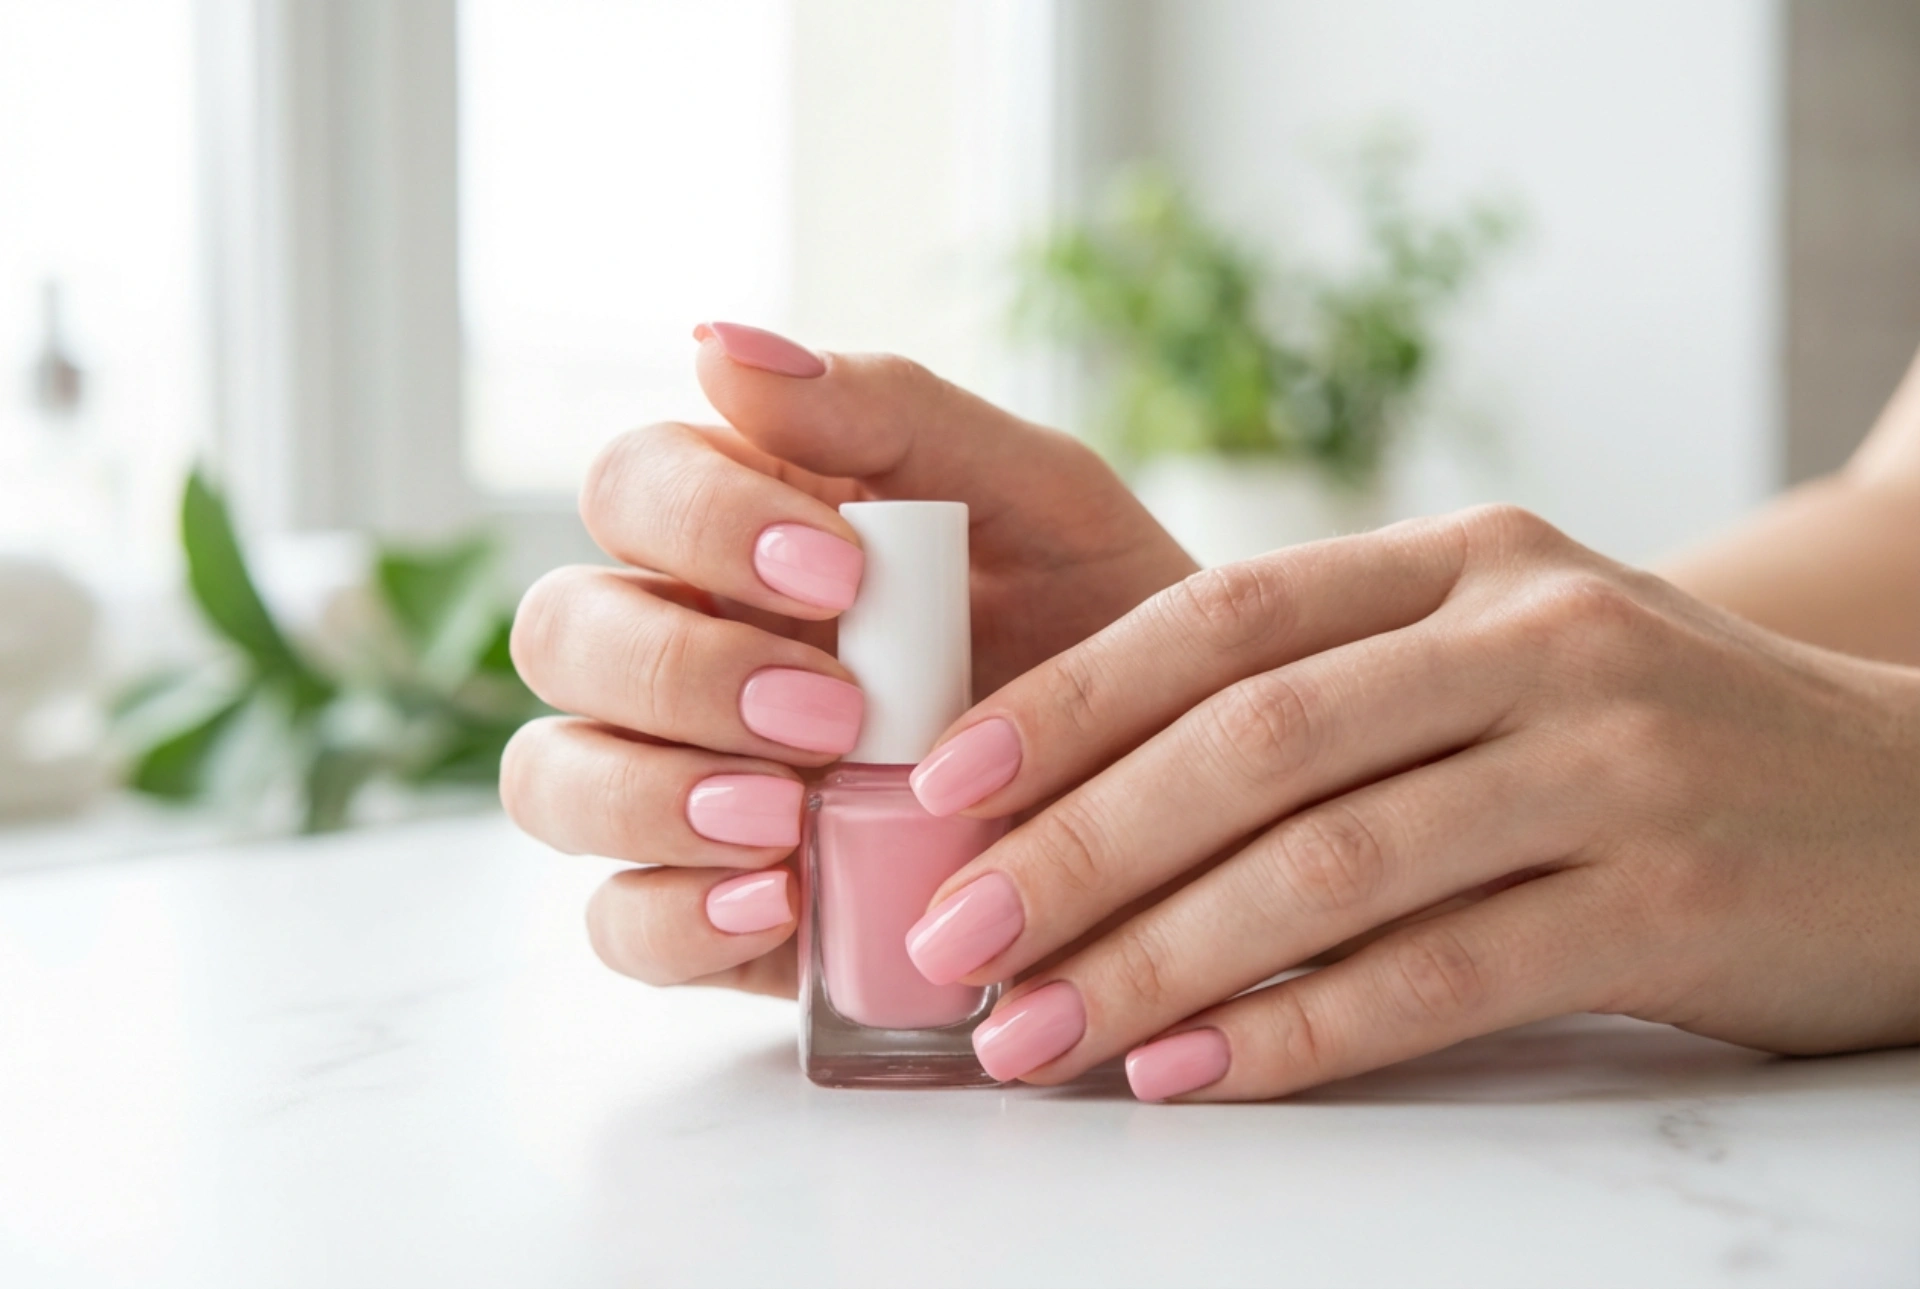


Pink nails have long been celebrated as the epitome of understated elegance and timeless beauty. A classic manicure featuring soft, delicate pink tones beautifully enhances the natural shape of the hands, creating a clean, sophisticated aesthetic that suits any occasion. Whether illuminated by the soft glow of natural daylight or styled for a formal evening event, well-groomed pink nails project an image of effortless polish and self-care. Achieving this pristine look at home does not require professional salon treatments; rather, it relies on selecting the ideal hue for your skin tone and mastering the fundamental techniques of nail preparation and polish application.
Understanding Skin Undertones to Find Your Ideal Pink
The spectrum of pink nail lacquer is incredibly vast, ranging from sheer, milky pastels to rich, warm corals and cool-toned magentas. To find the shade that most harmonises with your hands, it is helpful to identify your skin’s undertone. Skin undertones generally fall into three categories: cool, warm, and neutral. Choosing a polish that complements these subtle undertones can make your hands look brighter, healthier, and more youthful.
If your veins appear predominantly blue or purple, you likely have a cool undertone. For cool skin, icy pinks, soft lavenders, and pastel pinks with blue undertones look exceptionally striking. These shades enhance the natural porcelain quality of the skin without looking washed out. Conversely, if your veins have a greenish tint, your undertone is warm. Warm-toned individuals look best in peach-pinks, soft salmon shades, and warm corals that bring out the golden radiance of the skin.
Those whose veins appear blue-green have neutral undertones and possess the flexibility to wear almost any pink shade. Sheer, dusty pinks and neutral beige-pinks are particularly flattering, offering a subtle, minimalist appearance that mimics the natural nail bed. When selecting a shade, consider also the opacity; sheer finishes provide a soft, barely-there gloss, while opaque polishes offer a modern, structured finish.
Essential Nail Preparation for a Flawless Finish
The secret to a durable, chip-resistant manicure lies in the preparation of the nail plate. Applying polish directly to unprepared nails often leads to lifting and peeling within a matter of days. To begin, gently file your nails into your desired shape using a fine-grit glass or emery board. Always file in one direction rather than sawing back and forth, as this prevents micro-tears in the nail layers that can lead to splitting.
- Softening the Cuticles: Apply a gentle cuticle remover or a drop of natural oil to soften the skin around the nail bed. Gently push back the cuticles using a wooden manicure stick. Avoid cutting the cuticles, as this skin serves as a natural barrier against environmental impurities.
- Buffing the Surface: Use a very soft buffer block to gently smooth any ridges on the surface of the nail. This creates an even canvas for the lacquer, but be careful not to over-buff, which can thin the nail plate.
- Dehydrating the Nail Plate: Oil is the natural enemy of nail polish. Before applying any base coat, wipe each nail thoroughly with a lint-free pad soaked in a gentle, acetone-free nail cleanser or rubbing alcohol. This removes residual oils, hand creams, and dust, ensuring maximum adhesion.
Step-by-Step Polish Application Technique
Once the nails are clean, dry, and free of oil, the application process can begin. Patience and thin layers are the golden rules of a successful home manicure. Thick layers of polish take much longer to dry and are highly prone to bubbling and premature chipping.
Start with a high-quality base coat. The base coat acts as an adhesive layer, gripping both the nail plate and the colour lacquer, while also protecting the natural nail from staining. Allow the base coat to dry completely before moving on to your chosen pink polish. When applying the pink lacquer, wipe the excess product off the brush on the neck of the bottle; you only need enough to cover one nail per dip.
Apply the colour using the classic three-stroke method. Place a drop of polish near the cuticle line (leaving a tiny gap so it does not touch the skin), push slightly down towards the cuticle, then sweep straight up to the free edge. Next, sweep down the left side, followed by the right side. Repeat this process for a second coat to ensure even colour distribution and opacity. Always remember to "cap" the free edge of the nail by running the brush lightly along the very tip; this seals the polish and prevents lifting.
Sealing the Manicure and Everyday Hand Care
To protect your hard work and give your pink nails a brilliant, mirror-like shine, apply a protective top coat. A top coat shields the colour from UV rays, daily wear, and scratches. For the best results, reapply a thin layer of top coat every two to three days to refresh the gloss and extend the longevity of the manicure.
After your polish has dried completely, restore hydration to your hands and cuticles. Apply a nourishing hand cream and massage a dedicated cuticle oil into the skin surrounding each nail. Keeping this delicate area hydrated prevents hangnails and maintains the neat, professional appearance of your manicure. When performing household chores, such as washing dishes or using cleaning agents, always wear protective gloves to shield your nails from water damage and harsh chemicals, ensuring your beautiful pink manicure remains flawless for as long as possible.




