

Elegant, shimmering nails decorated with glitter add a touch of sophistication and festive charm to any look. Whether it is a subtle silver gradient catching the natural light on a minimalist vanity table, or a bold glitter statement, the sparkling manicure remains a timeless favourite. However, the prospect of dealing with loose sparkles and the notoriously difficult removal process often deters beauty enthusiasts. Fortunately, achieving a flawless, salon-quality glitter finish at home does not have to result in a messy workspace or damaged nails. With the right techniques, a clean and organised application is entirely possible.
Preparing a Clean Workspace
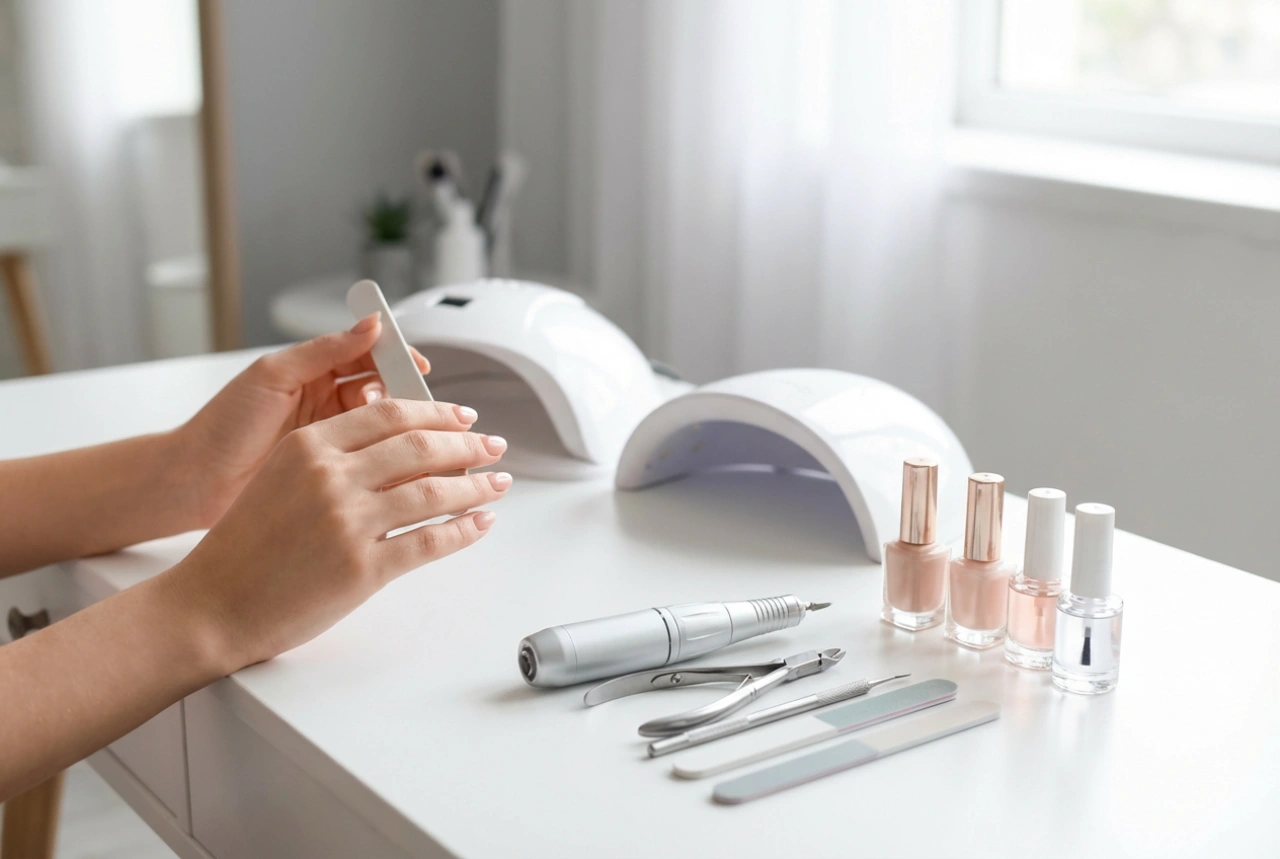
The secret to a pristine glitter manicure starts long before the first bottle of polish is opened. Loose glitter has a habit of clinging to every surface, which is why preparation is essential to keep your beauty station spotless. By setting up a dedicated workspace, you can enjoy the creative process without worrying about the subsequent cleanup.
- Use a protective barrier: Lay down a sheet of parchment paper, a silicone manicure mat, or even a damp paper towel. A damp towel is particularly effective as it traps stray glitter particles, preventing them from floating into the air.
- Keep tape handy: A roll of sticky tape or a lint roller is your best friend during this process. If any glitter escapes onto your hands or table, a quick press with tape will lift the particles instantly.
- Organise your tools: Place your base coats, glitter polishes, sponges, and clean-up brushes within easy reach to minimise unnecessary movement and accidental spills.
Precision Application Techniques
Applying glitter polish can sometimes result in a sparse, uneven layer or a thick, clumpy build-up. To achieve a smooth and professional finish, the method of application must be carefully considered. Rather than painting the polish on in traditional long strokes, alternative techniques can offer much better control and density.
For a highly concentrated glitter look, the sponge method is highly recommended. Instead of applying the polish directly to the nail, paint a small amount onto the corner of a clean makeup sponge. The porous material of the sponge absorbs the excess liquid base while leaving the glitter concentrated on the surface. Gently dab the sponge onto the nail in thin layers. This technique ensures a high density of sparkle without creating a thick, slow-drying layer of polish.
If you prefer using the bottle brush, opt for a dabbing or stippling motion rather than sweeping strokes. This allows you to place individual glitter pieces exactly where you want them, ensuring an even distribution across the entire nail plate.
Creating a Seamless Glitter Gradient
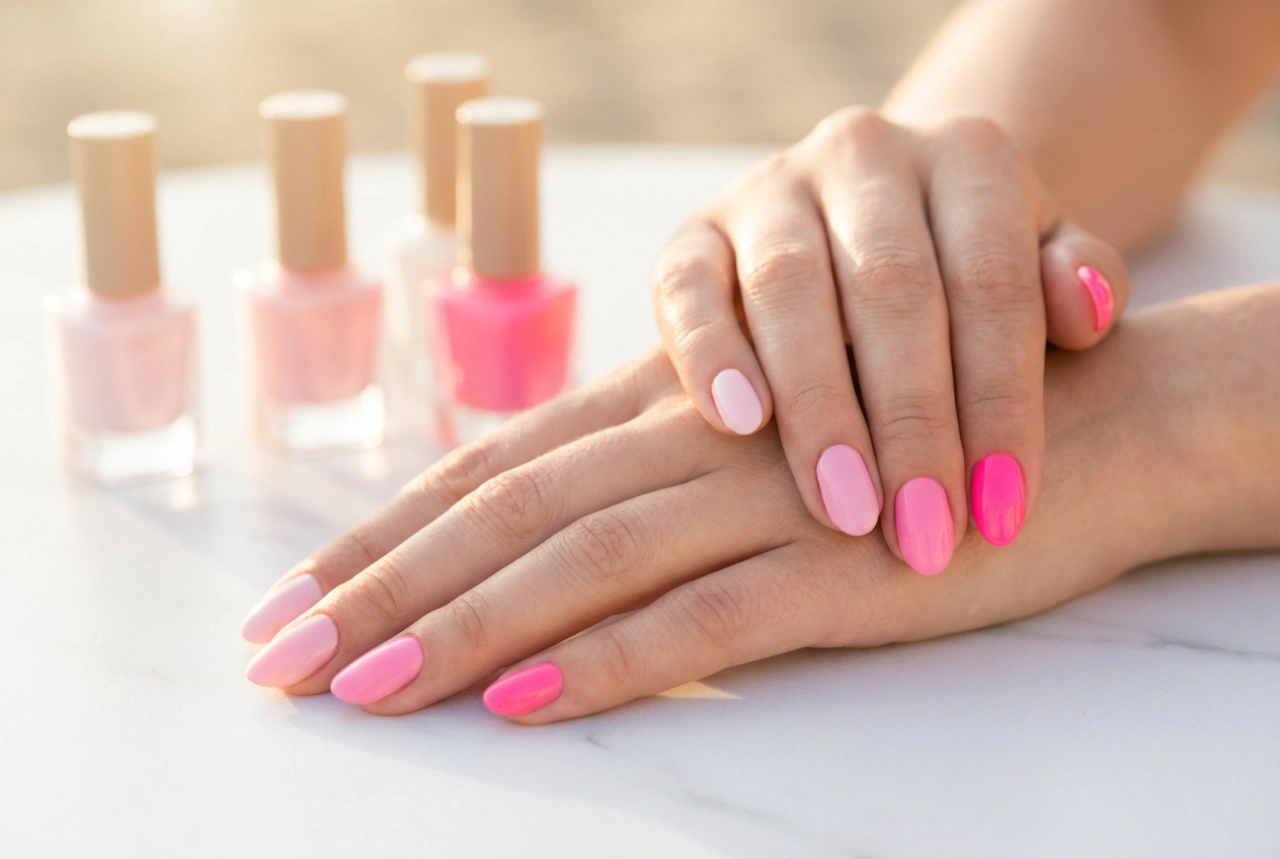
A glitter gradient, or ombre effect, is a sophisticated way to wear sparkles. It offers a subtle transition from a clear or coloured base to a densely glittering tip. Achieving a seamless fade requires patience and a light touch, but the result is incredibly elegant and visually lengthening for the fingers.
To begin, apply your chosen neutral or coloured base coat and let it dry completely. Next, apply a small amount of glitter polish to the tip of the nail. Using a cosmetic sponge or a dry nail brush, gently tap the glitter downwards towards the middle of the nail. The goal is to have the highest concentration of sparkle at the very edge, gradually thinning out as you move towards the cuticle.
For a perfect gradient, apply the glitter in two or three very thin stages. Allow each layer to dry slightly before adding the next. This builds depth and dimension, making the transition look soft and professionally blended. Once satisfied with the gradient, always finish with a generous layer of quick-drying top coat to smooth out any textured edges.
Effortless and Safe Glitter Removal
The most common complaint about glitter manicures is how difficult they are to remove. Scrubbing at the nails with a cotton pad often leads to frustration, wasted polish remover, and potential damage to the natural nail plate. However, a simple soaking method can dissolve the polish base cleanly and effortlessly.
The soak-off method, often referred to as the foil method, is the safest way to remove stubborn glitter. Start by soaking small pieces of cotton wool in a standard polish remover. Place a soaked cotton piece directly over the nail, then wrap a small strip of aluminium foil around the fingertip to secure it in place. Repeat this for all fingers and leave them wrapped for roughly five to ten minutes.
This wrapped environment allows the remover to penetrate and break down the tough polish layers without drying out. After the waiting period, gently press down on the foil and pull it away from the nail in a single, outward motion. The glitter should slide off smoothly, leaving the nail clean and minimising the need for harsh scraping.
Sealing the Sparkle for Longevity
Because glitter polish naturally has a textured, uneven surface, securing it with the correct finishing steps is vital for both comfort and durability. Unsealed glitter can snag on clothing and chip prematurely, shortening the lifespan of your beautiful manicure.
To ensure a smooth, glass-like finish, apply a thick, high-quality top coat. If the glitter feels particularly rough, you may want to apply two thin layers of top coat, allowing adequate drying time between them. This seals the design, enhances the light-reflecting properties of the glitter, and provides a protective shield against daily wear and tear. Regular cuticle oil application after the manicure is completed will also keep the surrounding skin hydrated and looking as pristine as your newly polished nails.