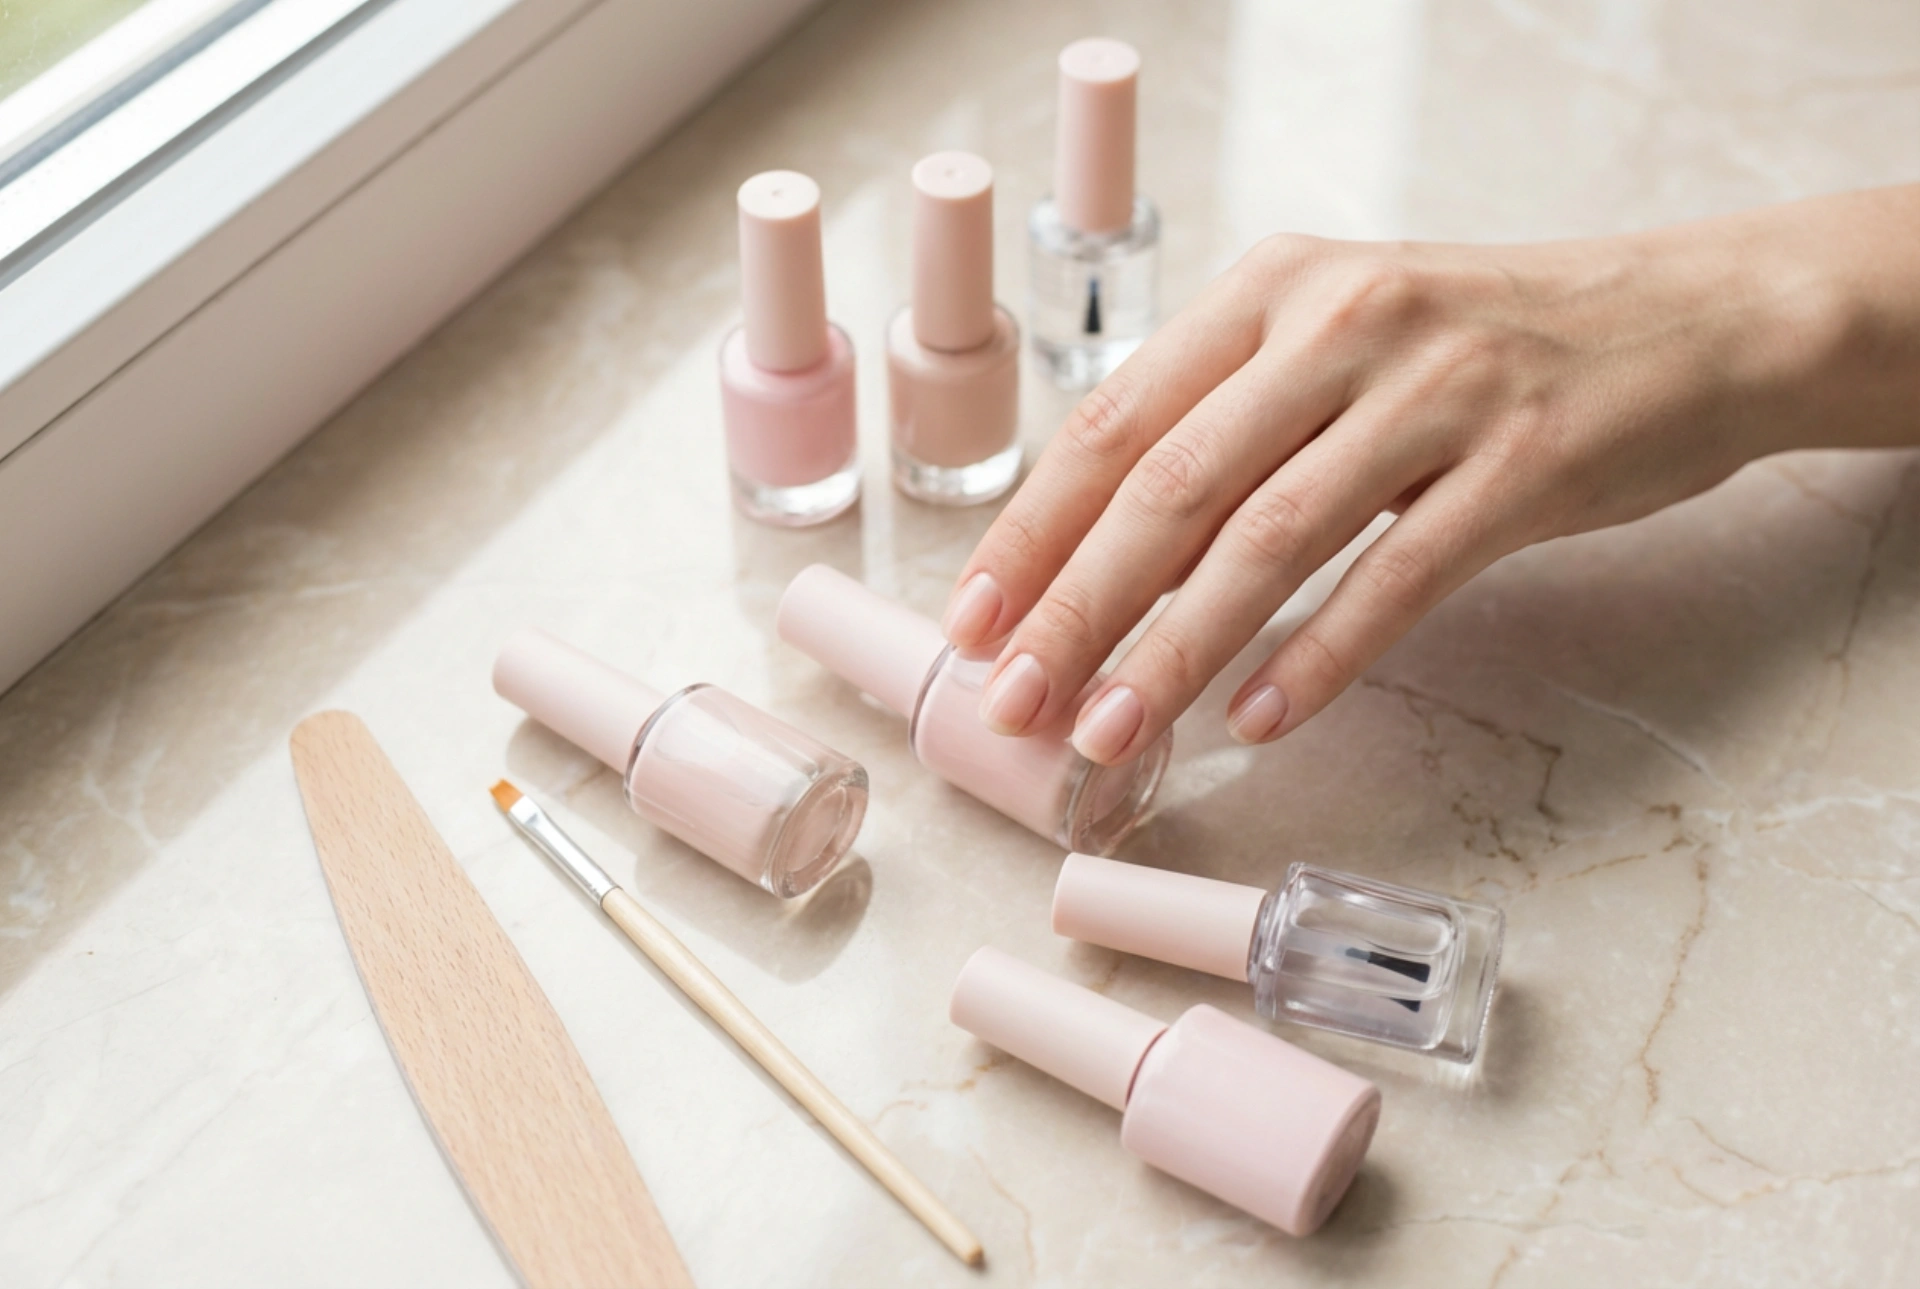


Beautifully manicured hands are a wonderful addition to any personal style, and creating a serene home beauty ritual with the right tools can be highly therapeutic. When looking at the array of products available, such as elegant bottles of hybrid gel polishes and classic builder gels, it is easy to feel overwhelmed. Both methods offer long-lasting results that far outshine traditional nail varnishes, but they serve different needs. Understanding the fundamental differences between hybrid polish and traditional gel is the first step towards achieving a flawless, professional-looking finish in the comfort of your own home.
Understanding the Basics: Hybrid Polish vs. Builder Gel
To make an informed choice, it is essential to understand what these products are and how they interact with the natural nail plate. While both require a UV or LED lamp to cure and harden, their chemical compositions, textures, and strengths differ significantly.
Hybrid polish, often referred to as gel polish, is a clever combination of traditional nail lacquer and UV gel. It has a relatively thin consistency, similar to classic polish, making it exceptionally easy to apply. It provides a flexible, natural-looking layer that moves with your natural nail, offering protection against minor chips and wear. It is ideal for those who prefer to keep their natural nail length and enjoy a simpler application and removal process.
Builder gel, on the other hand, is a much thicker, more viscous substance. It is designed to create structure, add strength, and even extend the length of the nail. Because it is highly durable and rigid once cured, it is perfect for correcting uneven nail surfaces or reinforcing weak plates that are prone to splitting. Traditional gel does not dissolve easily in solvent removers, meaning it usually requires careful filing or buffing to be removed safely.
How to Choose: When to Opt for Hybrid or Gel
Choosing between these two popular techniques depends largely on your lifestyle, the current condition of your natural nails, and your aesthetic goals.
When to choose hybrid polish
- Your natural nails are healthy, strong, and do not break easily.
- You prefer to maintain your natural nail length and shape without extensions.
- You enjoy changing your nail colour every two to three weeks.
- You want a quick application process with a straightforward, gentle removal method.
When builder gel is the better choice
- Your nails are thin, brittle, or prone to peeling and require extra reinforcement.
- You wish to extend your nails beyond their natural length or repair a chipped corner.
- You require a highly durable manicure that can withstand heavy hands-on work.
- You are looking for a semi-permanent base that can be refilled rather than completely removed each time.
Essential Equipment for Home Nail Styling
Before beginning your home beauty ritual, gathering the correct tools ensures a smooth application and protects the health of your hands. Here is a list of the basic equipment you will need to get started:
- A reliable UV/LED lamp to cure the products effectively.
- A fine-grit nail file (typically 180/240 grit) and a soft buffing block.
- A wooden cuticle stick or a metal cuticle pusher.
- A gentle degreasing solution (often called a nail prep or cleaner) and lint-free cotton pads.
- A high-quality base coat, your chosen colour polishes, and a protective top coat.
- If using builder gel, a dedicated gel brush and paper nail forms for extension may also be required.
- A nourishing cuticle oil to restore moisture after the styling process.
Step-by-Step Home Application Guide
A successful manicure depends heavily on meticulous preparation. Take your time with each step to ensure maximum adherence and a beautiful, smooth finish.
Step 1: Preparing the nail plate
Start by washing and drying your hands thoroughly. Use a wooden stick to gently push back the cuticles. Shape the free edge of your nails with a fine-grit file, keeping the movements in one direction to prevent splitting. Gently buff the surface of the nail plate with a soft buffer to remove the natural shine. This creates a slightly textured surface that helps the product stick properly.
Step 2: Degreasing and cleaning
Wipe the nails with a lint-free pad soaked in a professional degreasing solution. This step is crucial, as any residual oils, moisture, or dust from filing can cause the product to lift prematurely. Avoid touching your nails with your fingers once they have been cleaned.
Step 3: Applying the base layer
Apply a very thin layer of base coat over the entire nail, ensuring you do not touch the surrounding skin or cuticles. Be sure to seal the free edge (the very tip of the nail) to lock the product in place. Cure this layer under your UV/LED lamp according to the manufacturer’s instructions, usually for 30 to 60 seconds.
Step 4: Colour application (for hybrid) or shaping (for gel)
If you are using hybrid polish, apply a thin coat of your chosen colour. Cure it in the lamp, then apply a second thin coat for full opacity, curing once again. If you are using builder gel to strengthen the nail, apply a small bead of gel to the centre of the nail and gently spread it towards the edges, creating a smooth dome shape (the apex). Cure this layer thoroughly under the lamp.
Step 5: Sealing with the top coat
To protect your hard work and add a beautiful gloss or matte finish, apply a layer of top coat. Make sure to seal the free edge once more. Cure this final layer under the lamp. If your top coat leaves a sticky residue (known as the dispersion layer), wipe it away gently with a lint-free pad and cleaner. Finish by massaging a drop of cuticle oil into the skin surrounding each nail.
Safe Removal and Aftercare
Maintaining the health of your natural nails relies heavily on how you remove these products. Never peel, scrape, or pick off hybrid polish or gel, as this strips away the top layers of your natural nail plate, leaving them thin and damaged.
For hybrid polish, gently buff the shiny top coat to break the seal, then wrap each nail in a foil wrap containing a lint-free pad soaked in a cosmetic remover. After about ten to fifteen minutes, the polish should be soft enough to be gently pushed away with a wooden stick.
For builder gel, the product is typically designed to be filed down rather than soaked off. Use a medium-grit file to carefully reduce the thickness of the gel, leaving a very thin protective layer on the natural nail rather than filing down to the bare plate. Keep your nails hydrated between applications by regularly applying hand cream and cuticle oils rich in natural vitamins.




