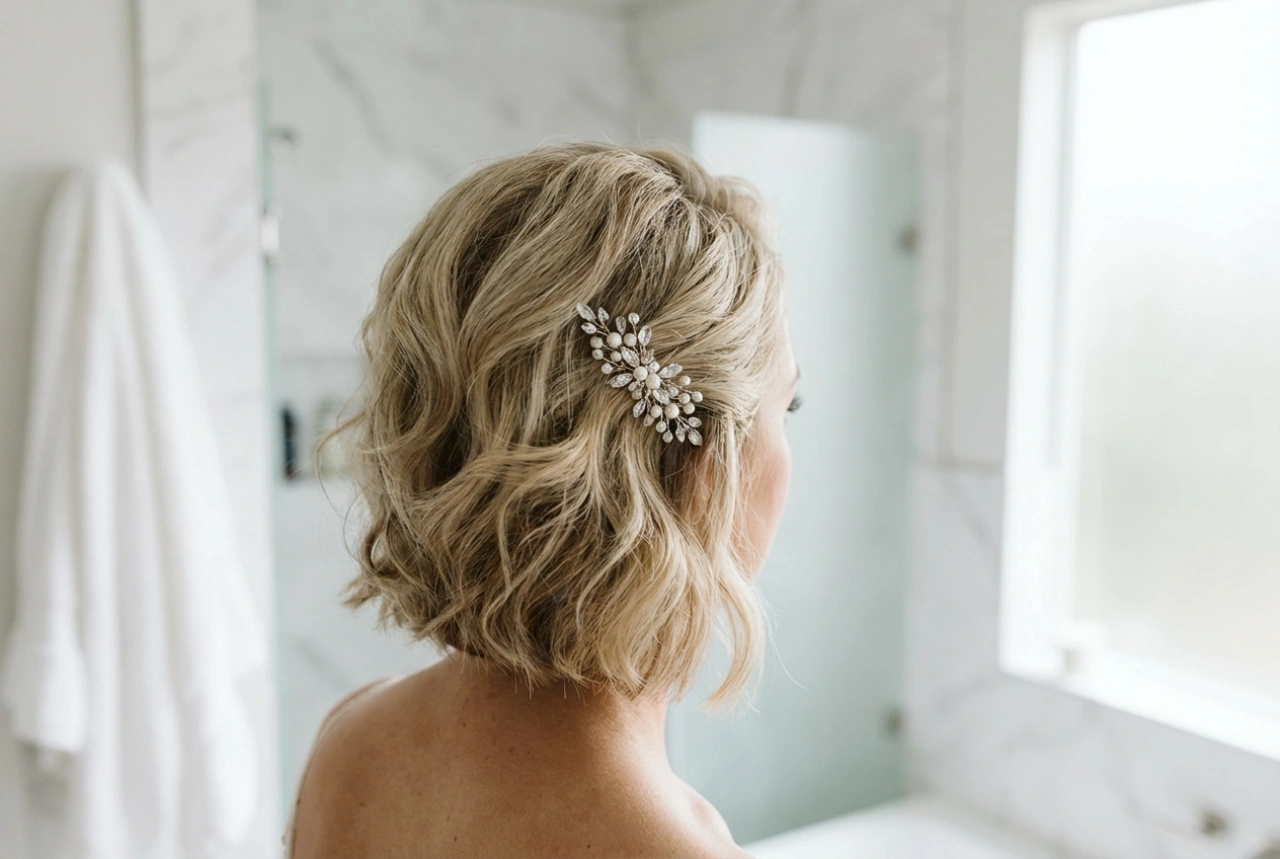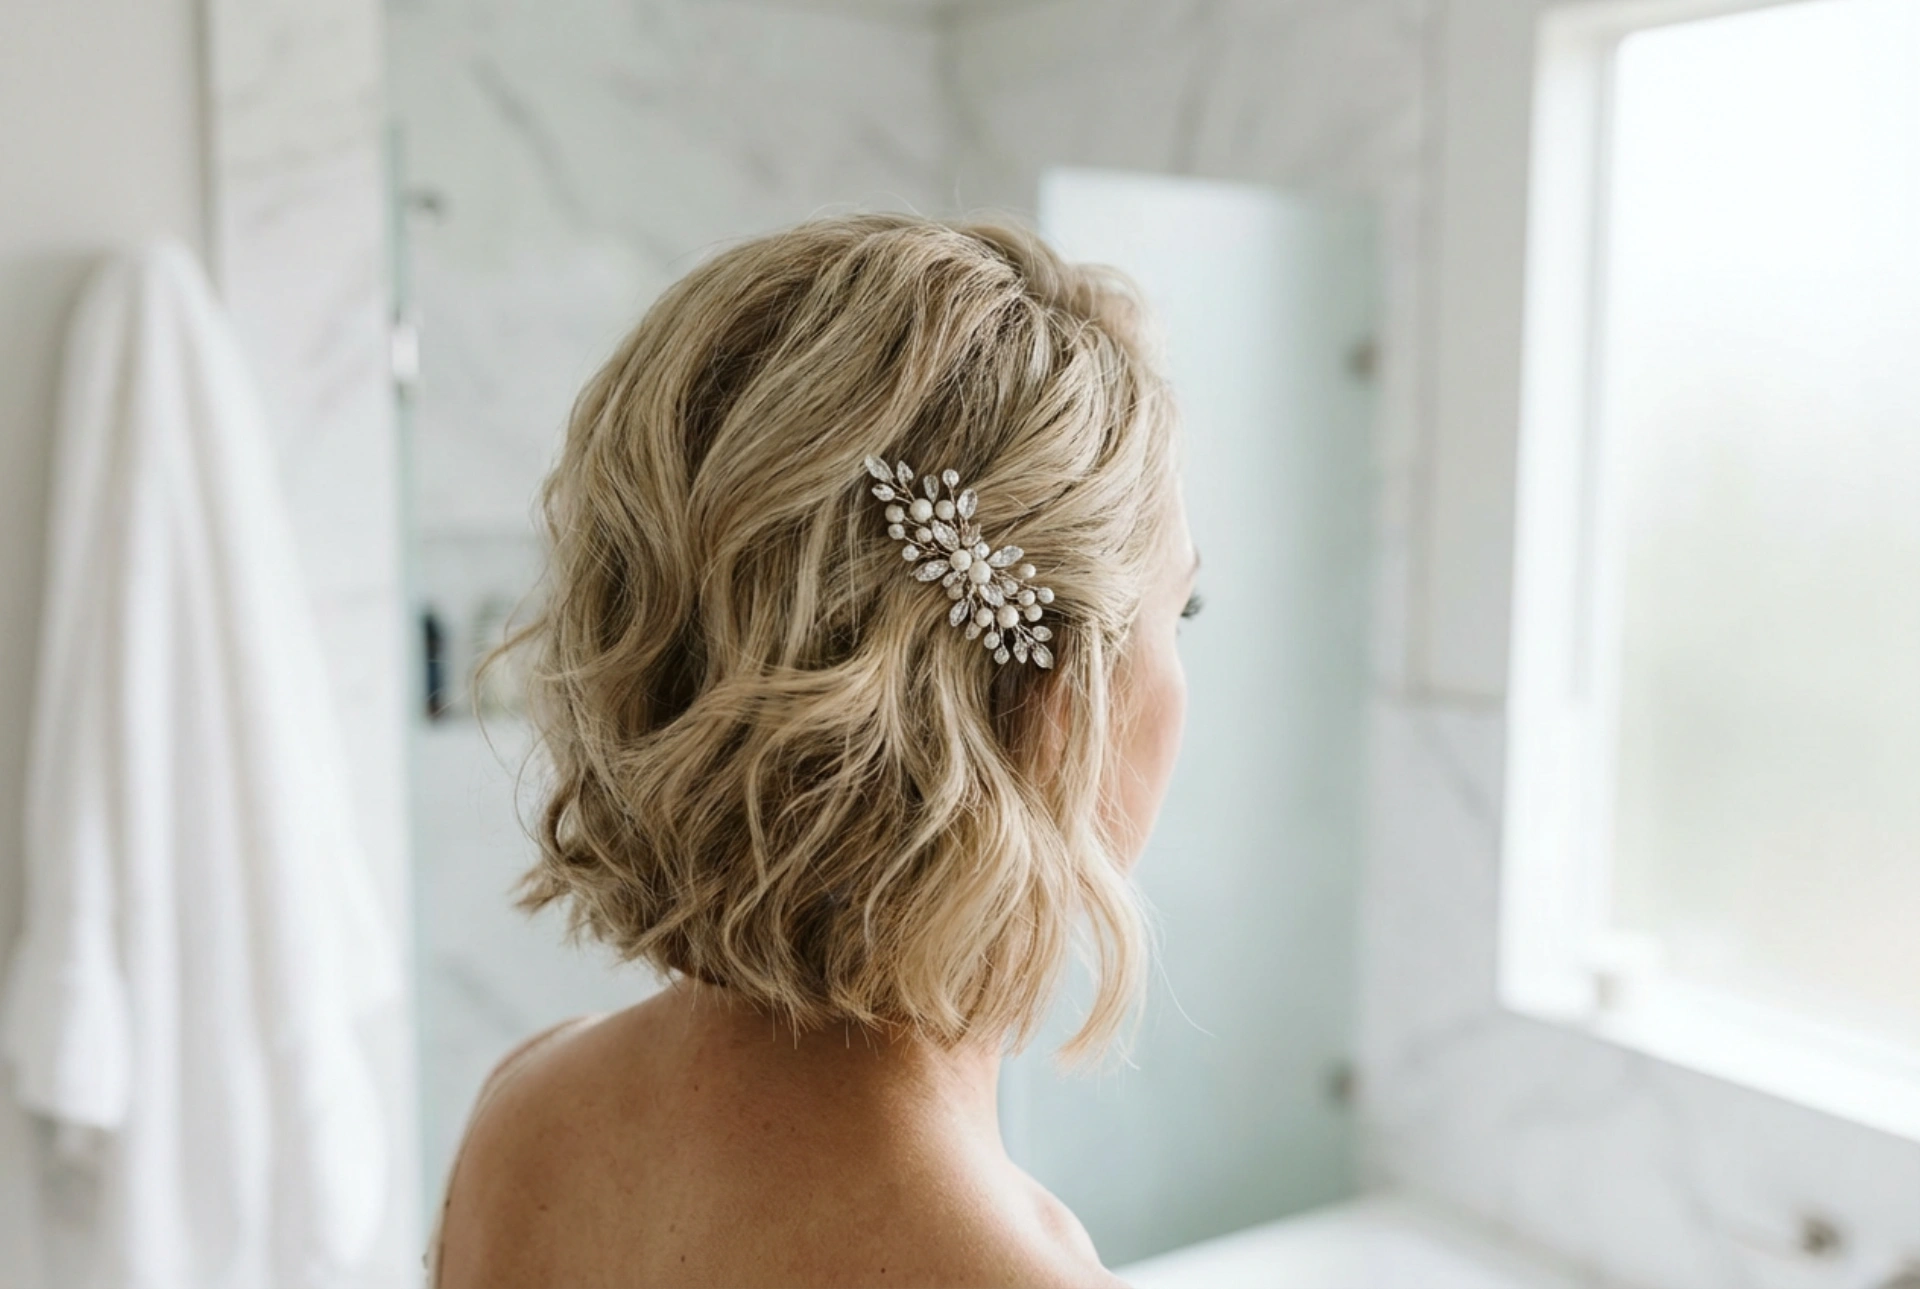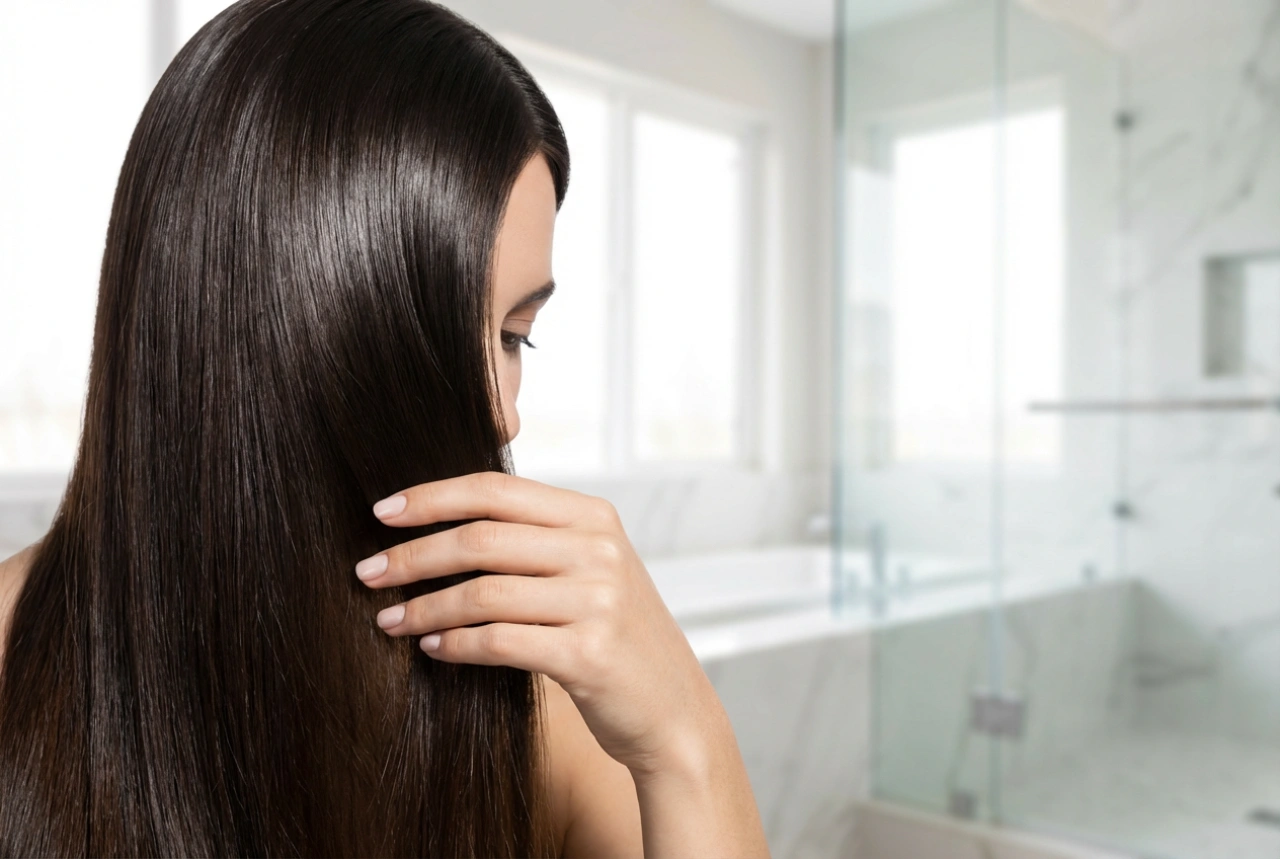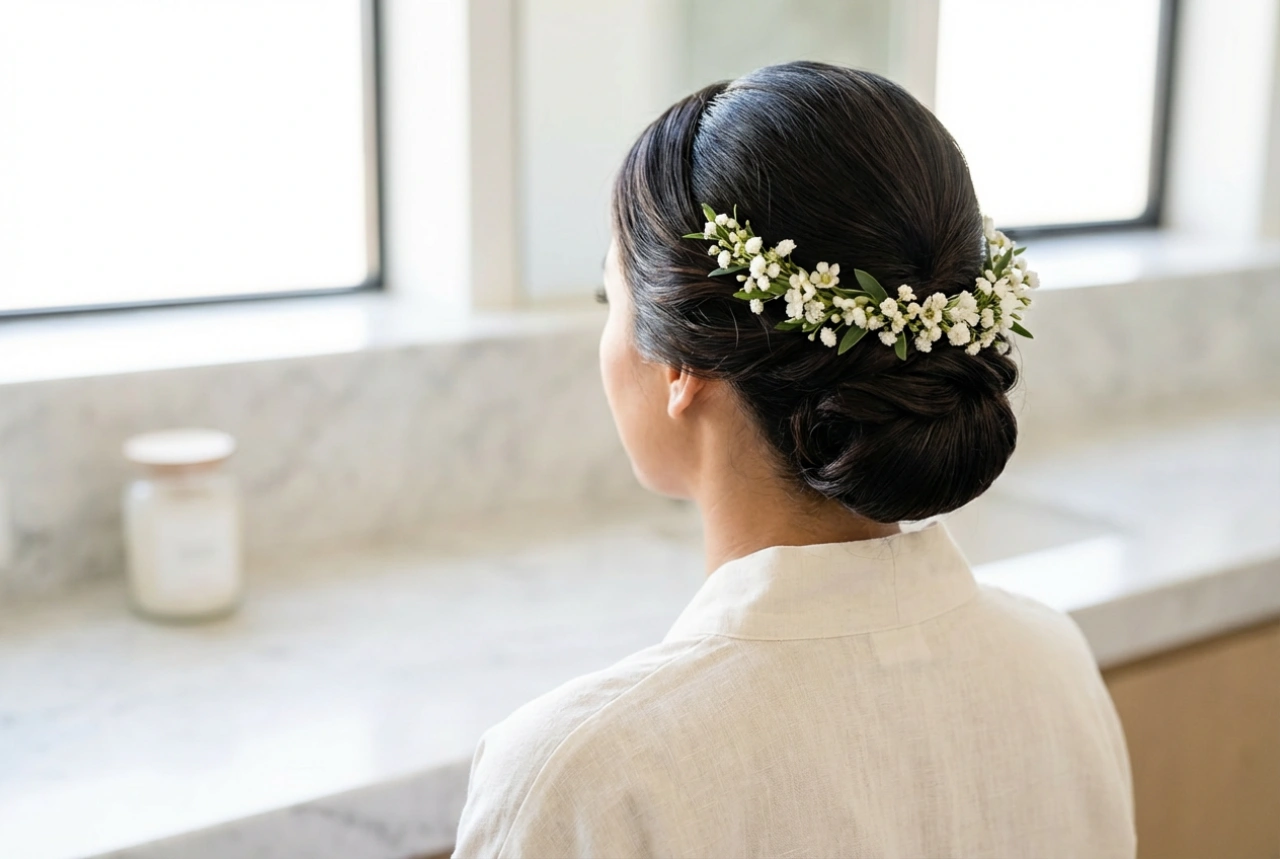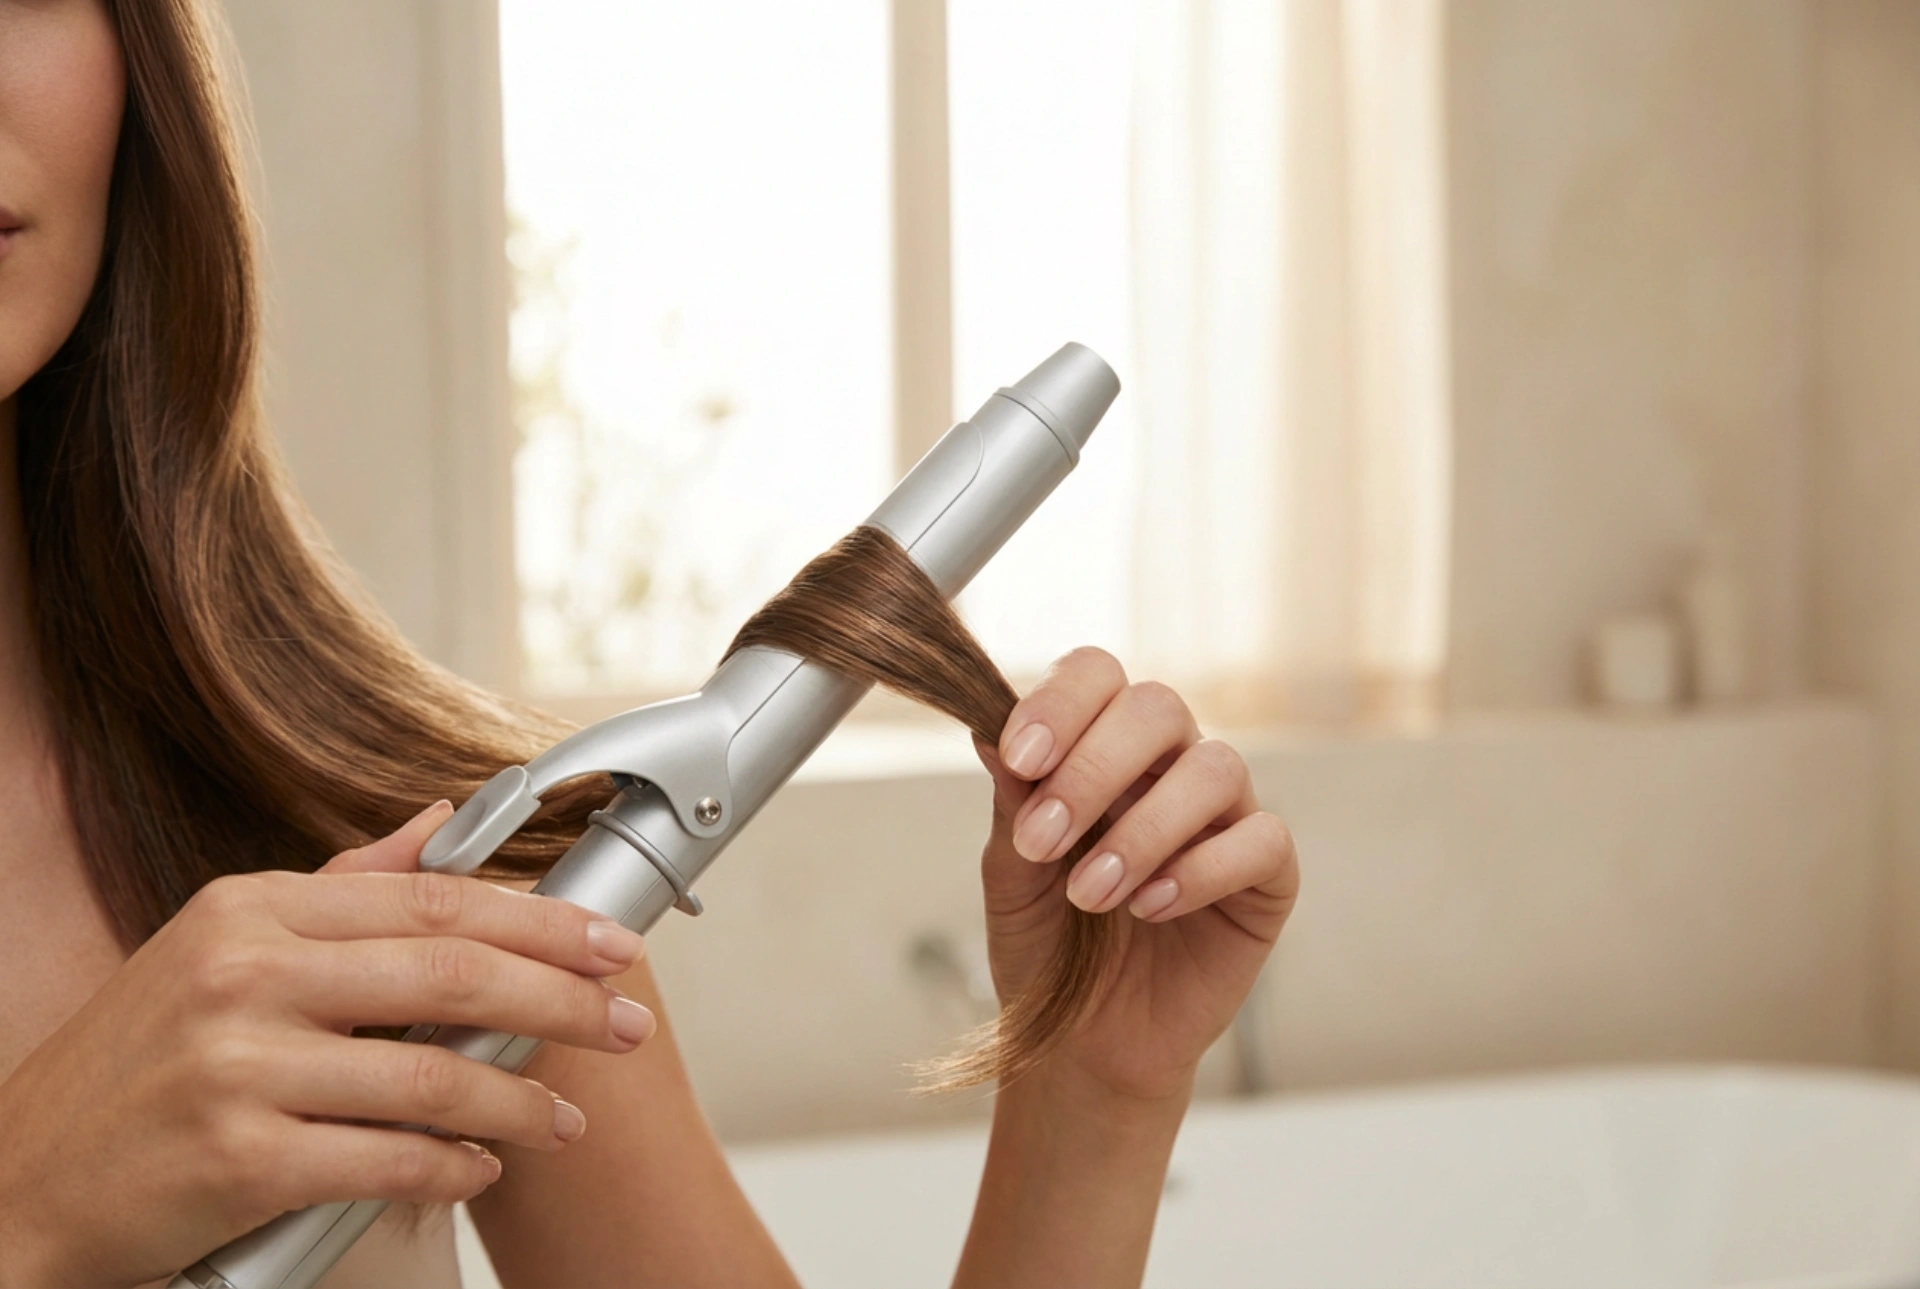


Lustrous, flowing hair with soft, natural-looking waves is a timeless look that exudes elegance and effortless beauty. While achieving this style might seem like the work of a professional salon, modern styling tools have made it incredibly simple to recreate at home. Among these, the waver curling iron stands out as a versatile and user-friendly tool. Unlike traditional curling wands that create tight, defined spirals, a waver gently crimps and bends the hair to produce smooth, cascading waves that look completely natural. This guide will walk you through the essential steps and techniques to master the art of styling soft waves, ensuring your hair remains healthy, shiny, and full of movement. <\/p>
Understanding the Waver Curling Iron<\/h2>
A waver curling iron, often featuring multiple barrels, is designed to mimic the natural pattern of gentle beach waves. By pressing the hair between these curved plates, you can achieve a uniform yet relaxed texture without the need for complex twisting motions. This tool is particularly beneficial for those with medium to long hair who desire instant volume and texture. It is a fantastic alternative to traditional curling, offering a modern, relaxed aesthetic that works beautifully for both everyday wear and special occasions.<\/p>
Why Choose a Waver?<\/h3>
One of the primary advantages of using a waver is the speed and ease of the styling process. Because the barrels cover a larger surface area of each hair section, you can style your entire head in a fraction of the time it would take with a standard curling wand. Furthermore, the design of a waver distributes heat evenly across the hair, reducing the risk of localised heat damage when used correctly. The result is a soft, touchable texture that retains its bounce throughout the day.<\/p>
Preparing Your Hair for Heat Styling<\/h2>
Achieving beautiful waves starts long before you turn on your styling tool. Proper preparation is key to ensuring that your waves hold their shape while maintaining the overall health and lustre of your hair. Applying heat to damp or poorly prepared hair can lead to dryness and frizz, so it is essential to follow a careful preparation routine.<\/p>
- Wash and dry thoroughly:<\/strong> Always begin with completely dry hair. Styling wet or damp hair with a hot tool can cause moisture to turn to steam, which can weaken the hair structure. Use a lightweight, volumising shampoo and conditioner to give your hair natural body.<\/li>
- Apply heat protection:<\/strong> This is a non-negotiable step. Mist a high-quality, lightweight heat protectant spray evenly through your locks, focusing on the mid-lengths and ends. This creates a protective barrier that minimises thermal damage.<\/li>
- Detangle gently:<\/strong> Use a wide-tooth comb or a soft-bristled brush to remove any knots. Styling tangled hair can result in uneven waves and potential breakage.<\/li><\/ul>
Step-by-Step Guide to Creating Soft Waves<\/h2>
Once your hair is prepared and completely dry, it is time to start styling. Follow these simple steps to achieve a seamless, professional-looking finish with your waver curling iron.<\/p>
Step 1: Sectioning the Hair<\/h3>
For the best results, do not attempt to style all of your hair at once. Divide your hair into manageable sections. Start by parting your hair horizontally, clipping the top sections out of the way. Work with the bottom layer first, and then gradually release the upper sections. This ensures that every strand receives equal attention and creates a more cohesive overall look.<\/p>
Step 2: Placing the Waver<\/h3>
Take a section of hair about two inches wide. Hold the waver horizontally, close to the roots (but keeping a safe distance from your scalp to avoid burns). Clamp the tool down gently on the section of hair. Hold it in place for a few seconds—typically three to five seconds is sufficient, depending on your hair thickness and the temperature of the tool.<\/p>
Step 3: Moving Down the Strand<\/h3>
Release the clamp and slide the waver down the same strand of hair. To ensure a seamless wave pattern, align the top barrel of the waver with the last bend created by the previous clamp. Repeat this clamping and releasing motion down the entire length of the hair strand, leaving the very tips slightly straight for a modern, relaxed finish.<\/p>
Step 4: Working Around the Head<\/h3>
Continue this process section by section, moving from the back of your head towards the front. For the sections framing your face, start the waves slightly lower, around eye or cheekbone level. This creates a flattering, face-framing effect that looks incredibly natural and soft.<\/p>
Finishing Touches for a Natural Look<\/h2>
Once you have finished waving all sections of your hair, resist the temptation to immediately brush or touch the waves. Allowing the hair to cool completely is vital, as this sets the style in place. Touching warm hair can cause the waves to drop and lose their definition.<\/p>
After your hair has cooled down, gently run your fingers through the waves to break up the sections. This softens the pattern, blending the waves together for a more voluminous, natural appearance. If you prefer a slightly sleeker look, you can use a wide-tooth comb to gently smooth the waves. To finish, apply a tiny drop of lightweight hair oil or serum to your palms and smooth it over the ends to add shine and tame any stray flyaways. A light mist of flexible-hold hairspray can also be used to keep the movement natural while ensuring longevity.<\/p>
Essential Tips for Maintaining Hair Health<\/h2>
While styling tools can transform your look, using them safely is crucial for maintaining the long-term vitality of your hair. Keep your waver set to a moderate temperature; fine or colour-treated hair requires less heat, while thicker hair may need a slightly higher setting. Always avoid holding the tool on one spot for too long. Additionally, incorporate a nourishing deep-conditioning treatment or hair mask into your weekly haircare routine to replenish lost moisture and keep your hair looking soft, lustrous, and healthy.<\/p>
- Apply heat protection:<\/strong> This is a non-negotiable step. Mist a high-quality, lightweight heat protectant spray evenly through your locks, focusing on the mid-lengths and ends. This creates a protective barrier that minimises thermal damage.<\/li>