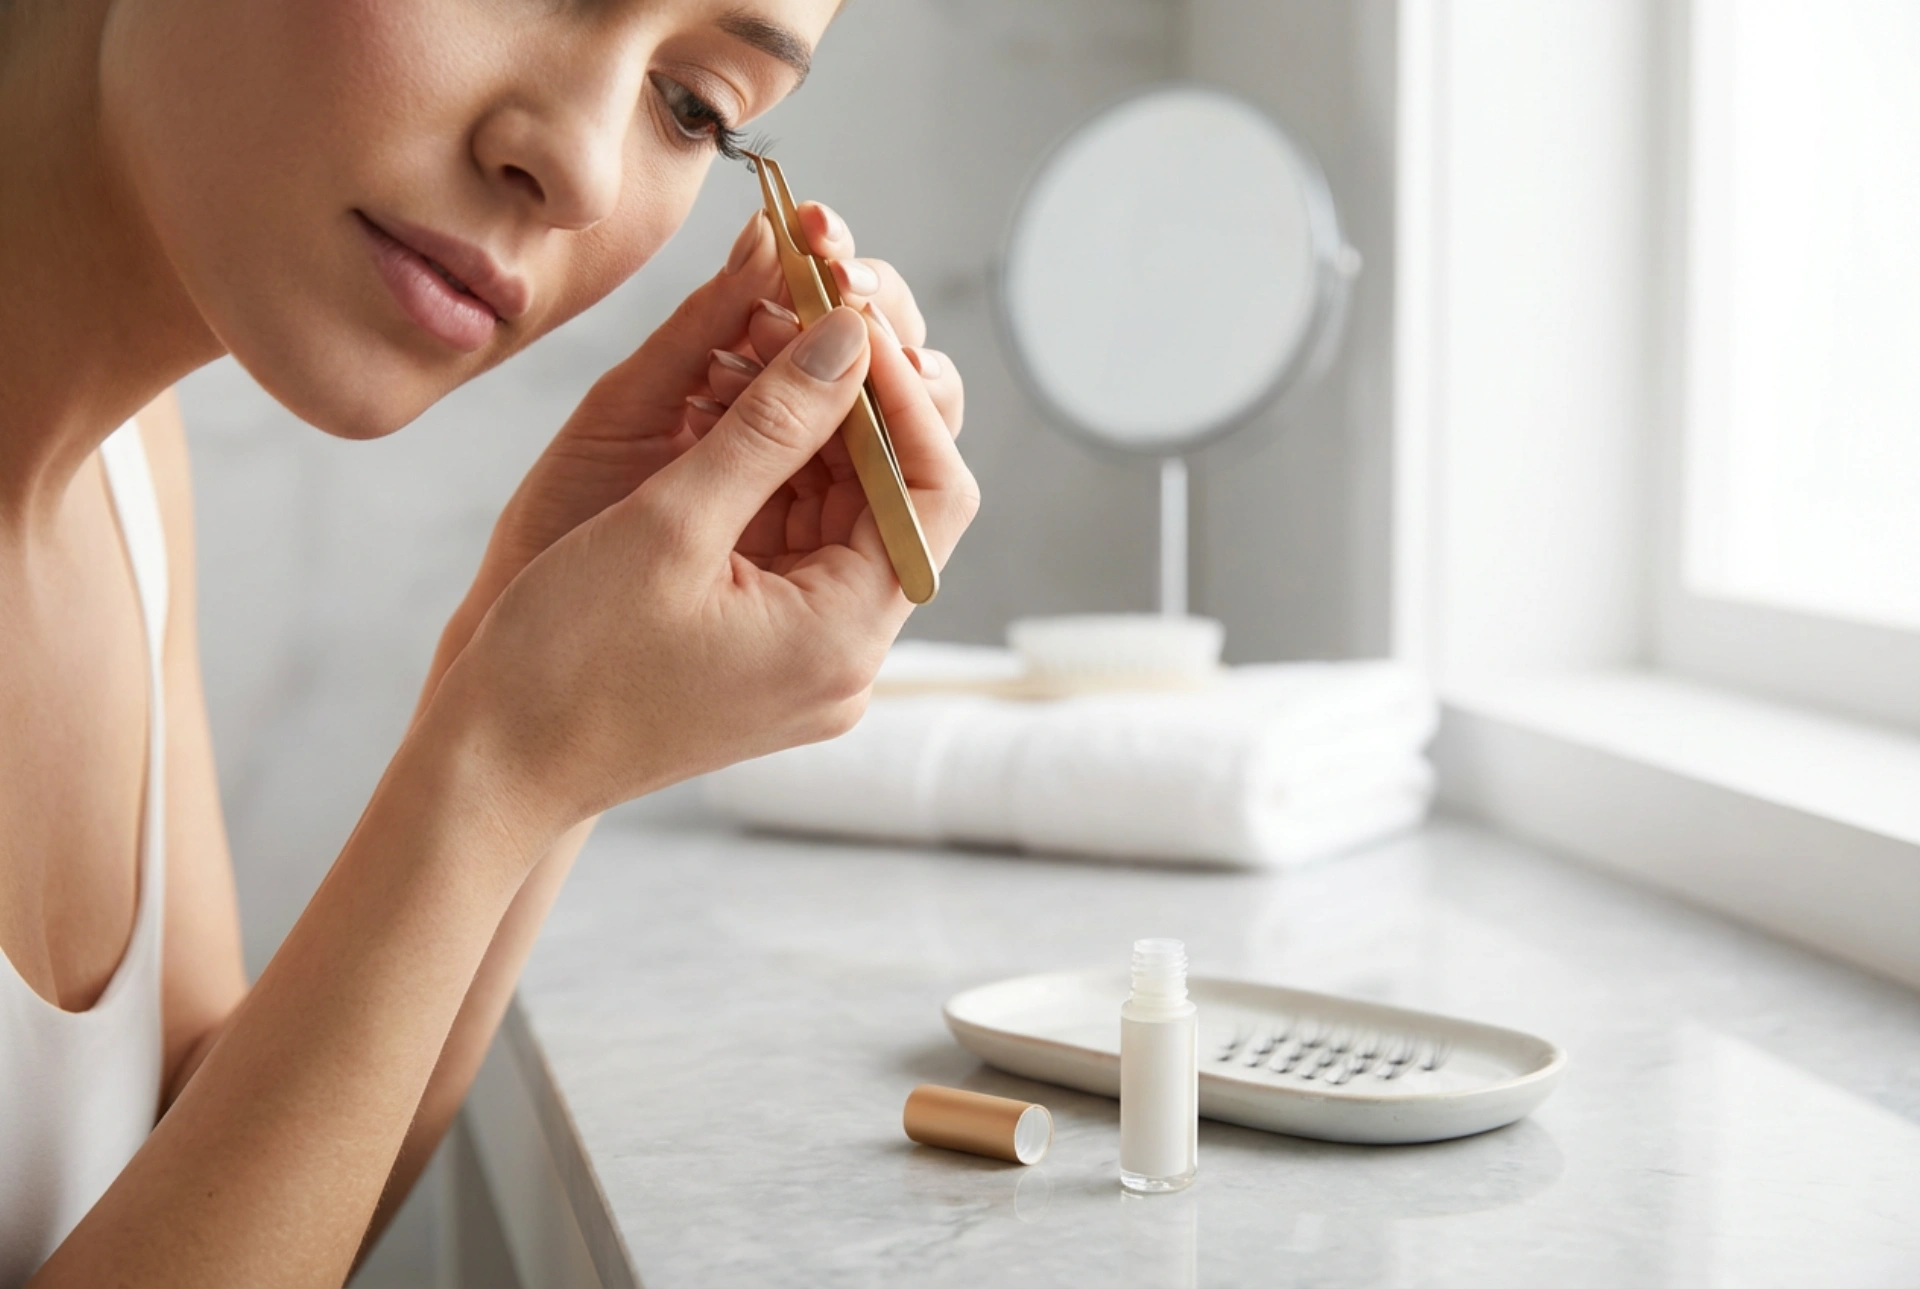


Creating a captivating yet natural eye look is a subtle art that can be effortlessly achieved at home. When we look at a beautifully illuminated vanity setup, with precise tools like tweezers and specialised adhesive ready, the focus shifts to enhancing our natural features. Individual lash clusters have become a favourite alternative to full strip lashes, offering customisation and comfort. Unlike strips, clusters allow you to build volume exactly where you need it, resulting in a seamless transition that mimics real lashes.
Selecting the Ideal Lash Clusters
Before beginning the application, it is essential to understand the different types of lash clusters available. These small segments of lashes come in various lengths, curls, and densities. Choosing the right ones is key to achieving an elegant, undetectable finish. Typically, clusters are grouped into short, medium, and long lengths, ranging from 8mm to 14mm. For a natural everyday appearance, opting for shorter lengths that closely match your own lash length is highly recommended.
The curl of the lashes is another crucial factor. Standard curls like the B-curl or C-curl offer a gentle lift that mimics the natural curvature of most human eyelashes. More dramatic curls are available, but they may require a stronger contrast with your natural lashes. Additionally, look for knot-free clusters. These have a flat, transparent base rather than a bulky black knot, allowing them to sit flush against the lash line for an almost invisible bond.
Preparing the Eye Area for Application
A flawless application starts with a clean, prepped base. Any oil, makeup residue, or moisture on the eyelids can weaken the bond of the adhesive, causing the clusters to slip or detach prematurely. Begin by thoroughly cleansing the eye area with an oil-free cleanser or a gentle micellar water. Ensure the eyelashes are completely dry before proceeding.
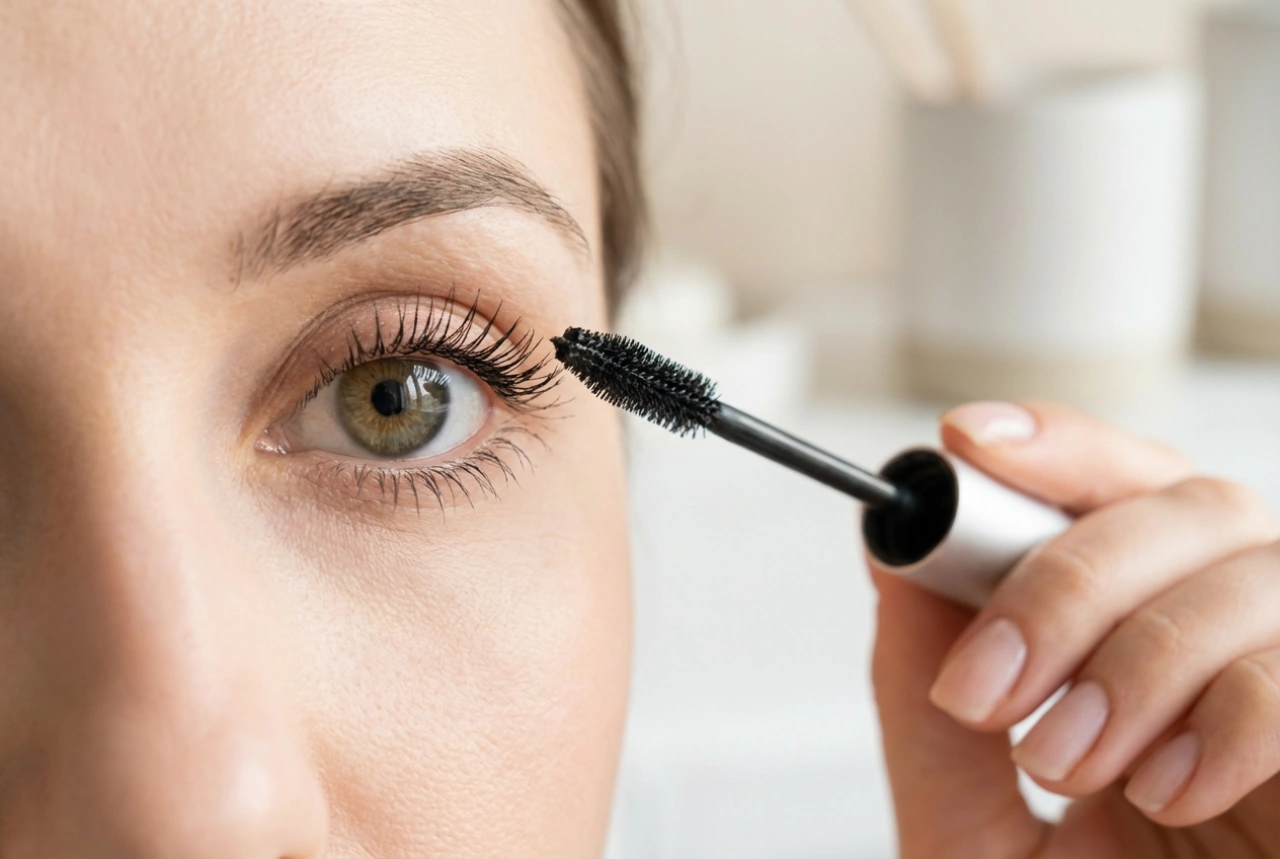
Next, curl your natural eyelashes with a clean eyelash curler. This step is vital because it creates a unified upward direction, making it much easier to blend the synthetic clusters with your natural lashes. You may choose to apply a very thin coat of mascara to hold the curl and provide a slightly grippier texture for the clusters. However, make sure the mascara is fully dry and not clumpy, as smooth application requires a precise surface.
Designing Your Lash Map
How you position the lash clusters determines the overall shape and vibe of your eyes. Planning your layout beforehand is called lash mapping, and it ensures symmetry and balance. There are several classic styles you can create depending on your eye shape and preference:
- The Natural Definition: This style follows the natural growth pattern of your eyelashes. You place shorter clusters (typically 8mm or 10mm) in the inner corners, slightly longer ones (10mm or 12mm) in the centre, and medium ones at the outer corners to maintain a soft, rounded appearance.
- The Cat-Eye Effect: To create an elongated, almond-shaped look, start with short clusters at the inner corner and gradually increase the length towards the outer edge. The longest clusters (such as 12mm or 14mm) should be placed near the outer corner to lift and stretch the eye shape.
- The Doll-Eye Look: Focus the longest clusters directly in the centre of the lash line, right above the pupil. Keep the inner and outer corners shorter. This opens up the eyes, making them appear larger, rounder, and more youthful.
Step-by-Step Application Guide
Precision is key when applying individual clusters. Working in front of a well-lit mirror, preferably a magnifying one, will help you place each cluster accurately. Follow these simple steps for a secure, beautiful application:
First, dispense a small drop of lash adhesive onto a clean, flat surface, such as a piece of foil or a glass palette. Let the adhesive sit for about thirty to sixty seconds; this allows it to become slightly tacky, which prevents the cluster from sliding around upon contact with the lash line.
Next, use a pair of fine-point tweezers to gently grasp a lash cluster from its tray. Always pick it up from the middle or near the tips of the synthetic hairs, avoiding the delicate base. Gently dip the flat base of the cluster into the adhesive, ensuring only a tiny amount is coated. Excess glue will clump and ruin the seamless look.
With your non-dominant hand, gently lift your eyelid to expose the root of your natural lashes. Place the cluster directly onto your natural lashes, about one millimetre away from the actual eyelid skin. Never apply the adhesive or the cluster directly to the skin, as this can cause discomfort and block natural lash growth. Hold the cluster in place for a few seconds until the adhesive grips, then gently release the tweezers.
Blending and Long-Lasting Aftercare
Once all clusters are securely in place, the final step is to blend them perfectly with your natural lashes. Allow the adhesive to cure fully for a few minutes. Then, using a clean, dry spoolie brush, gently brush through the lashes from the root to the tips. This action merges the synthetic fibres with your natural eyelashes, softening any harsh lines and separating any stray hairs.
To maintain your lash clusters for a few days, avoid using oil-based makeup removers or heavy creams around the eyes, as oil easily breaks down the lash adhesive. When washing your face, gently splash water around the eyes and pat dry with a lint-free towel. With proper care and gentle handling, individual lash clusters can provide a stunning, comfortable, and natural-looking enhancement to your daily beauty routine.