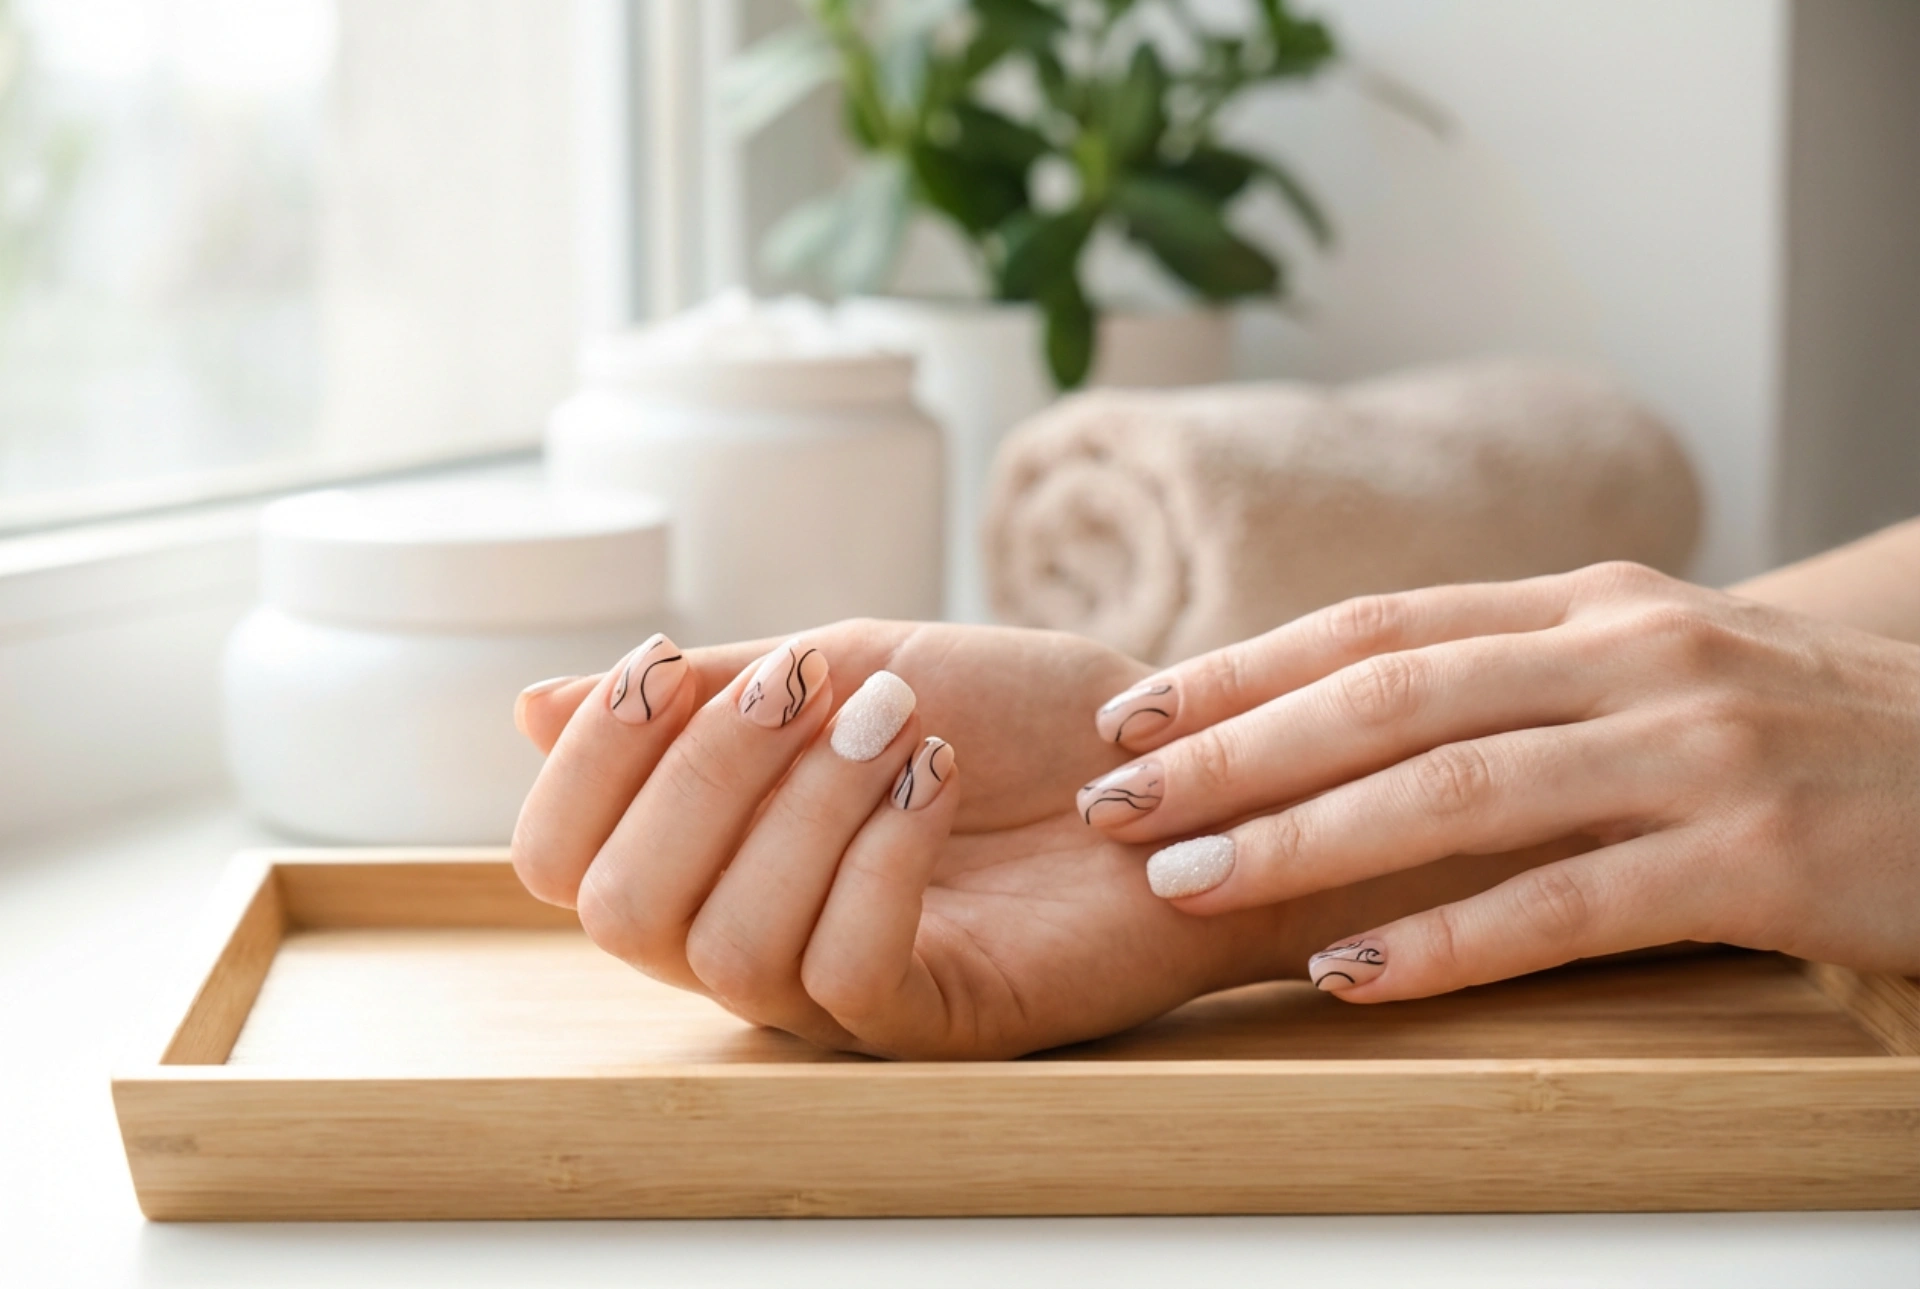


Beautifully manicured hands with intricate nail art are a testament to personal style and creativity. Modern manicure styling offers endless possibilities, allowing for the creation of delicate designs that catch the eye and highlight the natural elegance of the hands. Among the most popular trends are precise line art and the shimmering, textured "sugar effect" on accent nails. Achieving these sophisticated finishes requires the right products and techniques. Nail art gels have revolutionised home styling, offering the perfect consistency and pigmentation to create professional-looking designs. To master these methods and ensure your manicure remains flawless without any cracking, it is essential to understand the properties of the gel and the correct application steps.
The Power of Nail Art Gel in Styling
Unlike standard gel polishes, nail art gels are specifically formulated for detailed creative work. They feature a significantly thicker, more stable consistency that does not self-level or run into the cuticles, allowing the stylist to work at their own pace. This makes them ideal for intricate designs, geometric patterns, and raised textures. High pigmentation is another hallmark of these gels, ensuring full opacity even with the thinnest strokes. This is particularly important when working on complex designs where multiple layers could add unnecessary bulk to the nail plate.
Mastering Line Art Techniques
Line art is a sophisticated technique that relies on ultra-thin, precise lines to create minimalist designs, abstract silhouettes, or delicate floral patterns. Achieving a clean, elegant look requires a combination of patience, the correct tool, and proper gel control. To create perfect lines, follow these essential steps:
- Choosing the Right Brush: A liner brush with long, thin synthetic bristles (typically between 7mm and 11mm) is indispensable. The length of the bristles helps stabilise the hand, allowing for long, continuous strokes.
- Gel Loading: Less is more when it comes to line art. Roll the brush gently in the gel to coat the bristles evenly, ensuring there are no large beads or droplets at the tip.
- Applying Tension and Pressure: Hold the brush lightly and let the tips of the bristles glide over the nail surface. Apply minimal pressure for fine lines and slightly more pressure if you wish to thicken the line gradually.
- Flash Curing: To prevent lines from merging or smudging while you work on other parts of the design, secure them with a quick 5-second cure under the lamp before finalising the pattern.
Creating the Shimmering Sugar Effect
The "sugar effect" adds a delightful tactile dimension to any manicure, creating a sparkling, frosted texture that contrasts beautifully with smooth, glossy, or matte finishes. This technique relies on applying a fine, glittering powder over an uncured layer of gel, which is then fully cured to lock the texture in place. Here is how to achieve this stunning finish at home:
Step-by-Step Sugar Effect Application
First, prepare the base colour and apply a matte or glossy top coat to the rest of the nail, curing it completely. Using your nail art gel, paint the desired pattern on the accent nail. While the gel is still wet and uncured, generously sprinkle a fine, translucent glitter or acrylic powder over the entire design. Ensure the pattern is fully covered. Gently tap off the excess powder from the finger, and then cure the nail under the lamp for the recommended time. Once cured, use a soft, clean brush to sweep away any remaining loose powder. The result is a durable, raised pattern with a captivating, sugary texture.
How to Prevent Cracking and Peeling
One of the most common challenges when working with highly pigmented nail art gels and textured effects is ensuring the final design does not crack, chip, or peel over time. Because these gels are densely pigmented, they require careful handling to cure fully throughout all layers. To keep your manicure looking pristine, keep these guidelines in mind:
- Apply Thin Layers: Thick layers of pigmented gel may cure on the surface while remaining wet underneath, leading to wrinkling, lifting, or cracking. Always paint in thin, controlled strokes.
- Optimise Curing Times: Ensure your lamp is clean and has sufficient power. Heavily pigmented gels often require a full 60 seconds under a quality LED lamp to guarantee complete polymerisation.
- Protect Your Artwork: For designs like line art that are meant to be smooth, always seal them with a high-quality, flexible top coat. Pay close attention to securing the free edge of the nail to prevent lifting.
- Avoid Heavy Buffing: When preparing the nail plate, avoid over-buffing, which can thin the natural nail and cause excess flexibility, leading to cracks in the harder gel layers.




