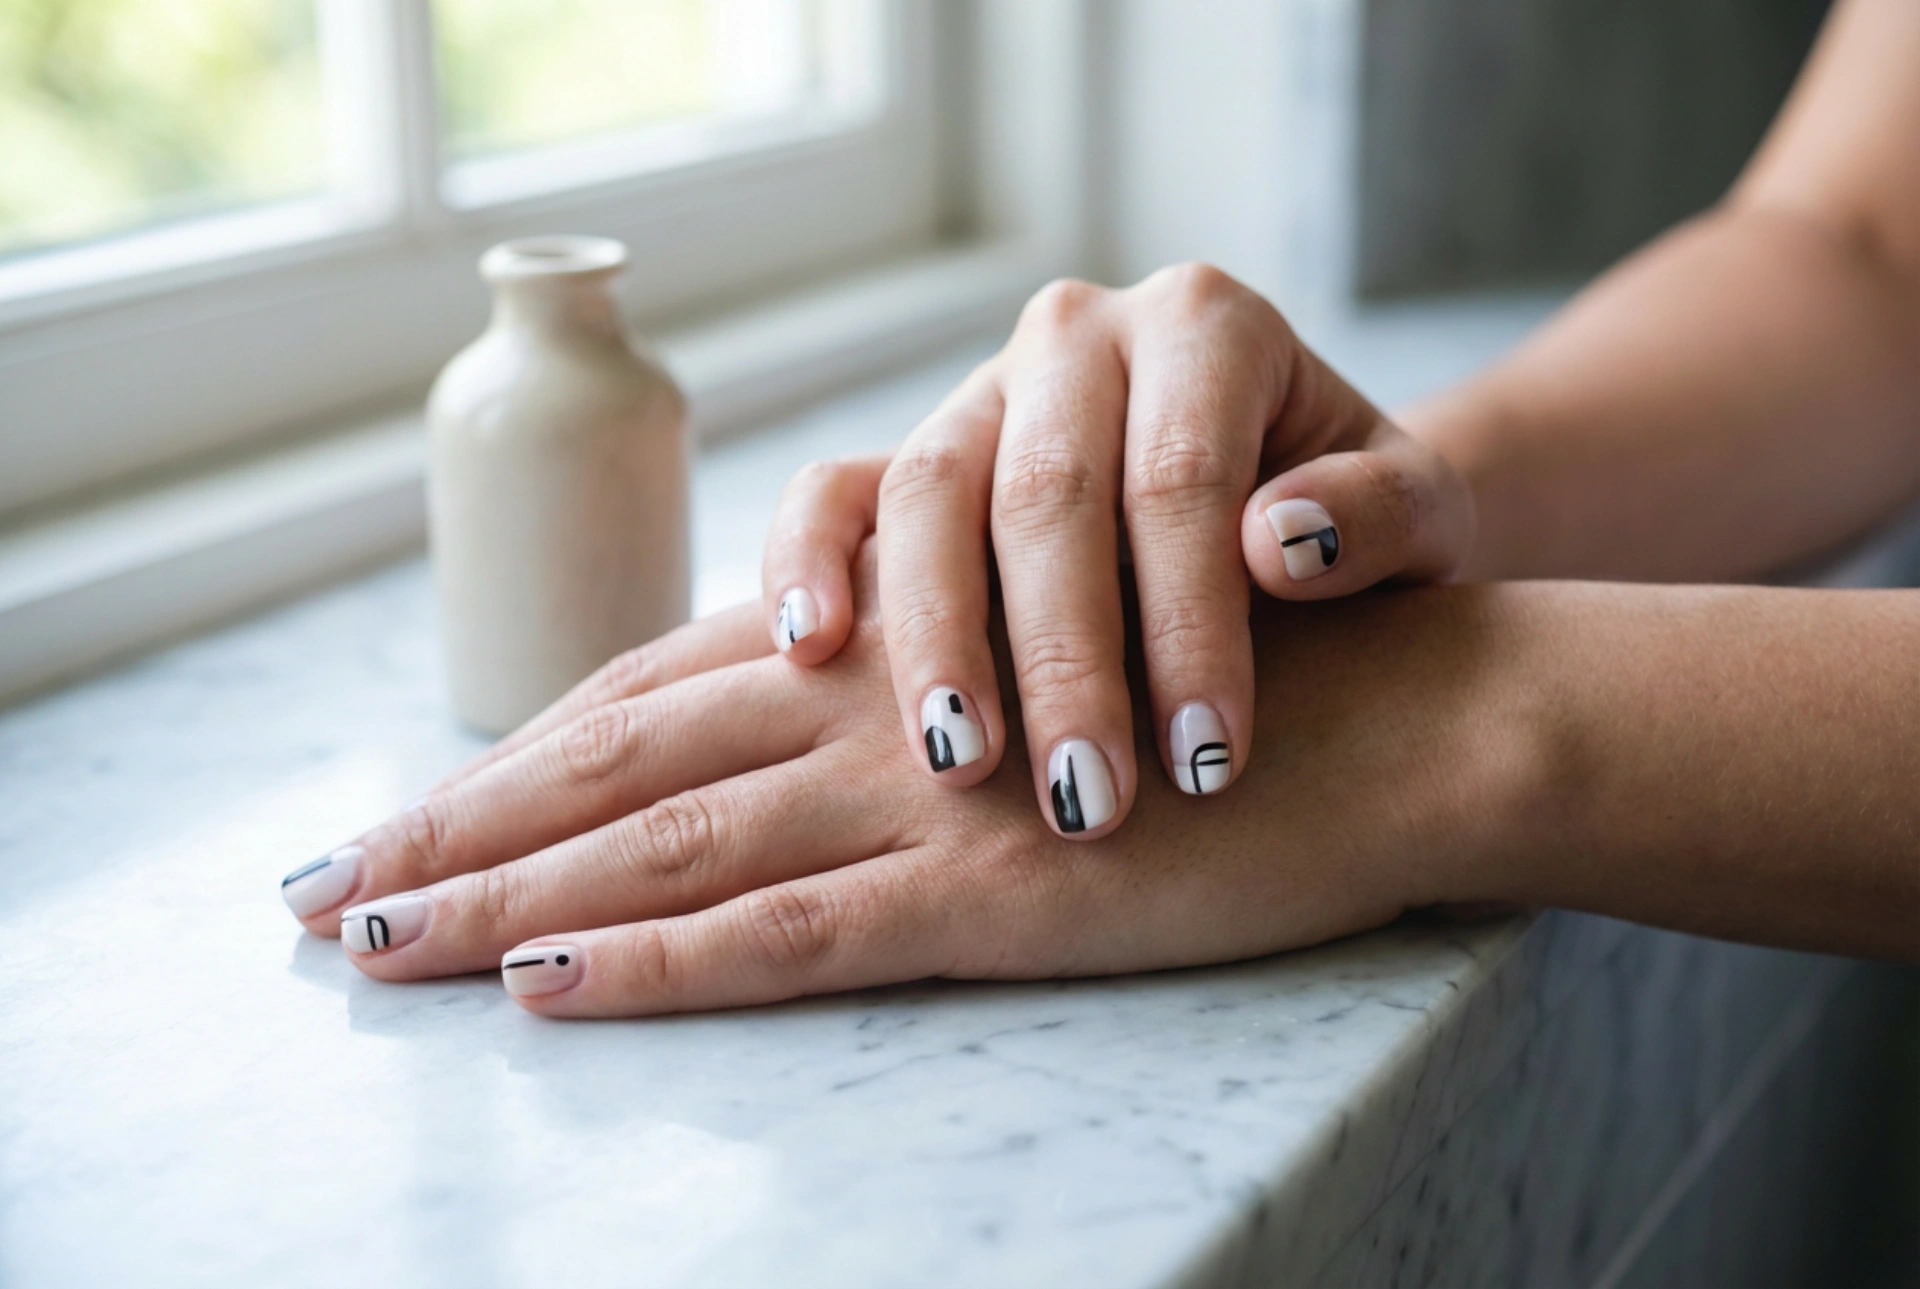


Elegant hands adorned with a sophisticated black and white manicure embody a timeless sense of chic. This classic colour combination offers a striking contrast that is both bold and minimalist, making it a perfect choice for any occasion. Whether you prefer clean, precise lines or intricate geometric patterns, monochrome nail art allows for endless creativity while maintaining an air of modern elegance. Achieving this refined look requires a blend of the right techniques, patience, and a focus on precision to ensure the final design looks polished and professional.
The Appeal of Monochrome Nail Styling
The combination of black and white is a staple in fashion and design, and its transition to nail art is no exception. This high-contrast pairing creates a visual impact that is difficult to achieve with other colours. One of the greatest advantages of monochrome styling is its versatility. It complements almost any outfit, transitioning effortlessly from casual daywear to formal evening attire. Furthermore, black and white designs can be adapted to suit any nail length and shape, from short, square nails to long, elegant almond shapes.
By focusing on a limited colour palette, the emphasis naturally shifts to the structure, symmetry, and detail of the design. This makes it an ideal medium for exploring negative space, minimalist dots, and sharp, structural lines that draw attention to the natural beauty of well-manicured hands.
Mastering Precise Lines and Sharp Contrasts
The secret to a stunning black and white manicure lies in the neatness of the execution. Because the contrast between these two shades is so stark, any imperfections or shaky lines will be easily visible. To achieve professional-looking results at home, several tools and techniques can be employed:
- Striping Brushes: A long, ultra-thin striping brush is essential for drawing long, continuous straight lines. When using this tool, it is helpful to drag the brush rather than draw with the tip, allowing the bristles to guide the line naturally.
- Guide Tape: For perfectly straight geometric sections, nail striping tape or standard low-tack tape can be used as a stencil. Ensure the base layer of polish is completely dry before applying tape to prevent lifting.
- Detailing Brushes: Short, fine-tipped brushes are ideal for filling in small geometric shapes or correcting minor imperfections near the cuticles.
When working with highly pigmented black and white polishes, clean-up is crucial. Keeping a small brush dipped in polish remover nearby helps to instantly correct any small slips, keeping the borders sharp and crisp.
Creative Design Ideas to Try
Monochrome nail art offers a vast canvas for creative expression. Here are several popular design concepts that balance modern style with timeless sophistication:
Geometric Minimalism
Geometric patterns remain a popular choice for those who appreciate clean, structured aesthetics. This can include simple vertical or horizontal dividing lines, half-and-half designs, or delicate triangles at the base of the nail. Utilizing negative space—leaving parts of the natural nail visible under a clear base—adds a contemporary touch to these geometric layouts.
The Modern French Manicure
A playful twist on the traditional French manicure involves replacing the classic pink and white with a black base and a crisp white tip, or vice versa. For a more subtle look, a micro-French design features an ultra-thin black or white line along the very edge of the nail, providing an elegant frame without overwhelming the hand.
Abstract Curves and Waves
For those who prefer organic shapes over rigid lines, abstract swirls and wave patterns offer a softer approach to the monochrome theme. Fine, flowing lines that wind across the nail plate create a sense of movement and can make the nails appear longer and more elegant.
Protecting Your Monochrome Masterpiece
To ensure your intricate design remains flawless and chip-free, the application process must be handled with care. Always start with a high-quality base coat to protect the natural nail from staining, which is particularly common when using deep black polishes. Apply the colour layers in thin, even coats to prevent bubbling and ensure a faster drying time.
Once the design is complete, sealing it with a premium top coat is essential. When applying top coat over hand-painted lines, use a generous amount of product and float the brush gently over the surface without pressing down, which prevents the black polish from bleeding into the white sections. A glossy finish will enhance the contrast, while a matte top coat can offer a modern, velvety texture that highlights the precision of the lines.




