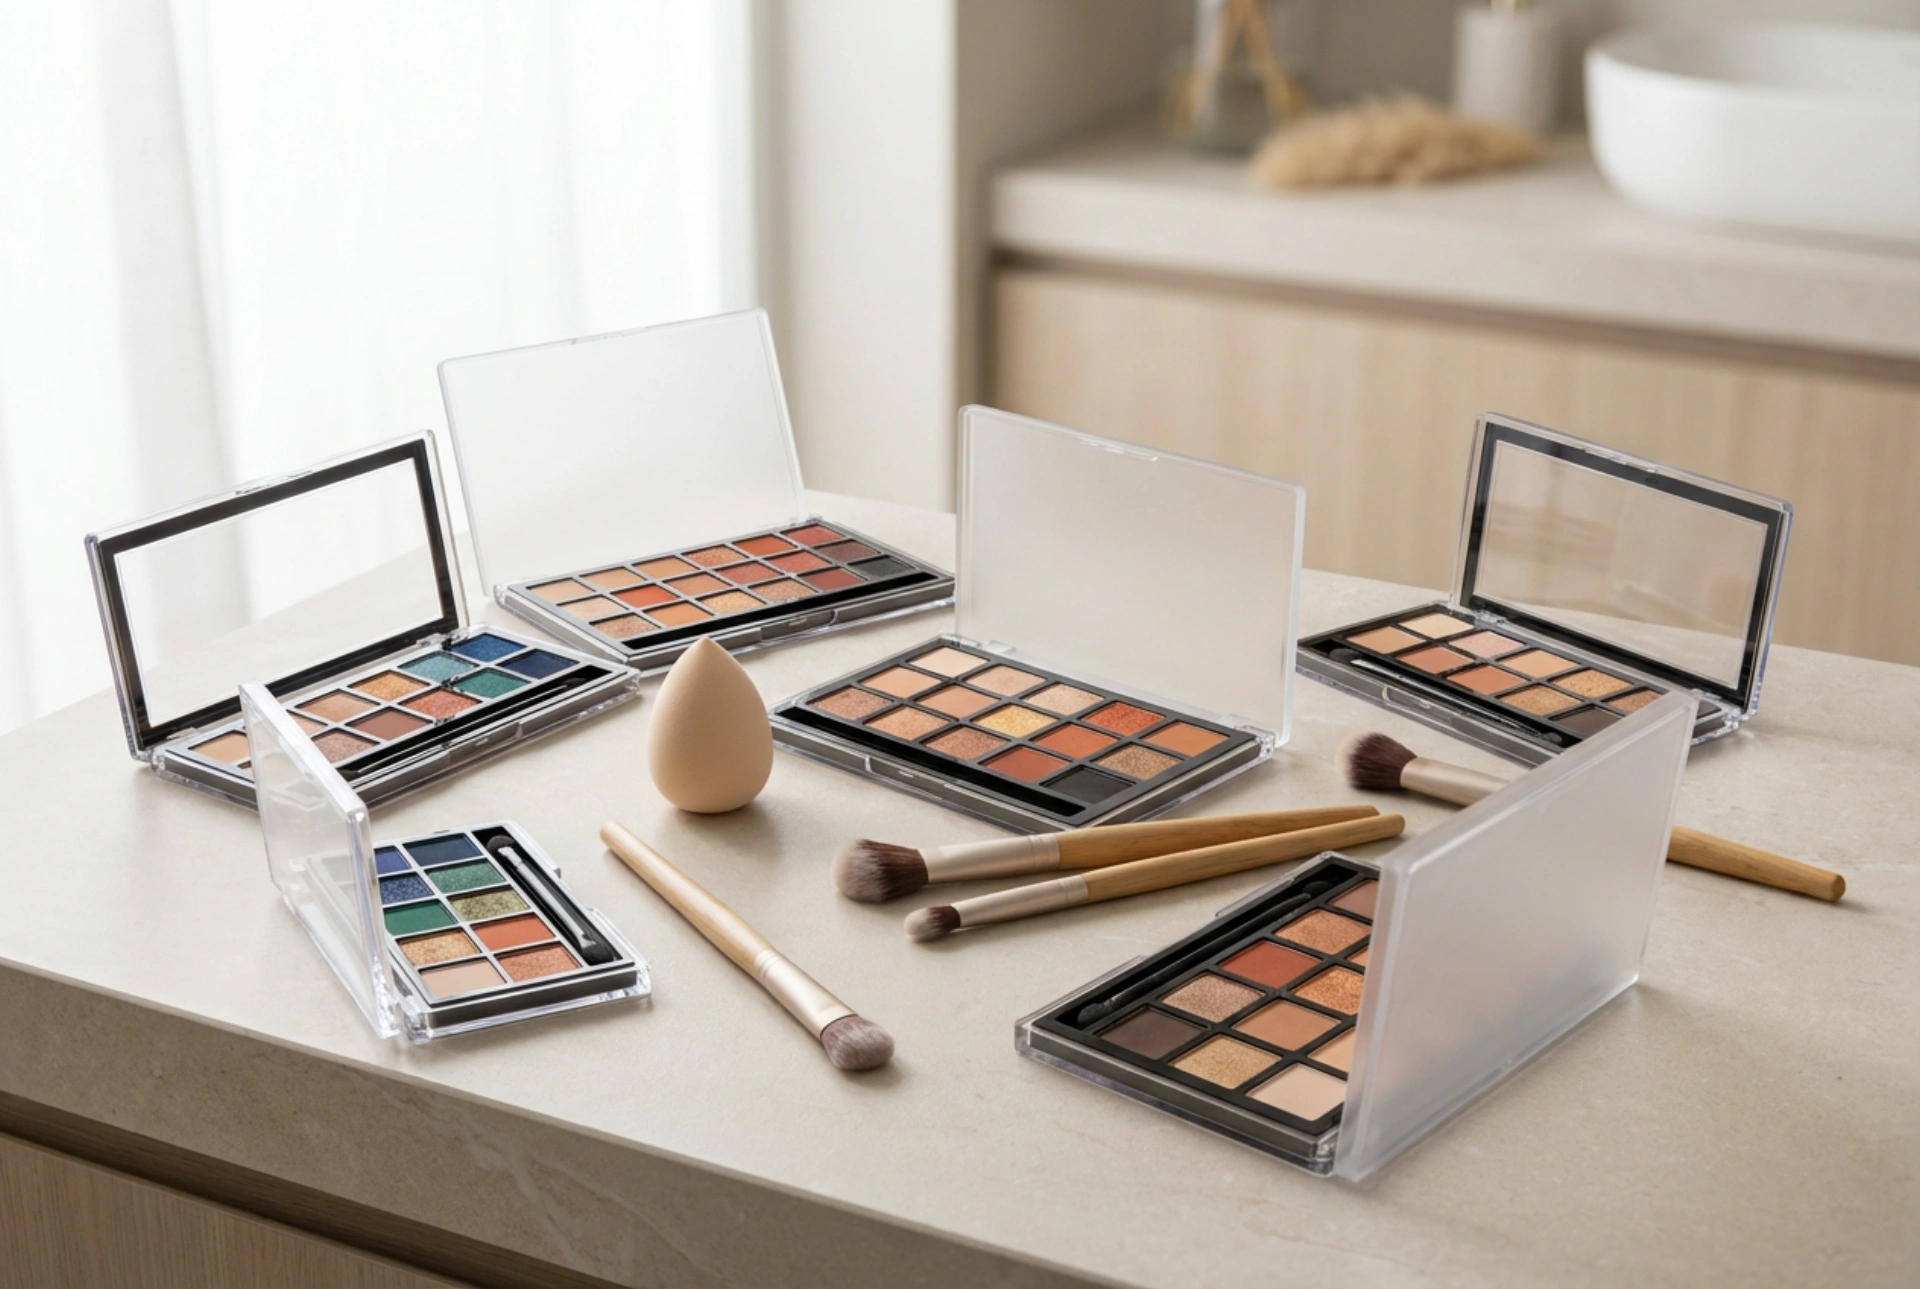


Beautifully arranged eyeshadow palettes filled with rich, pigmented powders offer endless creative possibilities. Observing these vibrant spectrums laid out alongside clean brushes and blending sponges inspires many beauty enthusiasts to experiment with colour. However, transitioning from admiring a beautiful palette to creating a cohesive, professional-looking eye makeup application requires an understanding of how different tones work together. Designing the perfect eyeshadow combination involves selecting complementary colours, balancing textures, and applying them using structured layouts to enhance the natural shape of the eyes. By mastering a few fundamental principles of balance, colour theory, and brush technique, you can elevate your makeup skills and make the most of every shade in your collection.
The Art of Selecting and Balancing Eyeshadow Shades
When looking at a colourful eyeshadow palette, it is easy to feel overwhelmed by the sheer variety of options. To build a balanced look, it is helpful to categorise your shades into four functional groups: highlights, transition shades, defining colours, and accent tones. Highlight shades are typically light, reflective, or soft matte tones used to brighten the inner corners of the eyes and the brow bone. Transition shades are neutral, medium-toned mattes that mimic natural shadows, bridging the gap between your skin tone and deeper pigments. Defining colours are the deep, rich tones used to add depth, structure, and contrast to the outer corner and lash line. Finally, accent tones are the vibrant pops of colour or intense shimmers that serve as the focal point of your design.
Achieving harmony between these categories depends heavily on the textures you choose. A versatile makeup look benefits from a thoughtful mix of matte and shimmer finishes. Matte shades are essential for creating structure, carving out the crease, and blending transitions smoothly, as they do not reflect light. Shimmers, metallics, and glitters, on the other hand, attract light and are perfect for adding dimension to the flat areas of the eyelid. For a balanced, sophisticated result, a general rule of thumb is to keep a ratio of approximately sixty percent matte shades to forty percent shimmer finishes. This ensures your look has enough structural depth to support the reflective, eye-catching textures.
The Golden Proportions for Eye Makeup
The secret to a seamless blend lies in the proportions of light, medium, and dark tones applied to the eyelid. A common mistake is using too much dark shadow too quickly, which can make the blend look muddy, patchy, or overly heavy. To avoid this, consider using the fifty-thirty-twenty rule for colour distribution. Under this guideline, fifty percent of your look should consist of medium transition shades. These soft, neutral tones occupy the largest surface area, sweeping through the crease and slightly above it to create a soft halo of colour that blends imperceptibly into the skin.
Thirty percent of the look is dedicated to your light lid colours, highlights, or main accent shades. These are applied to the moving lid or the inner third of the eye to open up the gaze and introduce brightness. The remaining twenty percent of your application should be reserved for the deepest defining shades. Because dark pigments are highly concentrated, using them sparingly on the outer corner or along the lash line is enough to create striking contrast without overpowering the softer tones. By respecting these proportions, you ensure that each colour has its own distinct space while still contributing to a cohesive, beautifully diffused gradient.
Three Proven Eyeshadow Layouts for Every Occasion
Once you understand the proportions of your shades, you can arrange them into structured layouts to achieve different visual effects. Here are three classic, reliable layouts that suit various eye shapes and occasions:
1. The Classic Horizontal Gradient
The horizontal gradient, often referred to as the classic day-to-night layout, is designed to elongate and lift the eyes. To achieve this look, divide your eyelid horizontally into three virtual sections: light, medium, and dark. Begin by applying your lightest shade to the inner third of the eyelid, close to the tear duct. In the middle section, apply a medium-toned satin or matte shade, blending it gently into the light colour. Finally, apply your deepest defining shade to the outer third, sweeping it slightly upwards and outwards into a soft V-shape. This layout creates a smooth transition from light to dark, making the eyes appear wider and beautifully almond-shaped.
2. The Sophisticated Halo Eye
The halo eye layout, also known as the spotlight technique, is perfect for adding roundness, dimension, and a touch of drama to the eyes. Instead of working from light to dark horizontally, this technique places depth on both the inner and outer corners of the lid, leaving the very centre bright and reflective. To create a halo eye, apply a medium transition shade throughout the crease. Next, apply your deep defining shade to both the inner third and the outer third of the lid, leaving the middle blank. Carefully connect the two dark sections above the crease to create a frame. Finally, pat a bright shimmer, metallic, or contrasting light colour directly onto the centre of the lid. The contrast between the dark borders and the luminous centre creates a stunning, three-dimensional spotlight effect.
3. The Soft Cut Crease and Outer V Definition
For those who love structure and definition, the soft cut crease combined with an outer V layout offers a modern, sculpted appearance. This technique focuses on defining the natural socket line to give the eyes more depth. Start by sweeping a transition shade along your crease, using back-and-forth window-wiper motions. Next, use a slightly deeper matte shade and a smaller, more precise brush to trace the actual fold of the eyelid, blending upwards but keeping the lid itself clean. To finish, use a dark defining shade to sketch a small V-shape on the outer corner of the eye, connecting the lash line to the crease. This layout creates a beautifully structured, lifted effect that enhances natural symmetry and adds instant sophistication.
Essential Tools and Blending Habits
Executing these layouts successfully depends largely on the tools you use and your blending technique. Having a few high-quality, generic brushes on hand can make a significant difference. A fluffy, tapered blending brush is indispensable for applying transition shades and softening harsh lines in the crease. For packing colour onto the lid, a flat shader brush is the best choice, as its dense bristles press the pigment firmly onto the skin to minimise fallout. A small, detailed pencil brush is ideal for precise work, such as defining the outer V or smudging shadow along the lower lash line.
When blending, always start with a clean brush or one that has only a minimal amount of product. It is much easier to build up intensity slowly than it is to diffuse an excess of dark pigment. Use light, circular motions to blend the edges of your shadows, and remember to clean your brushes regularly to prevent old pigments from mixing and muddying your current colour palette. With patience, practice, and the right structural approach, you can master any colour combination and create stunning, professional-quality eye makeup looks at home.