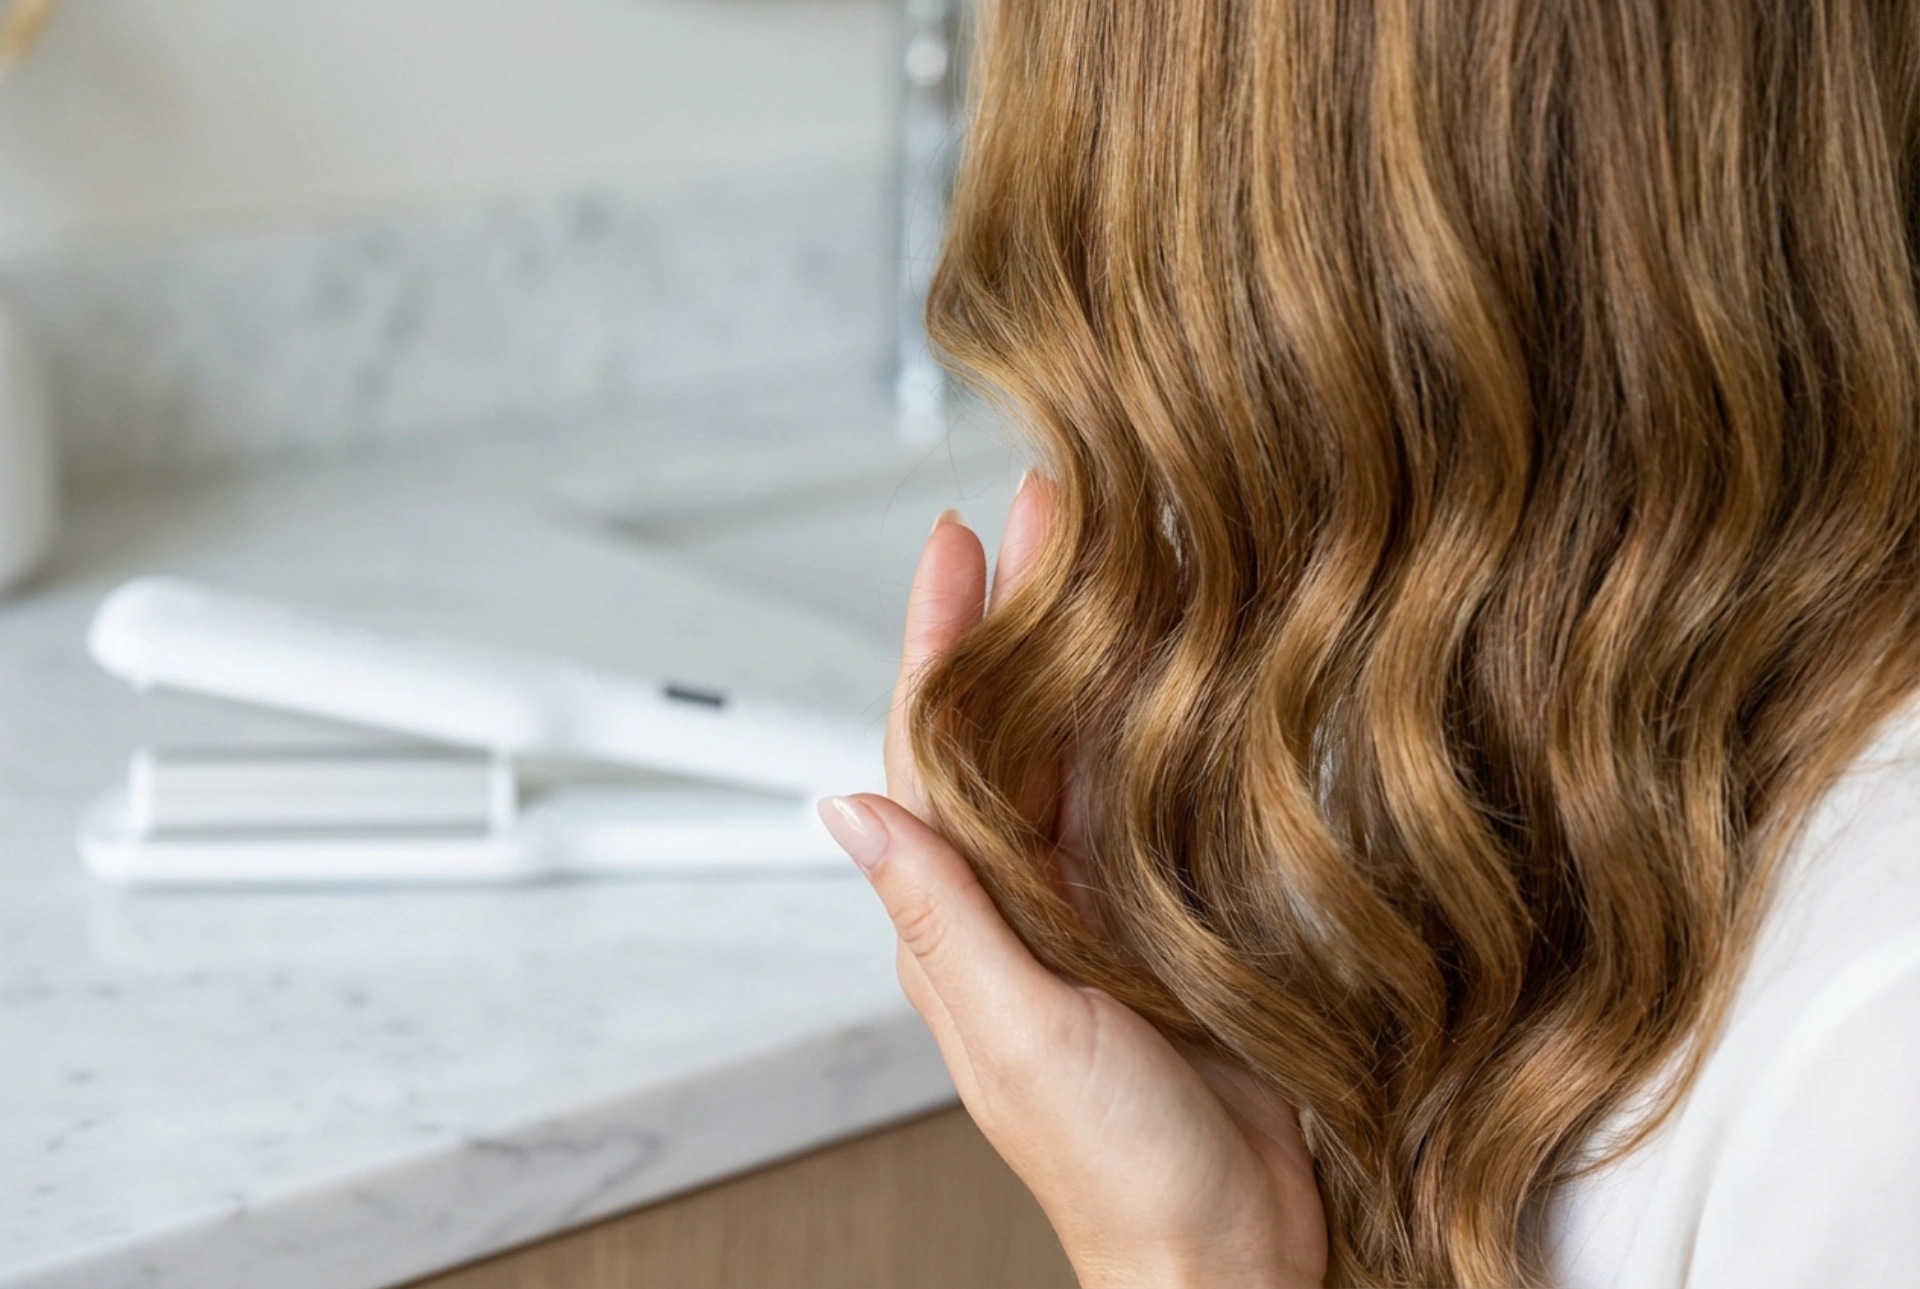


Achieving lush, soft waves that cascade naturally with a healthy, crease-free texture is a timeless beauty goal. While traditional curling wands require a bit of practice to master the twisting motion, a modern hair waver offers a straightforward way to create effortless texture at home. With its multiple barrels designed to press the hair into gentle, undulating curves, this tool can transform flat locks into a voluminous, shiny mane. However, achieving that perfect, seamless finish without unsightly harsh lines or clamp marks requires a few simple techniques and the right approach to preparation.
Choosing the Right Tool for Your Hair Type
Before diving into styling, it is important to understand how the size and shape of your hair waver affect the final result. Hair wavers typically feature a triple-barrel design that presses the hair into a continuous wave pattern. The diameter of these barrels determines the tightness of the wave. For a soft, relaxed, and modern look, larger barrels—such as those measuring 32mm or more—are generally preferred, while smaller barrels produce a tighter, more retro crimped effect. Choosing the right barrel size ensures the style complements your hair length and personal aesthetic.
When selecting a tool, look for adjustable heat settings. Fine or chemically treated hair requires much lower temperatures to prevent heat damage and dryness, while thicker or coarser strands may need a slightly higher setting to lock the shape in place. Additionally, a ceramic or tourmaline coating is highly beneficial, as these materials help distribute heat evenly across the hair shaft, reducing hot spots, preventing frizz, and enhancing natural shine by sealing the outer hair cuticle.
Step-by-Step Guide to Soft, Crease-Free Waves
Creating flawless waves requires a systematic approach. By taking your time and preparing the hair correctly, you can achieve a professional, polished finish that lasts all day without causing unnecessary stress to your strands.
Prepping the Hair for Styling
Styling should always begin with clean, completely dry hair. Applying a heated styling tool to damp hair can cause significant damage as the moisture evaporates rapidly, leading to steam damage. Before you even plug in your waver, apply a high-quality heat protectant evenly throughout your locks from roots to tips. This creates a lightweight barrier that shields the hair from high temperatures. For added hold and volume, you can mist a light texturising spray or apply a small amount of volumising mousse through your hair before blow-drying it straight, which provides a clean slate for the waver.
Sectioning and Placement
To ensure even heat distribution and a cohesive look, divide your hair into neat, manageable sections. Clip away the top half of your hair and start with the lower layers near the nape of your neck. Working in sections that are about two inches wide and one inch thick will allow the heat to penetrate evenly without overloading the tool, which often results in uneven styling.
- Start away from the scalp: To avoid harsh clamp lines near your parting, begin waving at least two to three inches down from your scalp. This also keeps the volume looking natural and soft around your face, avoiding a boxy shape at the crown.
- Hold the tool horizontally: Keep the waver perfectly horizontal, parallel to the floor. Holding it at an angle can create uneven, slanted waves and noticeable creases that ruin the flow.
- Squeeze gently: Clamp the hair waver gently down on the section. There is no need to squeeze with extreme pressure, as this is the primary cause of harsh clamp marks and heat damage.
Mastering the Overlap to Avoid Creases
The secret to a seamless wave pattern lies in how you move the tool down each section of hair. The most common mistake is clamping random sections along the hair strand, which results in disjointed bends and noticeable lines where the barrels meet.
To prevent this, use the overlapping technique. Once you have held the waver on the first section for a few seconds, release it and slide it down. Align the top barrel of the waver with the very last curve or dip of the previous wave you just created. By resting the tool in this existing groove, you ensure a continuous, flowing pattern without any awkward gaps or sharp horizontal lines. Repeat this process until you reach the ends of your hair, leaving the very tips slightly straight for a modern, relaxed finish that looks effortless and natural.
Finishing the Look for a Natural, Touchable Texture
Once you have finished styling all sections of your hair, resist the temptation to touch, comb, or brush the waves immediately. The hair needs to cool down completely to set the shape. Touching warm waves can break the style bonds, causing them to lose their bounce, fall flat, or become frizzy.
After your hair has cooled completely to the touch, gently run your fingers through the waves or use a wide-tooth comb to break up the sections. Avoid using a fine-tooth comb or a dense bristle brush, as this can cause too much friction and turn your soft waves into a puffy, frizzy cloud. Running a wide-tooth comb through the lengths softens the waves, blending the sections together beautifully to create a natural, cohesive texture. Finish with a light mist of flexible-hold hairspray or a few drops of lightweight hair oil smoothed over the ends to add a healthy, reflective shine and keep flyaways at bay.
How to Maintain Your Waves Overnight
To make your beautiful, crease-free waves last into the second or third day, proper overnight care is essential. Sleeping directly on loose waves can cause friction, leading to tangles and frizz. Before going to bed, loosely gather your hair at the top of your head in a soft scrunchie, creating a loose topknot. Alternatively, sleeping on a silk or satin pillowcase reduces friction against the hair cuticle, helping to preserve the smooth texture and natural shine of your waves. In the morning, simply let your hair down, shake it out gently, and apply a touch of hair oil to revive the bounce and lustre.