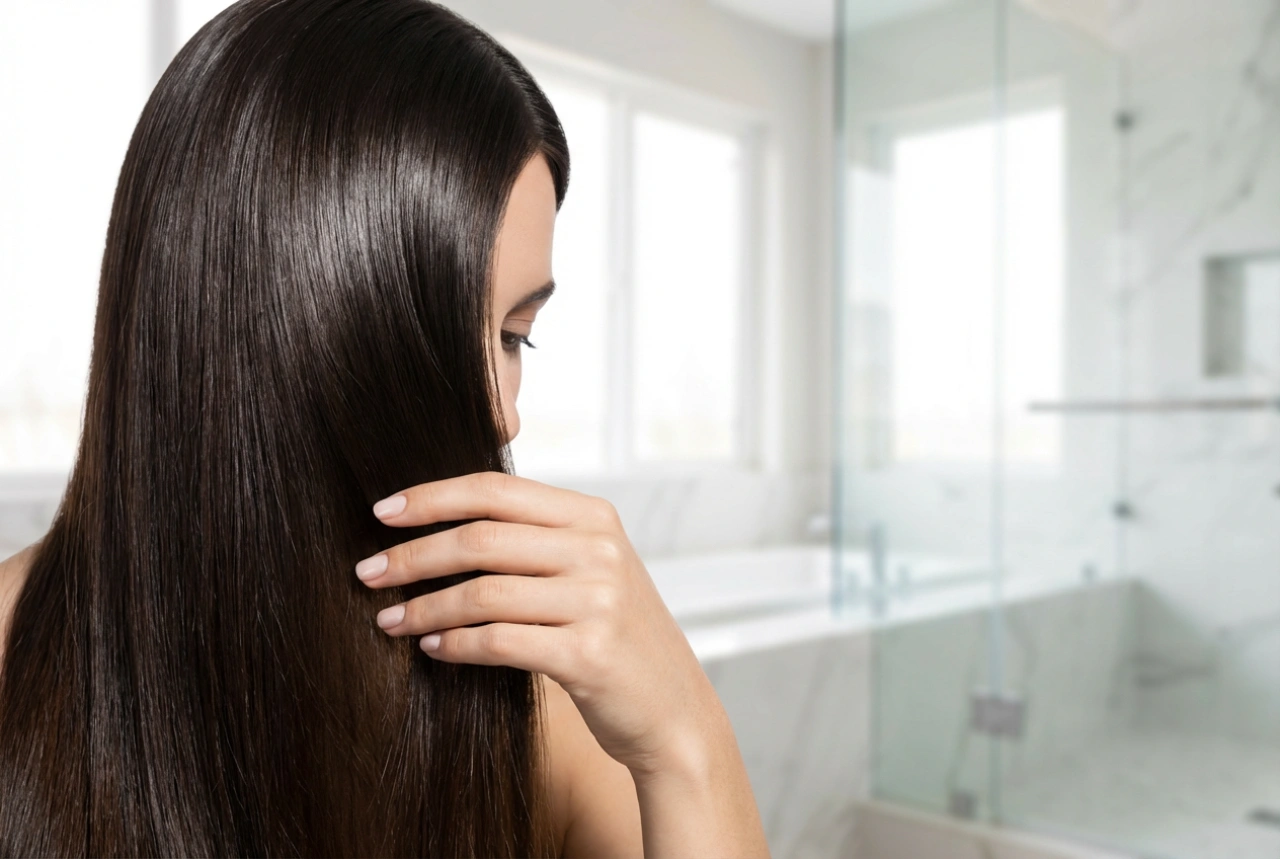


Achieving a sleek, glossy finish that mimics a professional salon treatment at home is a common desire for many. The secret often lies not just in the styling technique, but in the technology behind the tools we use. A keratin-infused straightener equipped with ionisation technology offers a dual-action approach, designed to smooth the hair cuticles while minimising heat damage and static. By understanding how to properly use this modern beauty tool, anyone can achieve a beautifully refined, frizz-free texture that glows with natural-looking vitality and movement.
The Science Behind Keratin and Ionisation
Modern hair straighteners have evolved significantly from the basic metal clamps of the past. Today, advanced plates are often infused with microscopic keratin particles. As the plates glide down the hair shaft, this protein layer helps to fill in microscopic gaps in the cuticle, creating a smoother surface and enhancing natural shine. It acts as a protective barrier, reducing direct friction and helping to distribute heat more evenly across each strand.
Coupled with ionisation, this tool becomes incredibly effective at combating frizz. Ionising technology works by emitting negative ions that neutralise the positive ions naturally present in dry or damaged hair. This process breaks down water molecules into smaller droplets, allowing the hair to absorb moisture more efficiently during the drying process, while sealing the outer cuticle layer. The result is a dramatic reduction in static electricity, flying strands, and humidity-induced puffiness, leaving the hair feeling soft and looking polished.
Essential Preparation for Heat Styling
Before introducing any heat to your hair, proper preparation is vital to maintain the health and integrity of each strand. Styling damp or wet hair with a straightener can cause severe structural damage, so ensuring the hair is completely dry is the absolute first step. A thorough wash with a nourishing shampoo and a lightweight conditioner sets a clean canvas, removing build-up that could otherwise scorch under high temperatures.
Once the hair is clean and gently towel-dried, applying a high-quality, generic heat protectant spray or cream is essential. This product acts as a defensive shield, absorbing the brunt of the thermal energy and preventing moisture loss. Comb the protectant evenly through the lengths to ensure every section is covered. Afterwards, use a hairdryer on a medium setting, directing the airflow downwards from roots to tips to encourage the cuticles to lie flat before you even begin straightening.
Step-by-Step Guide to Achieving a Sleek Finish
Using a keratin straightener with ionisation requires a methodical approach to ensure even results and prevent unnecessary heat exposure. Follow these steps to achieve a perfectly smooth, elegant look:
- Sectioning the Hair: Divide your completely dry hair into manageable sections. Secure the top sections with clips, starting your work from the nape of the neck and moving upwards. Working in small, thin sections ensures that the heat penetrates evenly without requiring multiple passes.
- Selecting the Right Temperature: Adjust the temperature setting based on your hair type. Fine or delicate hair requires a lower temperature, while thicker or coarser textures may need a slightly higher setting to achieve smoothness. Always start with the lowest effective temperature.
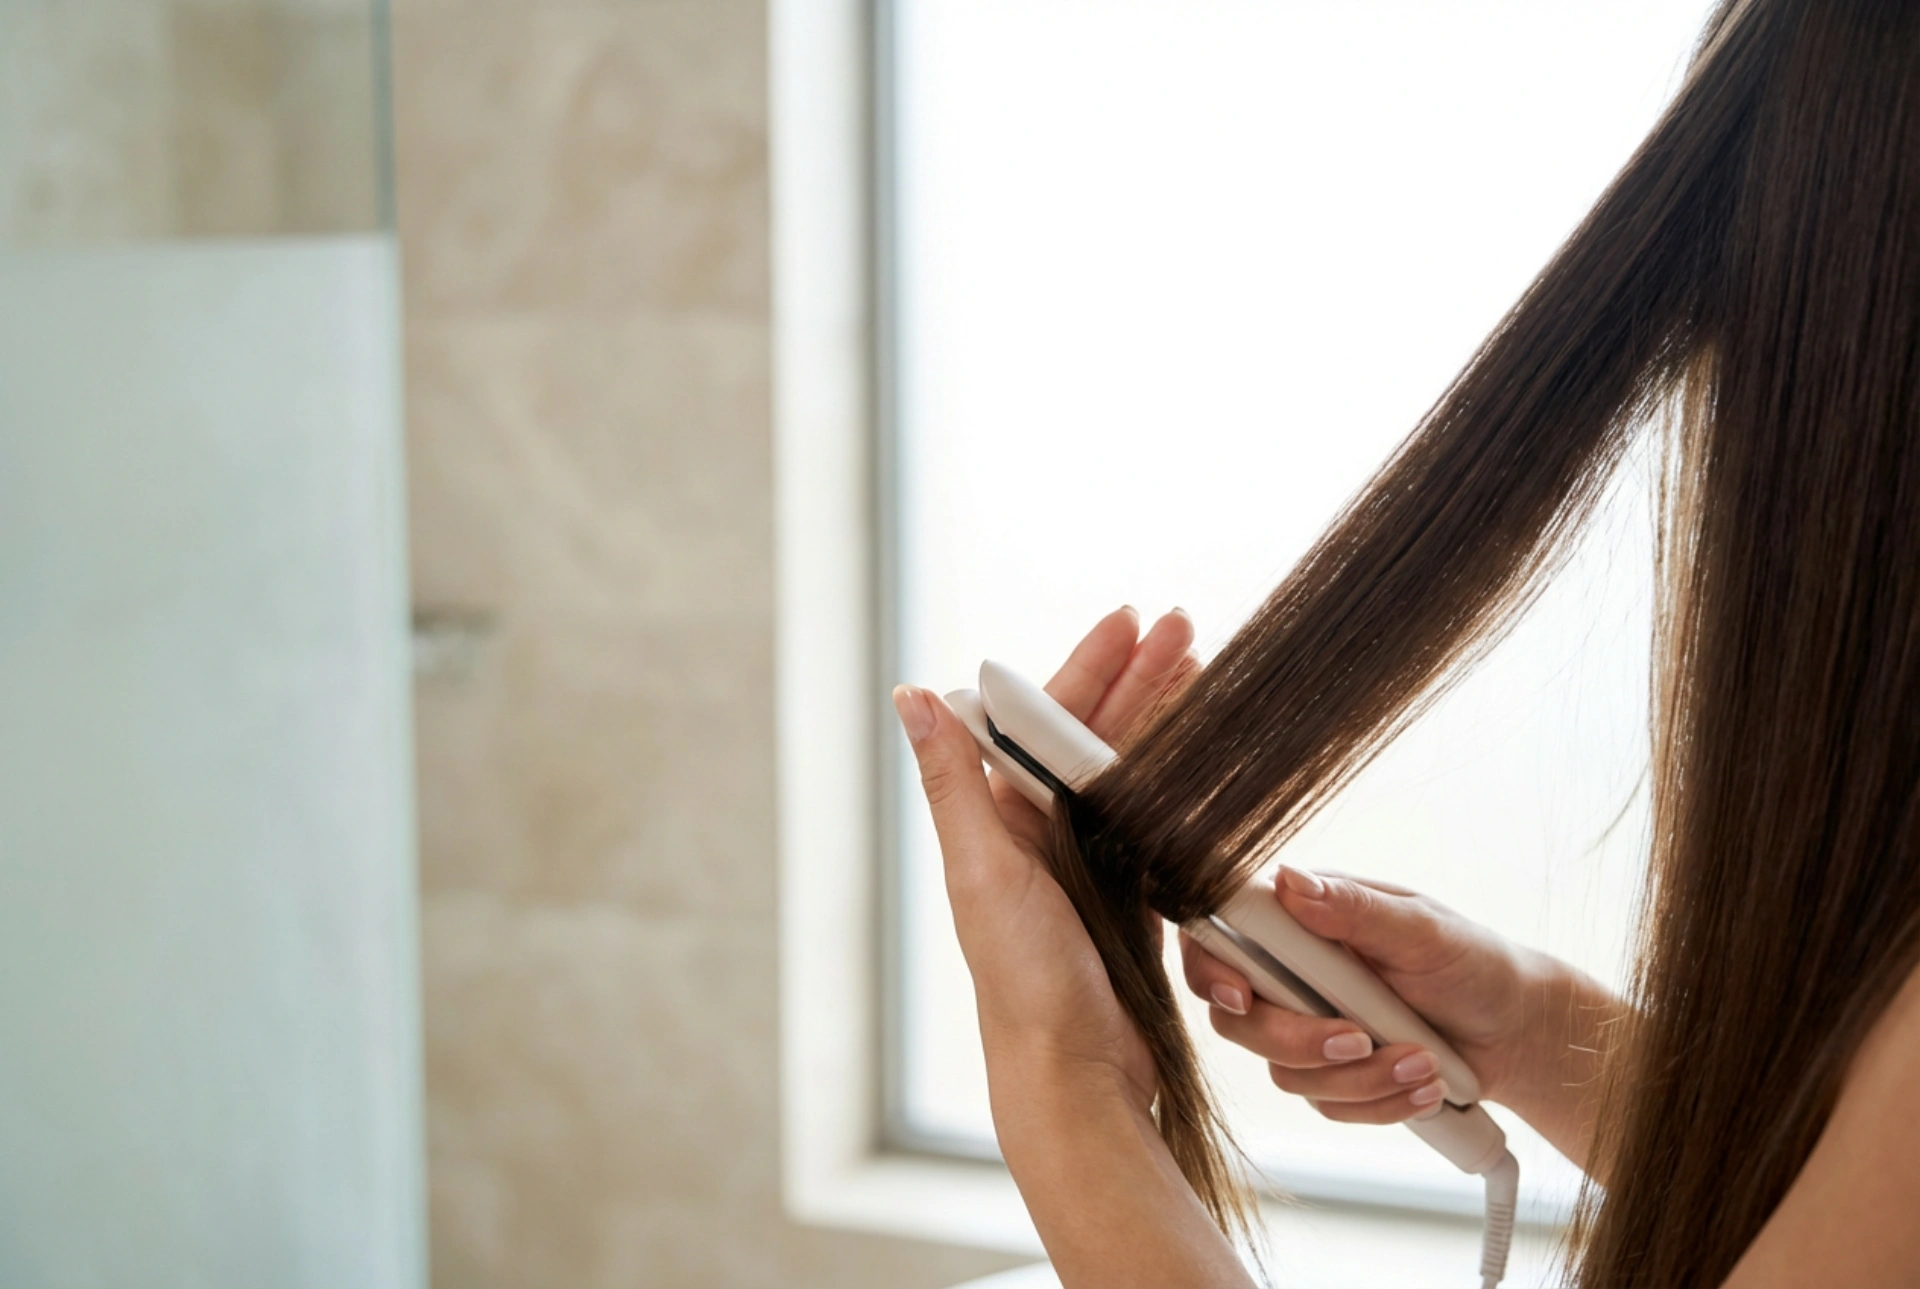
- The Glide Technique: Take a section of hair about two inches wide. Place the straightener near the roots and glide it smoothly and continuously down to the ends. Avoid holding the tool in one spot, as this can cause heat marks and structural weakness.
- Letting it Cool: Allow each straightened section to cool completely before brushing or touching it. Manipulating warm hair can alter its shape and introduce unwanted waves or frizz.
Recommended Temperature Settings
Finding the optimal temperature is key to safe heat styling. For fine, thin, or colour-treated hair, keep the device between 150°C and 170°C. For normal or medium-textured hair, a setting of 180°C to 190°C is generally highly effective. Coarse, thick, or naturally curly hair types may require up to 200°C to 210°C, but always exercise caution and use slower, controlled movements rather than increasing the heat unnecessarily.
Post-Styling Care for Long-Lasting Smoothness
Once the styling process is complete, a few simple finishing steps can help preserve the sleek, frizz-free finish throughout the day. To seal the style, you can apply a tiny amount of a lightweight hair serum or oil. Focus primarily on the mid-lengths and ends, as applying these products too close to the scalp can weigh the hair down and make it appear greasy.
Protecting your style from environmental humidity is also crucial. When stepping outside in damp weather, loosely secure your hair or shield it with a scarf. At night, sleeping on a silk or satin pillowcase reduces friction against the hair cuticle, ensuring you wake up with your sleek style intact, requiring minimal touch-ups the following morning.