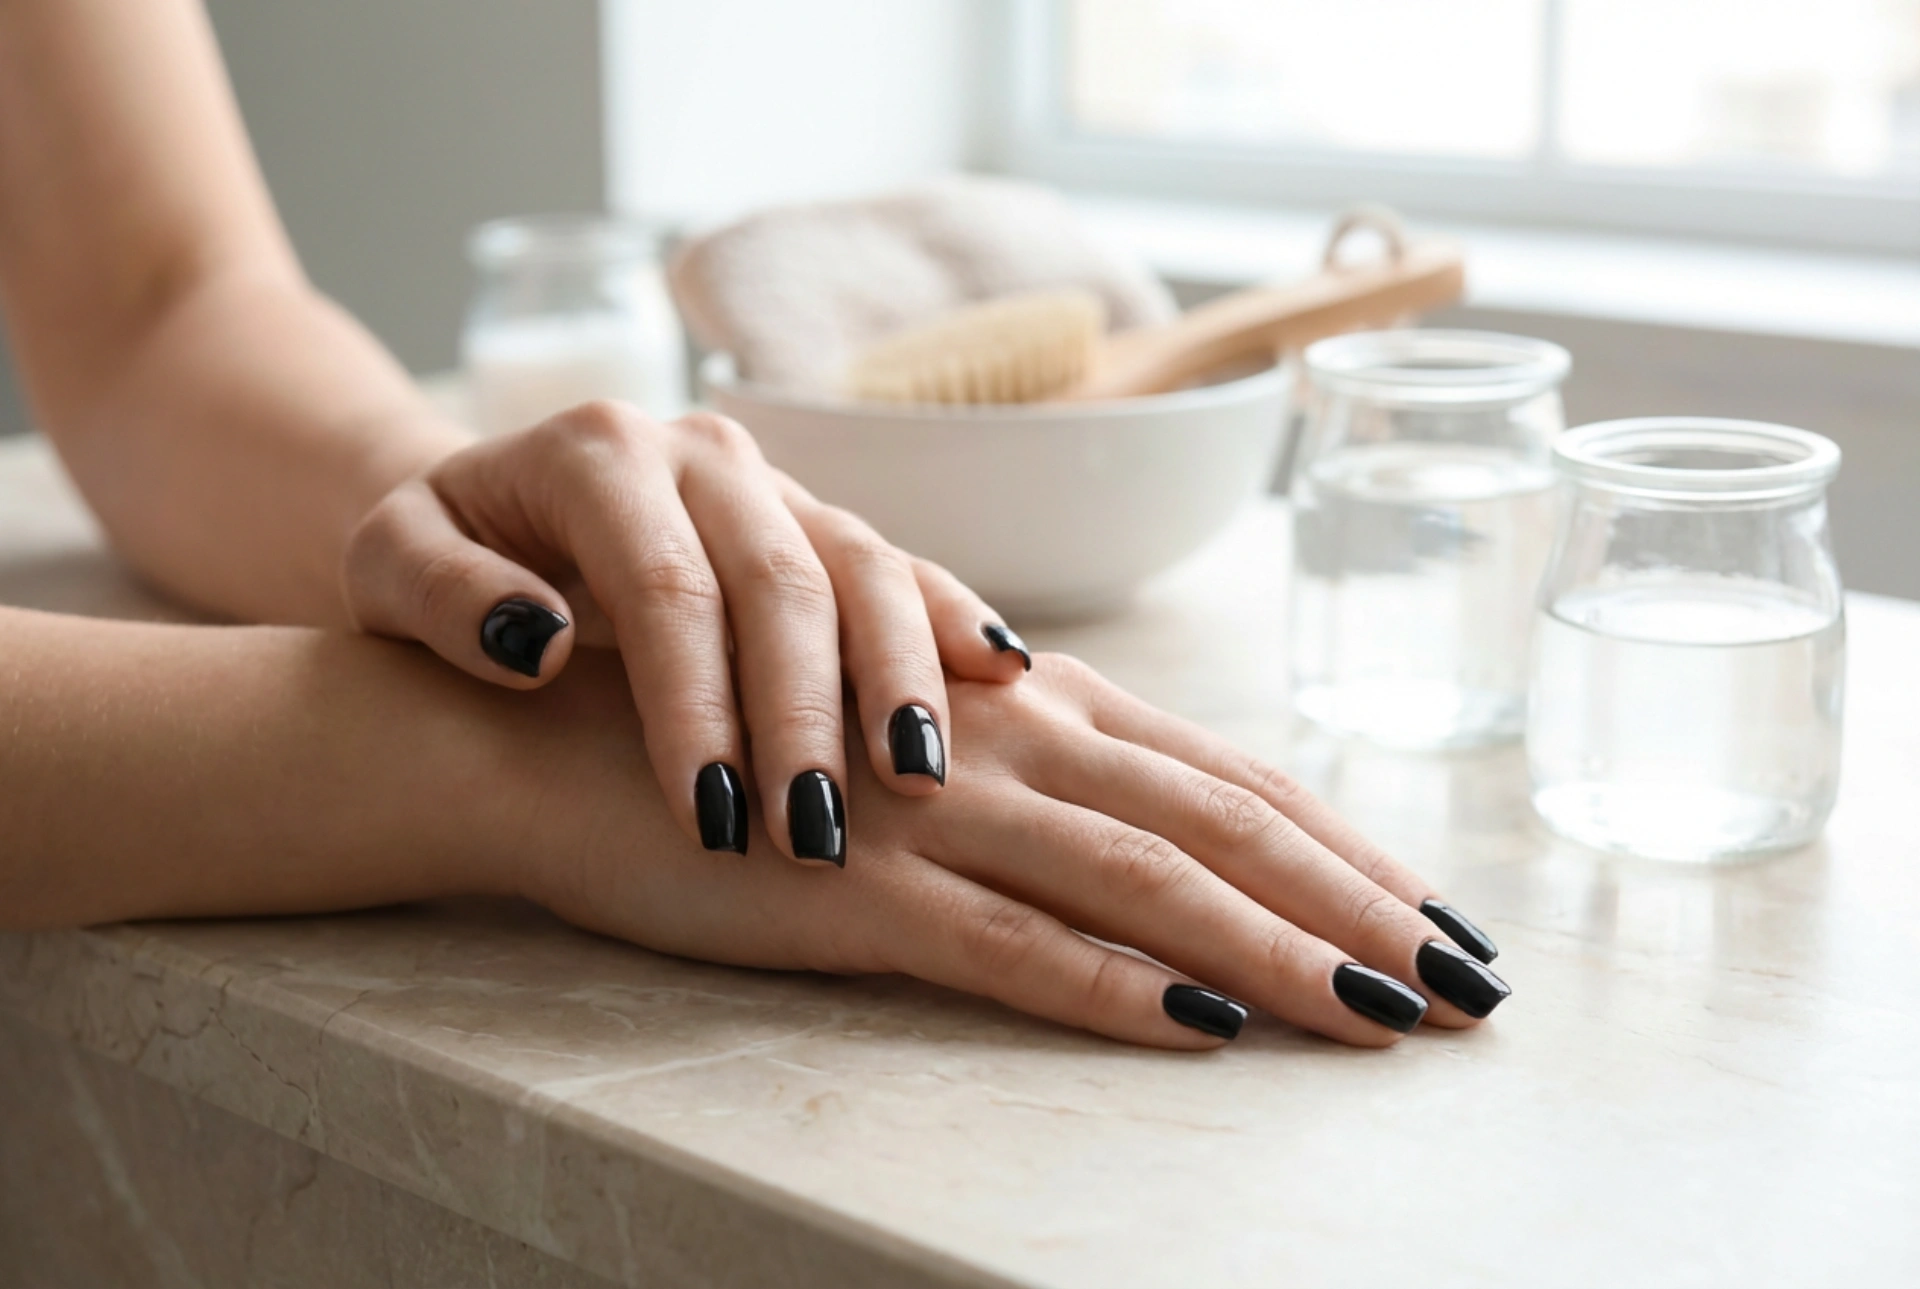


An elegant set of dark nails has long been a symbol of sophistication, strength, and modern minimalism. While short or long, the square shape remains one of the most striking choices for showcasing a deep, rich black colour. There is something uniquely captivating about the clean lines of a square edge paired with the intense depth of dark polish. However, achieving a flawless, professional-looking finish at home requires a meticulous approach. From shaping the edges to applying the polish with absolute precision, every step plays a crucial role in preventing chips and ensuring an even, streak-free result that looks as though it was crafted by an expert hand.
How to Shape the Perfect Square Nail
Creating the perfect square shape is the foundation of this classic manicure. Square nails feature straight, flat edges with sharp, defined corners. This shape is incredibly versatile and works wonderfully on both short and medium nail lengths, providing a clean canvas that highlights dark colours. To begin, you will need a high-quality glass or fine-grit emery board, which is gentler on natural nails than harsh metal files.
Start by filing the free edge of your nail in a single direction. Avoid a sawing motion, as this can weaken the nail plate and lead to peeling or splitting. Place the file perpendicular to the nail and move it straight across to create a flat, horizontal top line. To ensure the top is perfectly straight, hold your hand up directly in front of your face and look at the nail from the perspective of someone else. Once the top edge is flat, gently file the sides of the nail to make them parallel. To finish, you can lightly soften the very tips of the sharp corners with one or two gentle sweeps of the file, transforming them into a slightly soft square shape that is less prone to snagging on clothing.
Preparing the Nail Plate for Dark Polish
Dark polishes, especially solid black, are highly unforgiving when it comes to surface imperfections. Any bumps, ridges, or leftover oils on the nail plate will be magnified once the glossy top coat is applied. Therefore, proper preparation is key to ensuring the colour adheres smoothly and lasts for days without peeling.
Begin by pushing back your cuticles gently using a wooden stick or a silicone cuticle pusher. Avoid cutting the cuticles excessively, as this can lead to irritation and uneven skin around the nail frame. Next, use a gentle buffing block to lightly smooth out any ridges on the surface of the nail. Be careful not to over-buff, as thinning the nail plate can make it weak and flexible. Once the surface is smooth, clean the nails thoroughly with a lint-free wipe soaked in a dehydrating cleanser or rubbing alcohol. This step removes natural oils, dust, and any remaining residue, creating an ideal surface for the base coat to cling to.
The Importance of a Flawless Base Coat
A high-quality base coat is an absolute necessity when working with highly pigmented shades like black. Without this protective barrier, the dark pigments can penetrate the porous layers of the nail plate, leaving behind unsightly yellow or dark stains that are difficult to remove. Additionally, a base coat acts as a double-sided adhesive, bonding firmly to the natural nail on one side and gripping the colour coat on the other.
Apply a thin, even layer of base coat over the entire nail, making sure to cap the free edge. Capping involves running the brush horizontally along the very tip of the nail. This seals the edge and prevents moisture from lifting the polish. Allow the base coat to dry completely before moving on to the colour application. A smooth, dry foundation ensures that the black polish glides on effortlessly without dragging or pooling at the cuticles.
How to Paint Black Polish Evenly and Without Streaks
Painting with black polish requires a steady hand and a specific technique to avoid a messy finish. The key to a professional look is applying multiple thin layers rather than one thick coat, which can lead to bubbling, uneven drying, and premature chipping.
To start, load your brush with just enough polish for one nail. A good rule of thumb is to wipe one side of the brush against the neck of the bottle, leaving a small bead of polish on the other side. Place the brush in the centre of the nail, slightly away from the cuticle line. Gently push the brush towards the cuticle without touching the skin, then sweep it down to the free edge in a single, smooth stroke. Next, return to the base and sweep down the left side, followed by the right side. This classic three-stroke method ensures even distribution and leaves a clean, narrow margin of bare nail near the skin, which visually elongates the fingers.
Do not worry if the first coat looks slightly sheer or uneven. The second coat will build full opacity and smooth out any inconsistencies. Allow the first coat to dry for at least two to three minutes before applying the second layer using the exact same technique. Remember to cap the free edge with each layer of colour to lock in the polish and prevent wear at the tips.
Sealing the Manicure and Cleaning Up
Once your colour coats are dry, it is time to apply a generous layer of gloss or matte top coat. This final step is crucial for protecting your hard work from daily wear and tear, providing a beautiful finish, and helping the polish dry faster. Apply the top coat using the same three-stroke method and make sure to seal the free edge once more. If you prefer a modern, velvety look, a matte top coat can transform the classic black square manicure into an ultra-modern fashion statement.
Even with the most careful application, a little polish might end up on the surrounding skin or cuticles. To clean this up, dip a small, flat makeup brush or an angled eyeliner brush into nail polish remover. Carefully trace the brush along the edges of the nail to clean up any spills and create a sharp, clean line around the cuticle. This small, extra step instantly elevates the manicure from home-made to salon-quality. Finish by applying a drop of nourishing cuticle oil around each nail to restore hydration and give your hands a healthy, polished glow.




