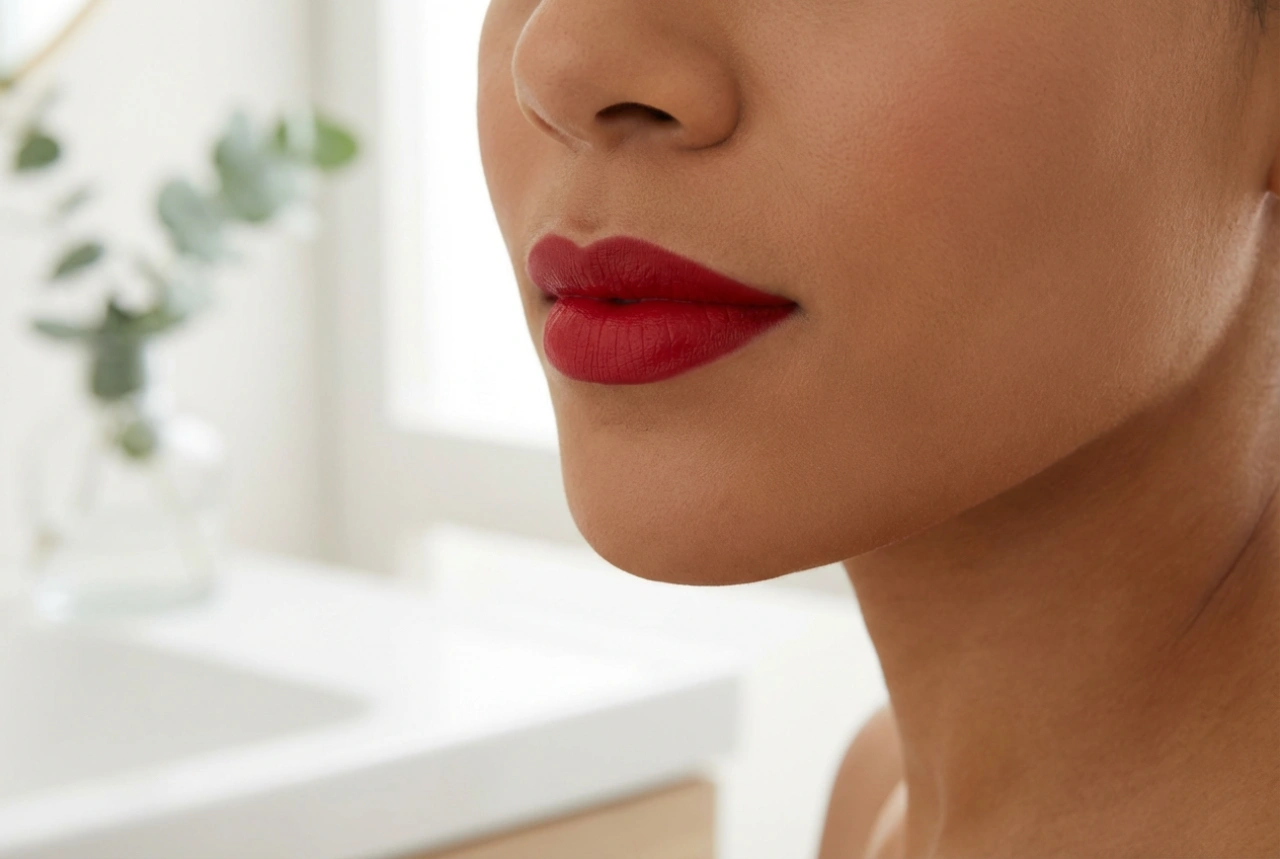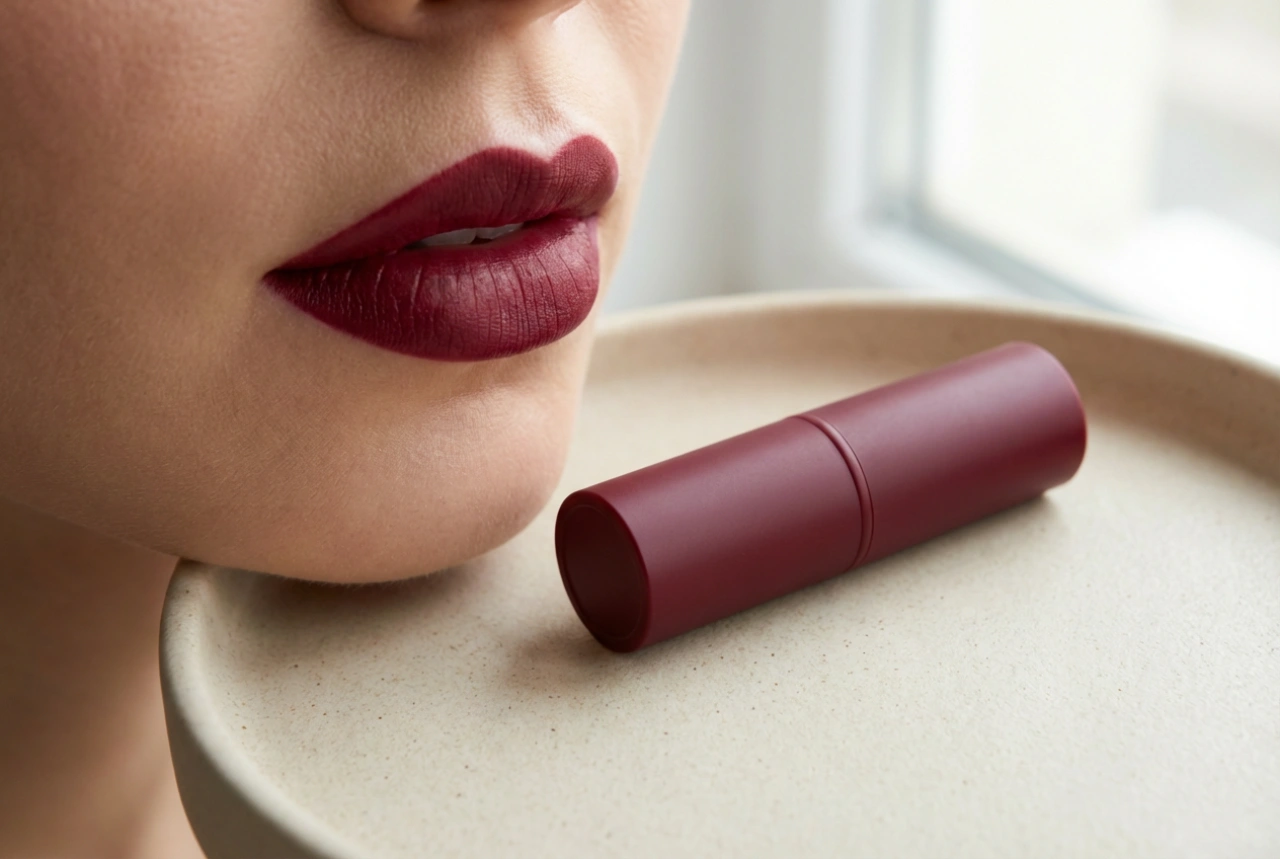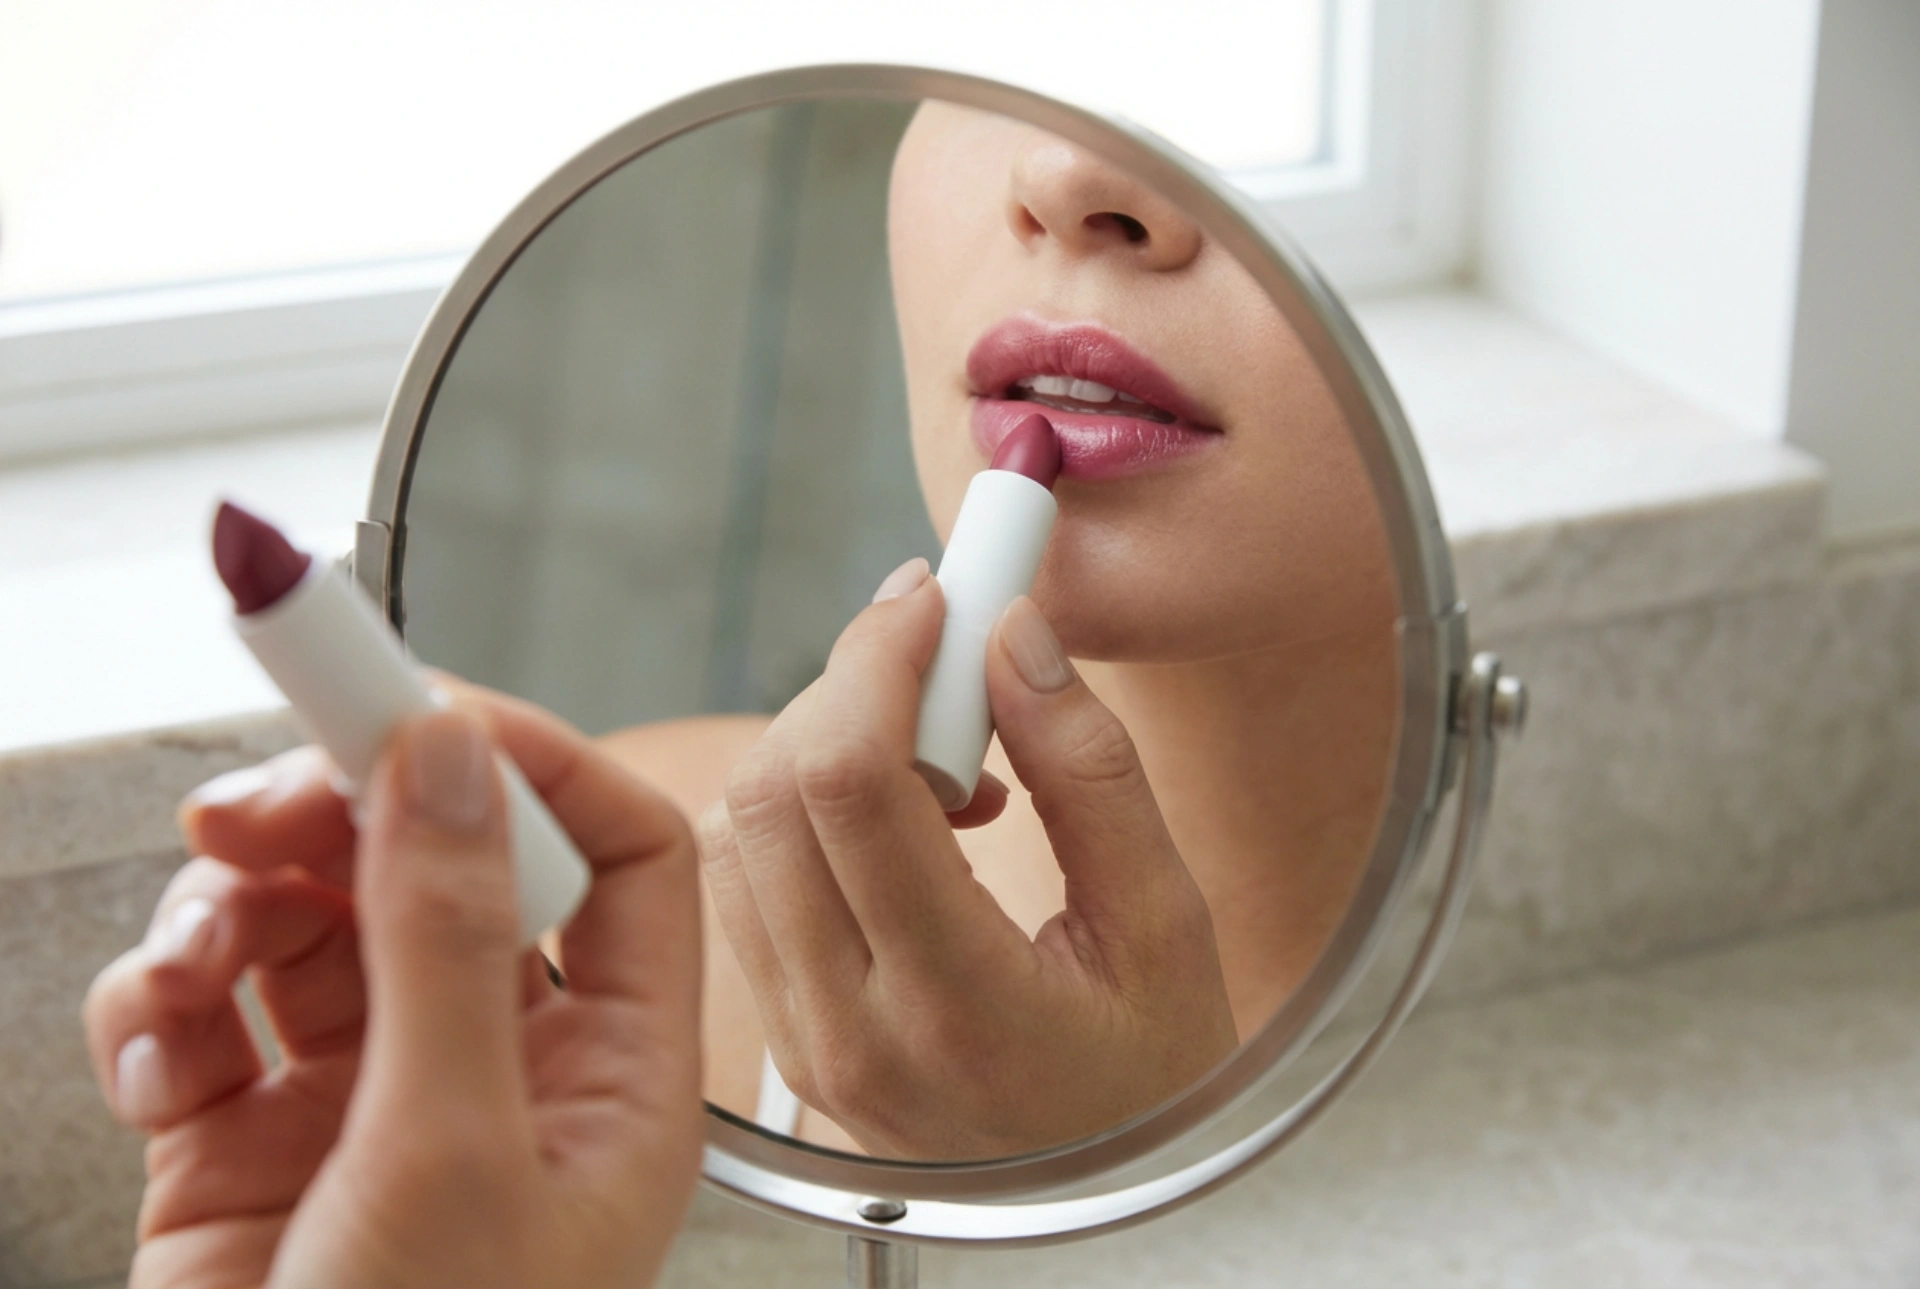


A flawless lip look is the ultimate finishing touch to any beauty routine, radiating confidence and elegance. Seeing a clean, precise application of creamy lipstick in a sleek vanity mirror is a highly satisfying experience. However, moisturising lipsticks, while incredibly comfortable and nourishing, can sometimes present a challenge. Their rich, emollient formulas are prone to sliding, feathering, and creating unsightly streaks if applied without proper preparation. To achieve a perfectly smooth, long-lasting finish that highlights your natural lip shape, it is essential to master the art of preparation, application, and maintenance.
Step One: Preparing the Lips for a Smooth Canvas
The secret to a streak-free lipstick application lies in the preparation of the canvas. Because moisturising lipsticks have a glossy or creamy finish, they tend to highlight uneven texture and dry patches rather than hide them. Taking a few extra minutes to prep your lips ensures that the product adheres evenly and lasts significantly longer.
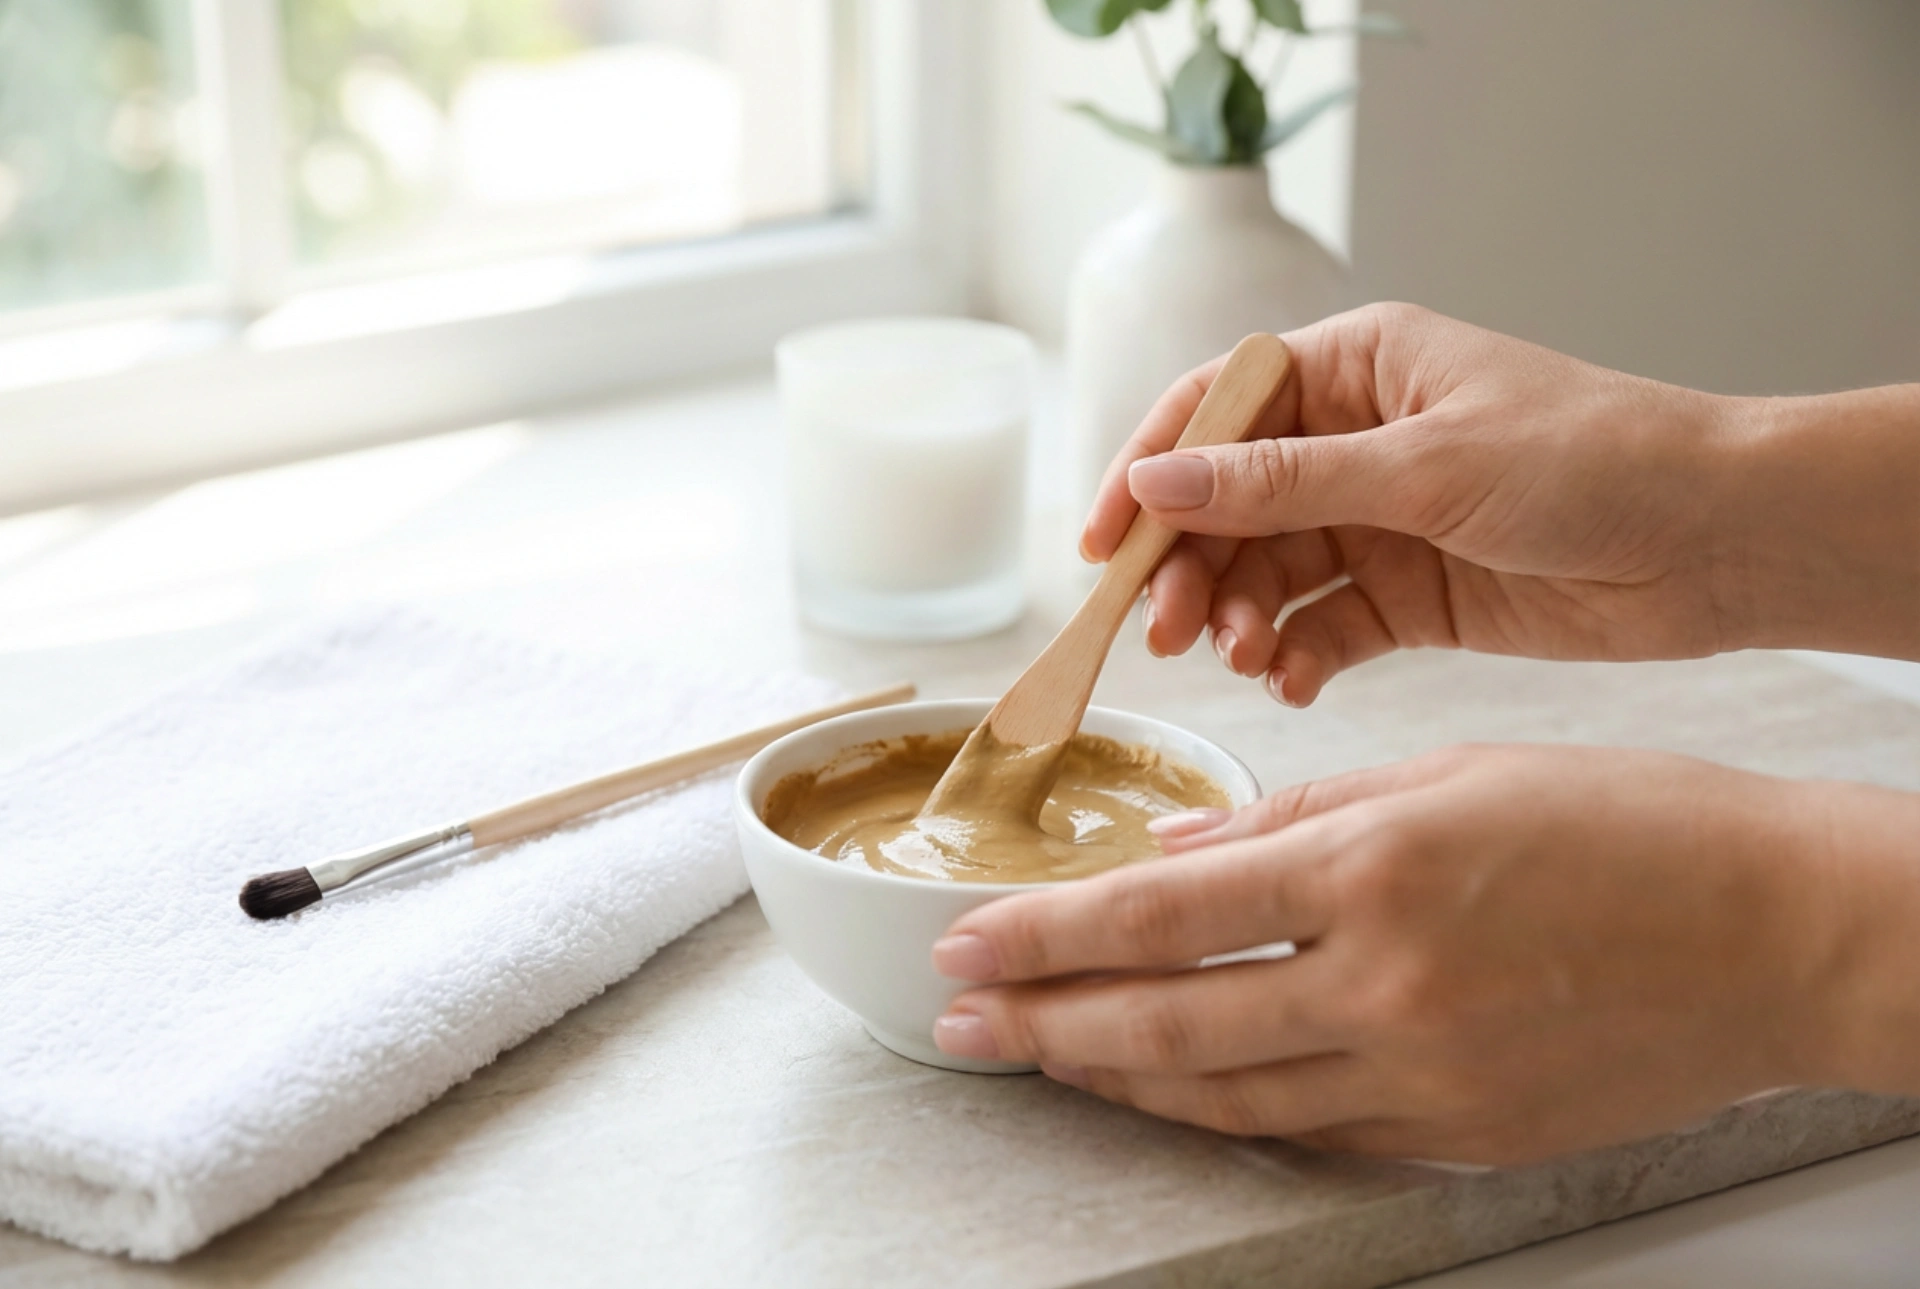
- Gentle Exfoliation: Start by removing any dead skin cells. You can use a gentle, store-bought sugar scrub or make one at home by mixing a small amount of fine sugar with olive oil or honey. Massage this mixture onto your lips in circular motions for a minute, then wipe it away with a damp, warm washcloth. This stimulates circulation and leaves the surface soft and plump.
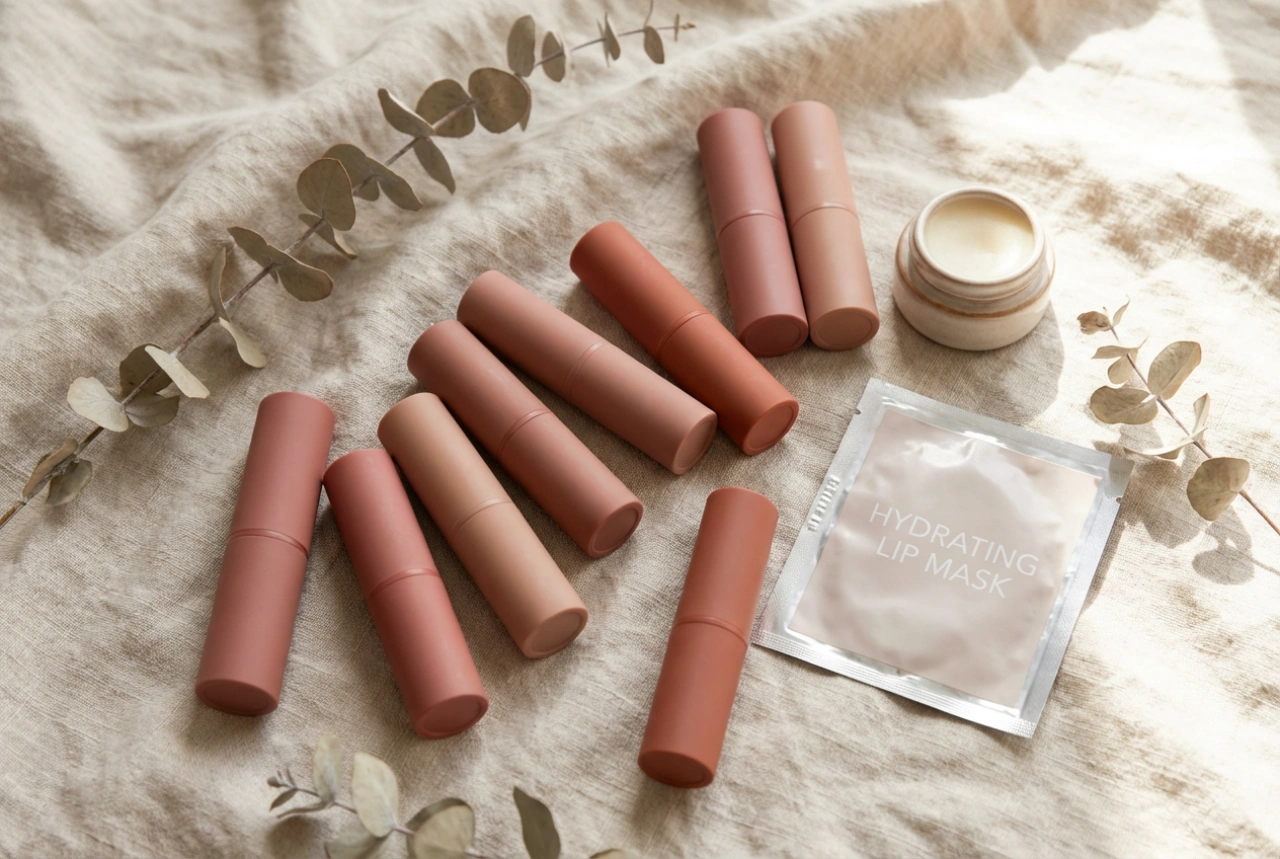
- Deep Hydration: After exfoliating, immediately apply a generous layer of a nourishing lip balm. Look for ingredients like shea butter, coconut oil, or beeswax, which lock in moisture. Let the balm sit for at least ten minutes to fully absorb while you complete the rest of your makeup routine.
- Blotting the Excess: This is a crucial, often overlooked step. Applying lipstick directly over a slippery layer of balm will cause the product to slide and streak. Before reaching for your lipstick, gently blot your lips with a clean tissue to remove any unabsorbed excess oils.
Selecting the Right Tools for Precision
While applying lipstick straight from the bullet is convenient for quick touch-ups, using the right tools can elevate your look from casual to professional. Having the correct accessories on hand ensures control and helps lock the emollient formula in place.
A lip liner is your best ally when working with creamy, hydrating lip formulas. Choose a liner that either matches your natural lip colour or the exact shade of your lipstick. The liner acts as a physical barrier, preventing the moisturising oils from bleeding into the fine lines around your mouth. It also provides a matte base for the lipstick to cling to, extending its wear time.
Additionally, a dedicated lip brush offers unparalleled precision. A brush allows you to work the product into the natural lines of your lips, building up the colour in thin, controlled layers rather than one heavy, streak-prone swipe. It is particularly useful for defining the cupid's bow and the outer corners of the mouth.
The Step-by-Step Application Technique
Once your lips are prepped and your tools are ready, you can proceed with the application. Following a structured method will ensure a uniform, streak-free distribution of colour that feels comfortable throughout the day.
1. Define the Borders
Begin by outlining your lips with your chosen lip liner. Start at the cupid's bow, drawing an 'X' to define the peaks, then work your way outwards to the corners. For the lower lip, start at the centre-most point and draw outwards. For added longevity, lightly shade in the rest of your lips with the pencil to create a uniform base.
2. Apply the First Layer
Using your lip brush or the lipstick bullet, apply a thin layer of the moisturising lipstick. Start from the centre of the mouth and blend the colour outwards towards the corners. This technique prevents too much product from accumulating at the edges, which is a common cause of feathering.
3. Blot and Repeat
Press a single ply of a clean tissue between your lips. This removes excess oils while leaving the pigment behind. After blotting, apply a second thin layer of lipstick. This layering technique builds depth of colour and locks the product in place, significantly reducing the chances of streaking as the day goes on.
How to Manage Touch-Ups without Clumping
Throughout the day, eating, drinking, and talking will naturally wear away your lipstick. However, simply adding layer upon layer of a rich, moisturising formula can quickly lead to a heavy, cakey appearance with visible build-up in the corners of the mouth. To refresh your lip look seamlessly, follow a clean touch-up routine.
First, use a soft tissue to gently wipe away any remaining, uneven product. Applying fresh lipstick over a dry, patchy layer will only accentuate texture. If your lips feel dry, apply a very tiny amount of lip balm and press your lips together. Blot away any excess slip immediately. Next, reapply the lipstick lightly, focusing primarily on the centre of the mouth and blending outwards. If necessary, redefine the outer edges with your lip liner to restore the clean, sharp silhouette.
Common Pitfalls to Avoid
Achieving a flawless, professional finish is just as much about what you avoid doing as what you practice. Keep these common mistakes in mind to ensure your moisturising lipstick remains pristine:
- Skipping the lip prep: Applying a creamy formula directly onto dry, flaky skin is the primary cause of uneven patches and streaks.
- Applying too much product: Hydrating lipsticks are rich; applying multiple thick layers will make the product unstable, causing it to slip outside the lip borders.
- Neglecting the outer corners: Failing to blend the product properly into the corners of the mouth can result in an unfinished look. Use a brush to ensure seamless coverage.